Oh no hold our horses now. The exhaust has much improvement to be had! I don't see any of this is a waste of time. I'm not only personally learning but I am figuring out what works on these heads. I don't see any testing on equipment like this a waste of time. I learn every-time I do something, and to me that's what it's really about. I read a lot of jibberish on port work for these motors, but I have yet to find something solid like real flowbench work, and post difference of each modification. If you do have something like that please show me so i can see what they have done as well. I understood from the beginning on the exhaust side you probably won't gain much, these heads aren't that bad from the git-go. The point is how much more can I squeeze out of them, using tricks i'm sure most people on here haven't even heard of.
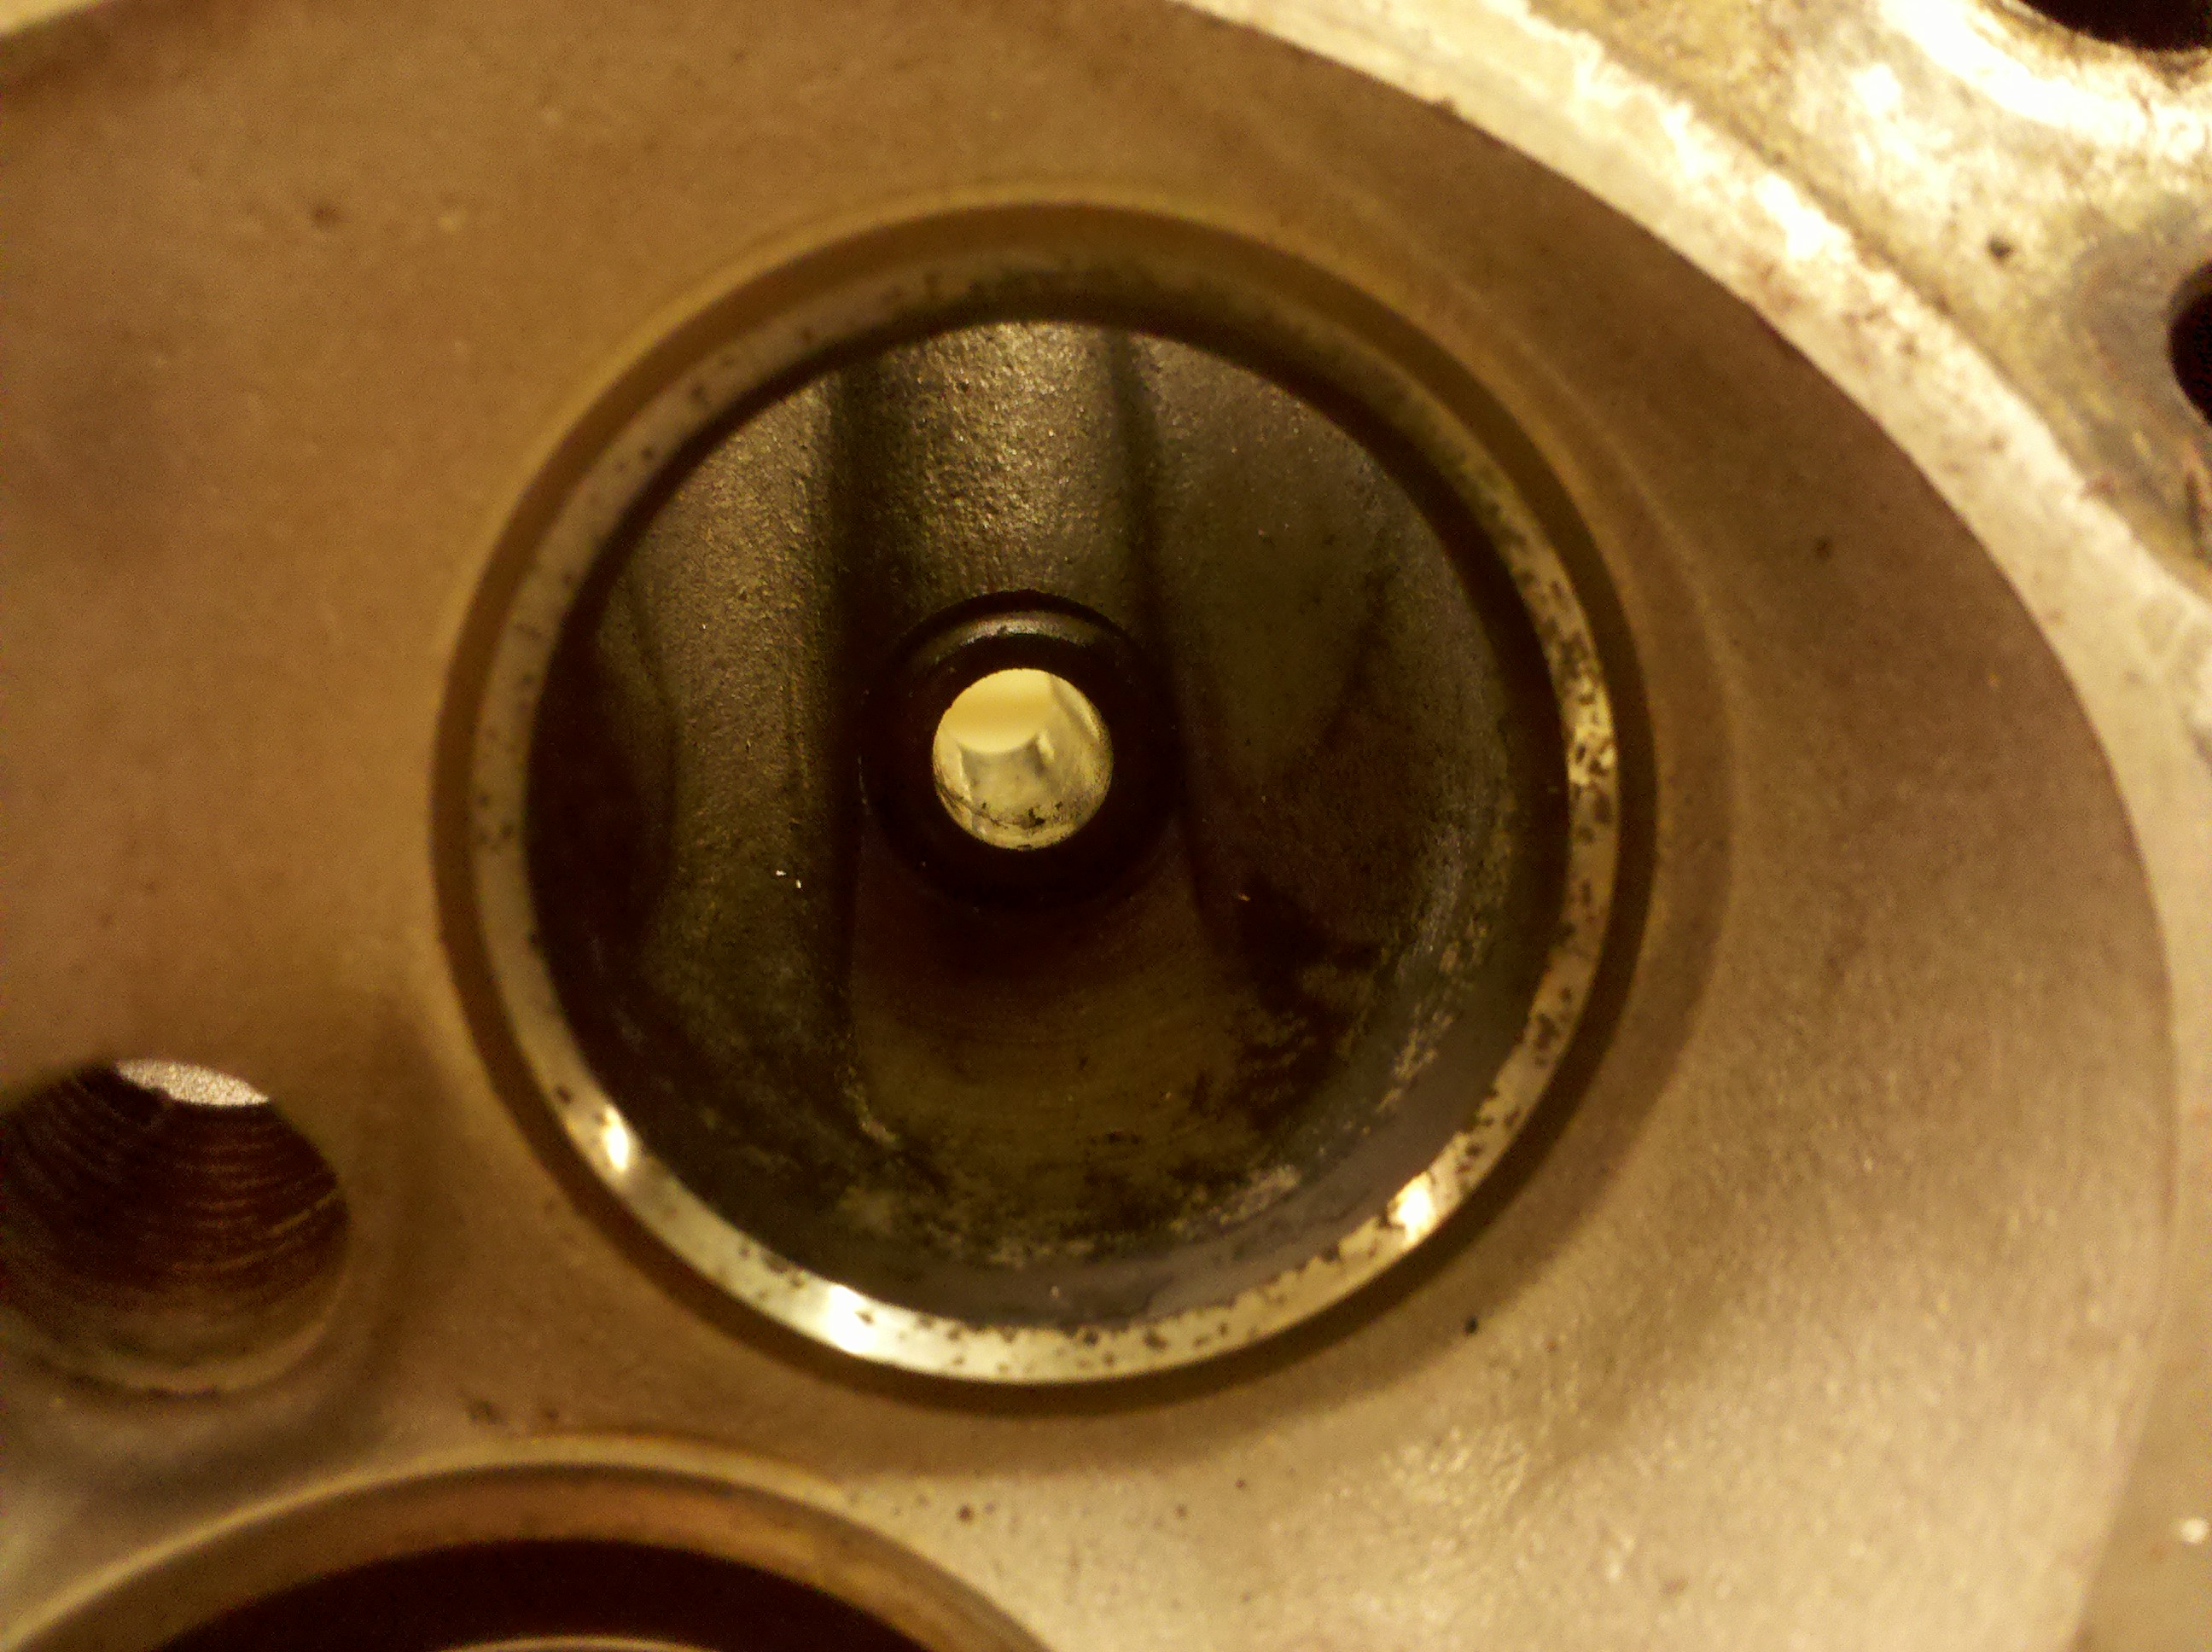
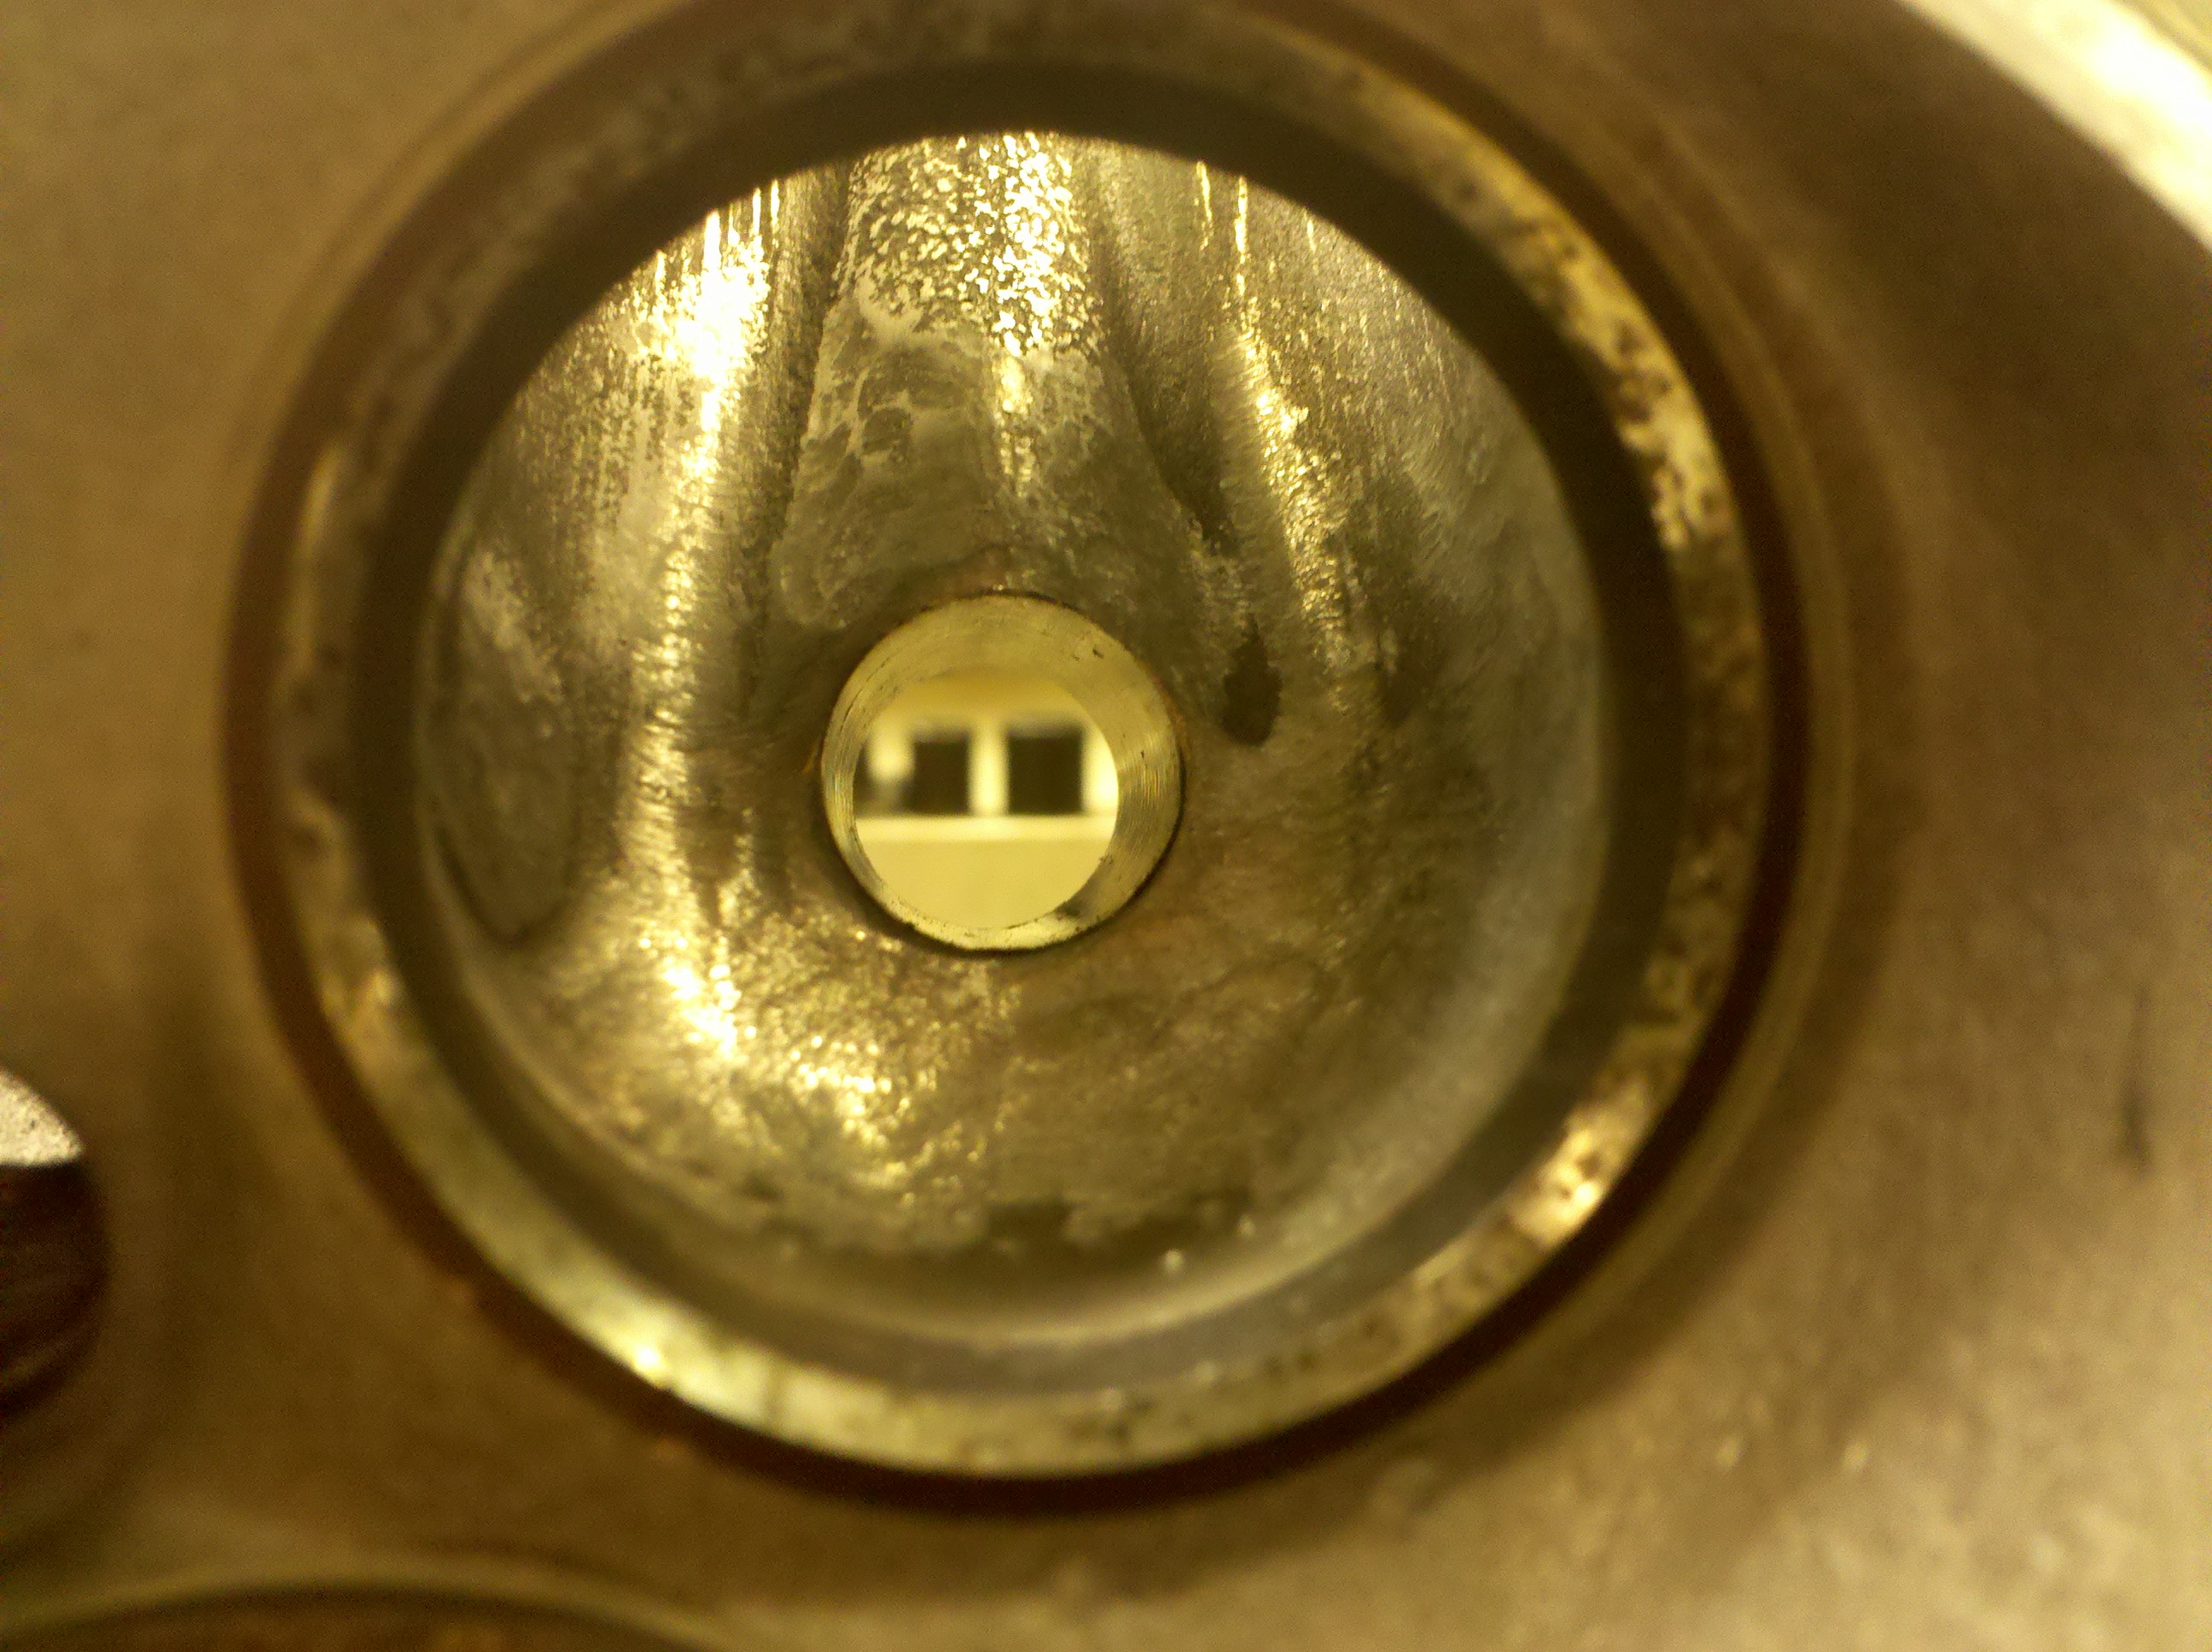
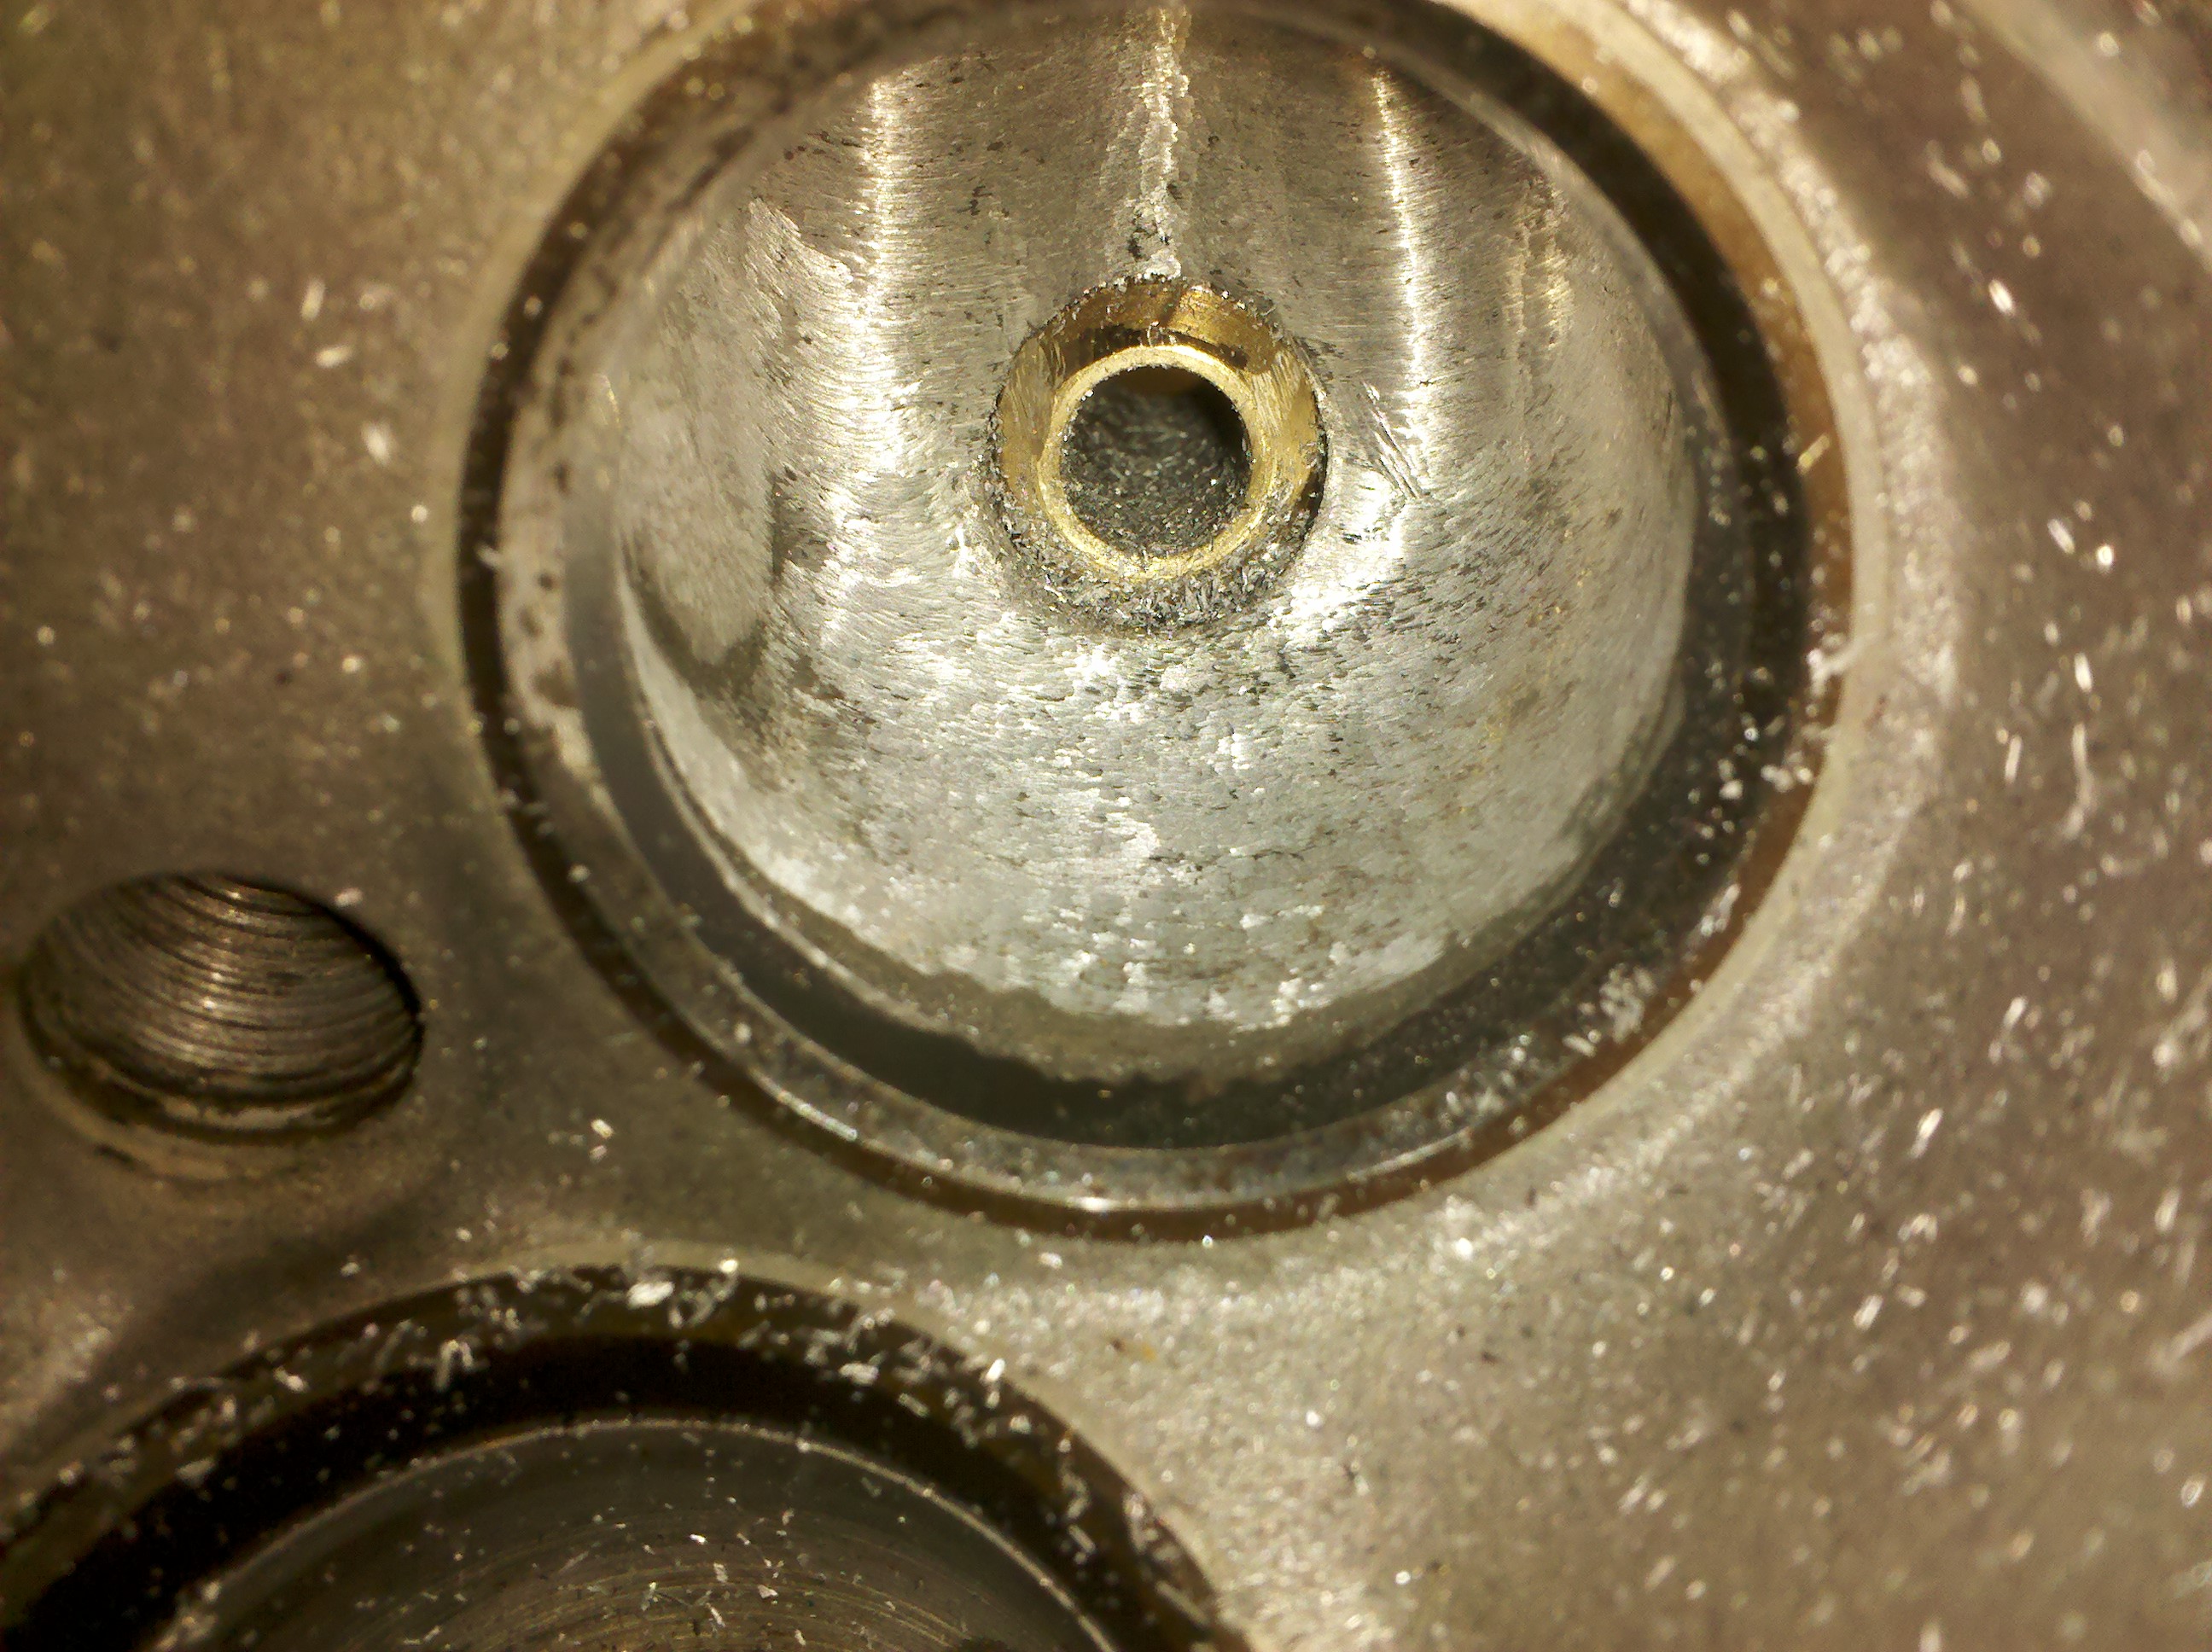
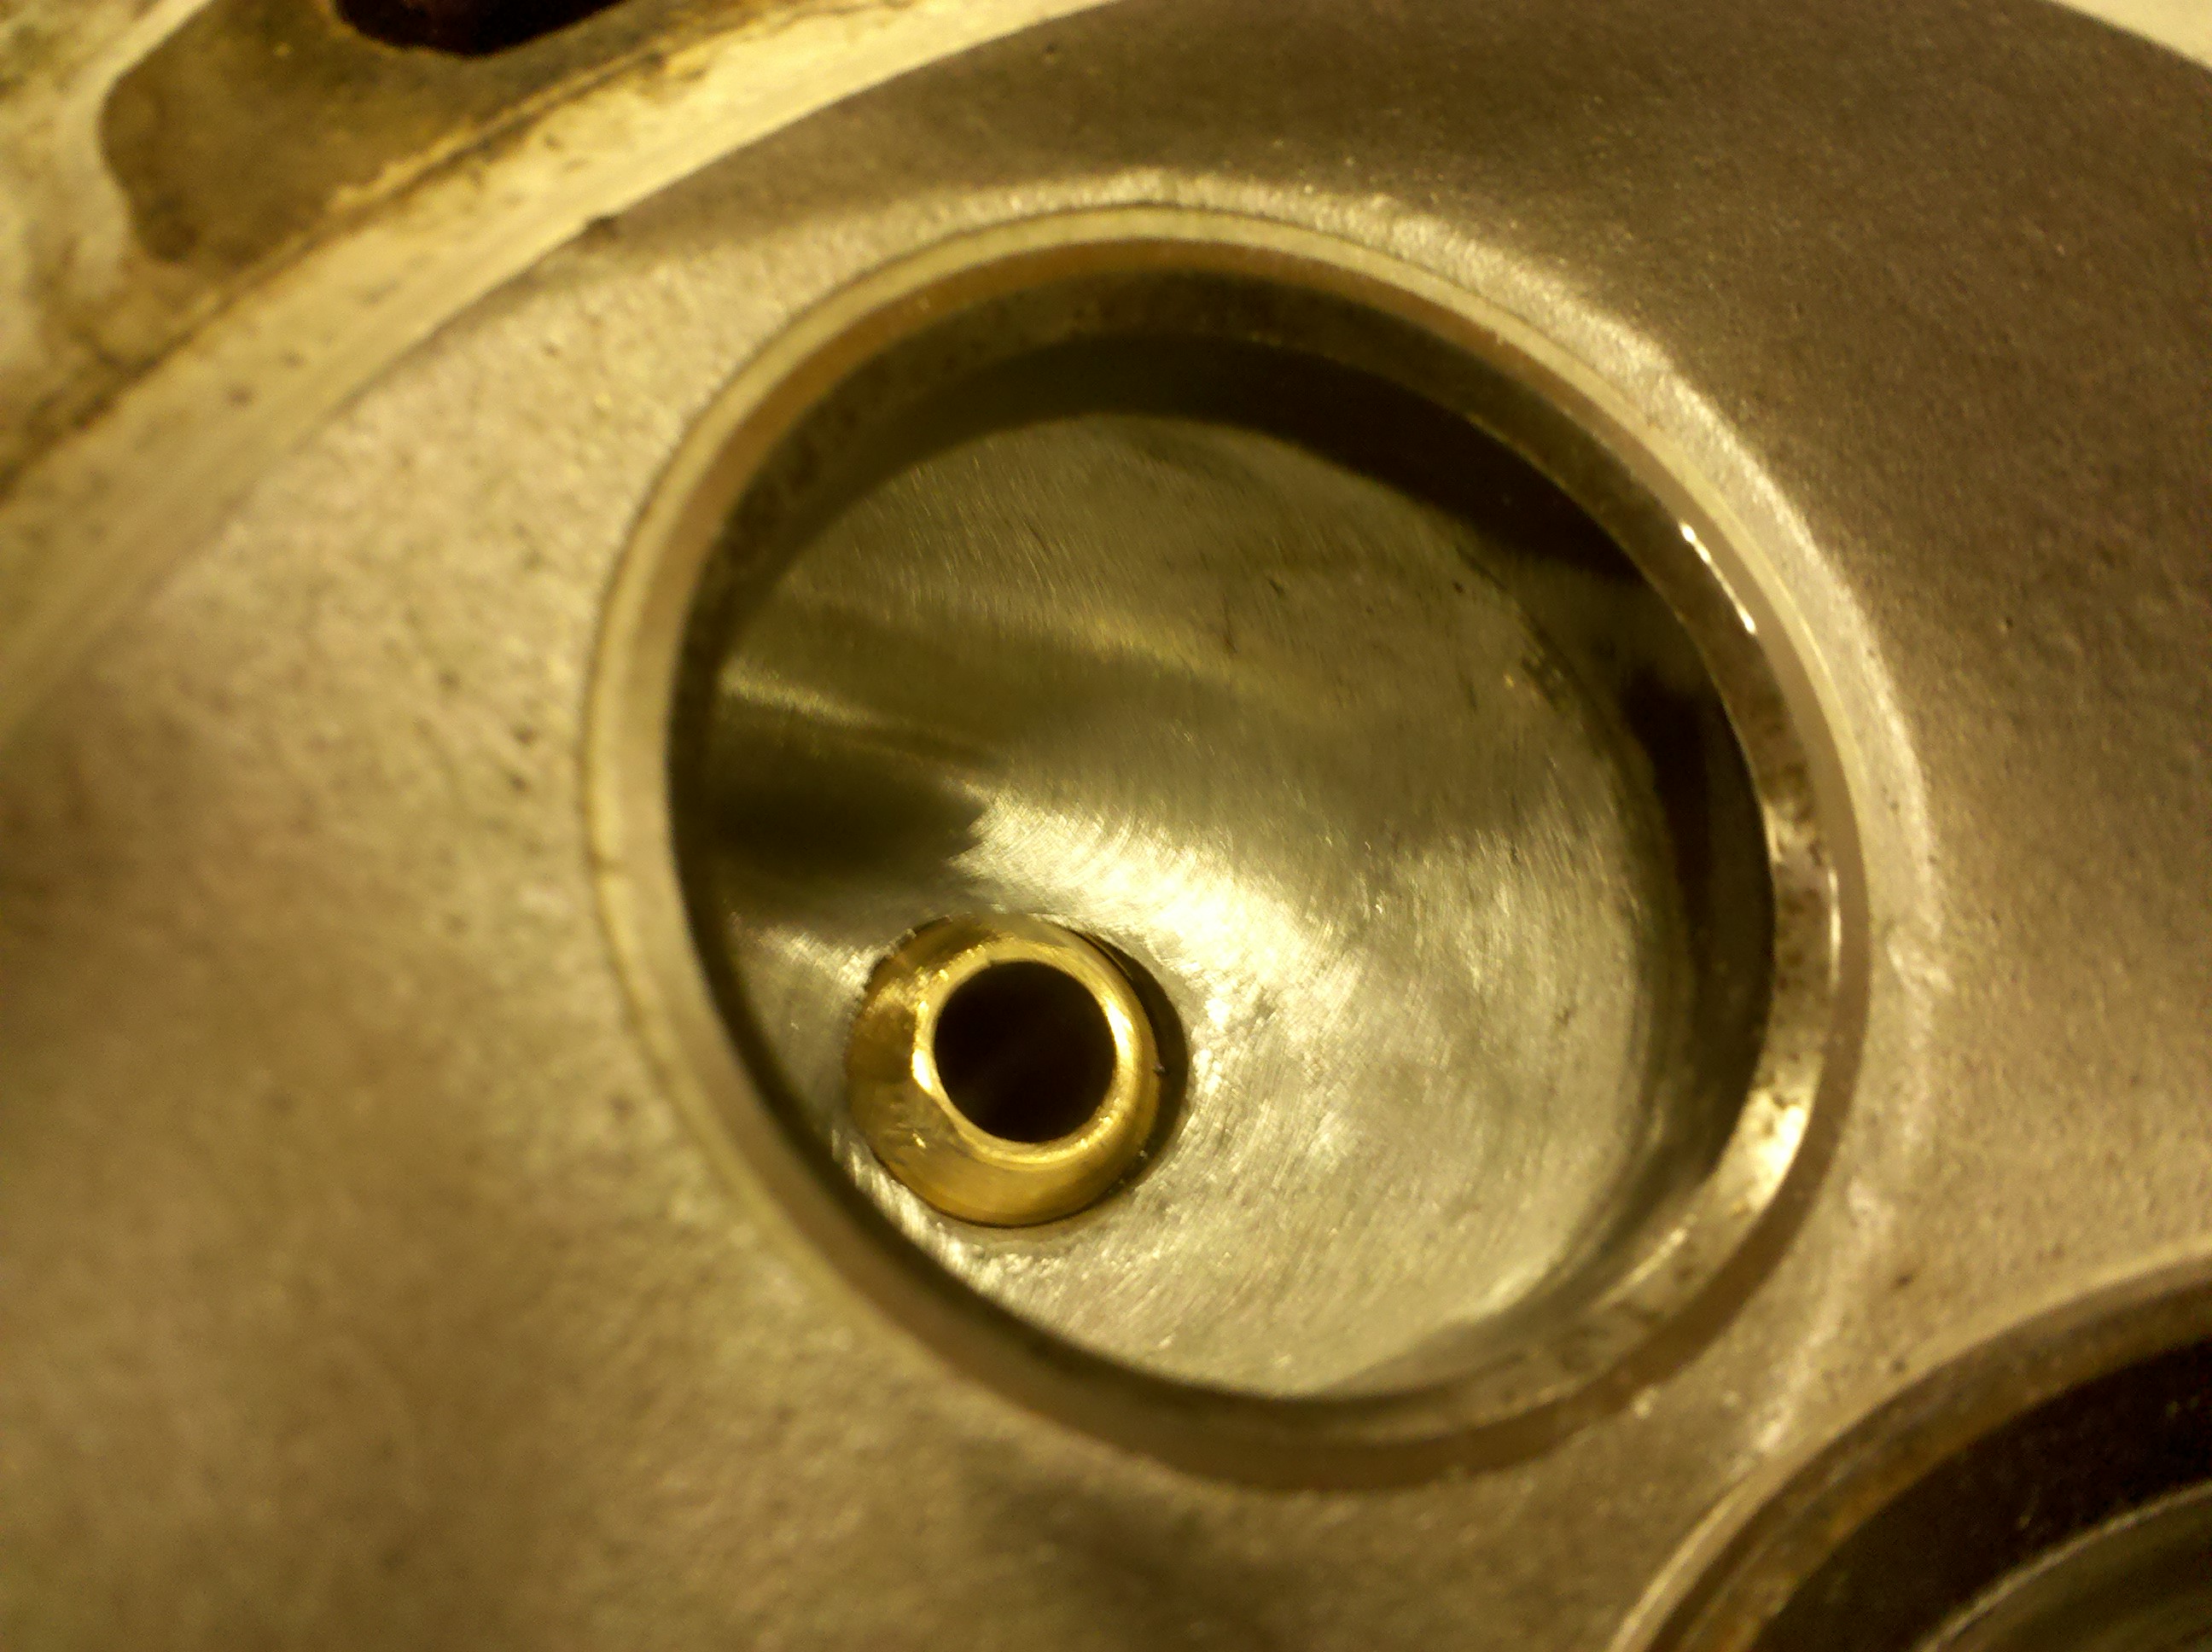
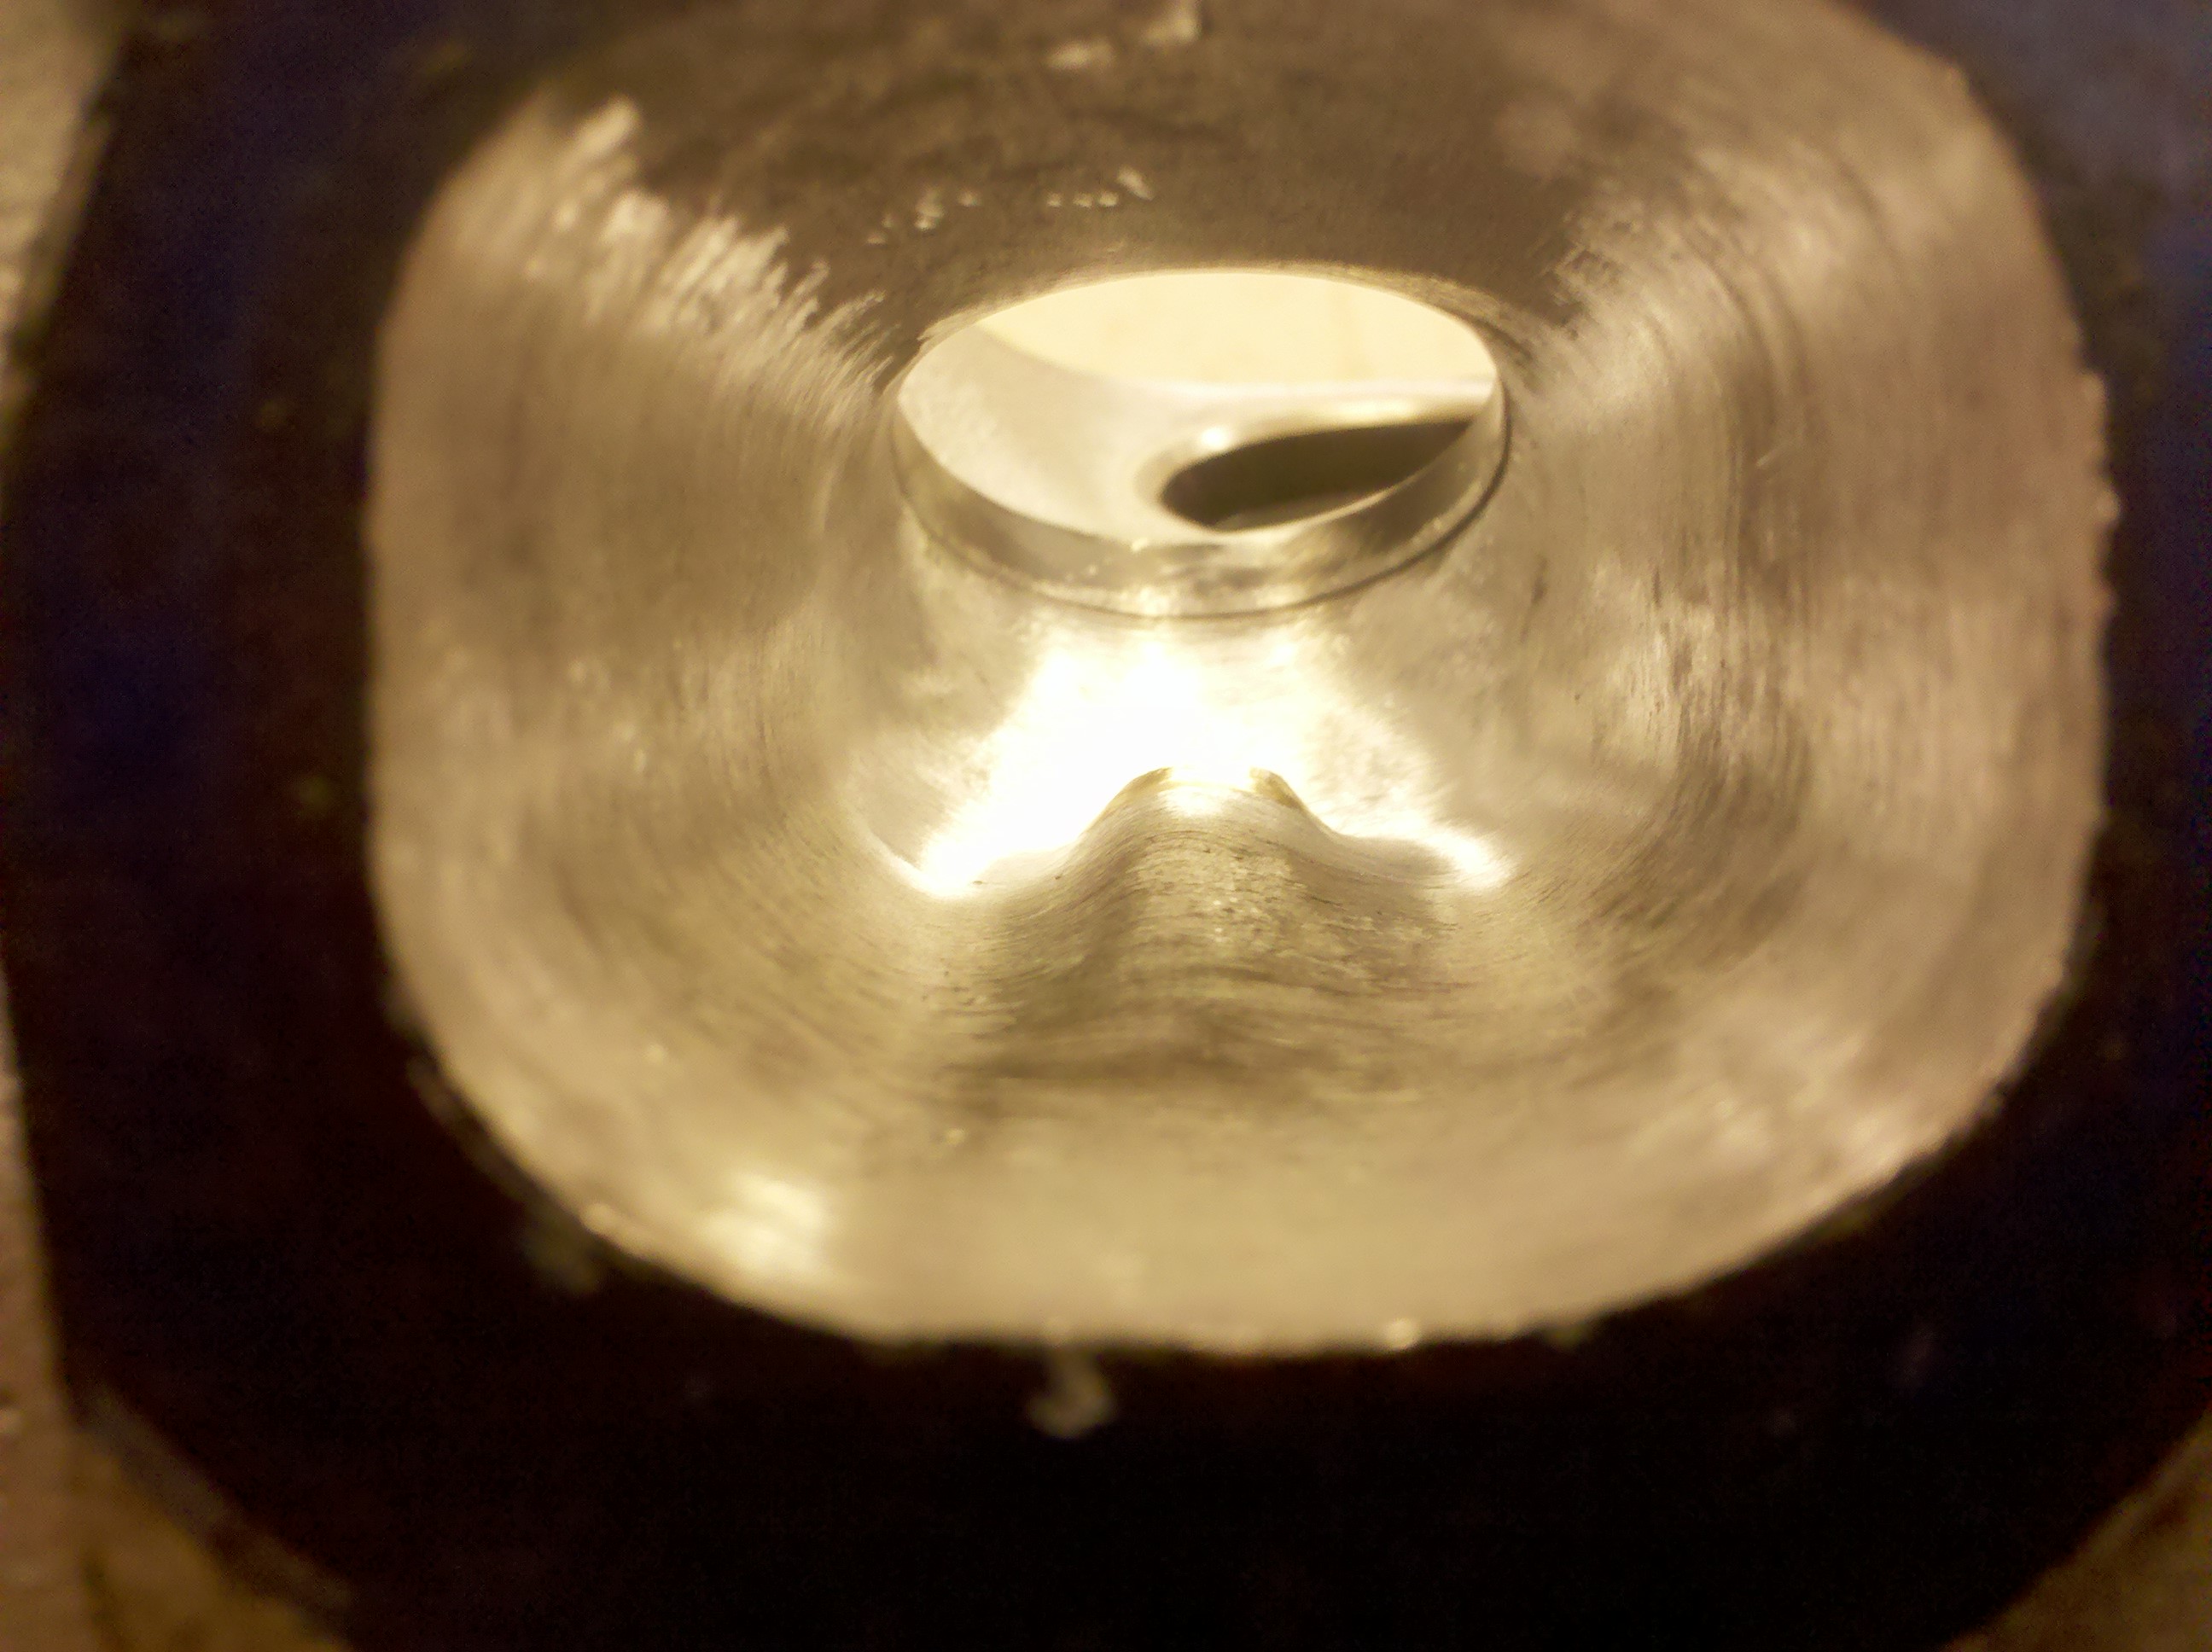
I did some work on 12/15/12 as well on the exhaust. I'm far from doing one stab at the exhaust and calling it a day. I woudn't suggest gasket matching on these engines. I wouldn't want any material removed from the floor, I want it all removed from the roof. To increase the radius of the bend after the valve. I blue dyed the face of the cylinder head, and scribed the gasket mark. I raised the roof of #4 exhaust port up to the scribed line, and haven't touched the sides or the floor of the cylinder. This is step 2 in my exhaust port work, this attempt has a little bit more material removed than the first but nothing crazy. The gains are getting there, nothing absurd yet, but I have a few more tricks up my sleeve, before I say i'm done with the exhaust side.
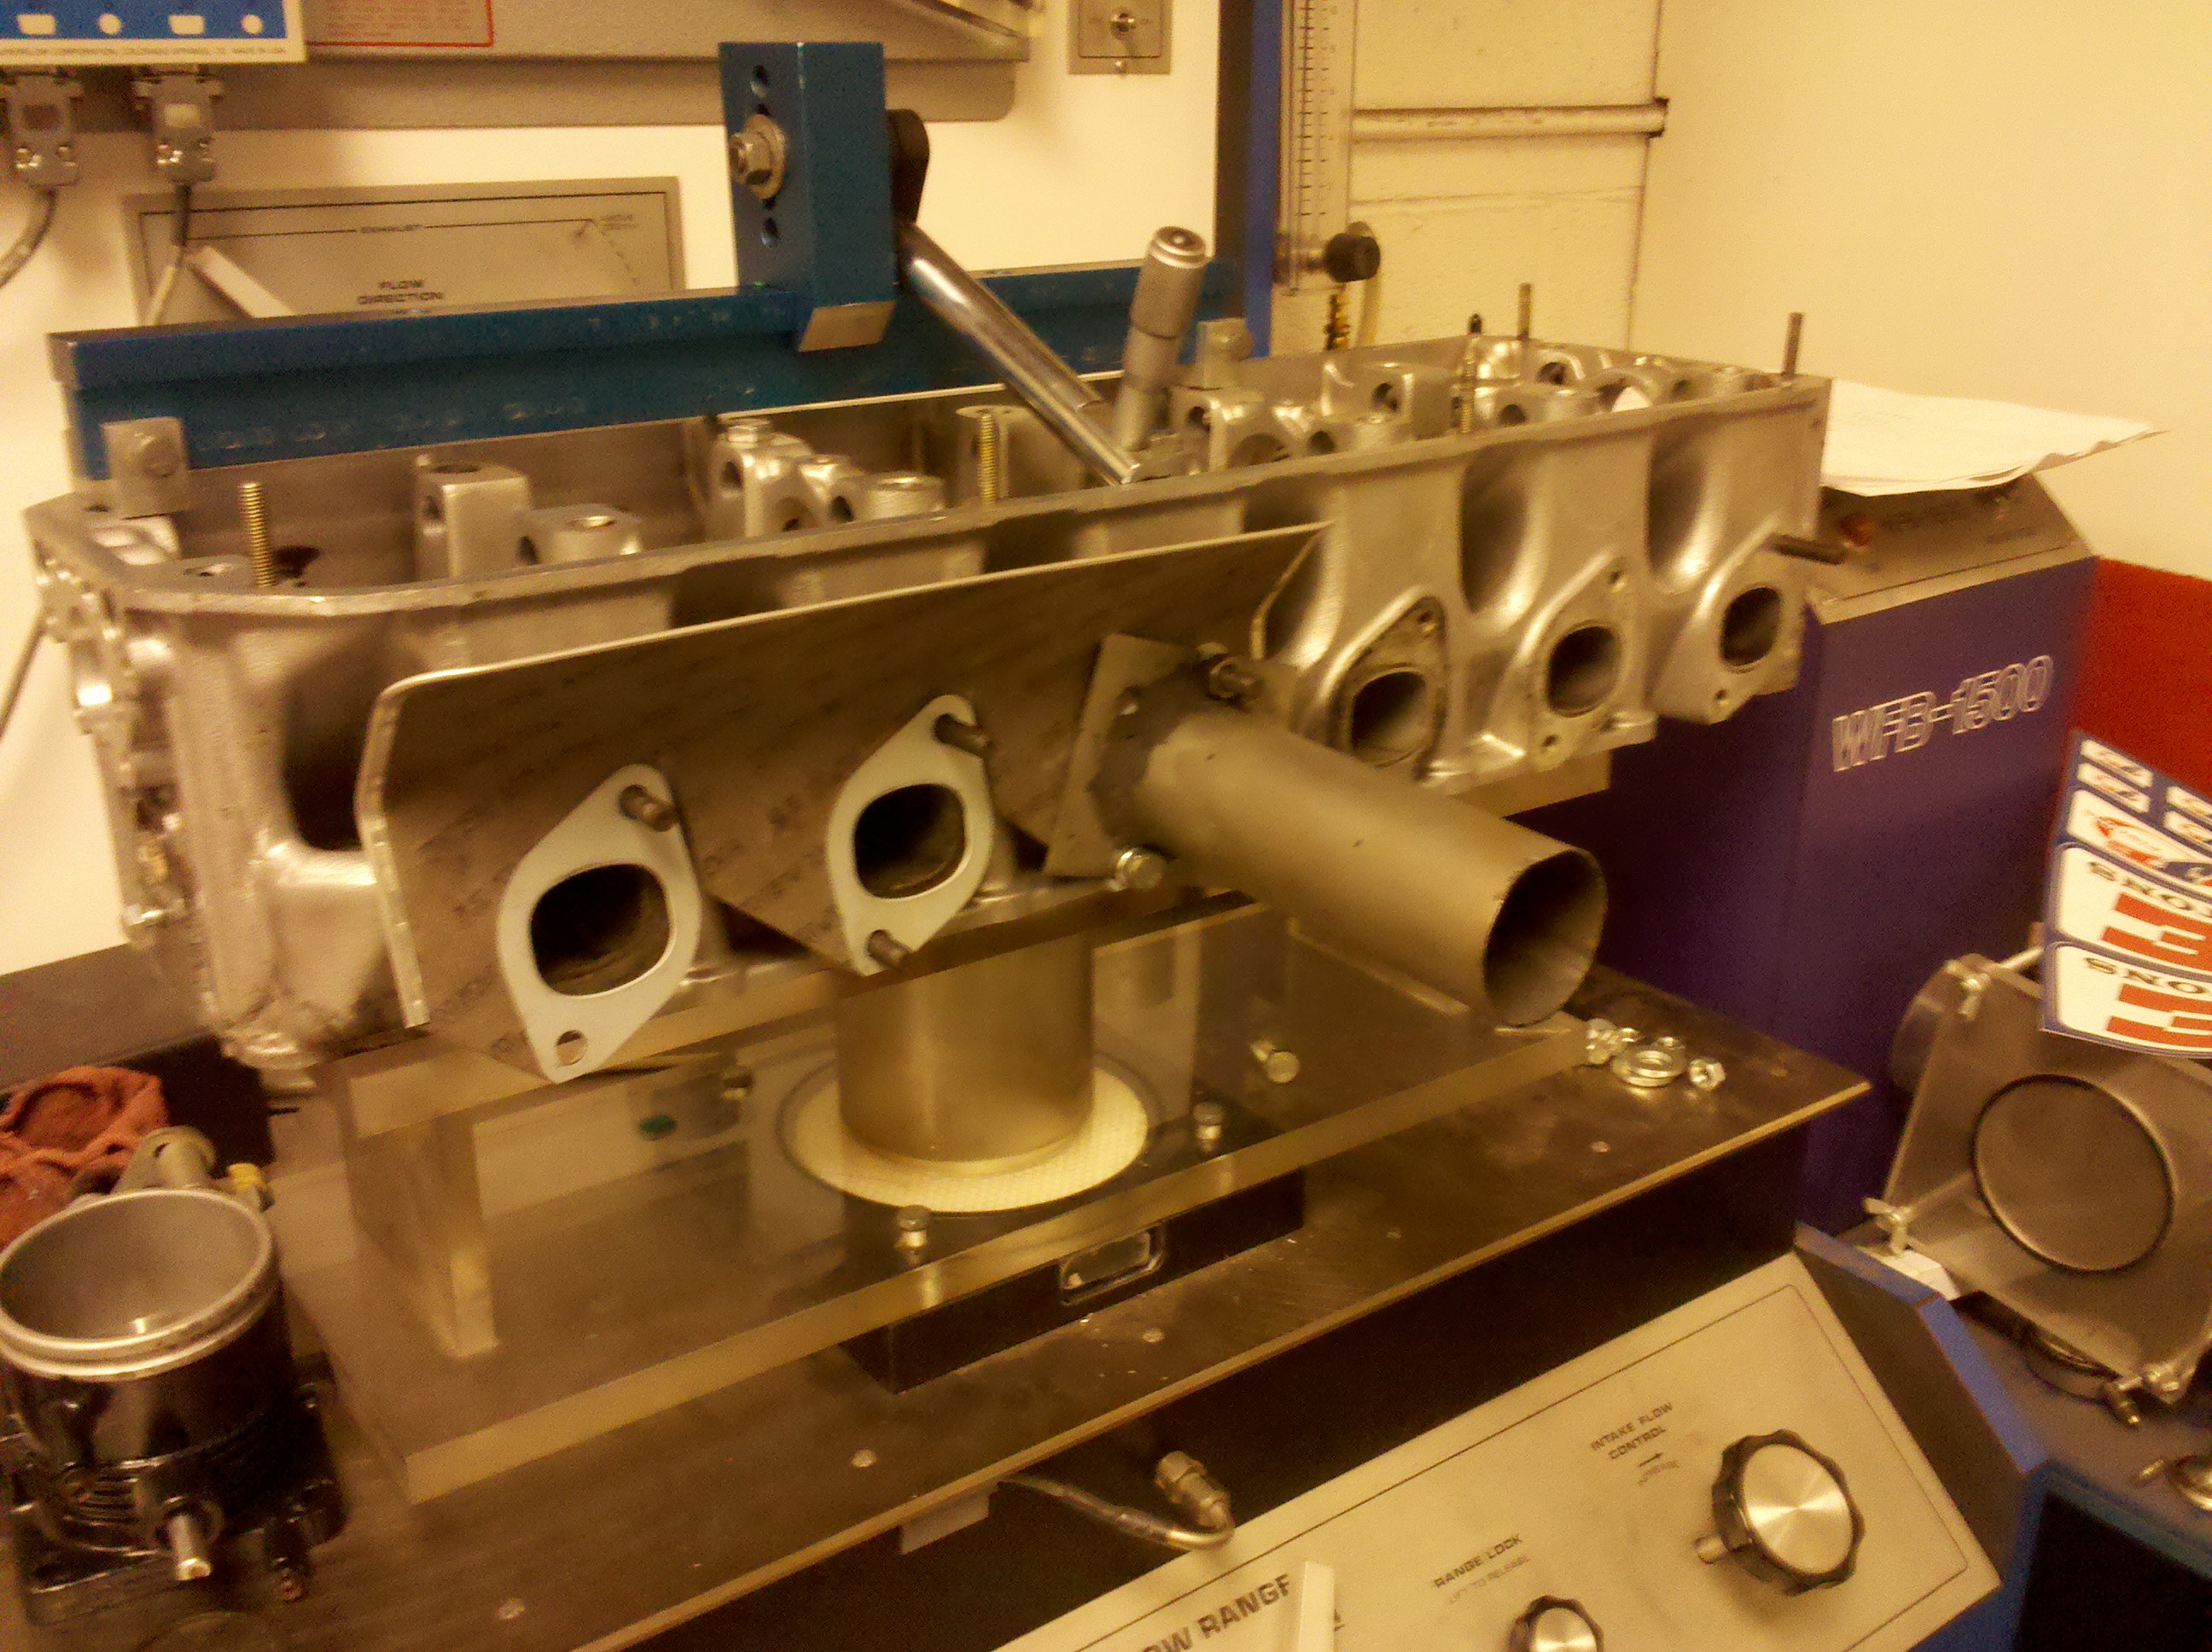
The next step will be making a pipe to extent from the head, to possibly give me a better reading. This way I can better compare the exhaust readings to the exhaust, for the fact that during testing you radius the intake port with clay. Well many experieneced bench tests suggest the use or a pipe around 6 inches in length to extend from the exhaust port for a more realistic reading.
After that I plan to do valve work, hopefully both a valve job on the head. Which you can't do much there isn't much material to play with. Than after the main cut on the valve, Instead of the sharp edge on the end of the intake and exhaust valves. I'm going to lathe them so the end is radiused around.

STOCK
.1" 45cfm
.2" 91cfm
.3" 127cfm
.4" 144cfm
<.5" 151cfm
Modified 12/15/12
.1" 45cfm
.2" 91cfm
.3" 129cfm
.4" 149cfm
<.5" 158cfm