Vlad: The Zinno '87 535is
-
Kyle in NO
- Posts: 17638
- Joined: Feb 12, 2006 12:00 PM
- Location: Nasty Orleans------> Batten-Rooehjch------>More Souther LA
Re: Vlad: The Zinno '87 535is
That's actually a two-liner isn't it?
Re: Vlad: The Zinno '87 535is
It fits on one line though.
-
Adam W in MN
- Posts: 5053
- Joined: Feb 12, 2006 12:00 PM
- Location: Don't waste my motherf***in' time!
- Contact:
Re: Vlad: The Zinno '87 535is
It flowed so nicely I missed the period in the middle.
Re: Vlad: The Zinno '87 535is
That's what she said.
Re: Vlad: The Zinno '87 535is
I like to eat small children
Re: Vlad: The Zinno '87 535is
to the top?cek wrote:I like to eat small children
Re: Vlad: The Zinno '87 535is
Yea, I figured this thread really needed a bump.leadphut wrote:to the top?cek wrote:I like to eat small children
Re: Vlad: The Zinno '87 535is
ldsbeaker wrote:meep.
Beaker: “Mee mee moo meep meep mind.”
Dr. Bunsen Honeydew: “Yes, I think you have a beautiful mind, too.”

Re: Vlad: The Zinno '87 535is
A leetle progress tonight. Got most stuff disassembled.
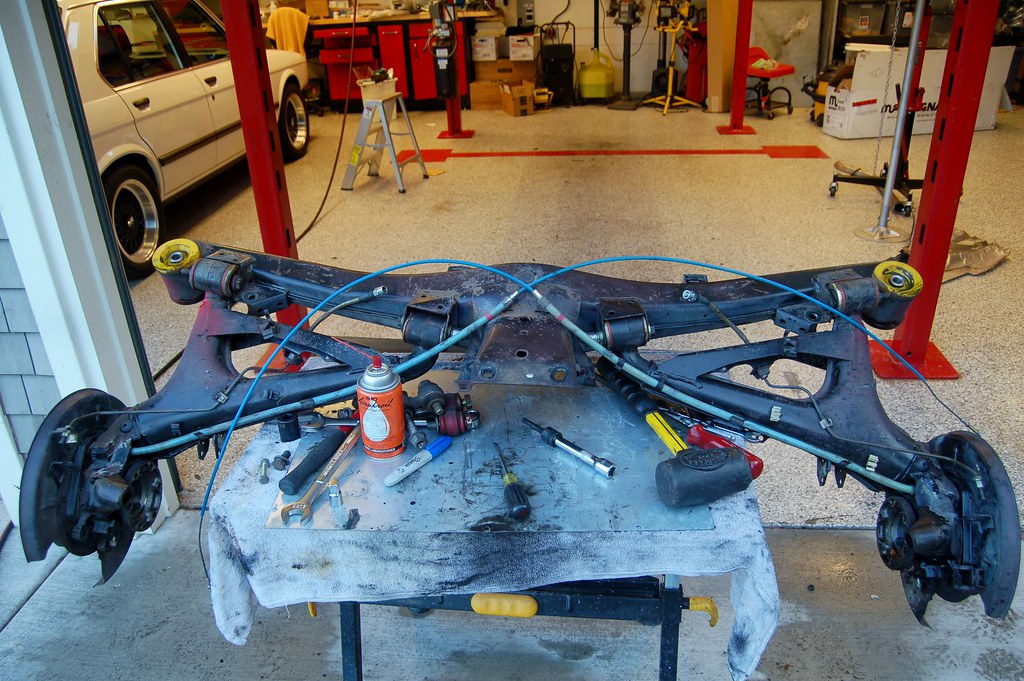
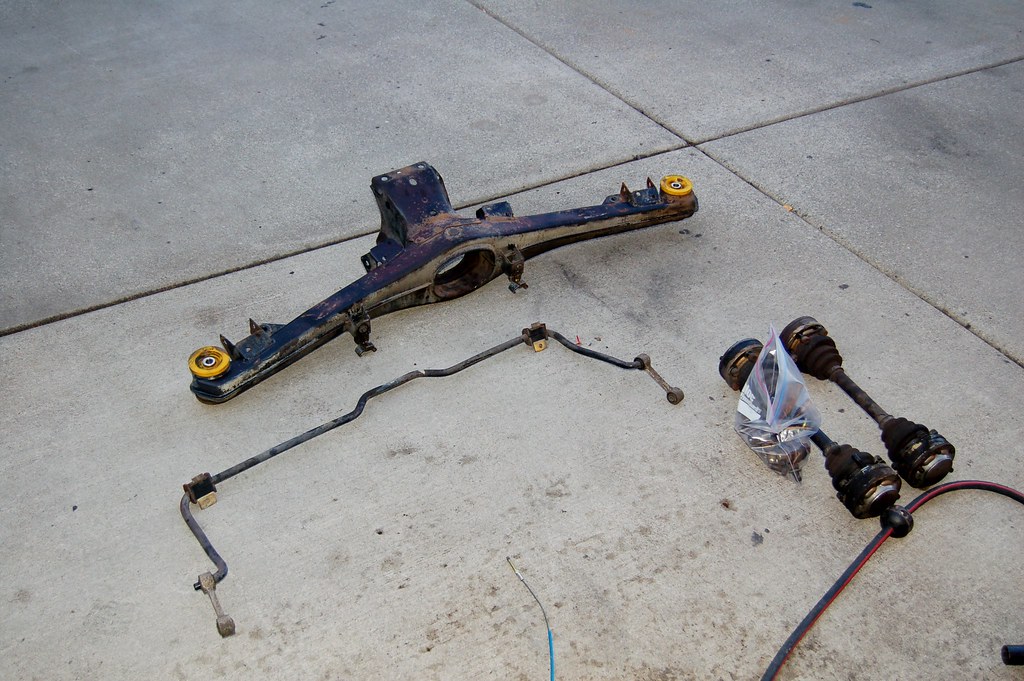
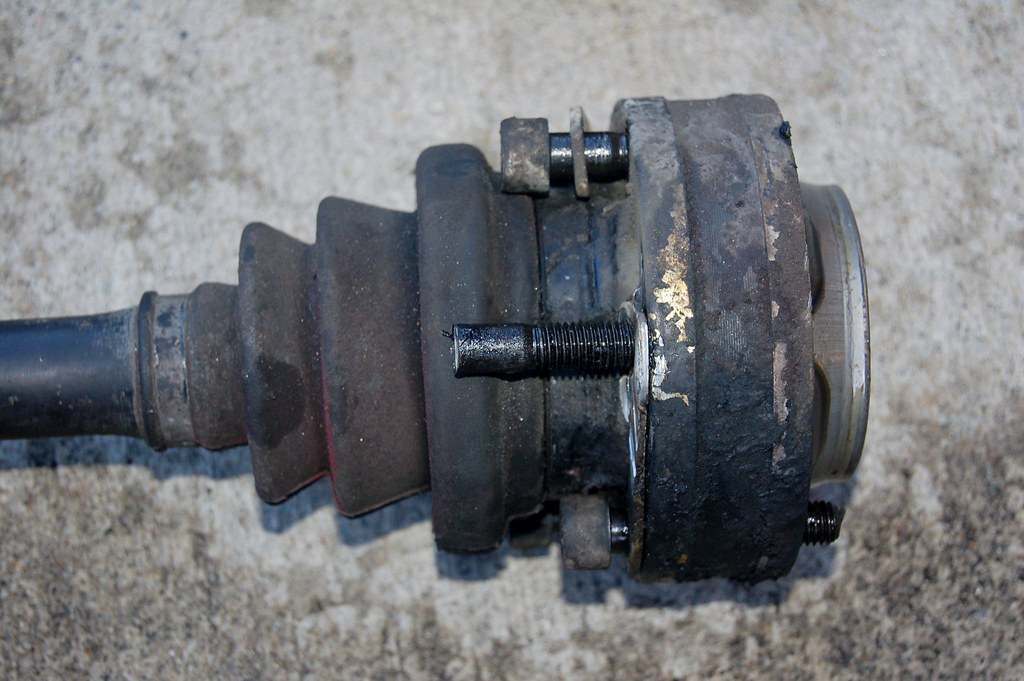
Of course one of the hex nuts on an axle was stripped so I had to cut it off.
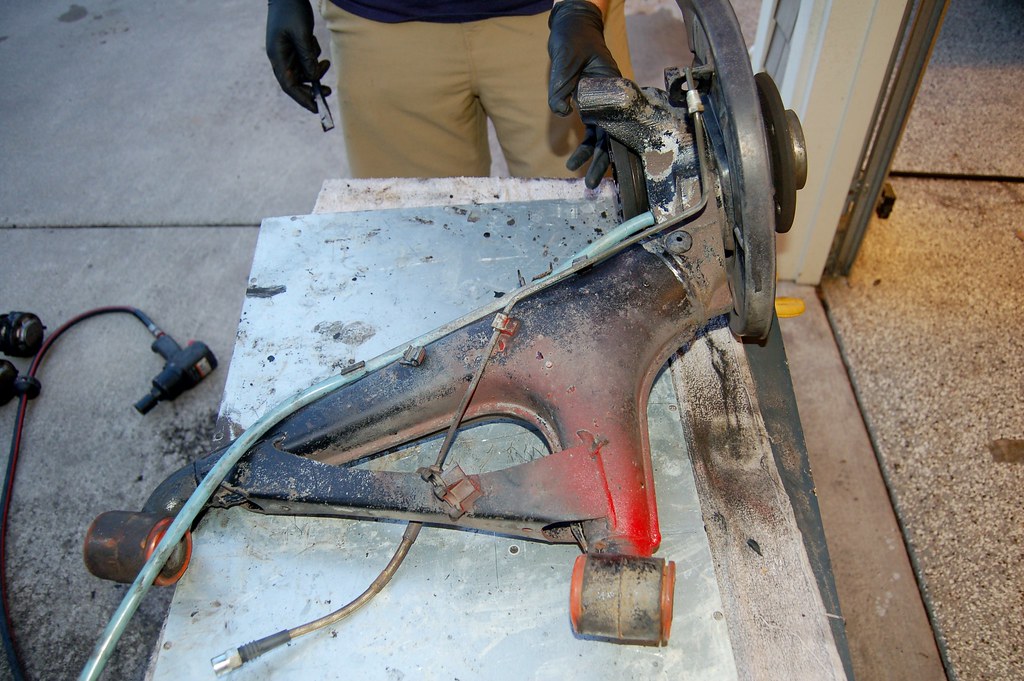
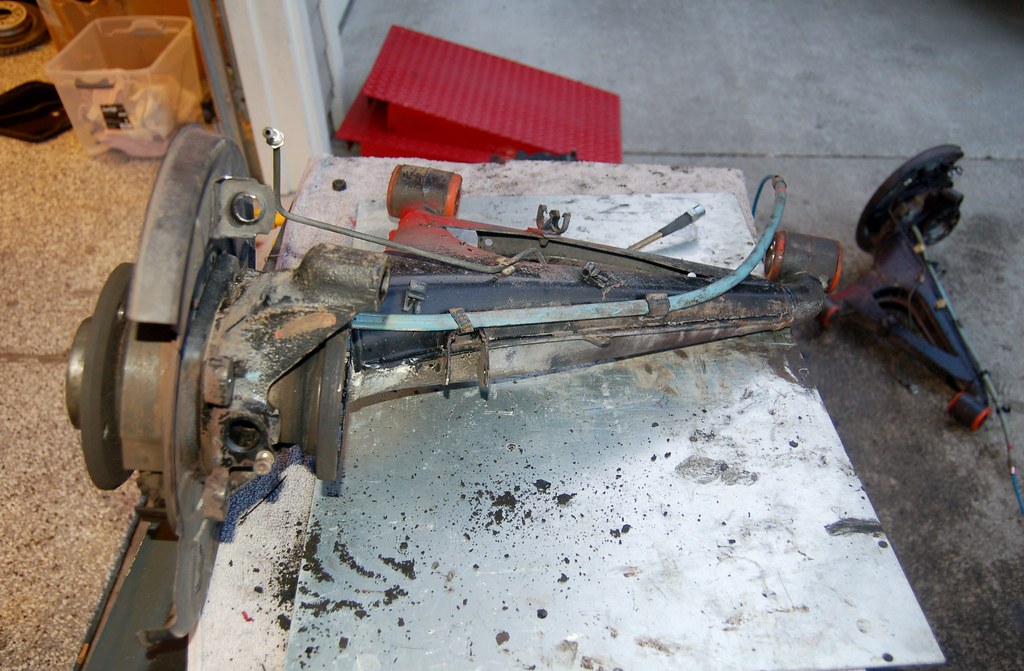
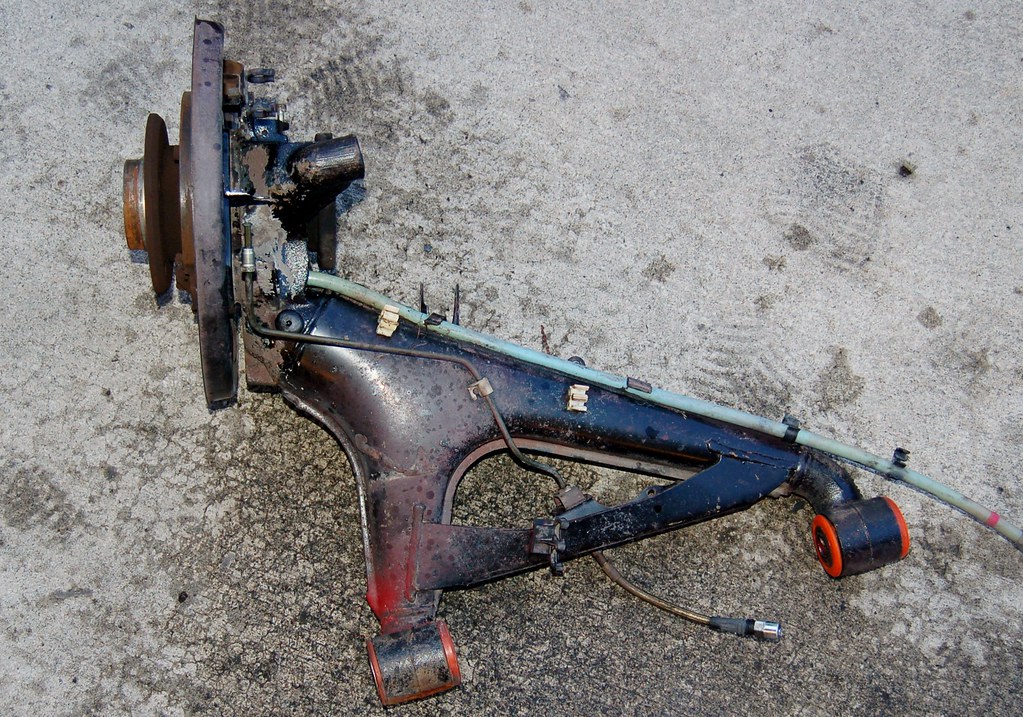
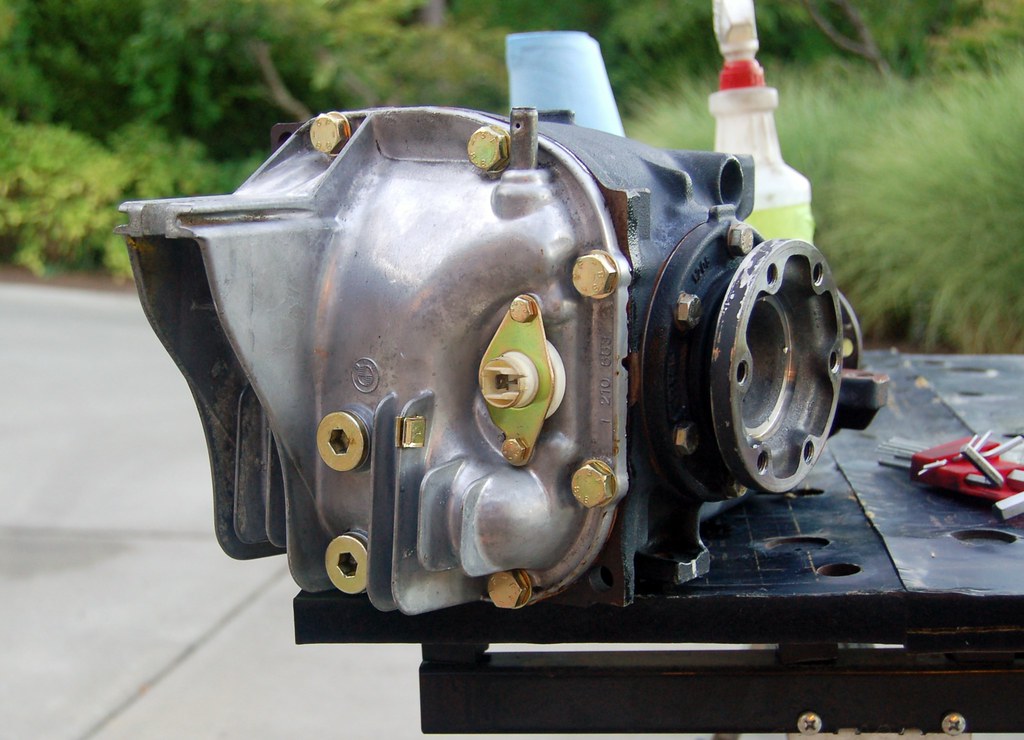
I'm going to cheat when I paint the diff: I'm going to leave the old cover on, paint, then remove it and put the 'new' shiny one on.
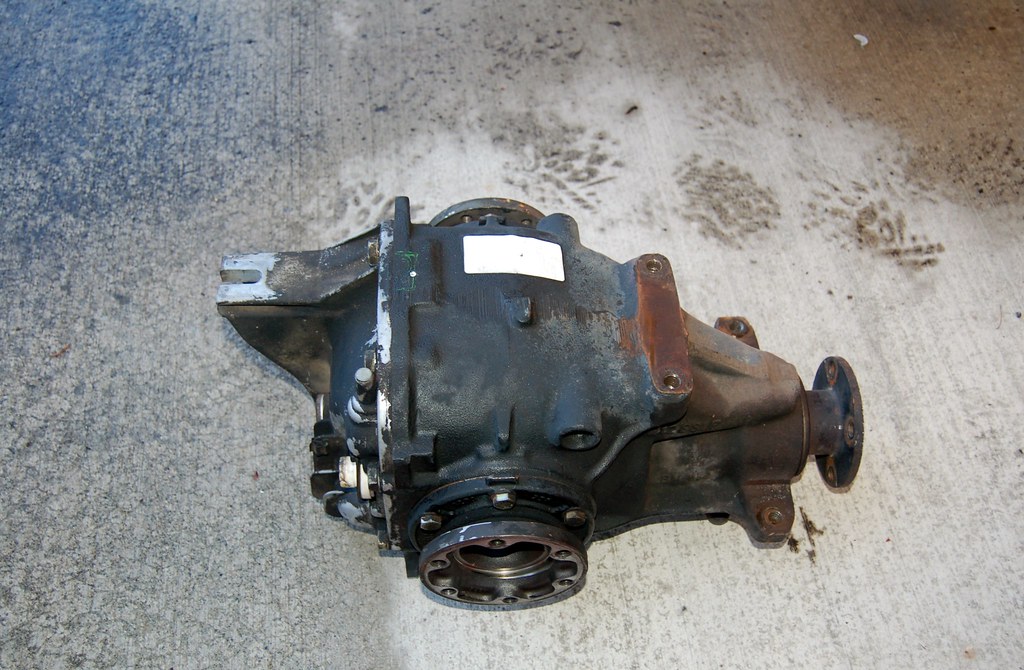
It was my goal to do this job without having to order any parts other than a diff gasket. The sway bar links were not replaced when I first refreshed the suspension so I decided to replace them. Probably not needed, but the rubber bushings in them are dry/cracked. I suppose I could replace the sway bar mount bushings too, but they are still plyable and since I have standard size sways, I figure not essential. Plus Pelican was out of stock of the OE units (I felt like giving Pelican some biz; normally I use Blunt, but figured I'd mix it up a bit).
If things go well I can get everything cleaned up and painted by Friday and reinstalled on Saturday.


Of course one of the hex nuts on an axle was stripped so I had to cut it off.


I'm going to cheat when I paint the diff: I'm going to leave the old cover on, paint, then remove it and put the 'new' shiny one on.

It was my goal to do this job without having to order any parts other than a diff gasket. The sway bar links were not replaced when I first refreshed the suspension so I decided to replace them. Probably not needed, but the rubber bushings in them are dry/cracked. I suppose I could replace the sway bar mount bushings too, but they are still plyable and since I have standard size sways, I figure not essential. Plus Pelican was out of stock of the OE units (I felt like giving Pelican some biz; normally I use Blunt, but figured I'd mix it up a bit).
If things go well I can get everything cleaned up and painted by Friday and reinstalled on Saturday.
Re: Vlad: The Zinno '87 535is
I stink I just discovered a problem wit me plan.
My original suspension upgrade included KMac trailing arm bushings. I had forgotten they were eccentric.
I noticed this was I was cleaning the TAs tonight.
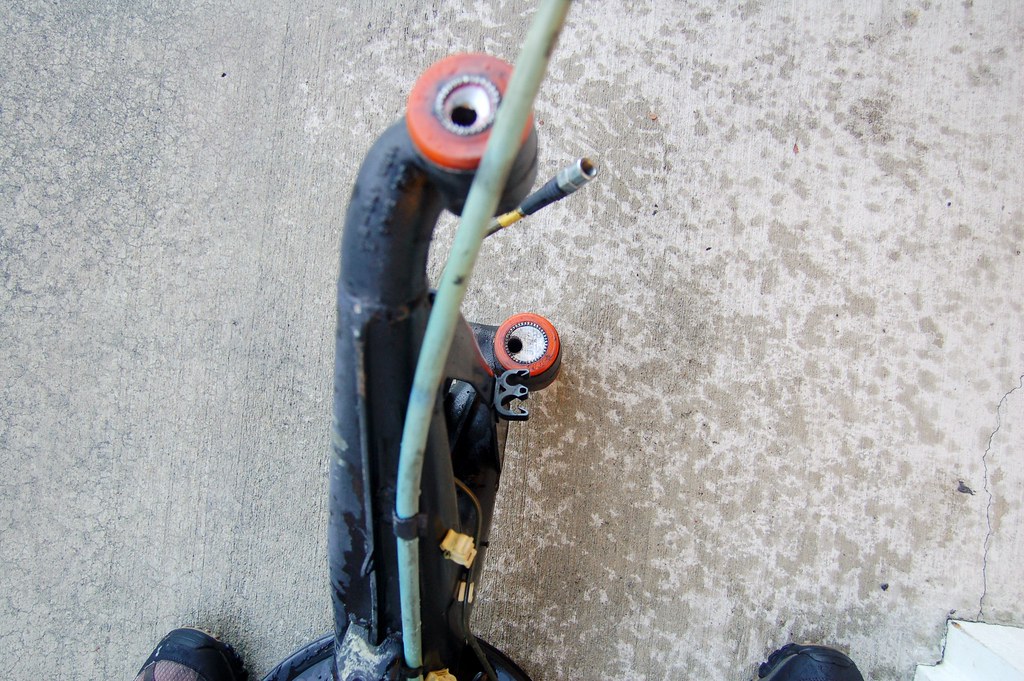
Since I'm moving to adjustable camber/toe via the IE adjustable subframe mounts, I think I need to go with non-eccentric bushings. Right?
I mean, if I don't, it seems like there will be TOO much adjust-ability in the TA attaching to the subframe.
My original suspension upgrade included KMac trailing arm bushings. I had forgotten they were eccentric.
I noticed this was I was cleaning the TAs tonight.

Since I'm moving to adjustable camber/toe via the IE adjustable subframe mounts, I think I need to go with non-eccentric bushings. Right?
I mean, if I don't, it seems like there will be TOO much adjust-ability in the TA attaching to the subframe.
Re: Vlad: The Zinno '87 535is
And no-one local has either the E28 bushes or the E34 M5 spherical bushes in stock.
Since I have to order them, and wait until at least next weekend to install, should i go to the trouble of getting the M5 bushes and milling them (I don't have lathe, so there's that)? Or should I take the path of least resistance?
Since I have to order them, and wait until at least next weekend to install, should i go to the trouble of getting the M5 bushes and milling them (I don't have lathe, so there's that)? Or should I take the path of least resistance?
Re: Vlad: The Zinno '87 535is
Diff cleaned up, new rear cover, bolts and gasket installed. Fresh oil too, although it didn't need it because I did it about 1000 miles ago.
The big job today, however, was to go from this:
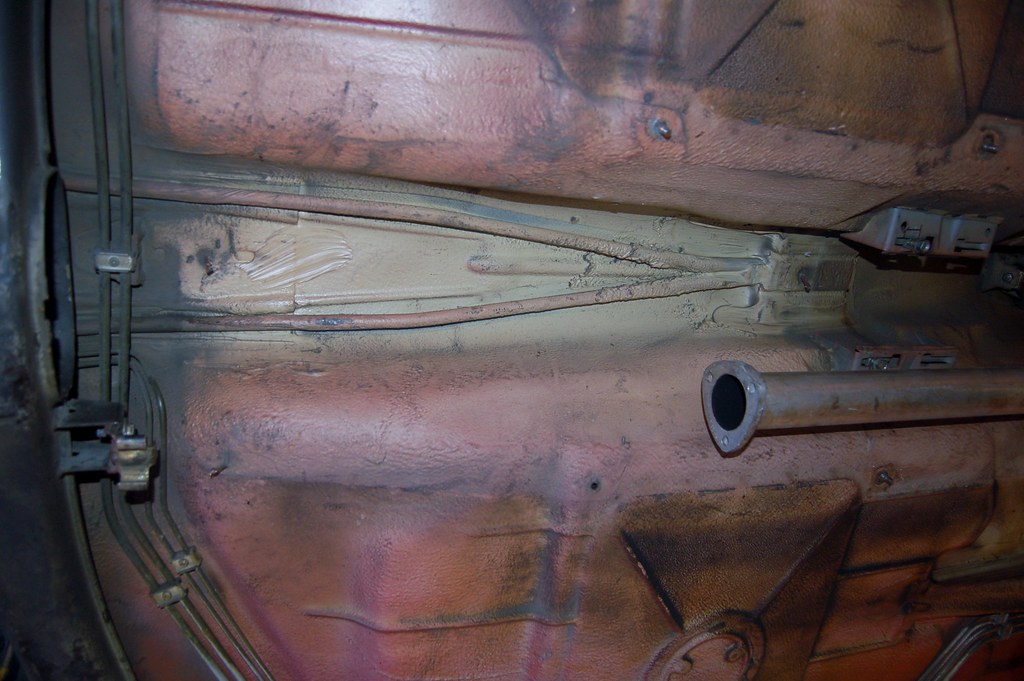
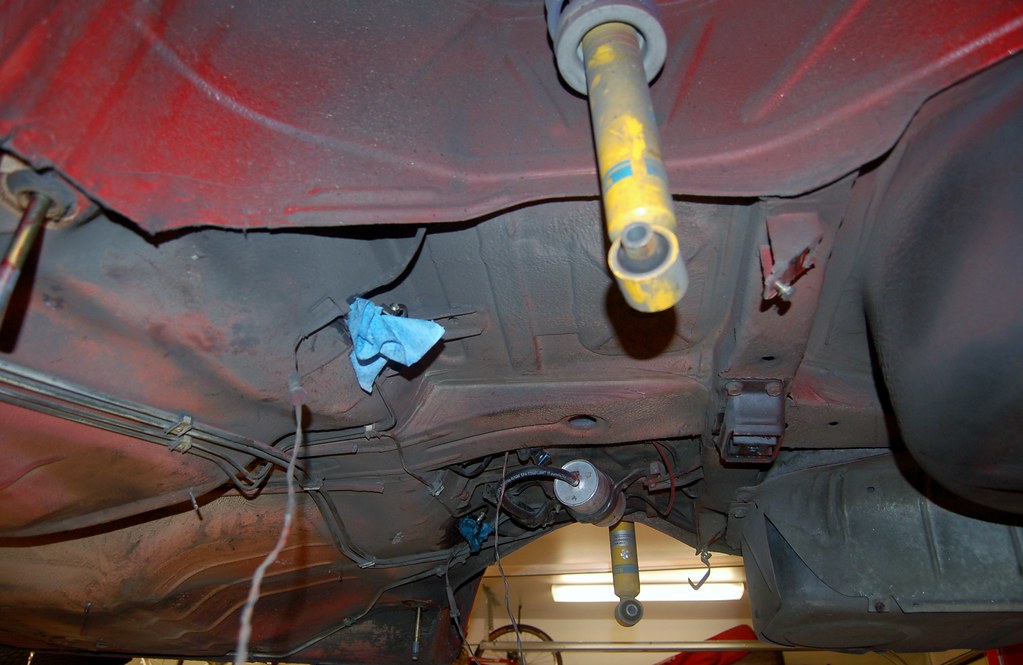
to this:
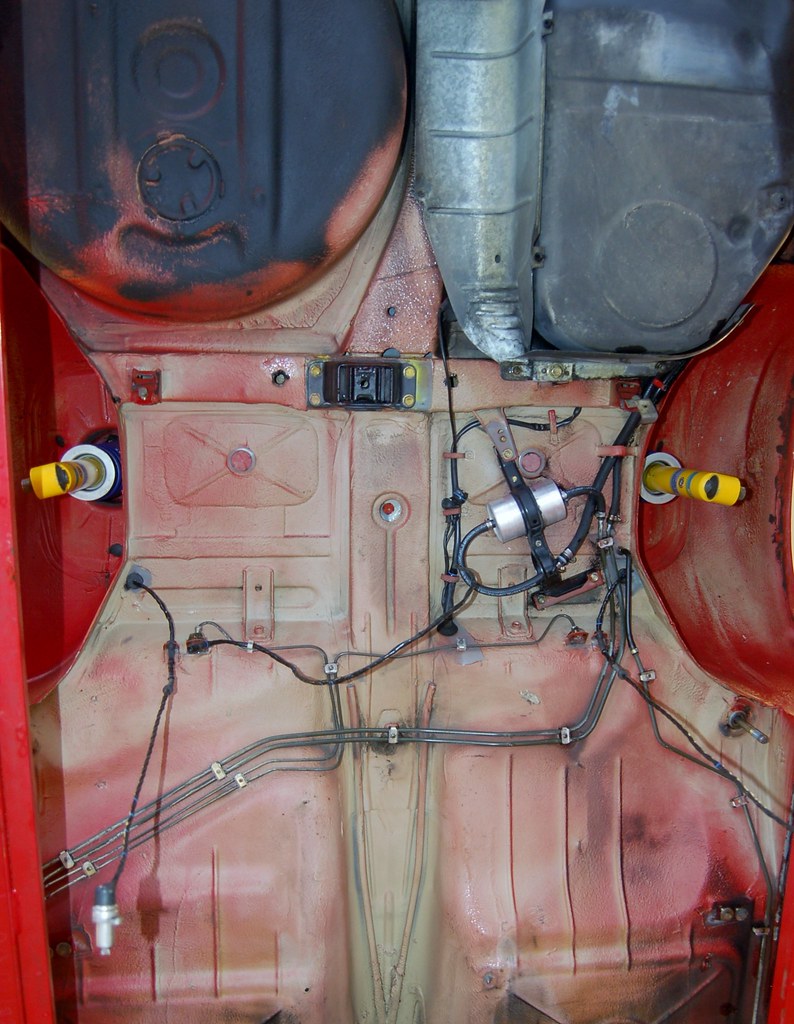
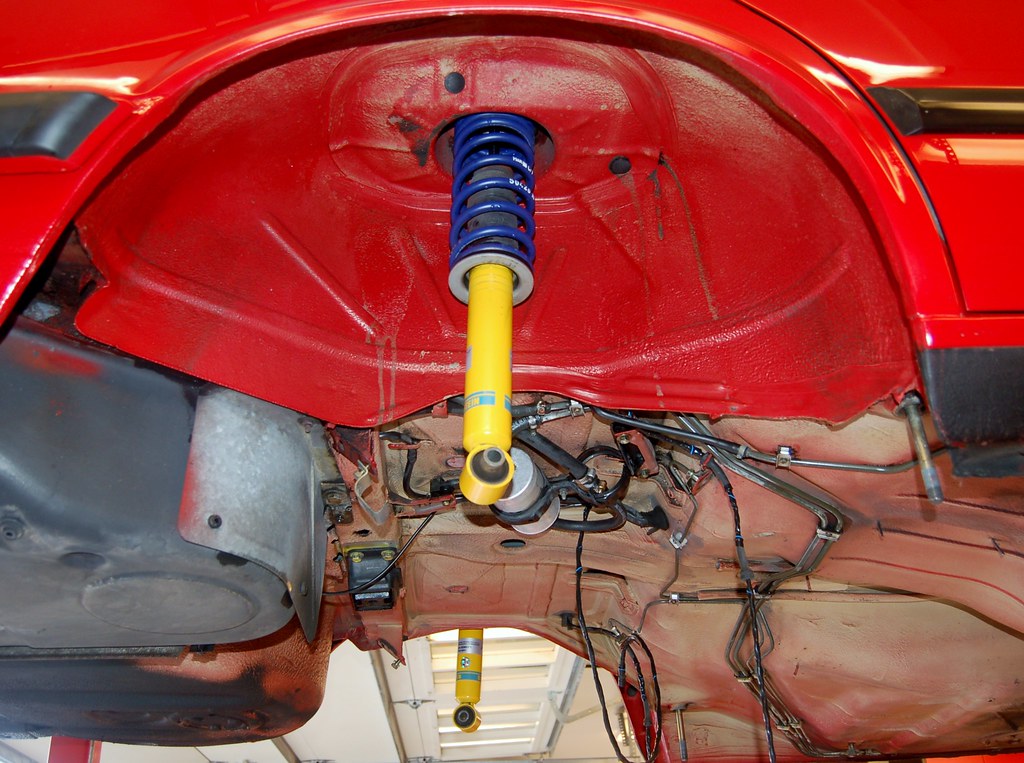
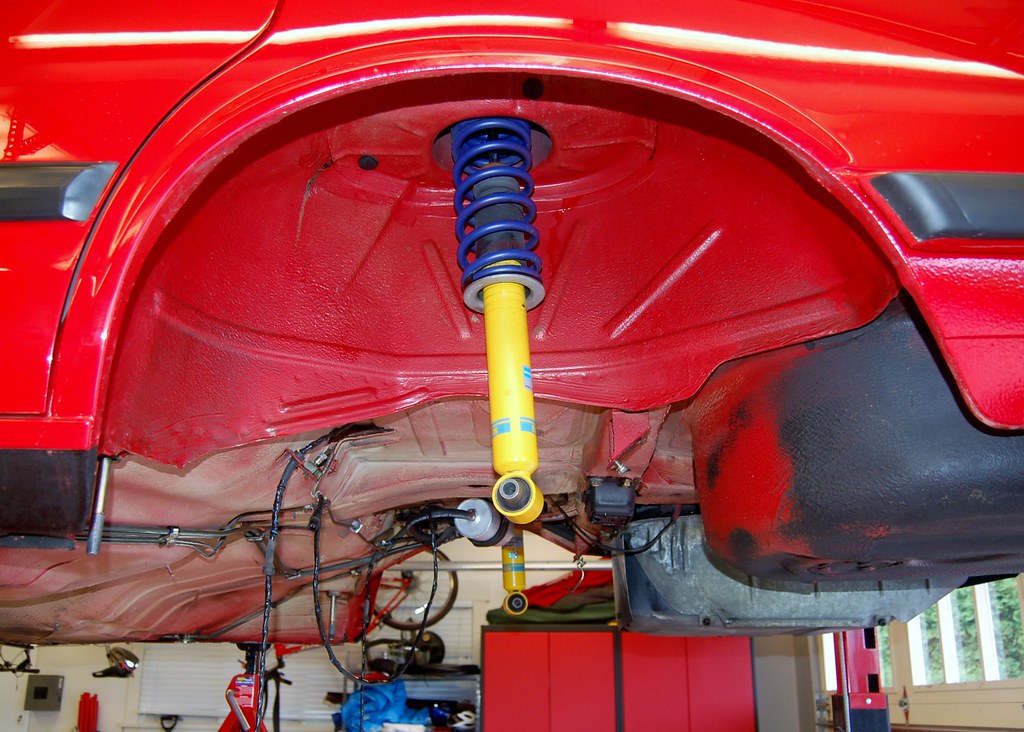
I'm going to get the subframe and diff in and then I'm stalled until I get some new trailing arm bushings.

The big job today, however, was to go from this:


to this:


I'm going to get the subframe and diff in and then I'm stalled until I get some new trailing arm bushings.
Re: Vlad: The Zinno '87 535is
Amazing, how clean is this car now, great work!
If I will some day make the ultimate subframe, the E32 750i bushings will be my choice.
If I will some day make the ultimate subframe, the E32 750i bushings will be my choice.
Re: Vlad: The Zinno '87 535is
What a butchery: this is what the insides of my TAs look like. I discovered this after removing the KMac urethane bushings today.
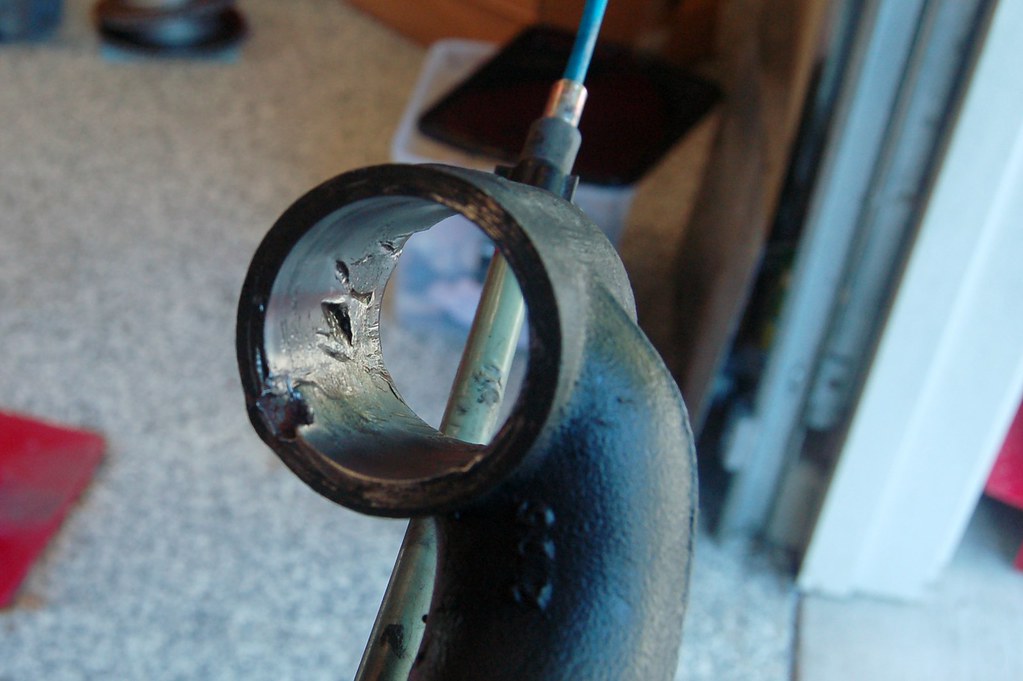
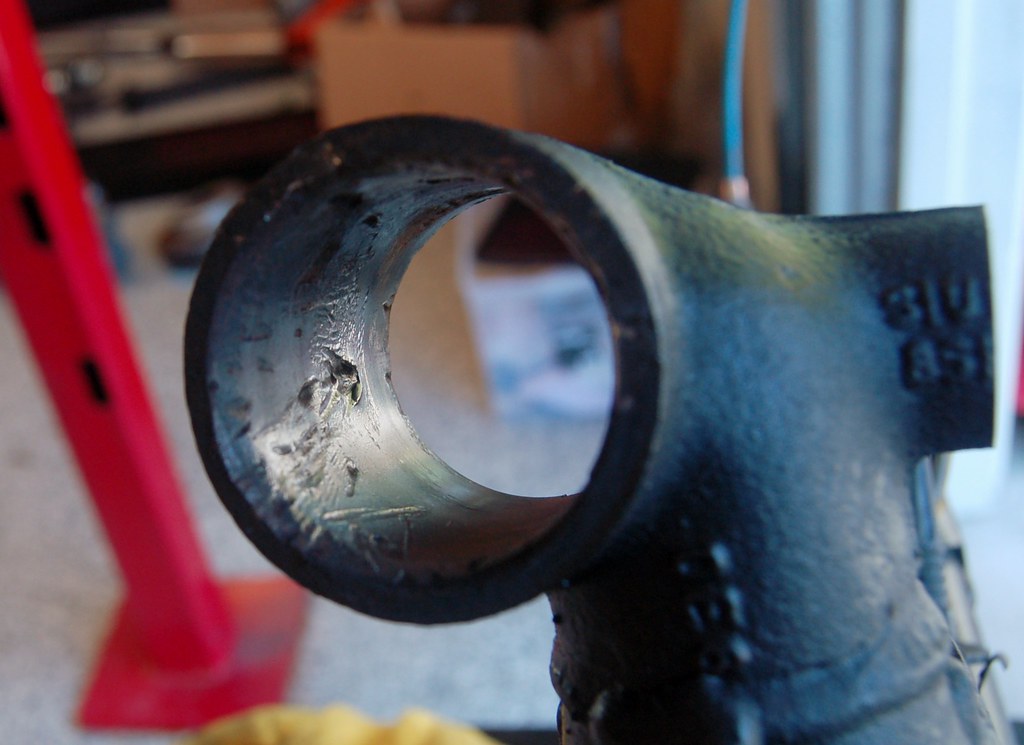
When I get my new bushings (I'm going with stock E28s) it will be interesting to see how hard they are to press in due to all this.
In other news, the subframe is ready to go in; yesterday did a test fit and discovered that I had to make two mods to it based on the IE toe/camber kits.
1) The toe kit interferes with the dog-bone bolt. A little trimming fixed:
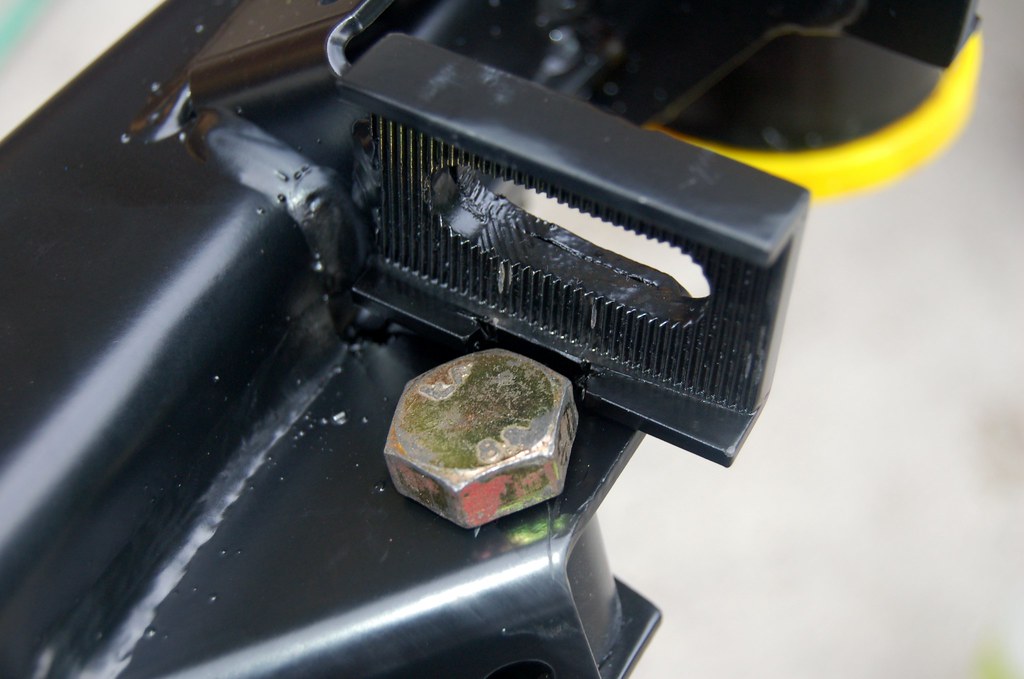
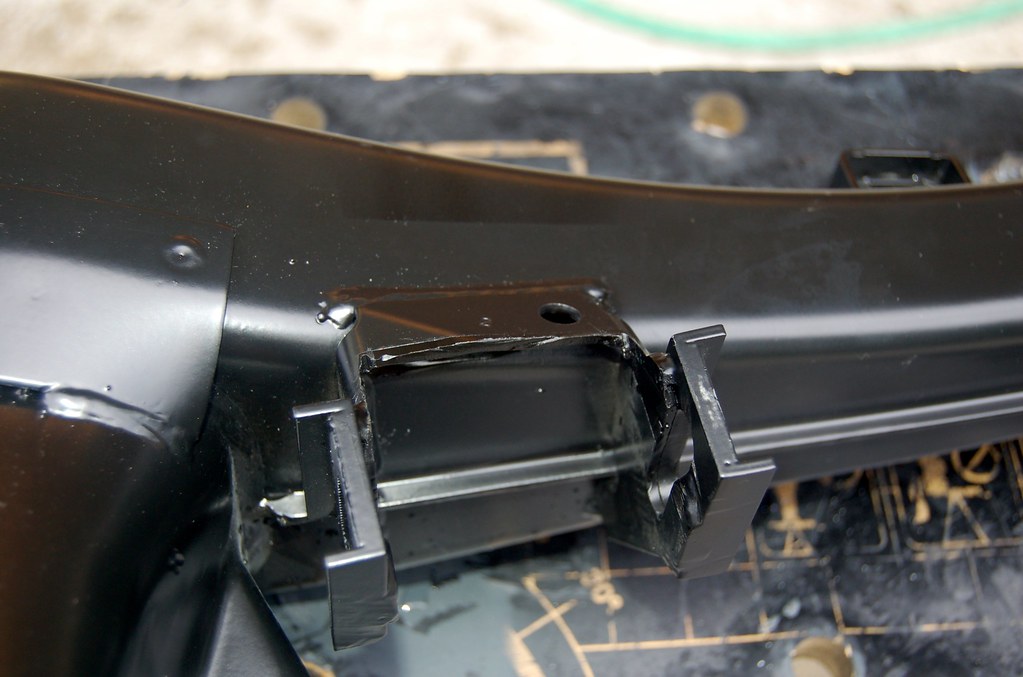
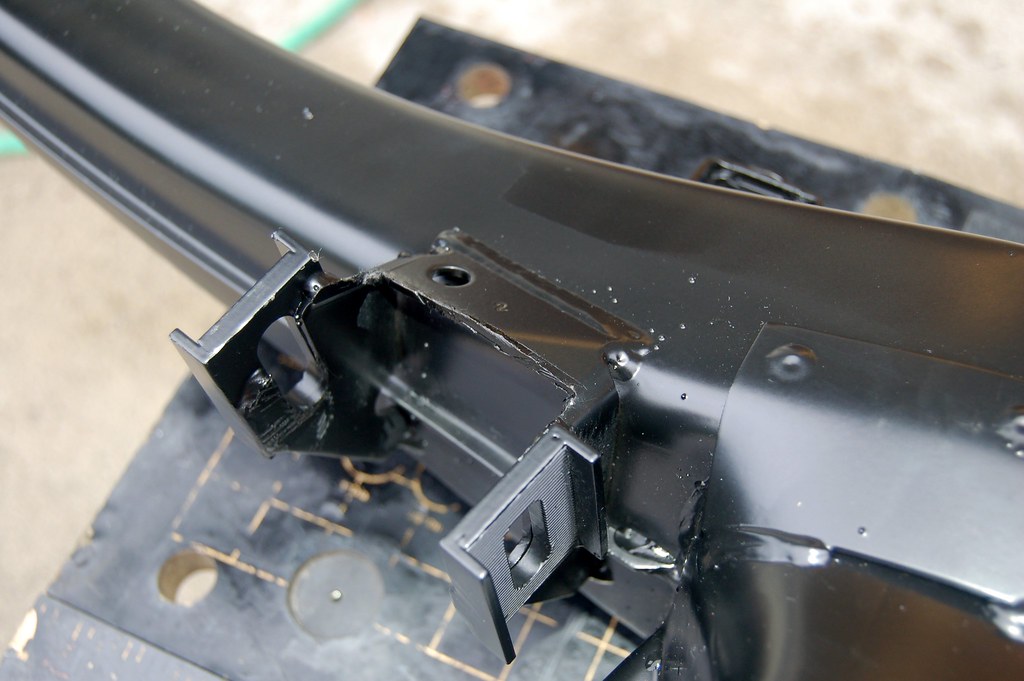
2) The guy I had put the kit on didn't realize that the top of the bracket had to be cut back to enable the TA to be positioned at it's highest camber setting and still rotate freely. See: http://www.mwrench.com/Whitepapers/E24% ... bframe.pdf.
Before:
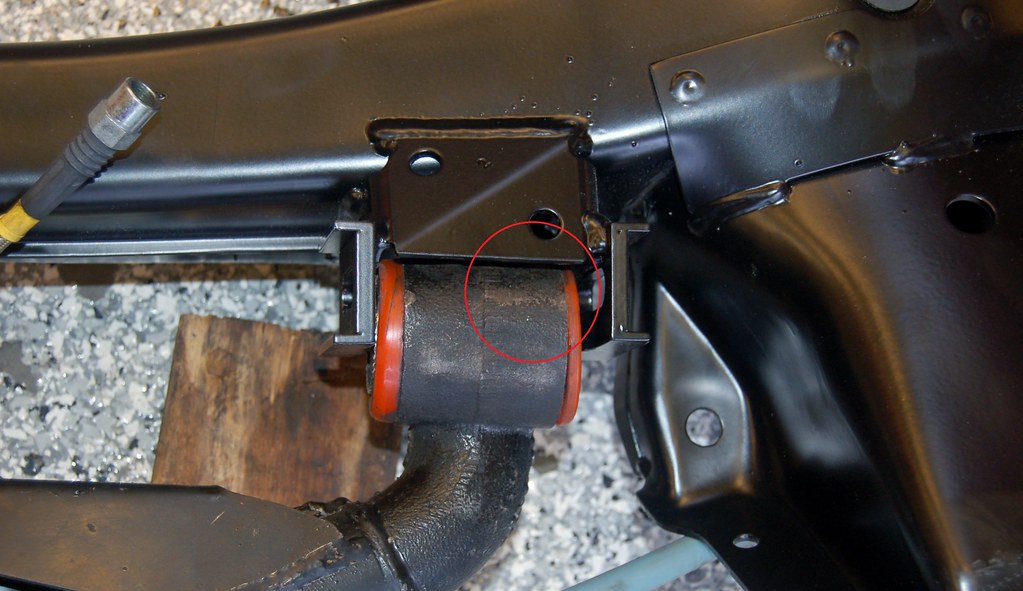
After:


When I get my new bushings (I'm going with stock E28s) it will be interesting to see how hard they are to press in due to all this.
In other news, the subframe is ready to go in; yesterday did a test fit and discovered that I had to make two mods to it based on the IE toe/camber kits.
1) The toe kit interferes with the dog-bone bolt. A little trimming fixed:

2) The guy I had put the kit on didn't realize that the top of the bracket had to be cut back to enable the TA to be positioned at it's highest camber setting and still rotate freely. See: http://www.mwrench.com/Whitepapers/E24% ... bframe.pdf.
Before:

After:


-
Jelmer538i
- Posts: 1222
- Joined: Feb 12, 2006 12:00 PM
- Location: Netherlands
- Contact:
Re: Vlad: The Zinno '87 535is
I doesn't look that strong anymore after that mod!
Re: Vlad: The Zinno '87 535is
According to MWrench it is fine.Jelmer538i wrote:I doesn't look that strong anymore after that mod!
-
Jelmer538i
- Posts: 1222
- Joined: Feb 12, 2006 12:00 PM
- Location: Netherlands
- Contact:
Re: Vlad: The Zinno '87 535is
I would weld in a piece of flat steel to be sure and to give it back some strenght. Otherwise it can move sideways.


Re: Vlad: The Zinno '87 535is
I would have beefed up the whole thing, you are asking for trouble down the road with that... May hold forever but doesn't look very sturdy to me. No reason to halfass it at this point.
My too senses.
My too senses.
Re: Vlad: The Zinno '87 535is
As is typical of me, I've been fretting about this ever since I read the original MrWrench PDF and made my cuts, but hoping my instincts were wrong. Jelmer and Brent's posts just re-enforced my angst. I called Byron (who made the original mods to the subframe for me) and discussed this morning. He's going to take care of it, because he realizes this was his miss. Plus I need him to press the new bushings in since I don't have a press. New bushings are inbound from Blunt and as soon as I have them I'll drop the whole thing off at TruLine. Should get done before the weekend...bkbimmer wrote:I would have beefed up the whole thing, you are asking for trouble down the road with that... May hold forever but doesn't look very sturdy to me. No reason to halfass it at this point.
My too senses.
Re: Vlad: The Zinno '87 535is
Sorry for the bad news sir, I'm a firm believer in the better safe than sorry practice. I put no faith in a guy on a puffy cloud looking out for me.
Good luck.
Good luck.
Re: Vlad: The Zinno '87 535is
I'm making lemonade out of it. Now that I have a plan that appears to have the car on the road by the end of this weekend "done right" I really can't complain.bkbimmer wrote:Sorry for the bad news sir, I'm a firm believer in the better safe than sorry practice. I put no faith in a guy on a puffy cloud looking out for me.
Good luck.
Re: Vlad: The Zinno '87 535is
While I respect your tenacity for perfection, I have to argue your faith in this situation. I "along with many non-devout followers" am adamant that the stock trimmed ears is capable of the forces indued.bkbimmer wrote:Sorry for the bad news sir, I'm a firm believer in the better safe than sorry practice. I put no faith in a guy on a puffy cloud looking out for me.
Good luck.
-
athayer187
- Posts: 1623
- Joined: May 10, 2006 11:27 AM
- Location: Cheshire, CT
Re: Vlad: The Zinno '87 535is
I'm of the "I'd want it to be right so I'd never have to worry about it again" camp. That's what sets this car apart - CEK has a great appreciation for the details.
Re: Vlad: The Zinno '87 535is
Exactly.
-
Jelmer538i
- Posts: 1222
- Joined: Feb 12, 2006 12:00 PM
- Location: Netherlands
- Contact:
Re: Vlad: The Zinno '87 535is
You don't want the ears to bend causing a sloppy ride.
Re: Vlad: The Zinno '87 535is
Sadly the bushings didn't arrive in time for me to get them into the shop to be pressed in. So another week's gonna go by with Vlad on the lift. 
I did, however, get the subframe back and Byron did a great job. We talked about building a little roof like Jelmer suggested, but I like his solution just fine.
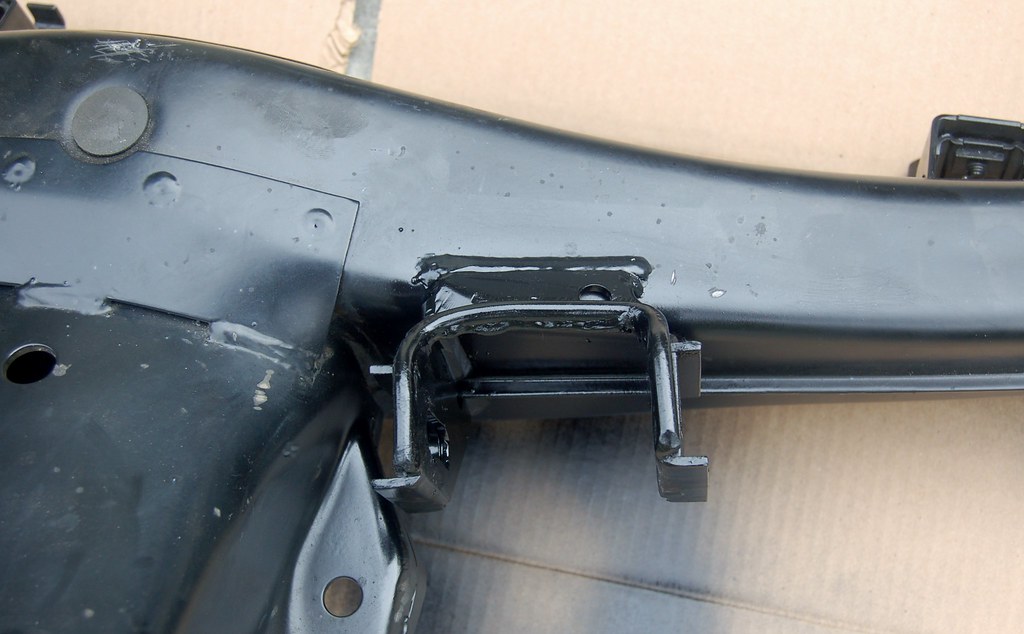
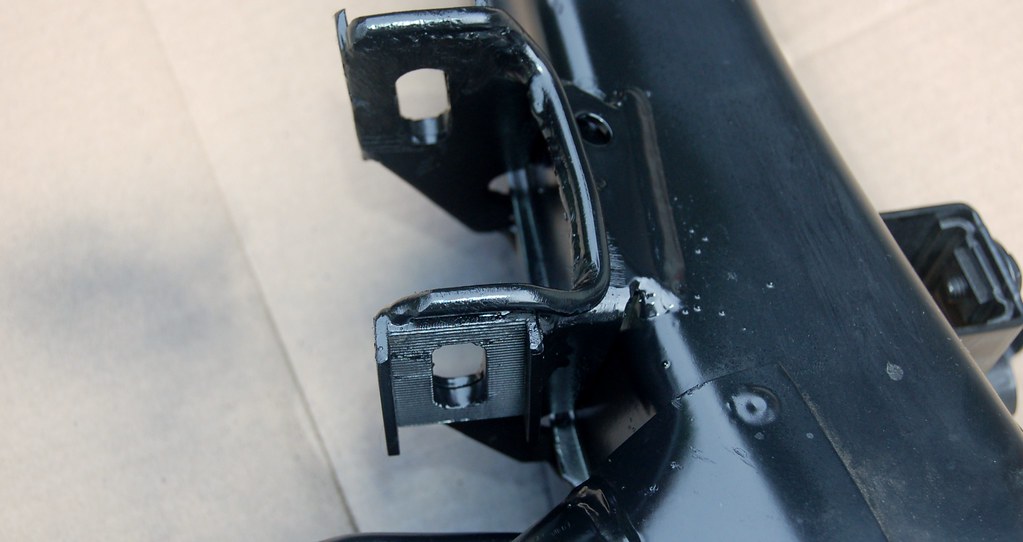
FWIW, the TA bushings are asymmetric, and the longer part goes to the inside. I didn't know this. Now I do.
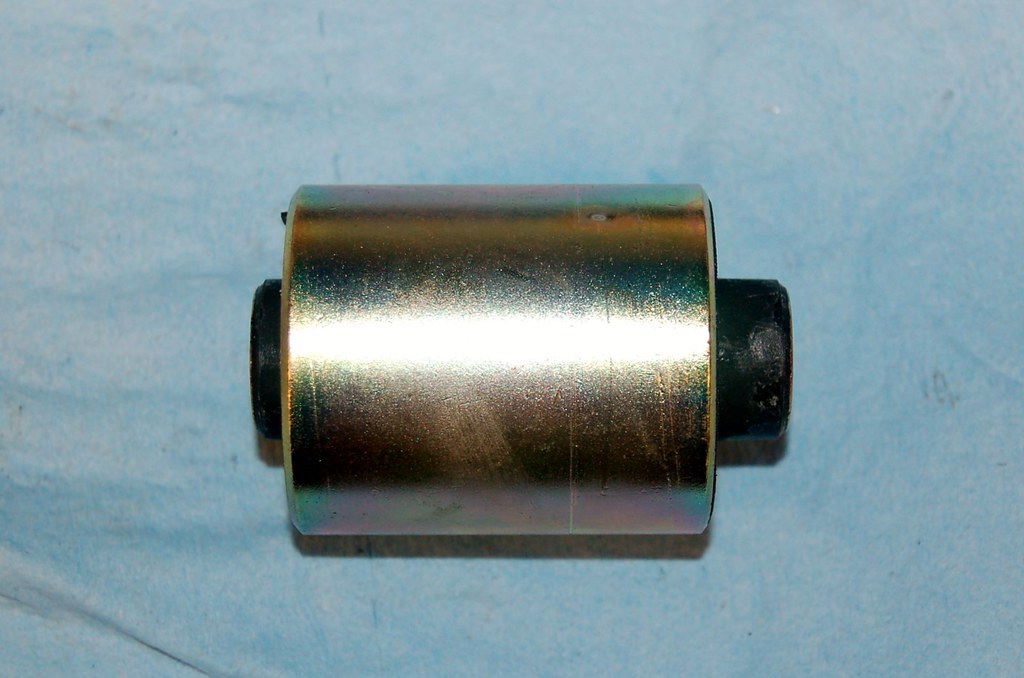
I did, however, get the subframe back and Byron did a great job. We talked about building a little roof like Jelmer suggested, but I like his solution just fine.


FWIW, the TA bushings are asymmetric, and the longer part goes to the inside. I didn't know this. Now I do.

Re: Vlad: The Zinno '87 535is
I spent all day putting the car back together. It should not have taken so long, but I had multiple two steps forward/one step back moments including one where I had to drive to BMW of Bellevue to pay $8 for two fillister bolts for the axles because of stripped heads.
In the end I got everything together (except the exhaust and blake fluid) and was able to back the car off the lift and put it back on to see how the suspension settled.
The good news: With camber adjustment at the highest setting the camber is JUST a tad to negative (previously I had really excessive positive camber even with the [worthless] KMac adjustable camber kit]. Now that I fully understand how it all fits and adjusts, tweaking it will be easy.
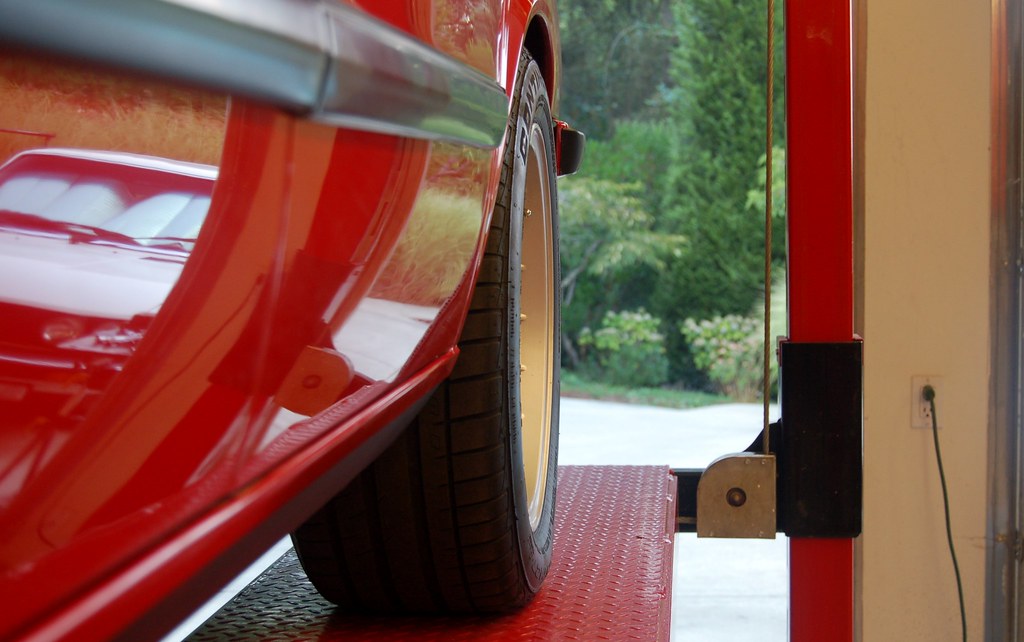
The bad news: One of my two steps forward/one back was when I installed the bolts for the dogbones that go through the TAs. RealOEM shows the bolts going in through the top. You'll note above that I had to modify the IE toe adjustment brackets so that they wouldn't interfere with the bolts. I assembled everything with the bolts this way (thankfully I deferred putting the diff in until much later in the day) noticed that even with my modification to the brackets, the bolt itself when in place, prevented the posi-lock adjuster from fitting into place!
So, pulled the TA's off and took the heads of the bolts to the grinder to take just enough off to enable the adjusters to fit. I put some paint on the heads of the bolts to prevent rust, and re-assembled everything. This is when I noticed that the dogbones looked weird: The threads of the long bolt stuck down below the car and looked conspicuous. I peeked under maytag and noticed that the bolts on on that car go from the bottom-op. Then I looked around for posts here and saw just about everyone else had the bolts pointing up too.
I thought about it a bit and decided it would be better to do it right. I bit the bullet and pulled everything apart. The nuts have stepped heads, so they won't interfere with the posi-lock brakcets, so cool. (Keep reading to see how this didn't work out so well).
I finally got everything back together, including the diff, driveshaft, brakes, and wheels. I knew i'd need to adjust the alignment, so I left the exhaust off (just the cat-back pipes connected to the headers). I started the car and backed it off the lift using the e-brake to stop. Then back onto the lift and lifted it up.
This is when I noticed the problem:
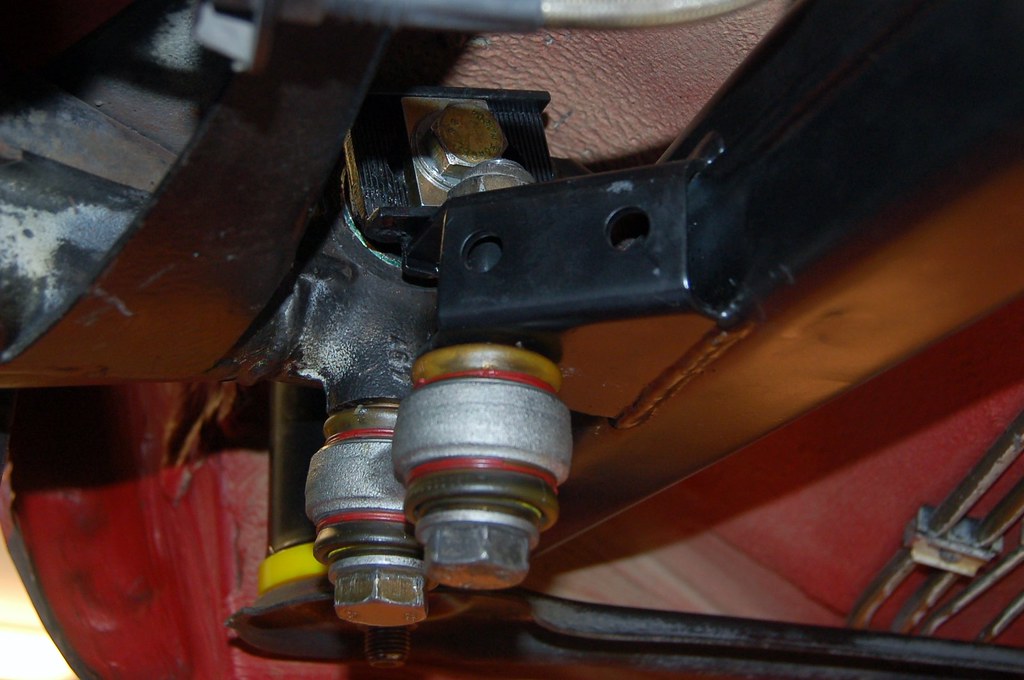
Those dogbone bolts are hitting the toe adjuster bolts and thus there's no way to actually make the dogbones tight.
Tomorrow I'm going to have to pull it all apart again (or just pull the subframe bushing bolts off and see if I can tilt the subrframe forward enough to put the bolts in through the top). I'll just live with the tips of the bolts sticking out below the car. I actually have a set of slightly shorter bolts that standard and I'll use those (modifying the heads to not interfere as I did the others).
It all looks nice though.
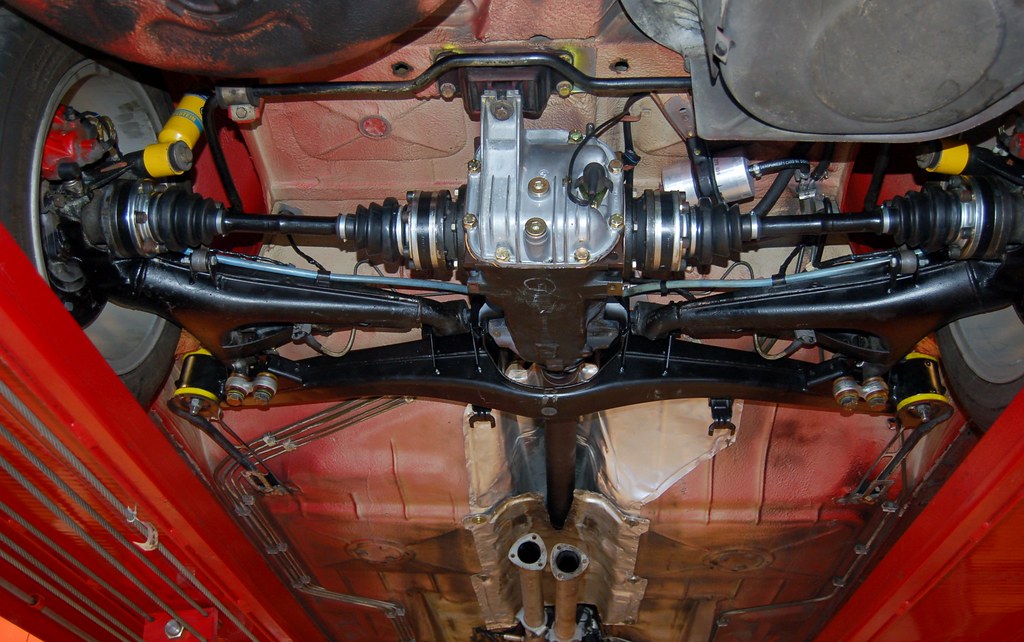
In the end I got everything together (except the exhaust and blake fluid) and was able to back the car off the lift and put it back on to see how the suspension settled.
The good news: With camber adjustment at the highest setting the camber is JUST a tad to negative (previously I had really excessive positive camber even with the [worthless] KMac adjustable camber kit]. Now that I fully understand how it all fits and adjusts, tweaking it will be easy.

The bad news: One of my two steps forward/one back was when I installed the bolts for the dogbones that go through the TAs. RealOEM shows the bolts going in through the top. You'll note above that I had to modify the IE toe adjustment brackets so that they wouldn't interfere with the bolts. I assembled everything with the bolts this way (thankfully I deferred putting the diff in until much later in the day) noticed that even with my modification to the brackets, the bolt itself when in place, prevented the posi-lock adjuster from fitting into place!
So, pulled the TA's off and took the heads of the bolts to the grinder to take just enough off to enable the adjusters to fit. I put some paint on the heads of the bolts to prevent rust, and re-assembled everything. This is when I noticed that the dogbones looked weird: The threads of the long bolt stuck down below the car and looked conspicuous. I peeked under maytag and noticed that the bolts on on that car go from the bottom-op. Then I looked around for posts here and saw just about everyone else had the bolts pointing up too.
I thought about it a bit and decided it would be better to do it right. I bit the bullet and pulled everything apart. The nuts have stepped heads, so they won't interfere with the posi-lock brakcets, so cool. (Keep reading to see how this didn't work out so well).
I finally got everything back together, including the diff, driveshaft, brakes, and wheels. I knew i'd need to adjust the alignment, so I left the exhaust off (just the cat-back pipes connected to the headers). I started the car and backed it off the lift using the e-brake to stop. Then back onto the lift and lifted it up.
This is when I noticed the problem:

Those dogbone bolts are hitting the toe adjuster bolts and thus there's no way to actually make the dogbones tight.
Tomorrow I'm going to have to pull it all apart again (or just pull the subframe bushing bolts off and see if I can tilt the subrframe forward enough to put the bolts in through the top). I'll just live with the tips of the bolts sticking out below the car. I actually have a set of slightly shorter bolts that standard and I'll use those (modifying the heads to not interfere as I did the others).
It all looks nice though.

-
austin_caccavo
- Posts: 252
- Joined: Feb 16, 2014 12:50 PM
- Location: Sacramento, California
Re: Vlad: The Zinno '87 535is
I think you mixed up your positive and negative camber definitions sir 
-
austin_caccavo
- Posts: 252
- Joined: Feb 16, 2014 12:50 PM
- Location: Sacramento, California
Re: Vlad: The Zinno '87 535is
Also, for the dogbone, I ended up using washers to space the bolt down just enough so I could move the toe adjuster. Been driving on it for 10k miles now and nothing has moved!
