Page 25 of 31

Re: Maytag: The Alpine '87 527i

Posted: Jun 03, 2018 9:50 PM
by tig
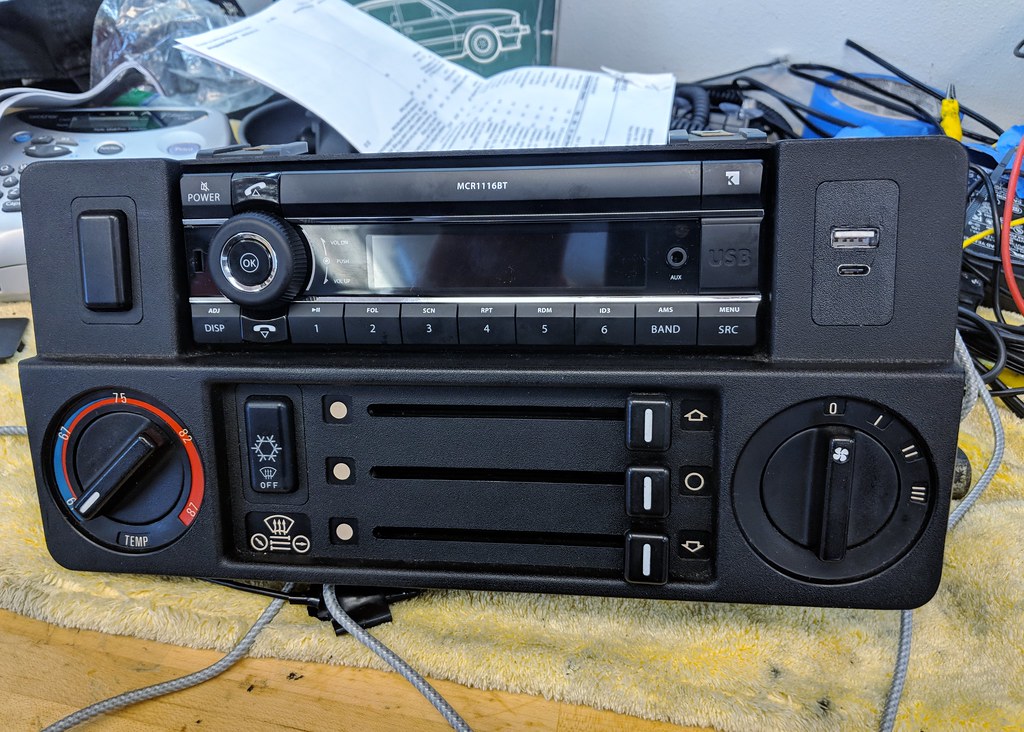
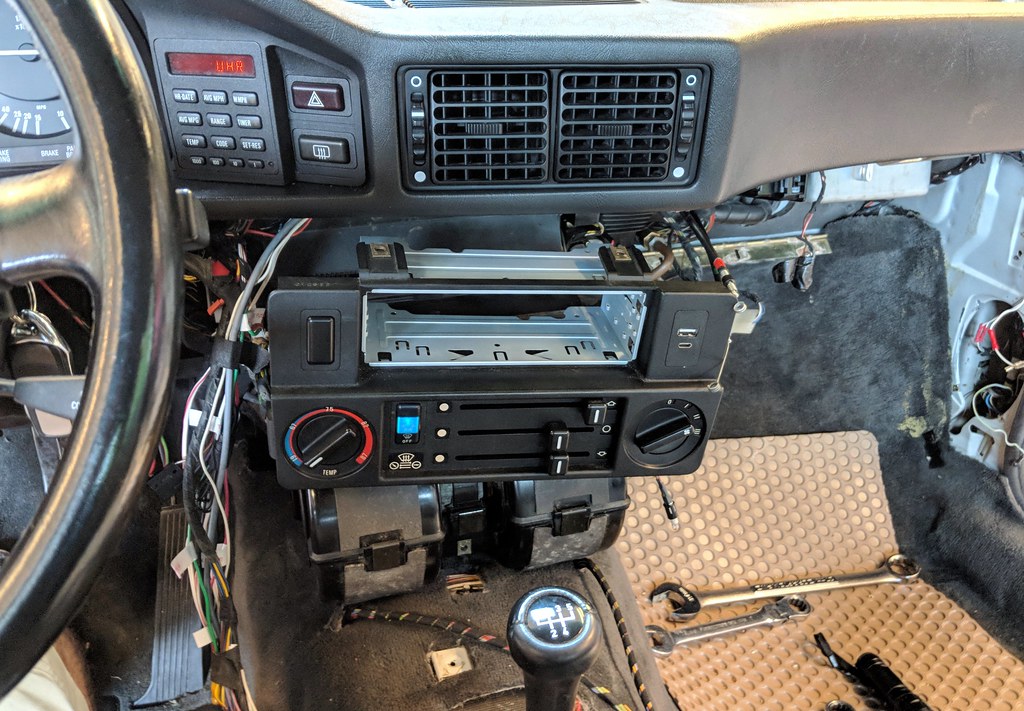
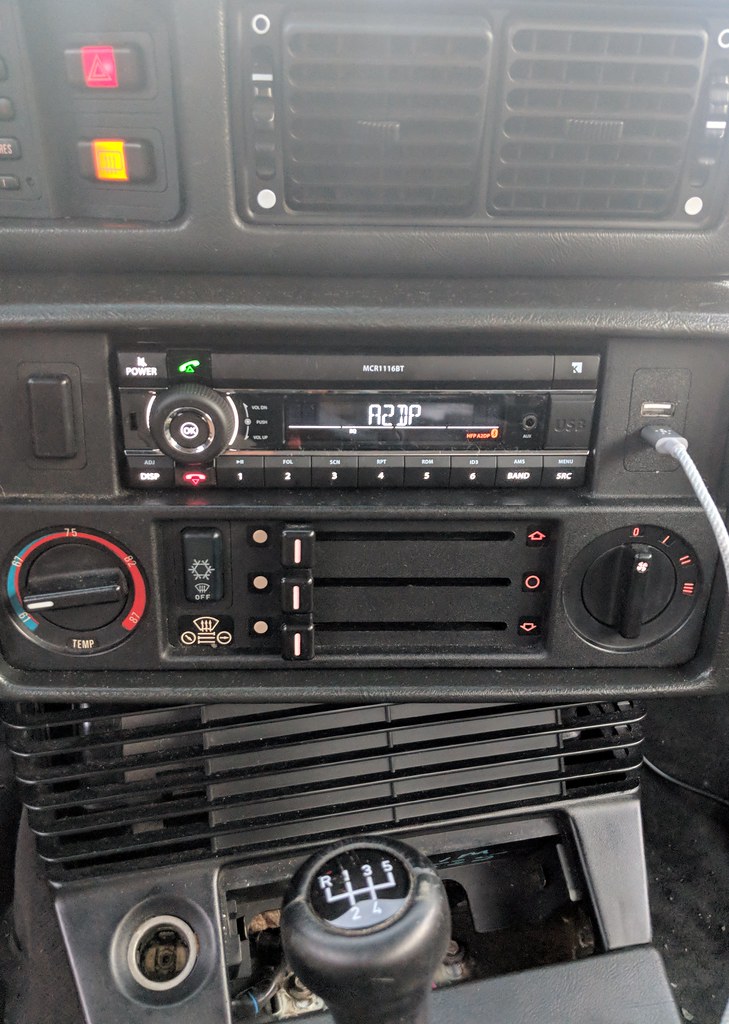
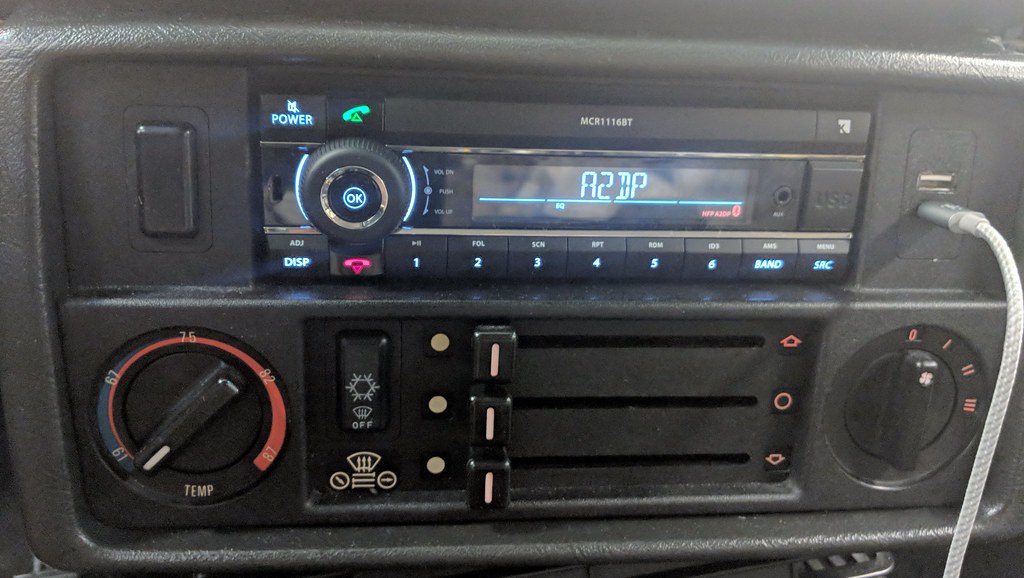
A bit of scope creep. Wired up a new USB-C plug, pre-wired for a Valentine One and road cam by mirror, and ran rear road cam wire to brake light. You know, while you're in there. Going with this Keinzle MCR1116BT head unit. Love the look.
Image

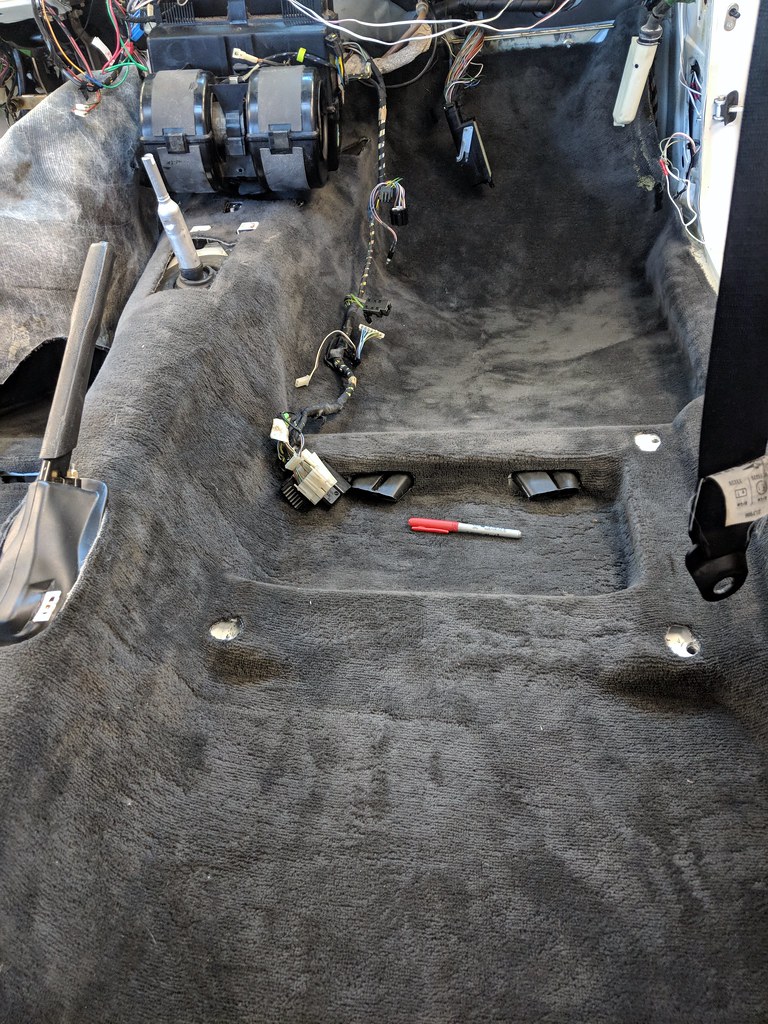
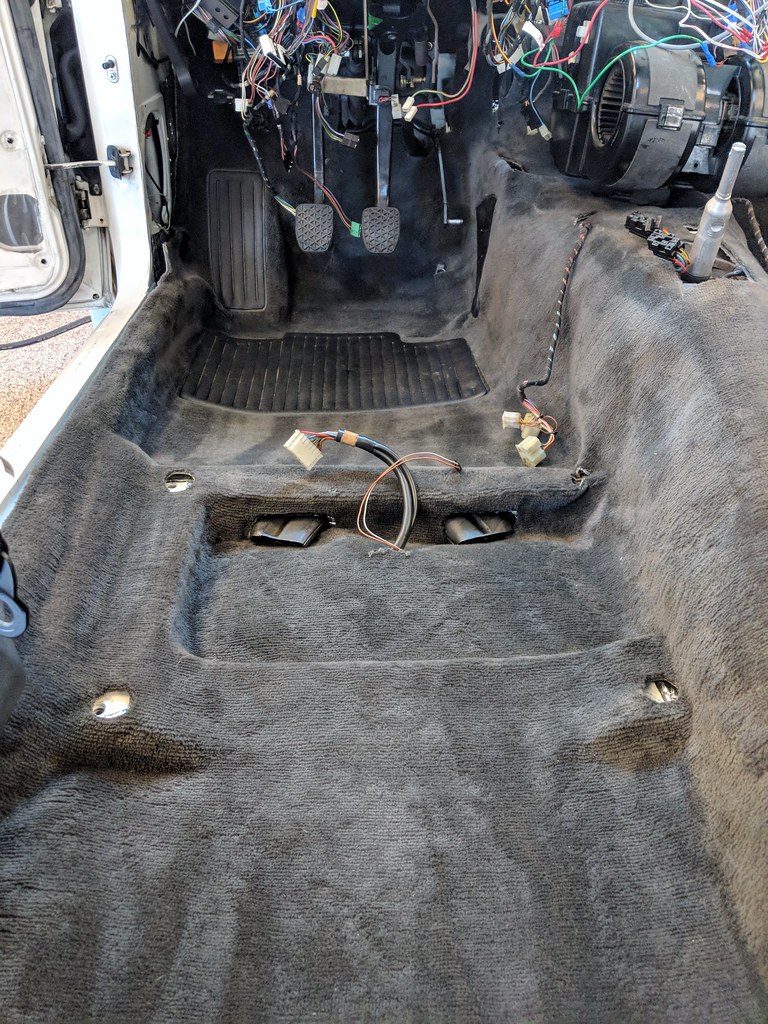
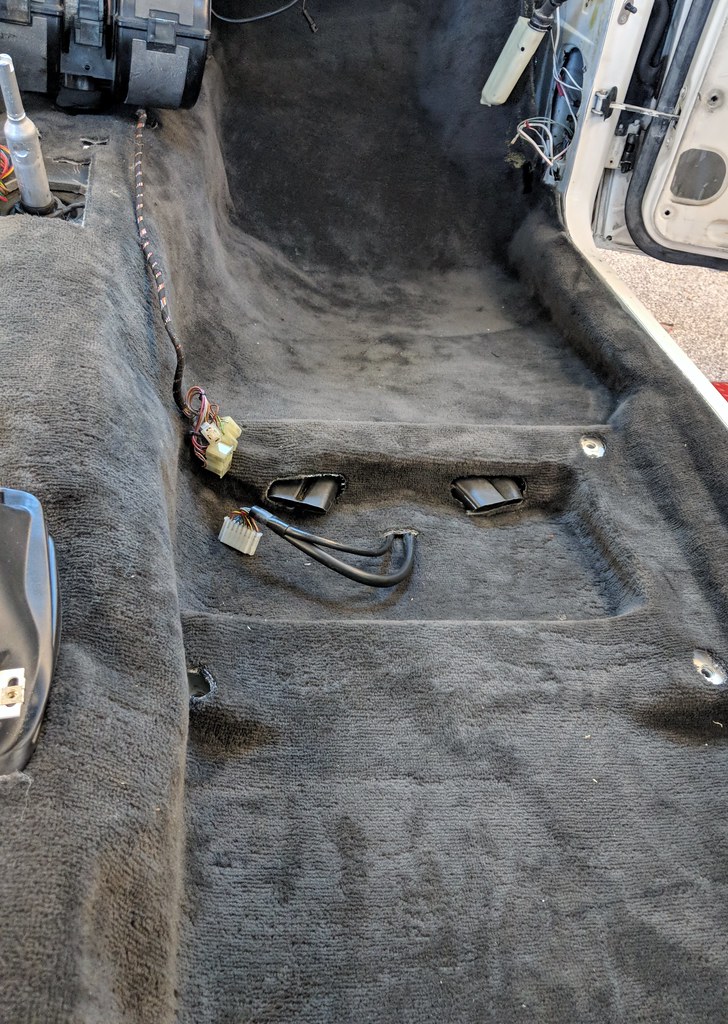
Lots of futzing around finally led to test fitting the Antrhacite carpet (sans pads). Had to figure out how accelerator pedals come out. This makes me have warm feels:
Image

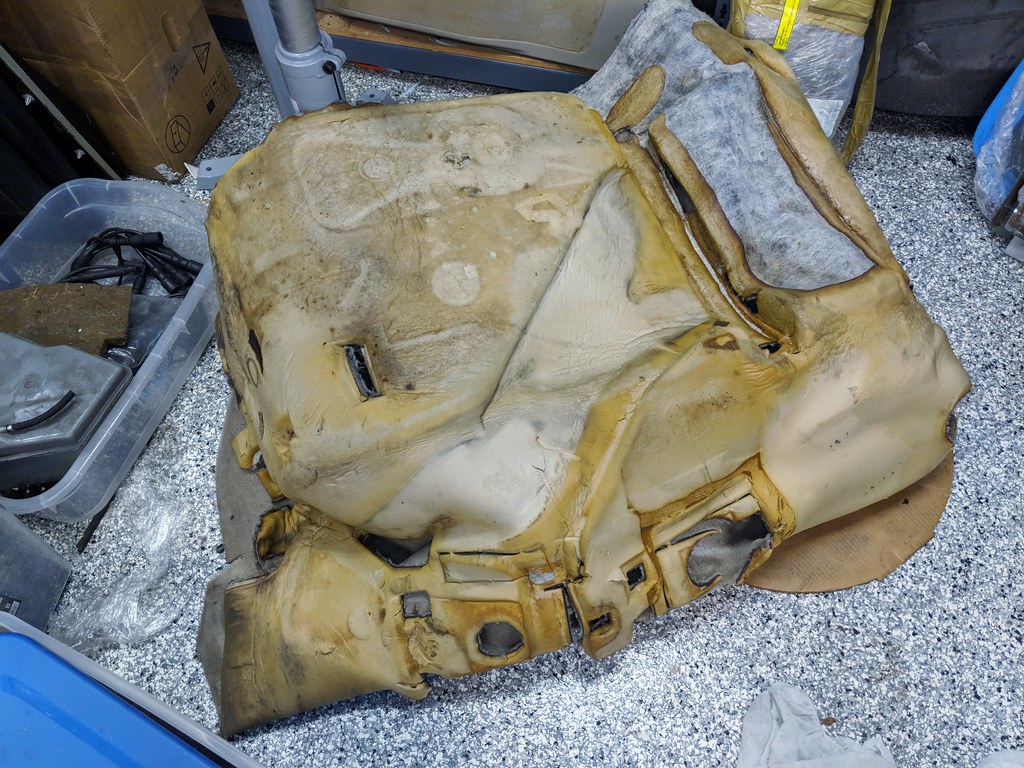
Padding material and insulation should be here tomorrow / Tuesday if Amazon is to be believed. I'm debating how much/if any of the original padding from the old carpet set to use. I also have a full newer PB carpet set that I bought a while back. I may end up using it's padding for Minerva when the time comes.
Image

Re: Maytag: The Alpine '87 527i

Posted: Jun 04, 2018 9:35 AM
by muleskinner
cek wrote:Going with this Keinzle MCR1116BT head unit. Love the look.
Wow...love the look too. It has a retro look, but with all the modern accoutrements. I'd like to see a photo of how it looks with the rest of the instrument illumination.

Re: Maytag: The Alpine '87 529i

Posted: Jun 04, 2018 11:17 PM
by tig
Full Monday of progress.

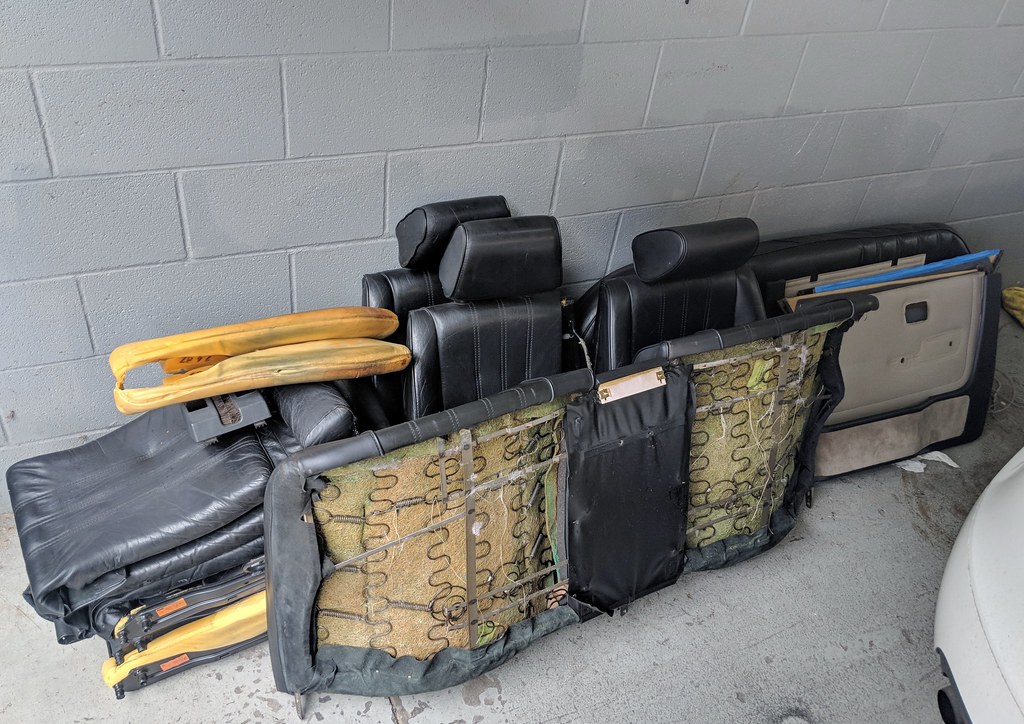
Dropped interior off at upholstery shop. I've kept the one good seat so that the car will be derivable.
Image

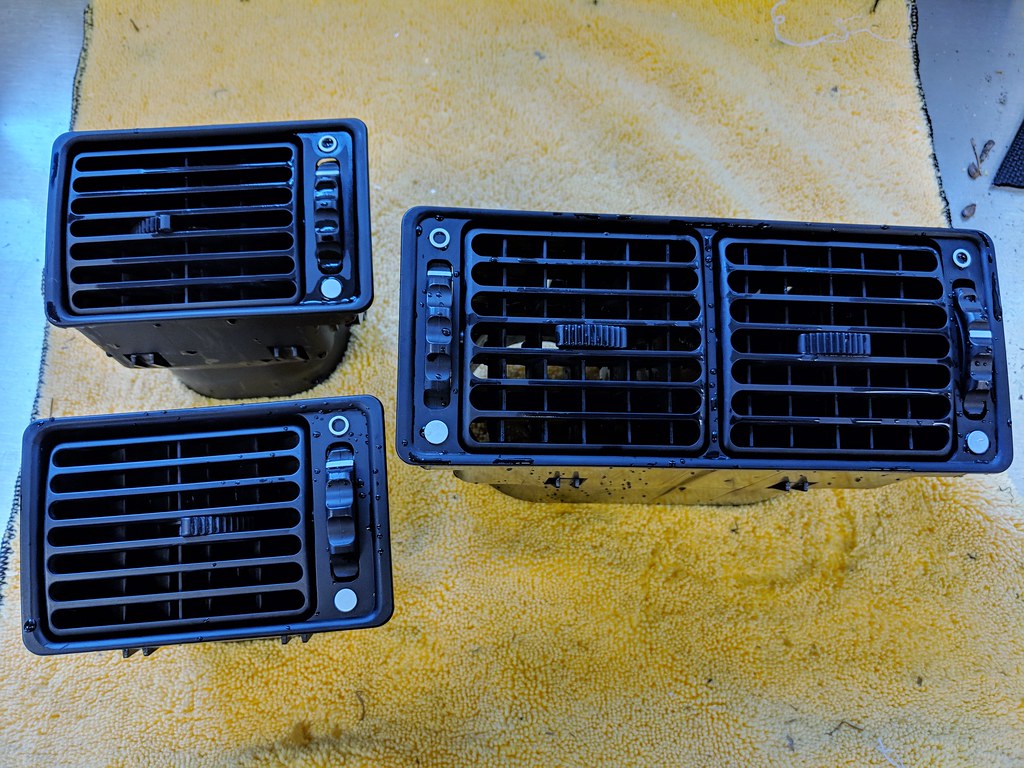
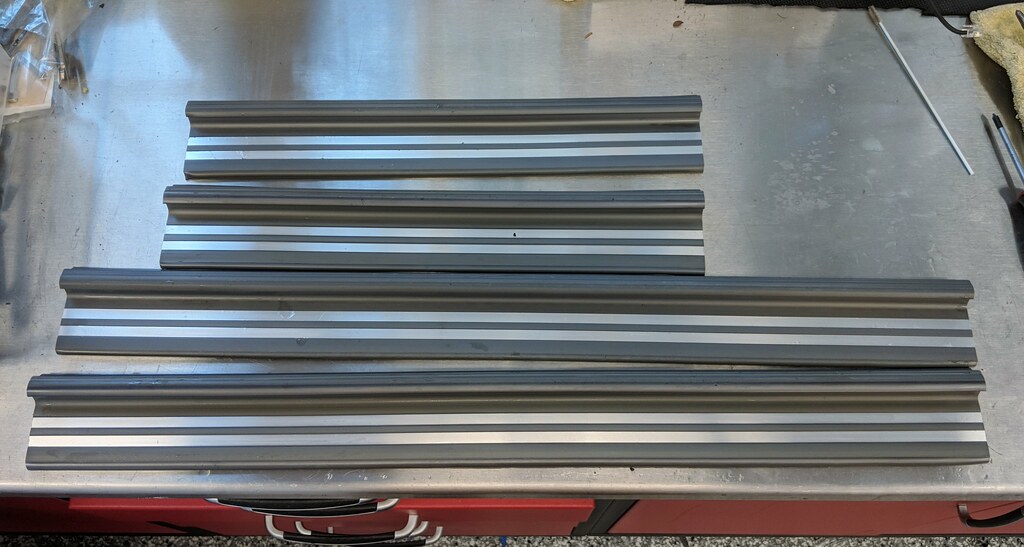
Tons of cleaning & prep on interior parts. Cleaned vents, got new dash ready, figured out with door sills to use and cleaned up, etc...
Image
Image

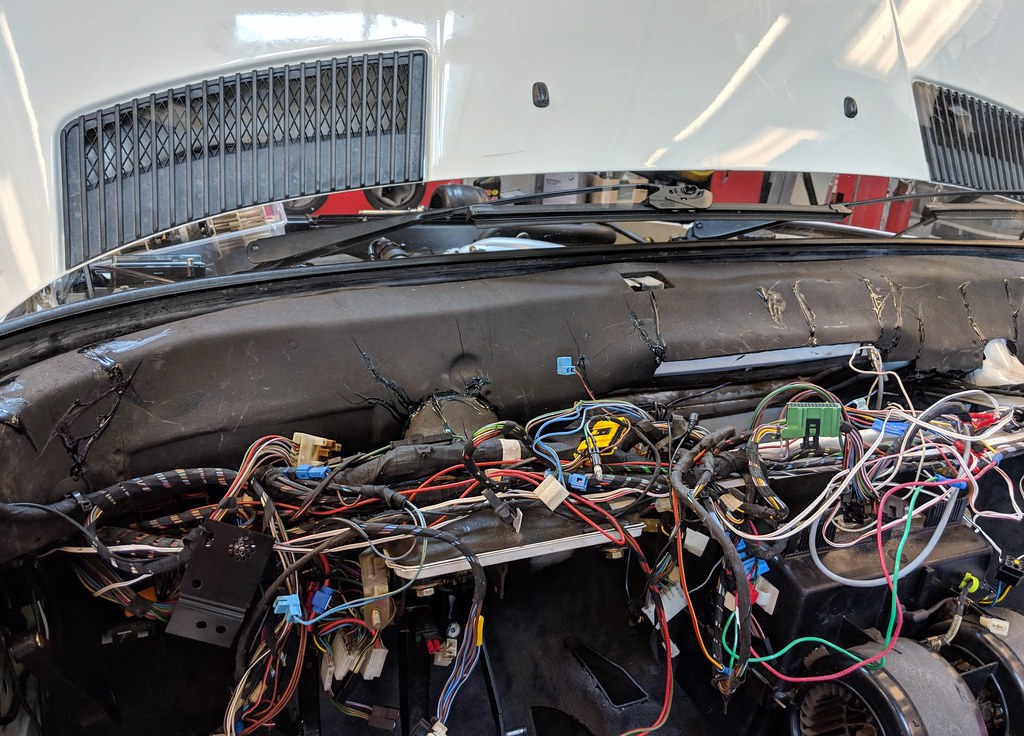
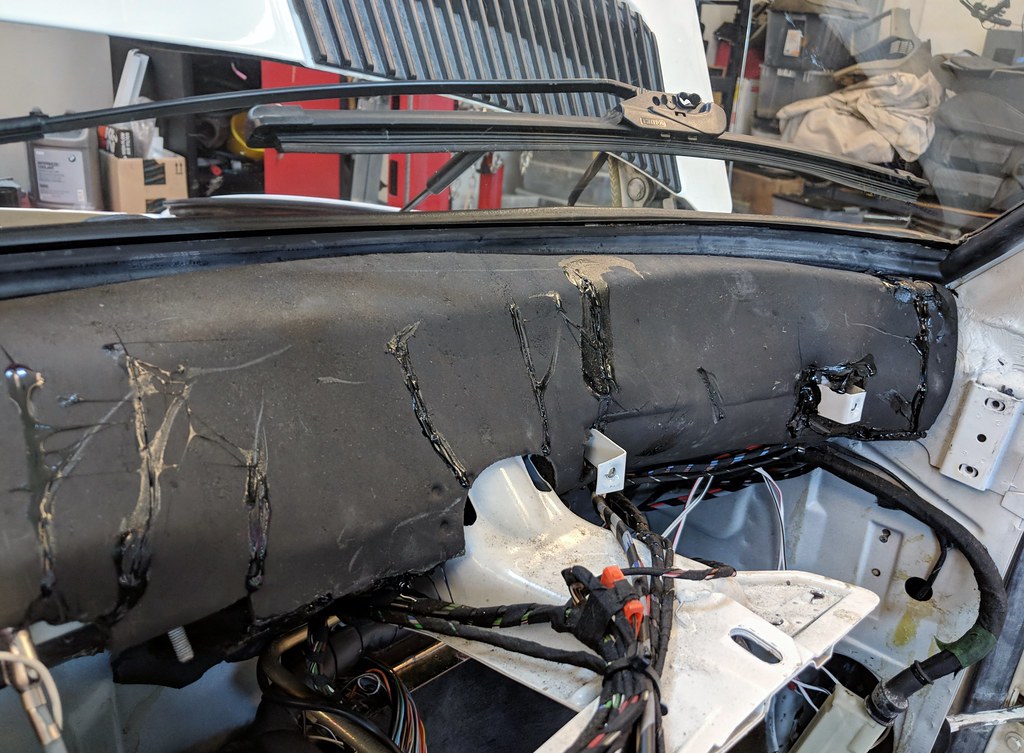
Just to keep this stuff from deteriorating further, applied some black weatherstriping adhesive (thanks for the idea @dsmith). Seems to have worked well.
Image

Image

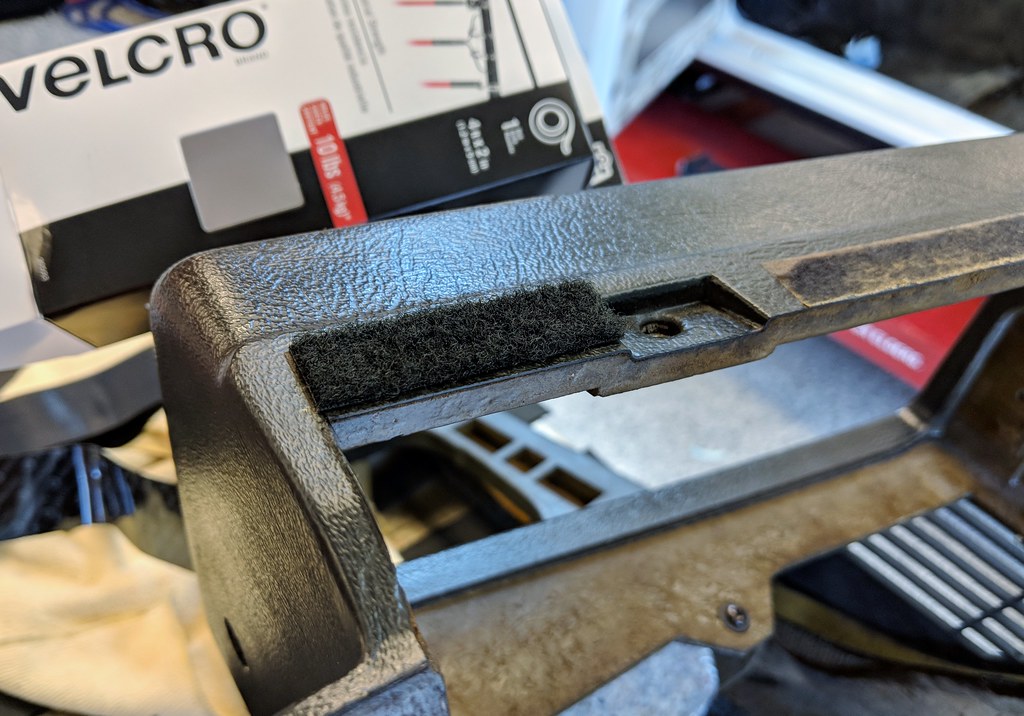
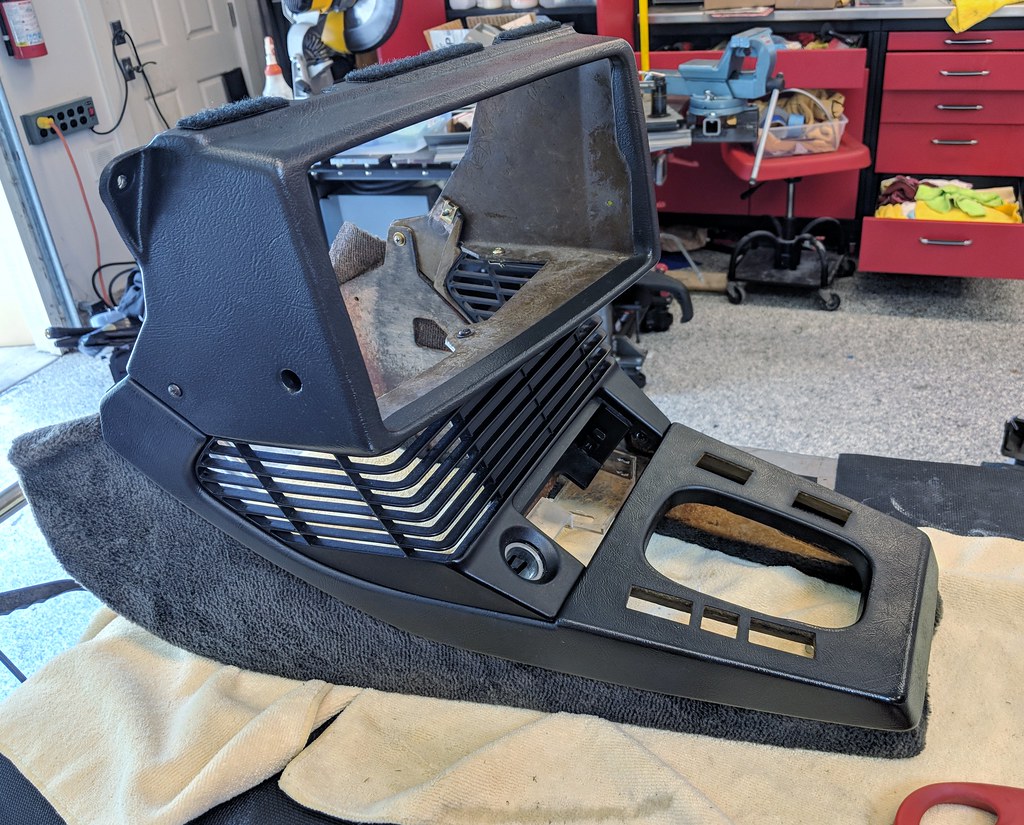
Picked the 2nd best Anthacite center console pieces I have (best go in Minerva) and built it up. Replaced old anti-rattle foam with the soft half of velcro.
Image
Image

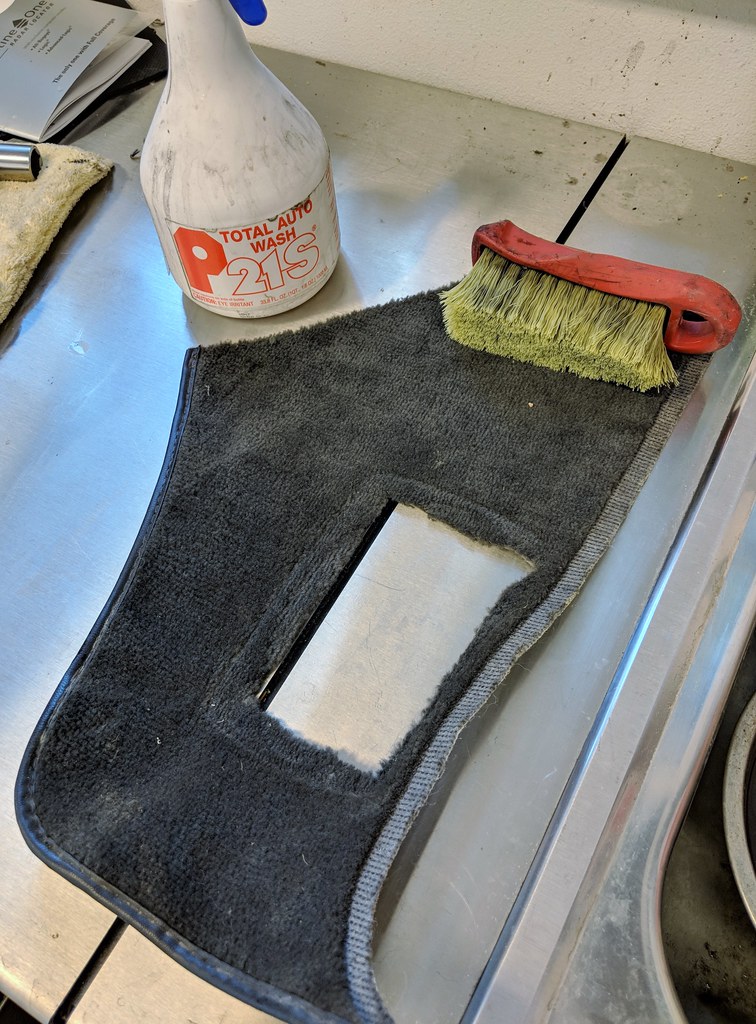
Cleaned carpet peices I didn't clean when I originally bought the carpet.
Image

No after pics. Depending on how I feel and when UPS shows up tomorrow I'll either polish the exterior or lay down sound deadening/insulation on interior. Heater core will be here weds.

There's a BMW dyno-day event at the dyno place saturday. This is motivating me to have the car derivable by then!

Re: Maytag: The Alpine '87 529i

Posted: Jun 05, 2018 11:05 PM
by Tiit
529i ? You are not allowed to do that!

Re: Maytag: The Alpine '87 529i

Posted: Jun 05, 2018 11:49 PM
by 1st 5er
:wave:
Tiit wrote:529i ? You are not allowed to do that!
He's gonna have him a big six in there before long. :haul:

Re: Maytag: The Alpine '87 529i

Posted: Jun 06, 2018 2:13 PM
by tig
Tiit wrote:529i ? You are not allowed to do that!
Watch me.

Re: Maytag: The Alpine '87 529i

Posted: Jun 06, 2018 7:44 PM
by 1st 5er
cek wrote:
Tiit wrote:529i ? You are not allowed to do that!
Watch me.

:rofl:

Re: Maytag: The Alpine '87 529i

Posted: Jun 06, 2018 8:47 PM
by oldskool
Good schtuff. I read it again tonight while cooking my eggplant parmigiana.

Re: Maytag: The Alpine '87 529i

Posted: Jun 06, 2018 11:07 PM
by tig
oldskool wrote:Good schtuff. I read it again tonight while cooking my eggplant parmigiana.
You realize there's no meat in that, right?

Re: Maytag: The Alpine '87 529i

Posted: Jun 08, 2018 10:47 AM
by tig
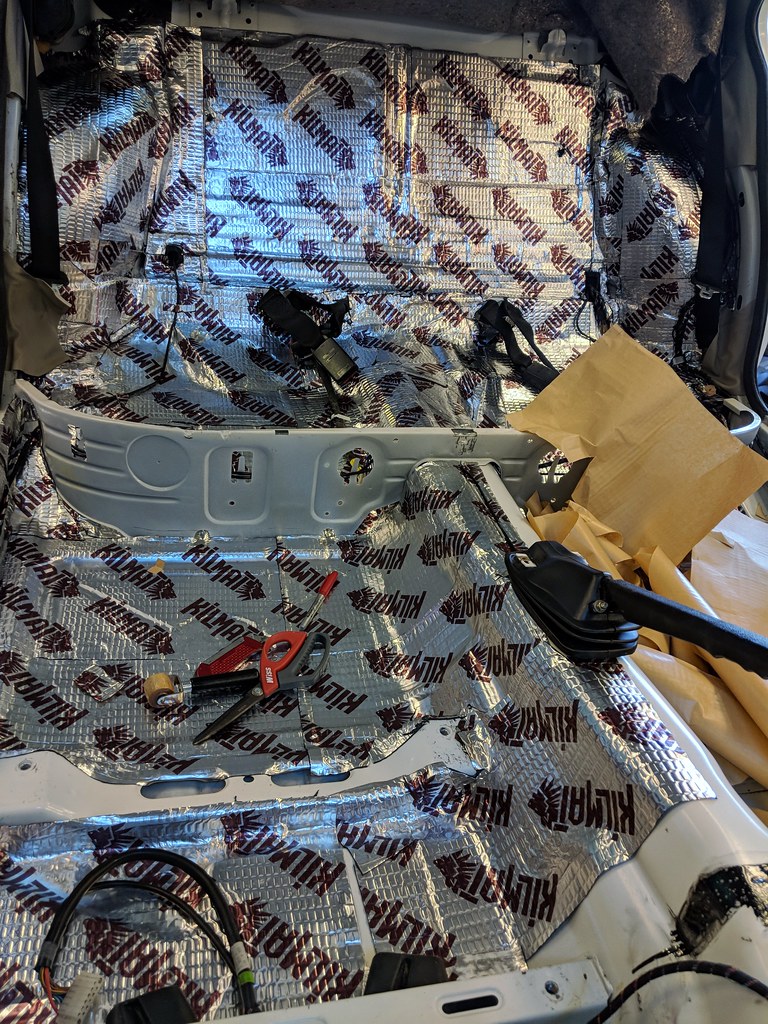
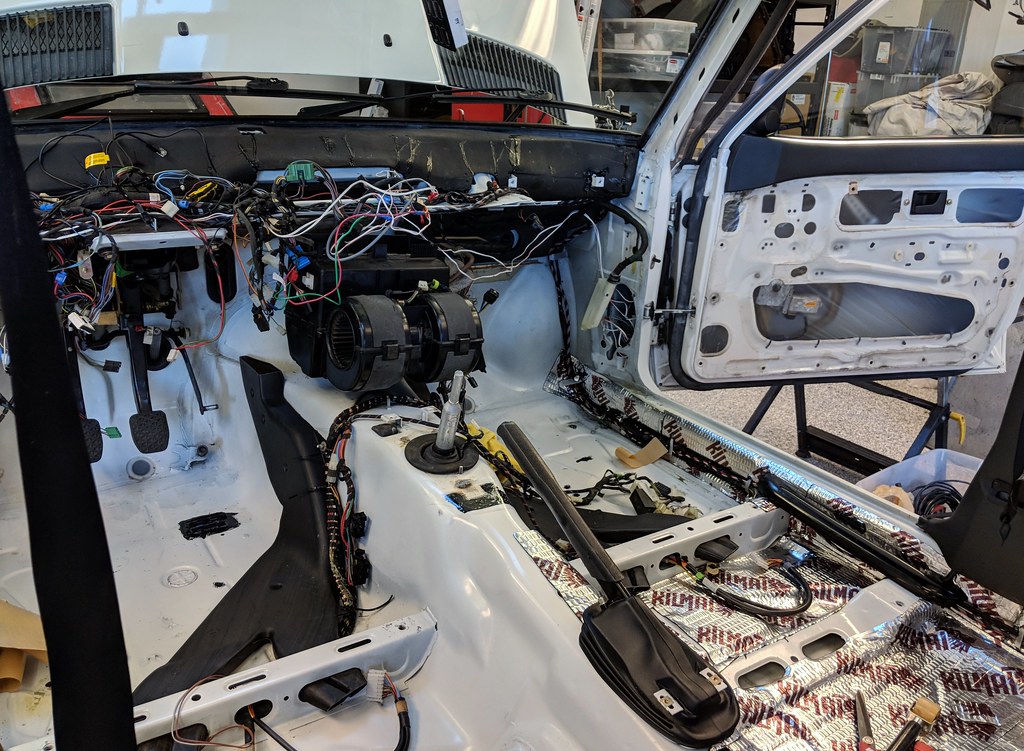
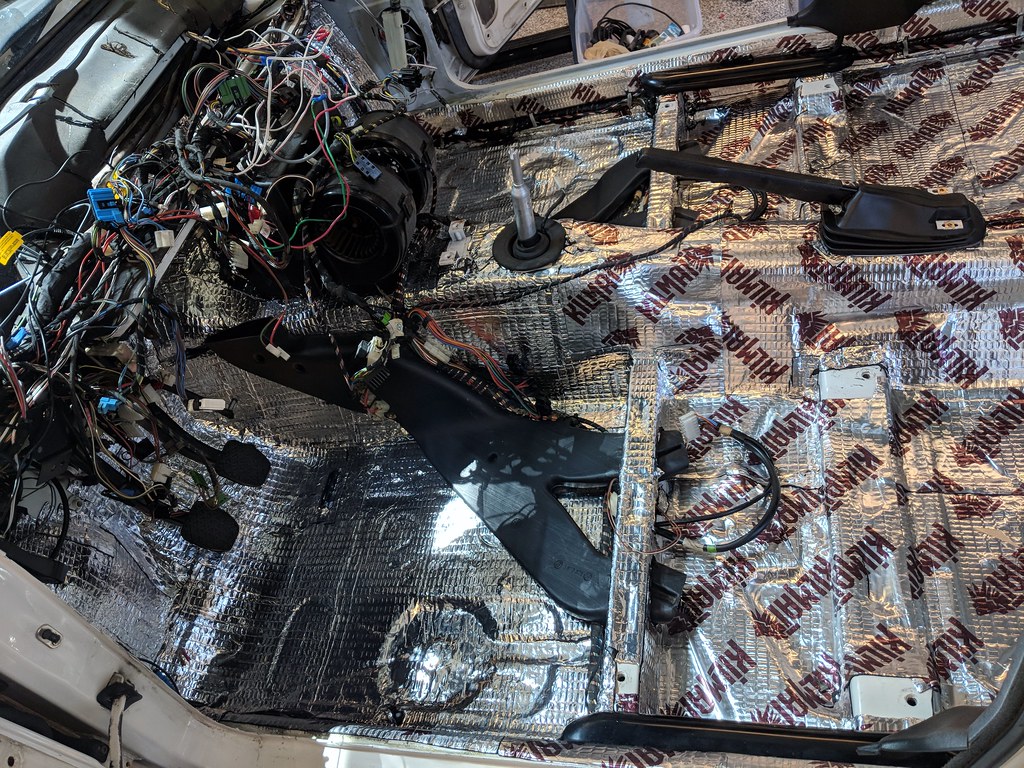
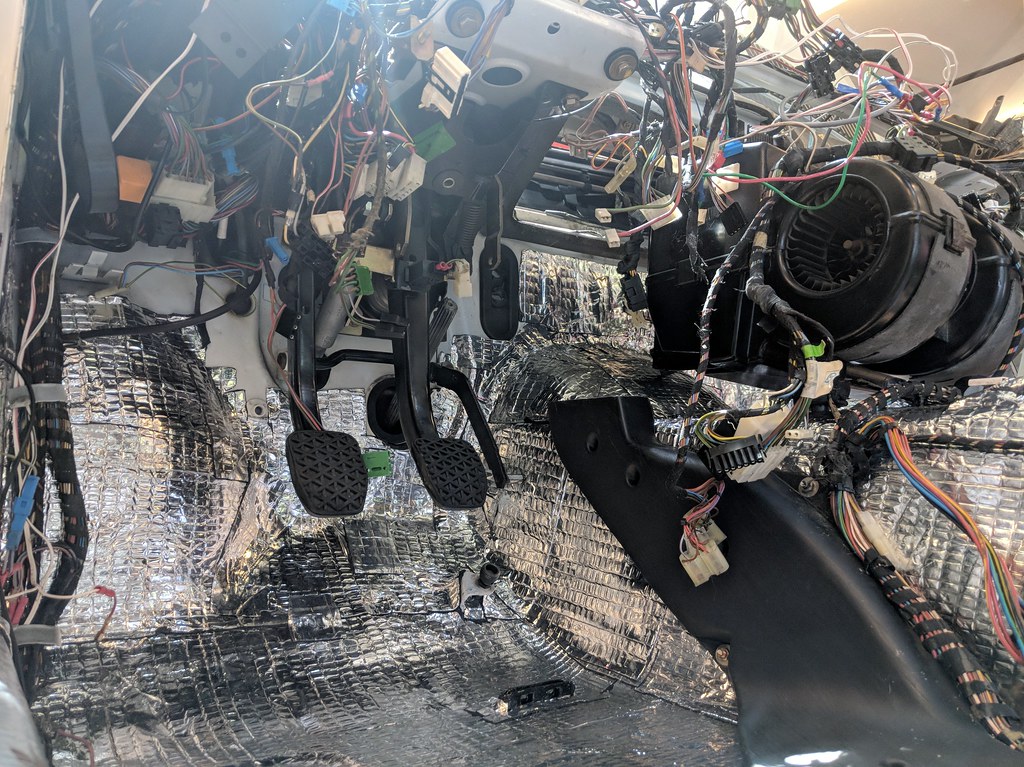
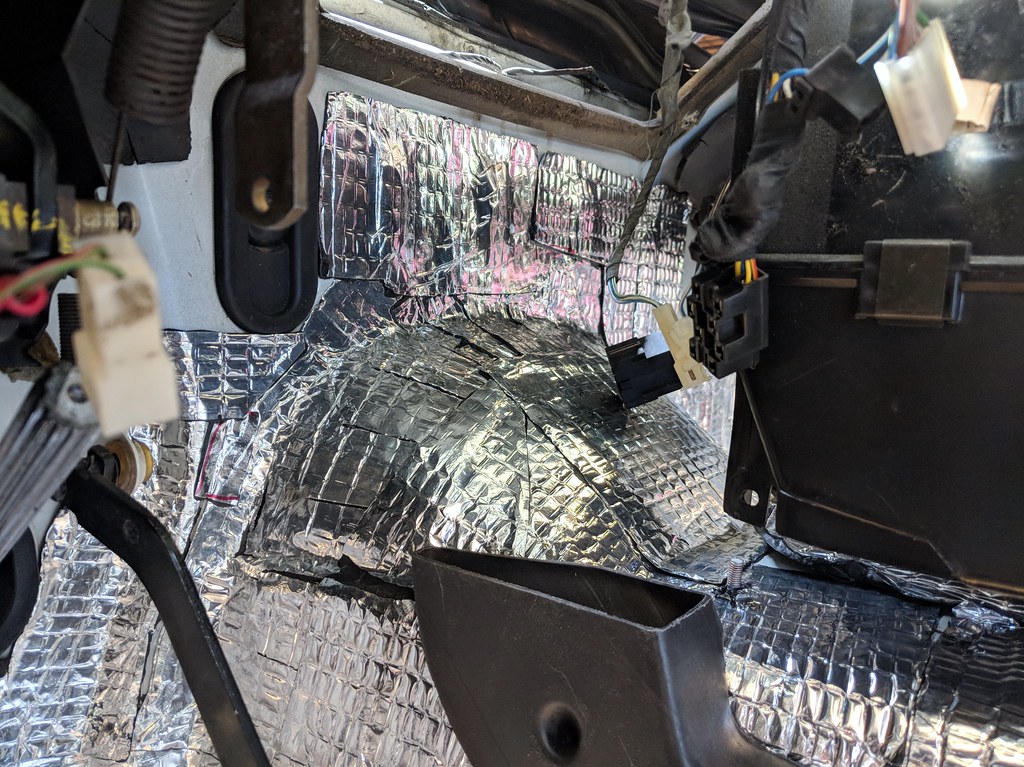
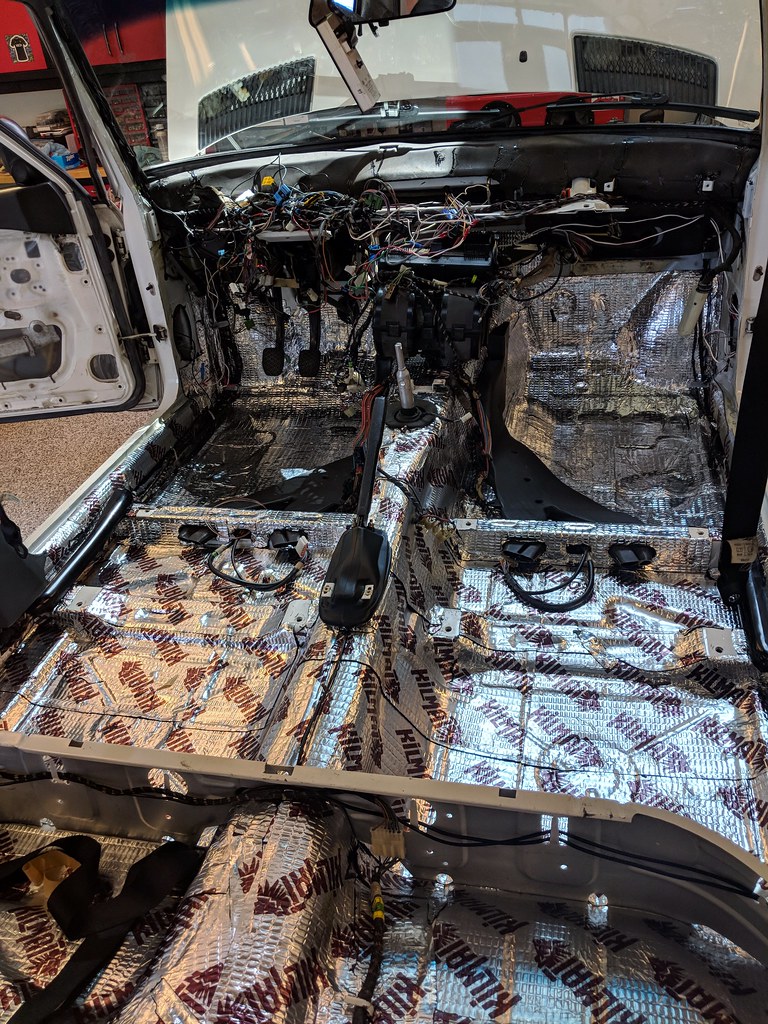
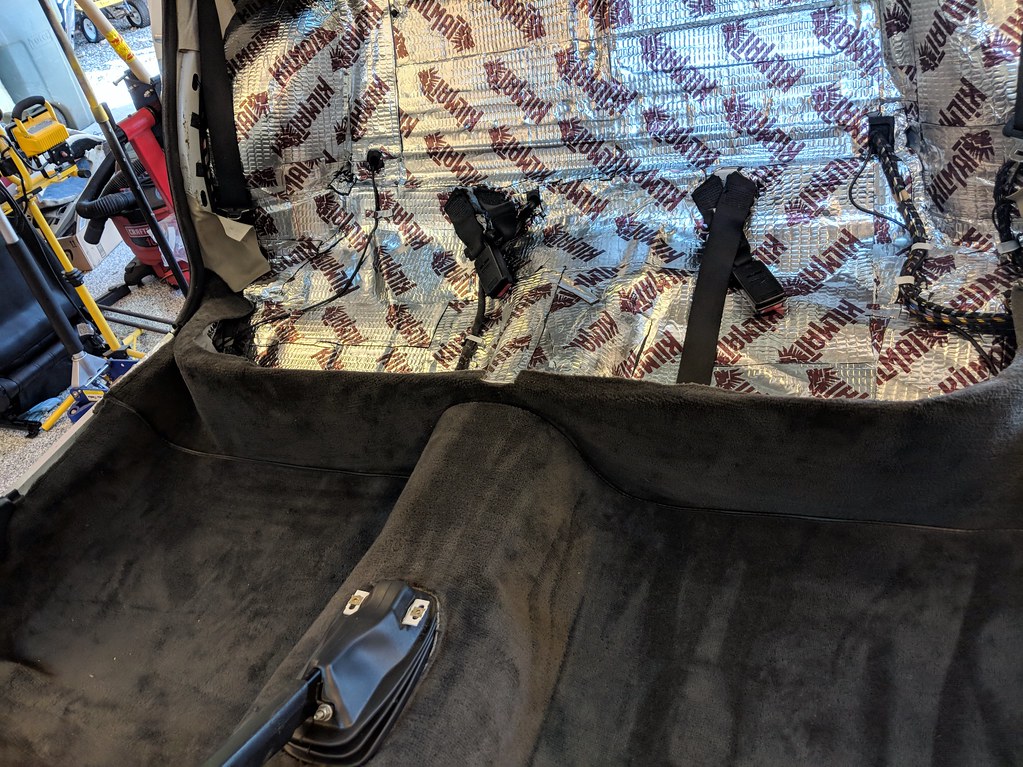
Tuesday, I had just enough time to get about half the sound deadener in. This is harder work than I thought.

On Minerva I'm doing the spray on sound deadener (see @occoupe's E9 thread). But for this car, I was not prepared to do the prep work required to paint (and I suck at paint) the interior, and I was curious how this stuff works. I know there's some risk to using dyanamat-like product (it's possible for moisture to get under it), but I took care to ensure it was installed correctly.

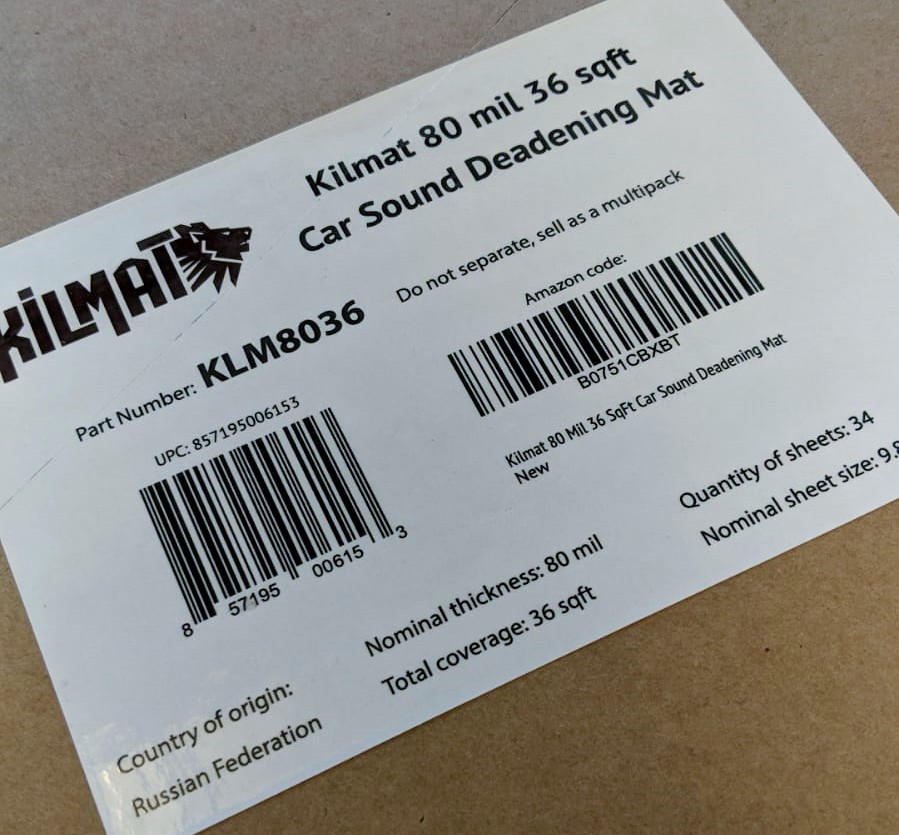
I bought two brands of 80mil Dynamat clone on Amazon. Both are made in the CCCP. Far cheaper than Dynamat and the customer reviews were all very positive. As far as I can tell both products are the same except for sheet size and one has a logo.

This stuff comes in small sheets which worked well for the rear. I should have saved some of it for parts of the front.
Image

On Amazon: Kilmat 80 mil 36 sqft Car Sound Deadening Mat

This stuff comes in big sheets which worked very well for the front part of the car.
Image

On Amazon: Siless Sound Deadening mat 80mil 36 sqft - Sound Deadener Mat

It'll be interesting to see/hear how it works...
Image
Image

I would have gotten more done, but we had tickets to the opening night of Hunchback at the 5th Ave Theater. It was better than I thought it would be. I think they have a hit on their hands and y'all can expect to see this make it to Broadway. But what do I know about musicals... I mostly go because it's a great date with Julie.
Image

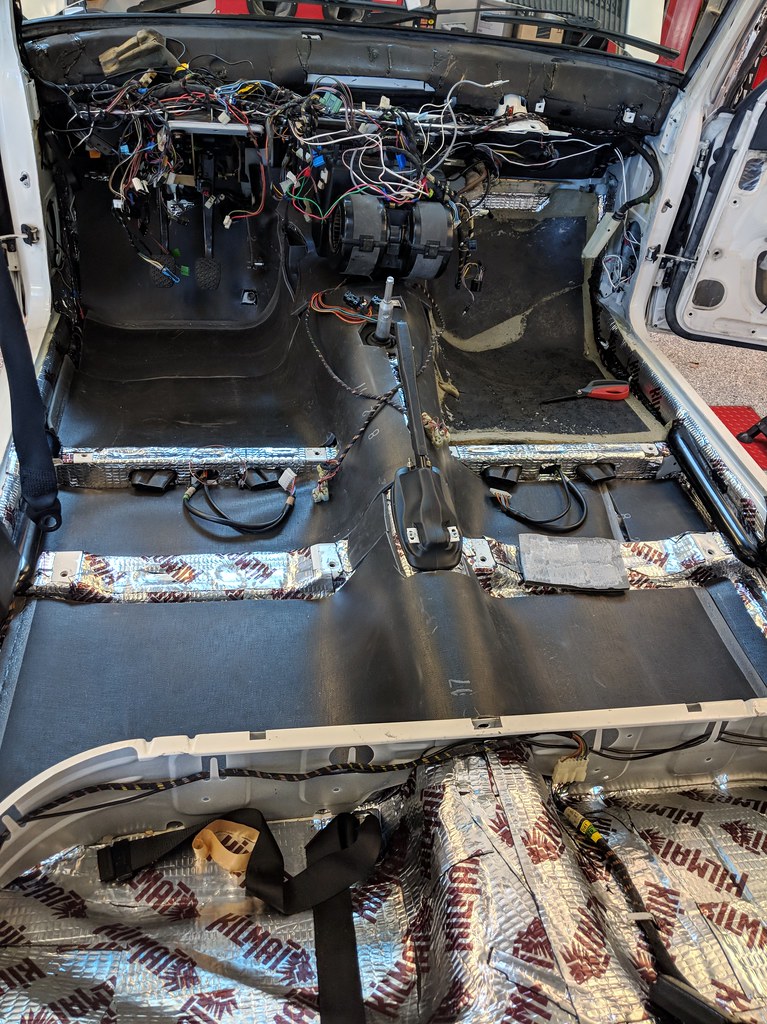
Wednesday, and I mean almost all of Wednesday, was spent finishing the sound deadener and installing new foam.
ImageMaytag Interior Upgrade by Tig, on Flickr

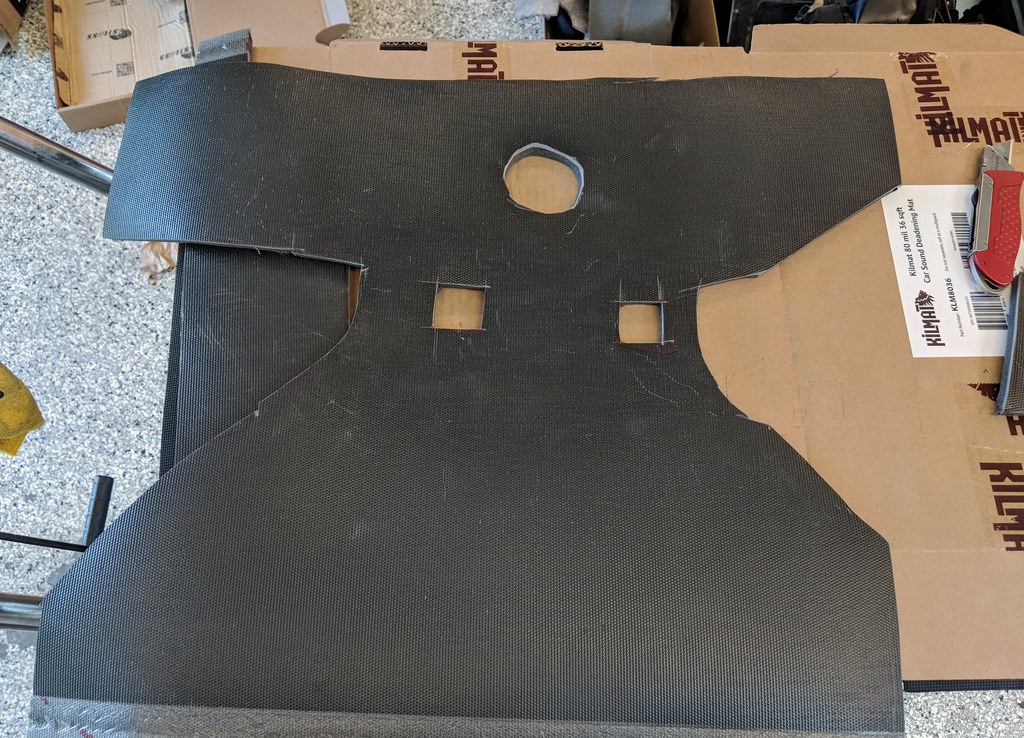
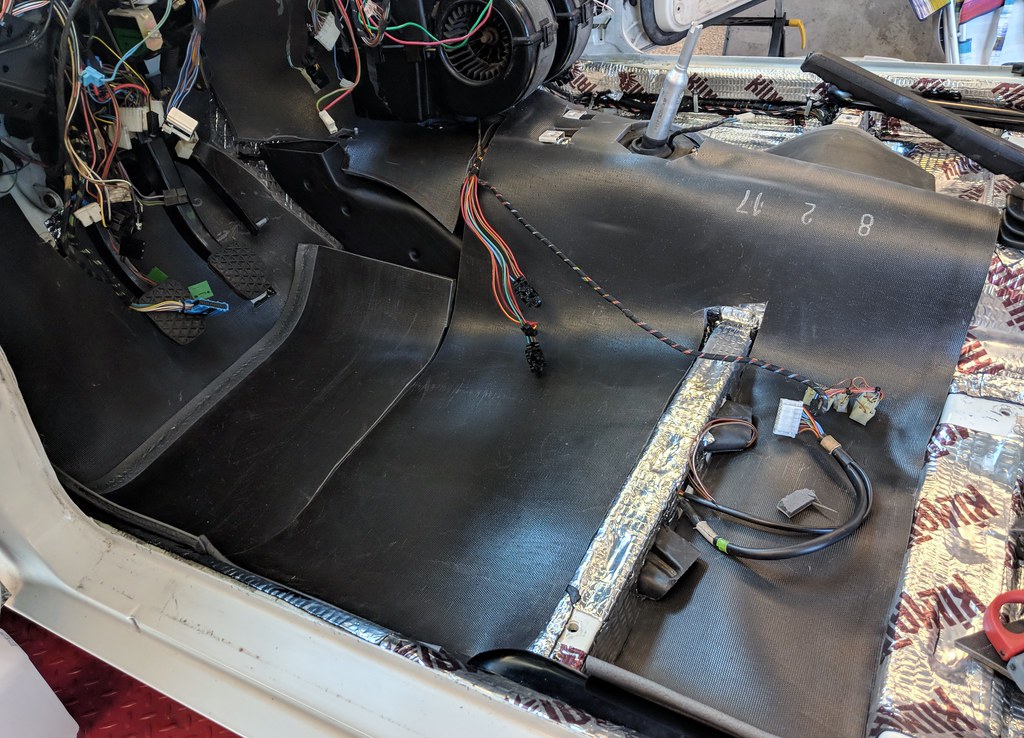
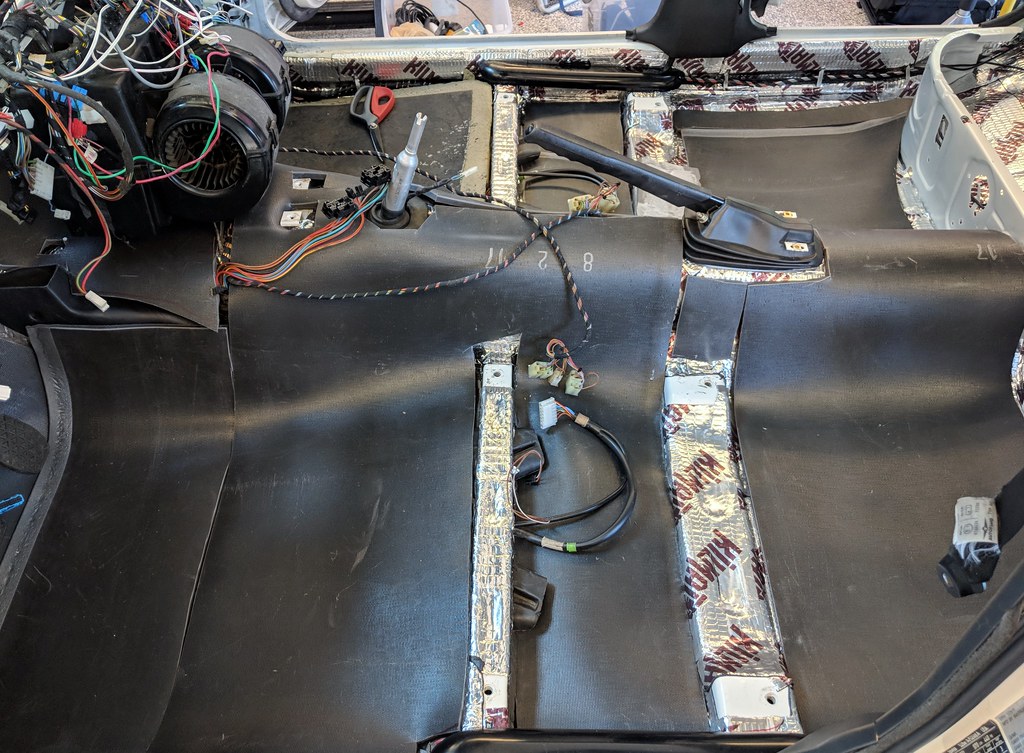
The original, disgusting, Maytag Bearl Peige carpet was the 'new style' with attached foam. That foam is pretty thick in places (like almost 2" under the dead pedal). The new, georgous, Anthracite carpet is the 'old style' without foam. To make it fit you need to build up foam because the OE foam pieces are NLA. I bought this product based on recommendations. Second Skin Luxury Liner Pro:
Image
Second Skin Insulation Second Skin Luxury Liner Pro MLV Mass Loaded Vinyl Closed Cell Foam Sound Deadener - 9 sqft Sheet

I bought 4 sheets. I only needed 3. See below for why you may need 4 if you do this.

I used the old carpet as a template.
Image
Image

I asked the company if gluing this stuff down was required. They said it is not. I chose not to glue it, except in a few places because I want it easily removable and I'm pretty sure it's not moving anywhere.
Image

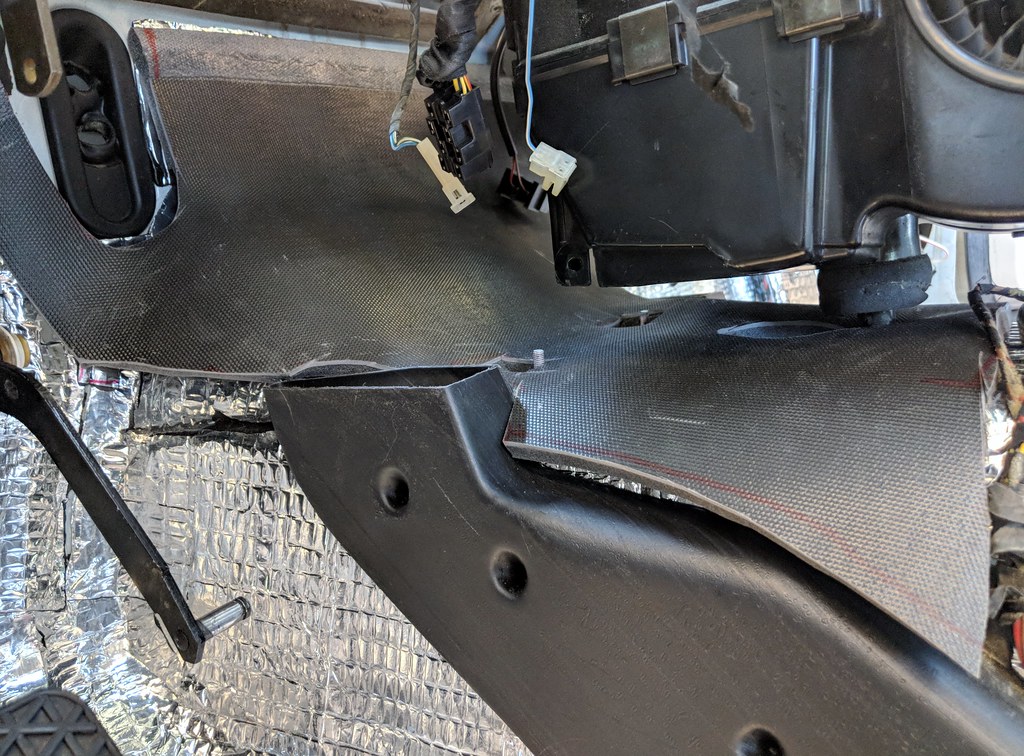
There's actually 3 layers of the stuff in places here. The middle layer is actually small pieces of scrap that I pieced together like a jigsaw puzzle to fill in the space around the heater duct.
Image
Image

On the passenger side, I just used the original foam from the original carpet as it had easily pulled away from the carpet. Fits perfectly. Also explains why 3 sheets of LLP was enough in my case.
Image

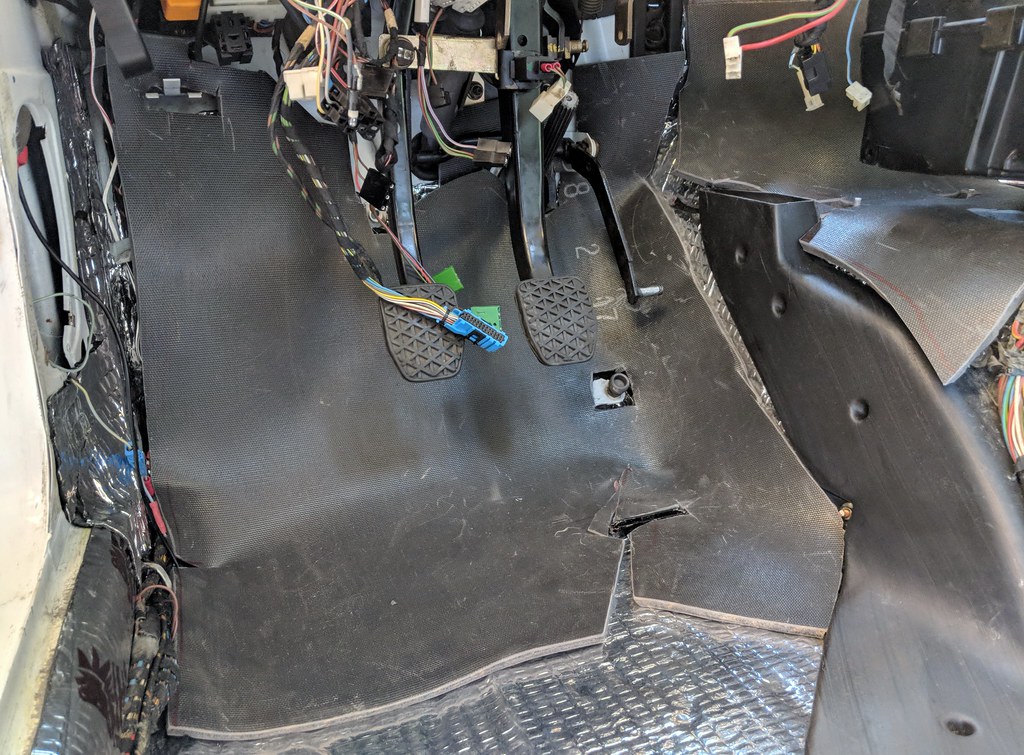
The new carpet went in easy. I was able to insert additional foam under a few places to build up (especially the dead pedal) and it now feels OE under all parts of it. The center tunnel is a bit thicker than OE, but I not enough to impact how the sides reach the sills.
Image
Image
Image

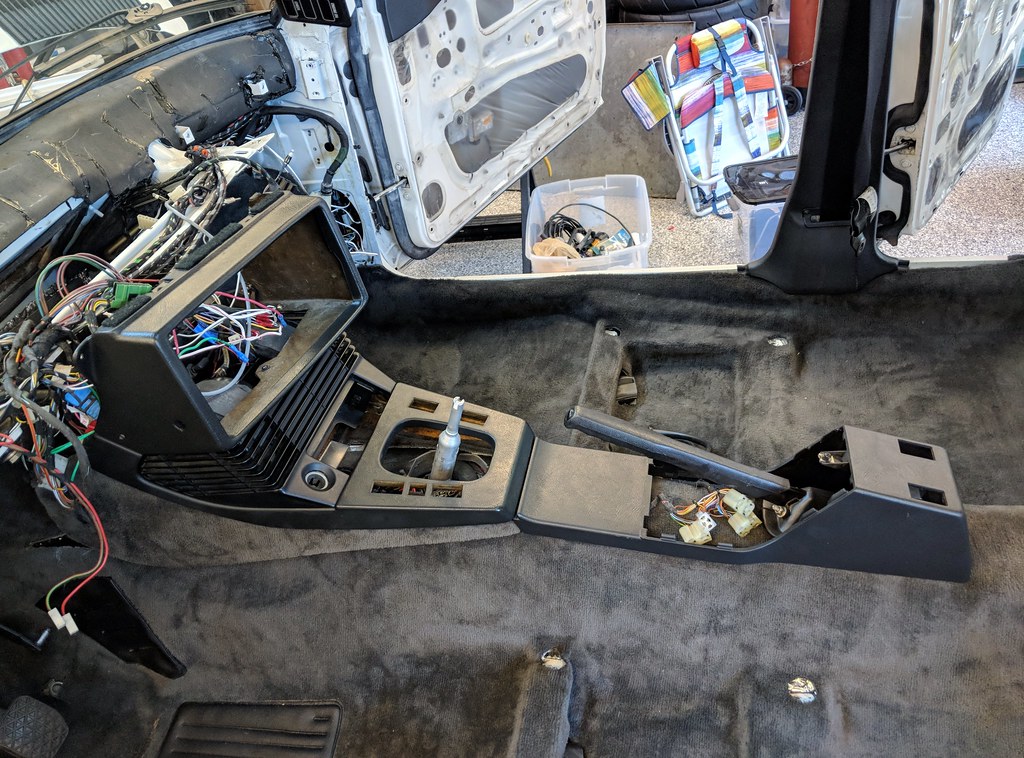
I did a test fit of the center console to ensure the thickness didn't impact anything. It is definitely tighter than OE, but the bolts all reach.
Image

It really warms my heart to see this interior come together! I really hated that PB.

Next up... heaters...

Re: Maytag: The Alpine '87 529i

Posted: Jun 08, 2018 11:11 AM
by tig
Yesterday afternoon I dove into R&R of the heater box.

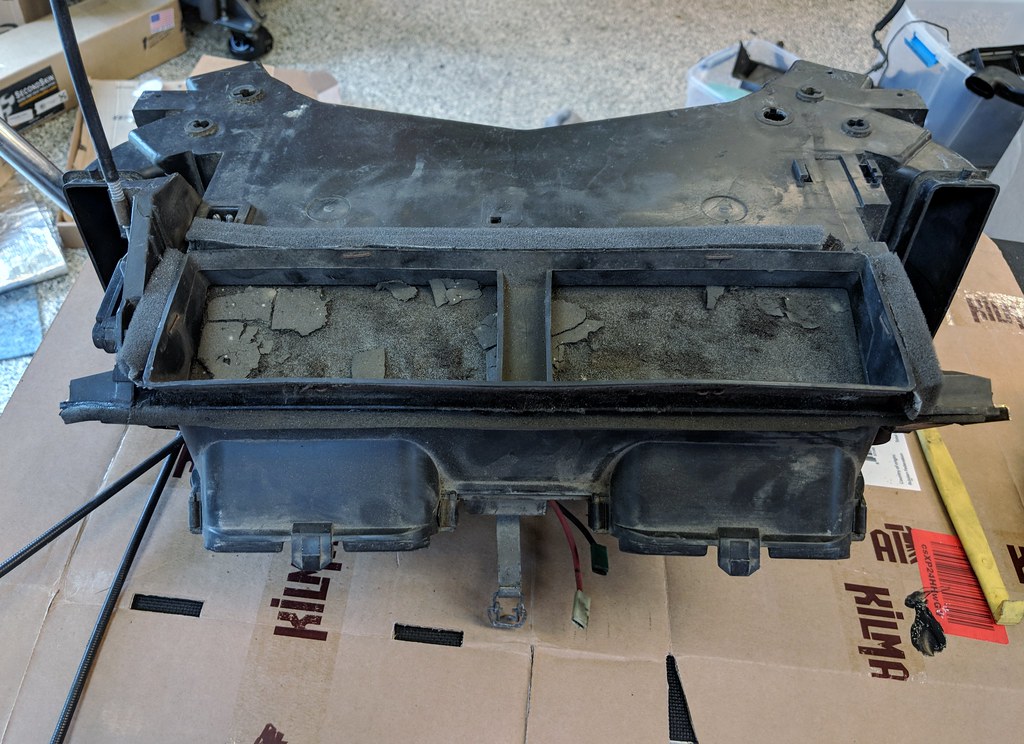
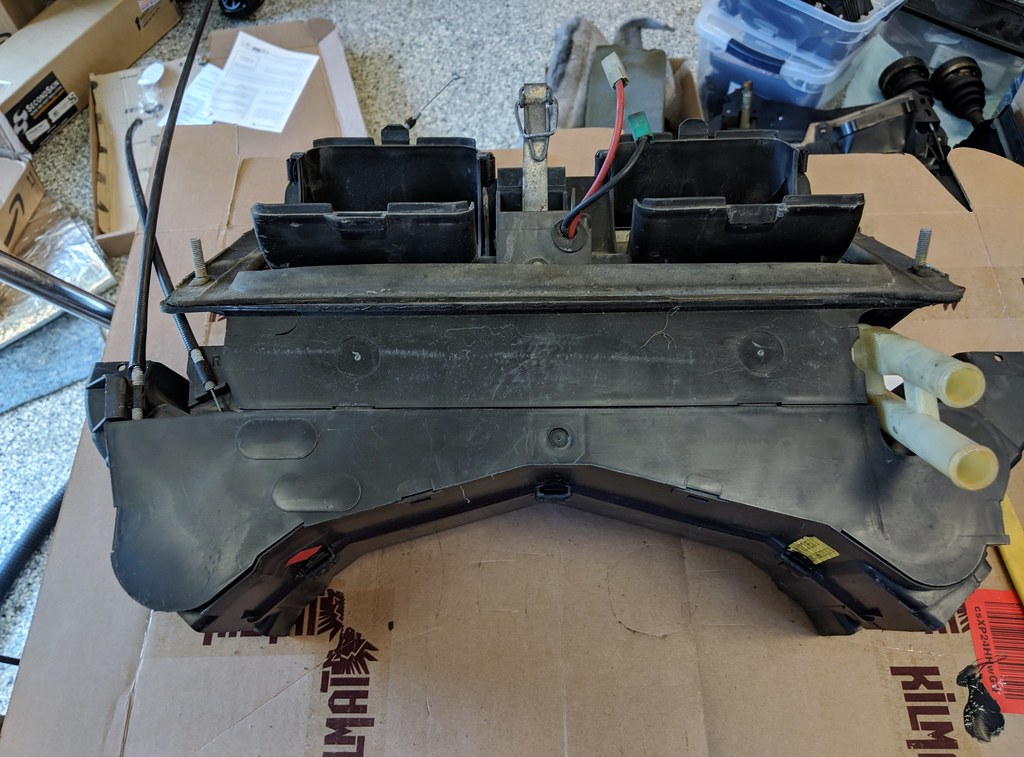
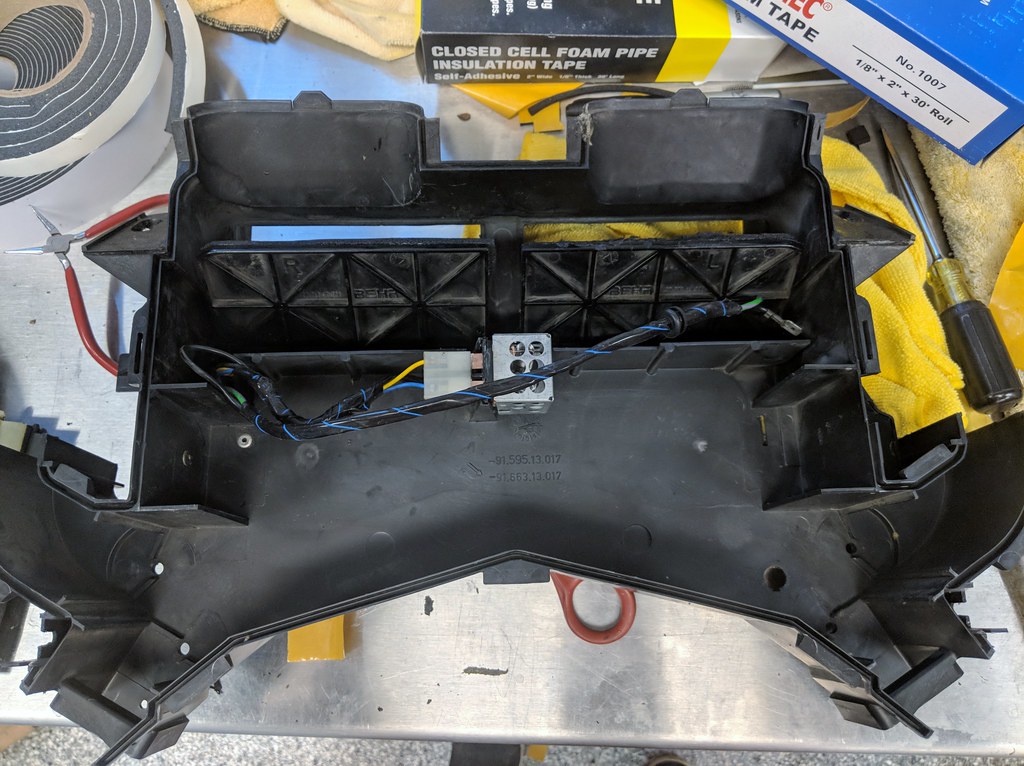
I have three E28 heater boxes and had them all set near each other. One from the 88 Turbo car I parted, the other from Minerva (85 528i), and one from Maytag. I grabbed the one closest to Maytag and dug in. Only after I had COMPLETELY refurbished it, making it 'tits', did I realize that I had picked up the one from Minerva, which is the old-style Sofica unit that has the mechanical hot/cool vent control.
Image
Image

I'm an idiot and this is what happens when I get focused on something. Tunnel vision. I noticed the old heater core looked super clean and thought that was odd ("had the PO of Maytag recently replaced the core?").
Image

That didn't stop me. Then I noticed the heater resistor pack wasn't the one I had recently installed, but I obviously didn't notice this enough, because I just kept going.
Image
Image

It wasn't until I set the thing in the car, and realized I didn't remember it having 3 cables that I realized my mistake.
Image

Before going down this rabbit's hole I didn't fully grok the differences in old v. new style heater units. Now I fully get it. And this is where I'm going to make some lemonade. Watch me.

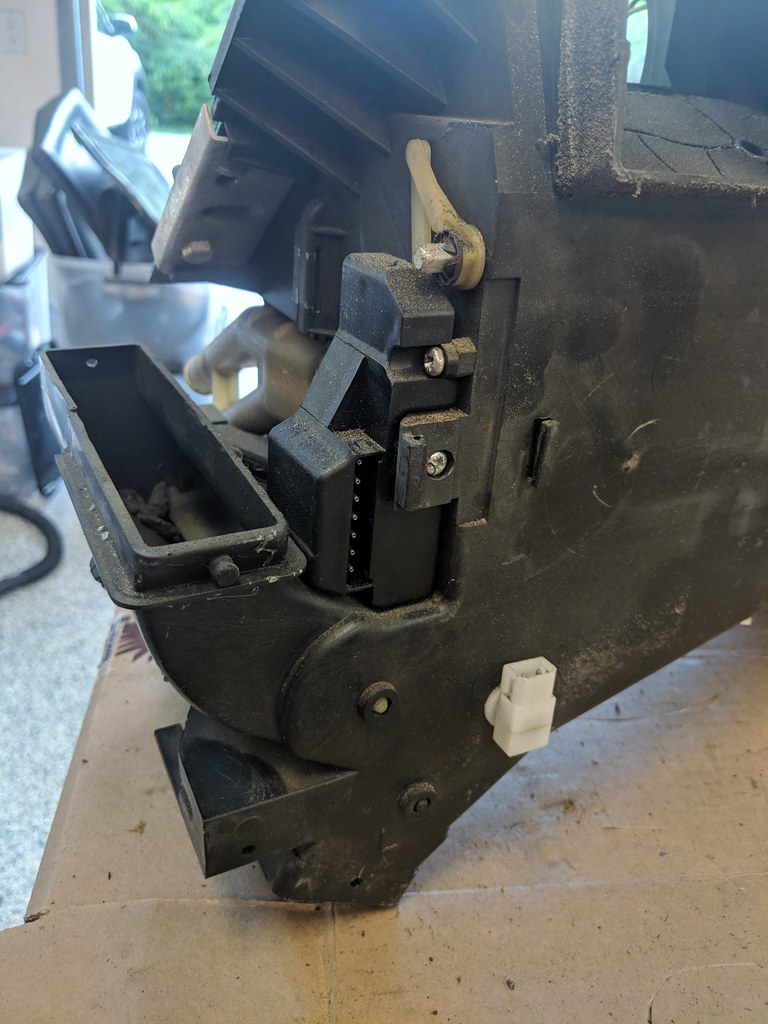
The old style has mechanical control of the hot/cool flaps. According to Kohler, us idiotic Americans couldn't deal with this so BMW changed the design to a servo controlled flap. This necessitated a change to the HVAC control unit. This means there are two styles of those too (I didn't know that). It also means the wiring harness is different. The old style unit also doesn't have a temperature sensor inside the box (at least this one didn't).
ImageMaytag Interior Upgrade by Tig, on Flickr

New style electronics for flap state sensing:
Image

It's not clear whether Sofica made any 'late style' heater boxes. Behr made both old and new. Fans and cages are not interchangeable.

Because I made this mistake, and I now understand the differences, I will do the right thing on Minerva, where I was blinding going forward with just using the Sofica heater box (the one I just restored). But I don't have an old style HVAC control, nor do I have the old wiring harness (I'm using an '88 harness in Minerva). So the good news in all this is I now actually know what I'm doing for Minerva, and I have had more practice taking these things apart and putting them back together again.

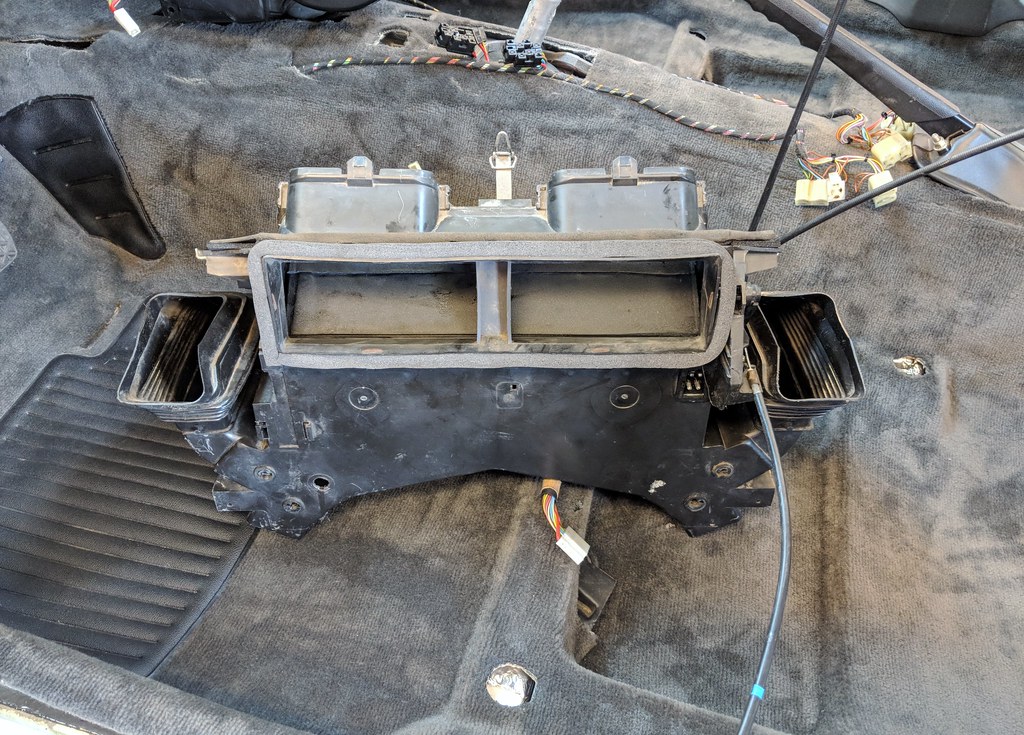
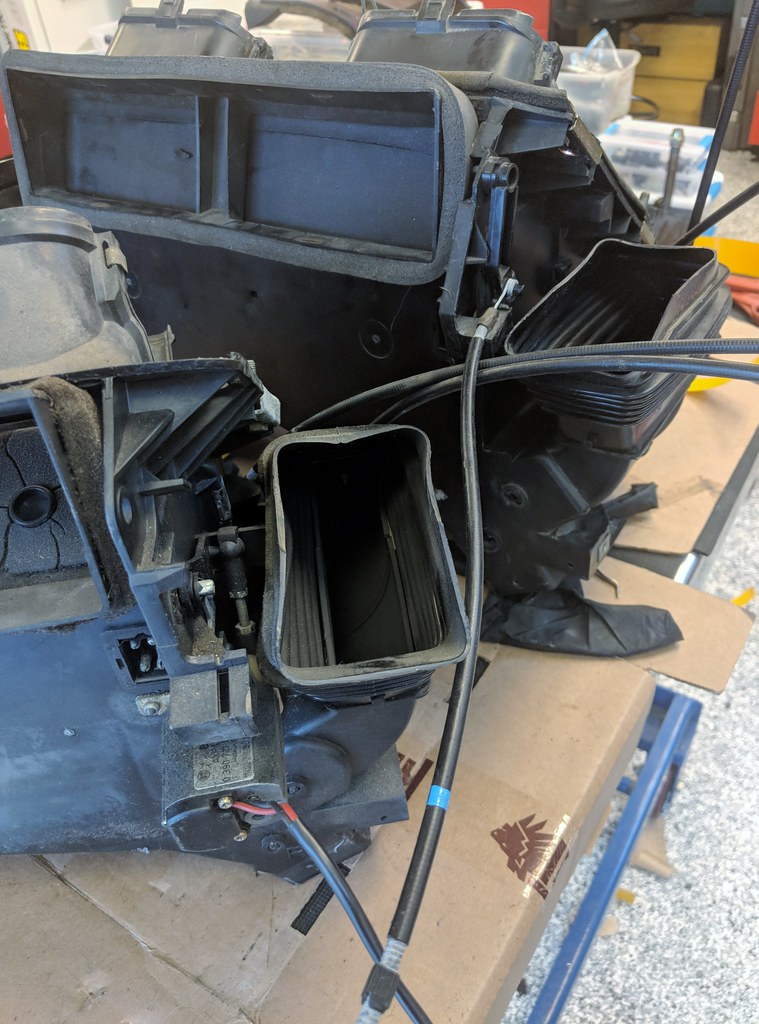
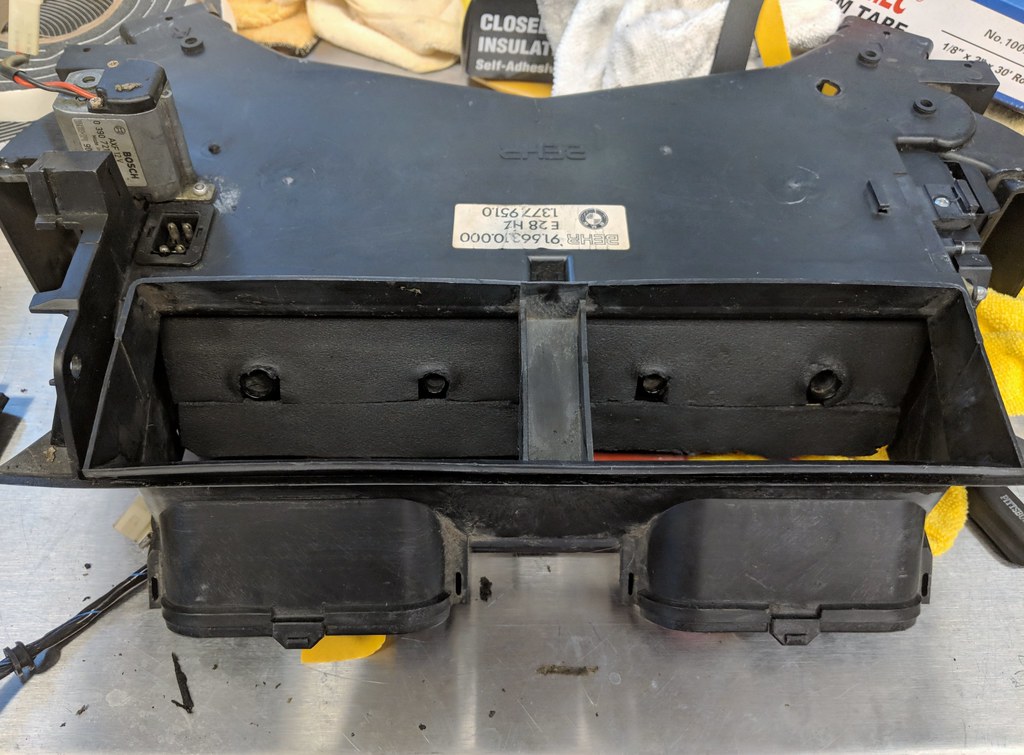
This is Maytag's box, which I am now half way through refurbishing (this morning's job is to finish it and get it installed):
Image

Note the shiny new heater resistor pack. Duh.

New foam on control vanes and flap:
Image
Image
Image

New wire wrap (F4 tape):
Image

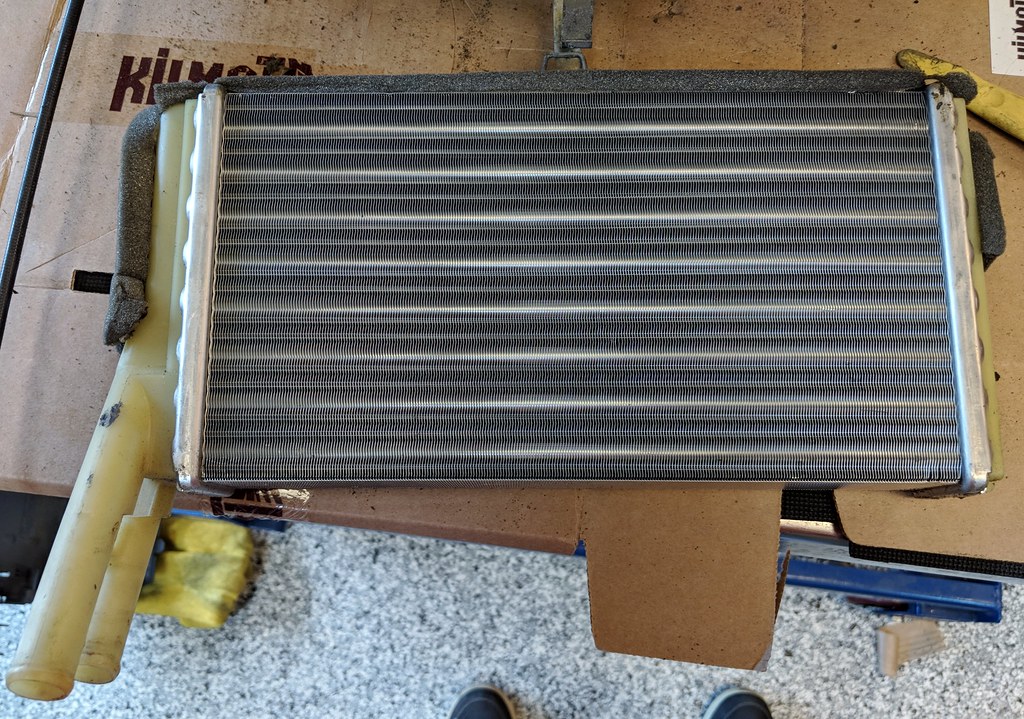
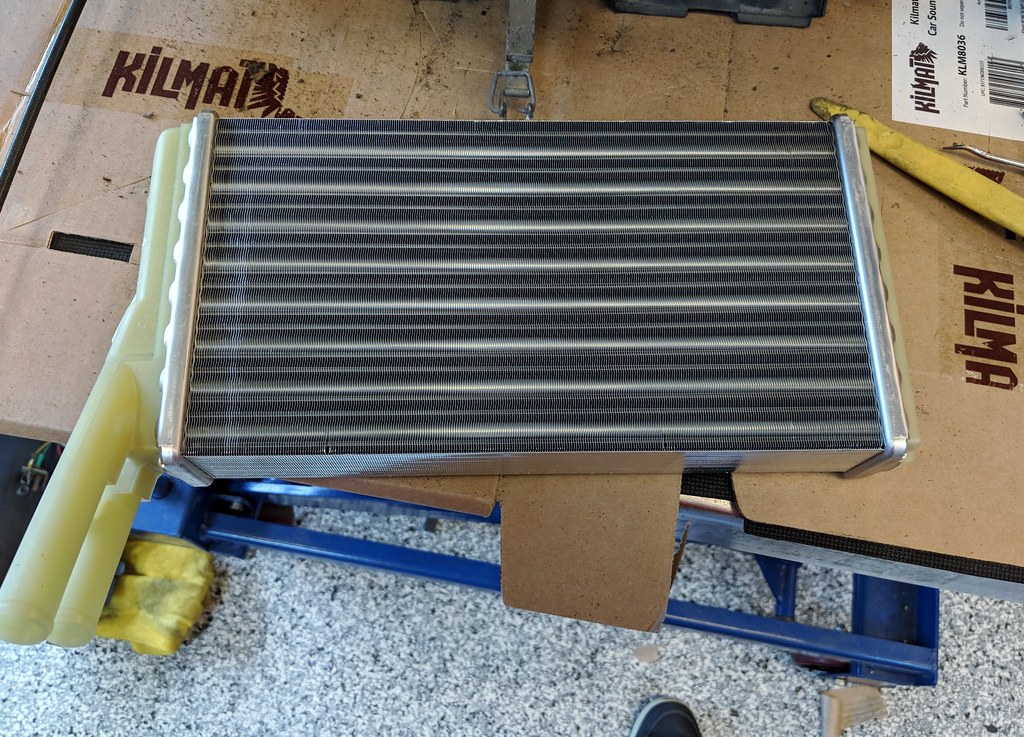
New core:
Image

After tearing apart both Sofica & Behr, I feel Behr is generally a more modern and solid design. The vanes are easier to remove and re-install and the movement mechanism is simpler. It is interesting to see how BMW farmed this out to two different companies and how each took a slightly different approach to construction.

Re: Maytag: The Alpine '87 529i

Posted: Jun 08, 2018 11:54 AM
by MicahO
Thank you for the detail. Many learns here, for all of us!

Re: Maytag: The Alpine '87 529i

Posted: Jun 09, 2018 1:15 PM
by tig
.

Re: Maytag: The Alpine '87 529i

Posted: Jun 09, 2018 1:15 PM
by tig
MicahO wrote:Thank you for the detail. Many learns here, for all of us!
Glad you appreciate it.

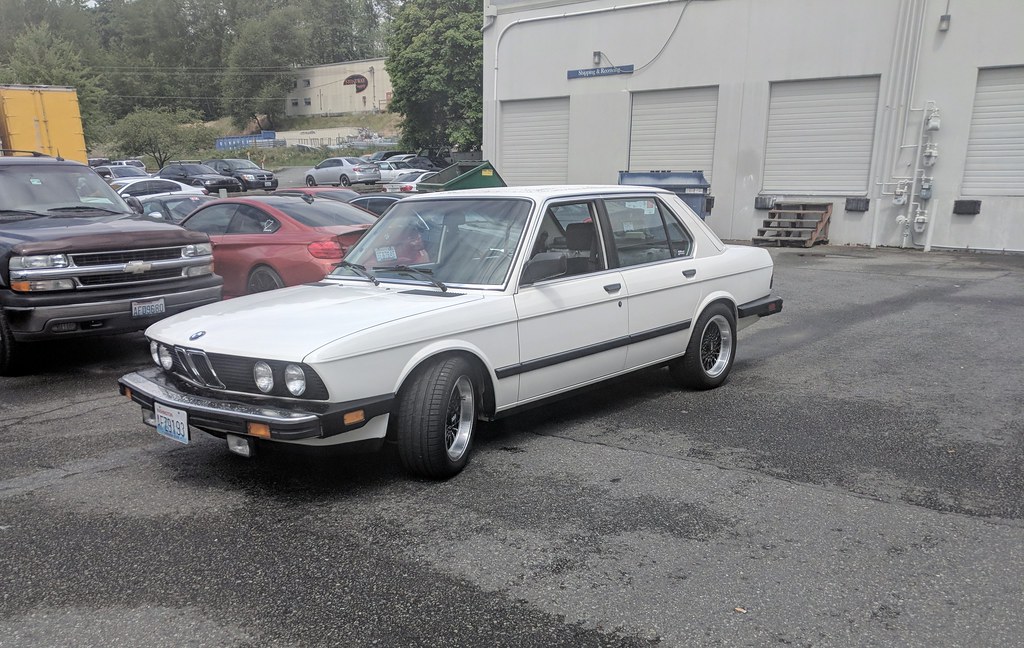
After digging in at about 10am the car started at 9:52pm... Recall the goal is to get to the BMW Dyno Day at Carb Connection sat 10am. The seats and stuff won't be done until early July.

It was a long day of two steps forward, one back...

I'm very appreciative of Matthew (@MattyCV) who texted me asking about parts... I turned that around on him and cajoled him into giving me a second set of hands for the dash installation. I have no friends so, I need to bribe random strangers sometimes. He's a class act and e28 enthusiast with a super clean, original Lachsilber paint, 88 528e.
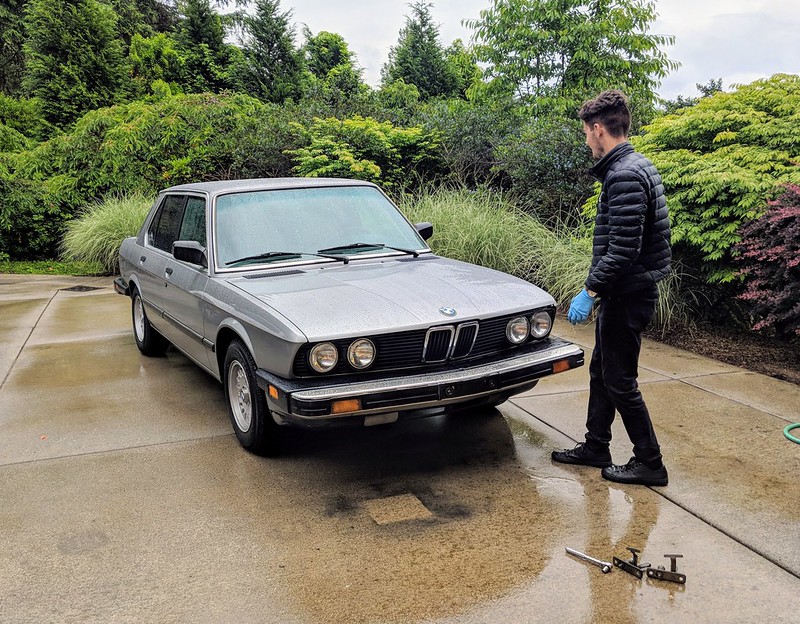
Image

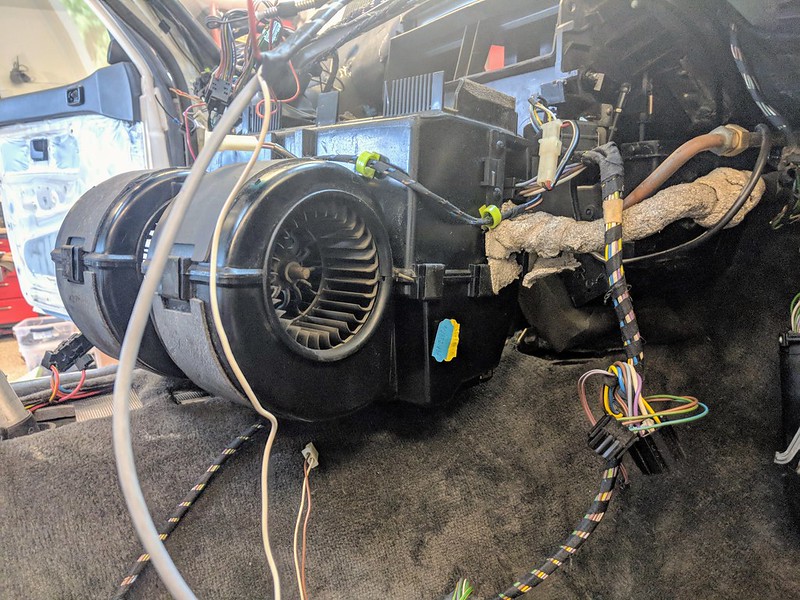
The first job was to finish rebuilding the Behr heater box, which went smoothly until I had it nstalled and THEN realized I didn't put the heater core in it.
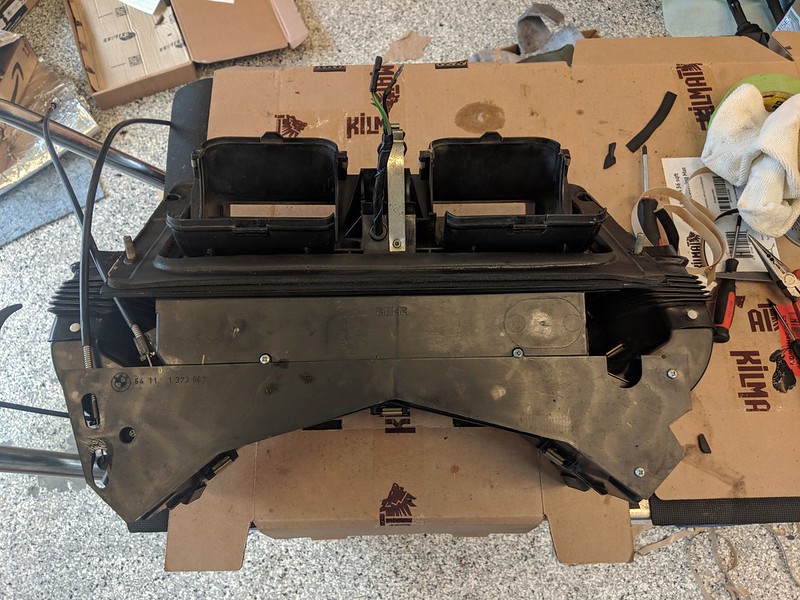
Image

When I went to install the nuts in the engine compartment I noted this thing which my buddy had removed the other day. I know it bolts to the rhs heater box stud, but have no idea what the heck it is for. Doesn't really matter, but I am curious.
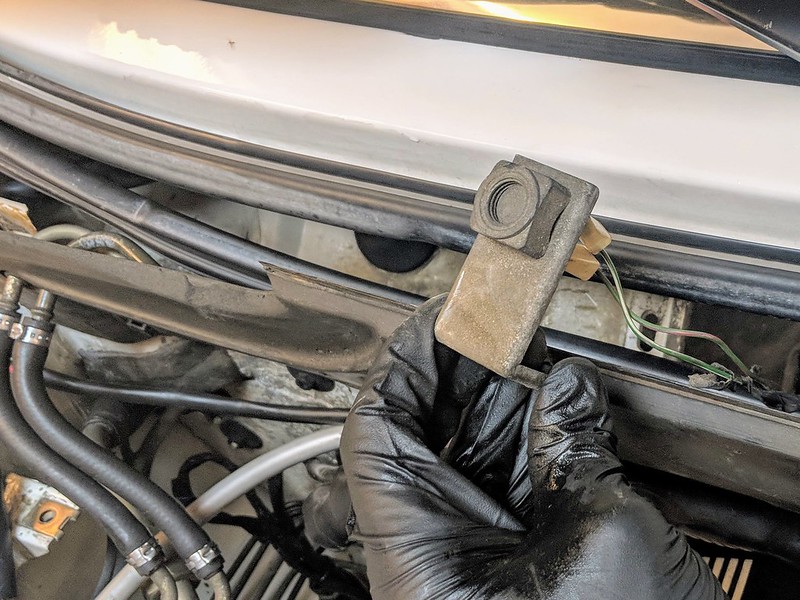
Image

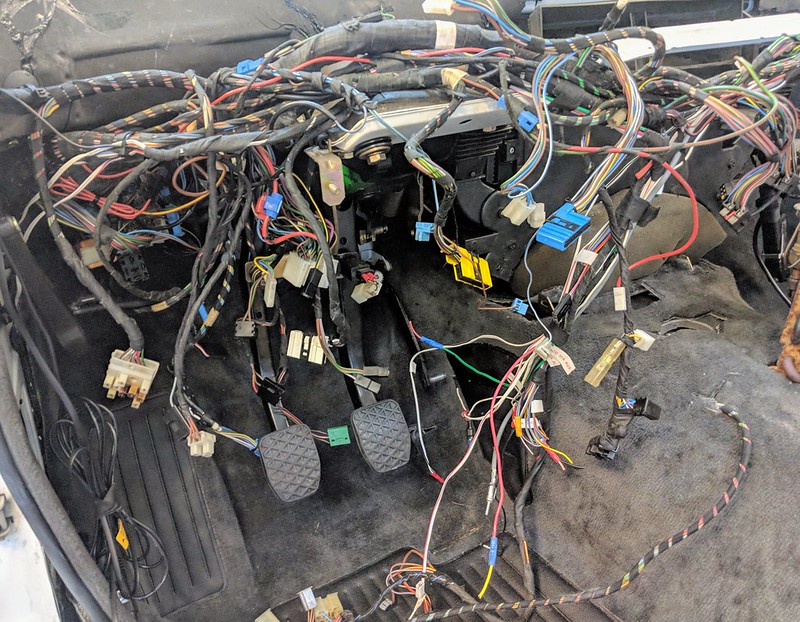
Next I needed to clean up all the wiring and get things ready for the new head unit. My goal for the day was to have the new unit working, but in the end this got cut back to just having all the wiring labeled and bundled ready for splicing in the new iso connector. Thankfully the old (great, but not period correct looking) jvc head unit has a helpful diagram on it. I used this to ensure all in-car wiring was accurately labeled.
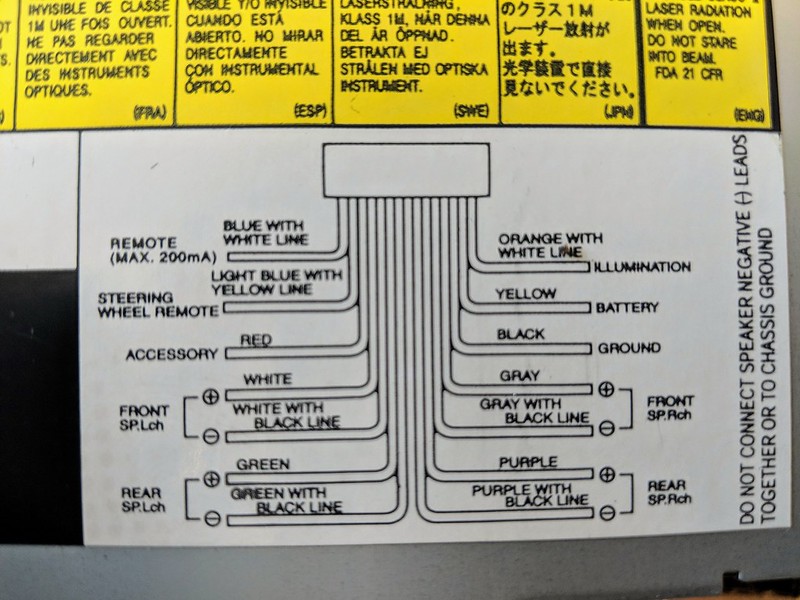
Image

I also re-wrapped any OE bundle where the original tape was crusty.
Image

My lovely wife is the BEST. Burrito delivery directly from taco truck to the garage.
Image

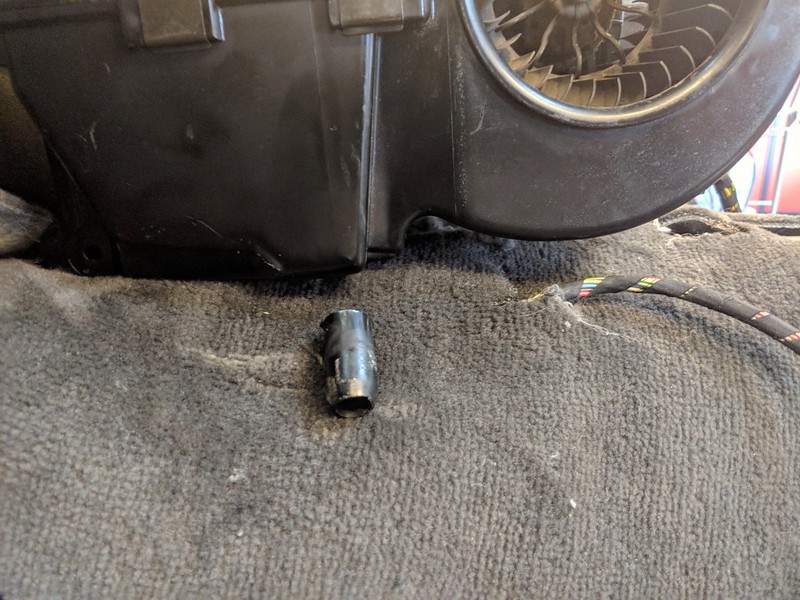
I was preparing to get the AC box into place and this happened. Mother fudger! I knew these things broke off (drain on bottom of AC unit), and had attempted to be careful. There WAS an attempt. Sigh.
Image

Image

Of course one of the other units is broken already... But one is good (supposed to be for Minerva). Ok, so no big deal.... I'll just pull the AC box apart, insitu and all will be fine.

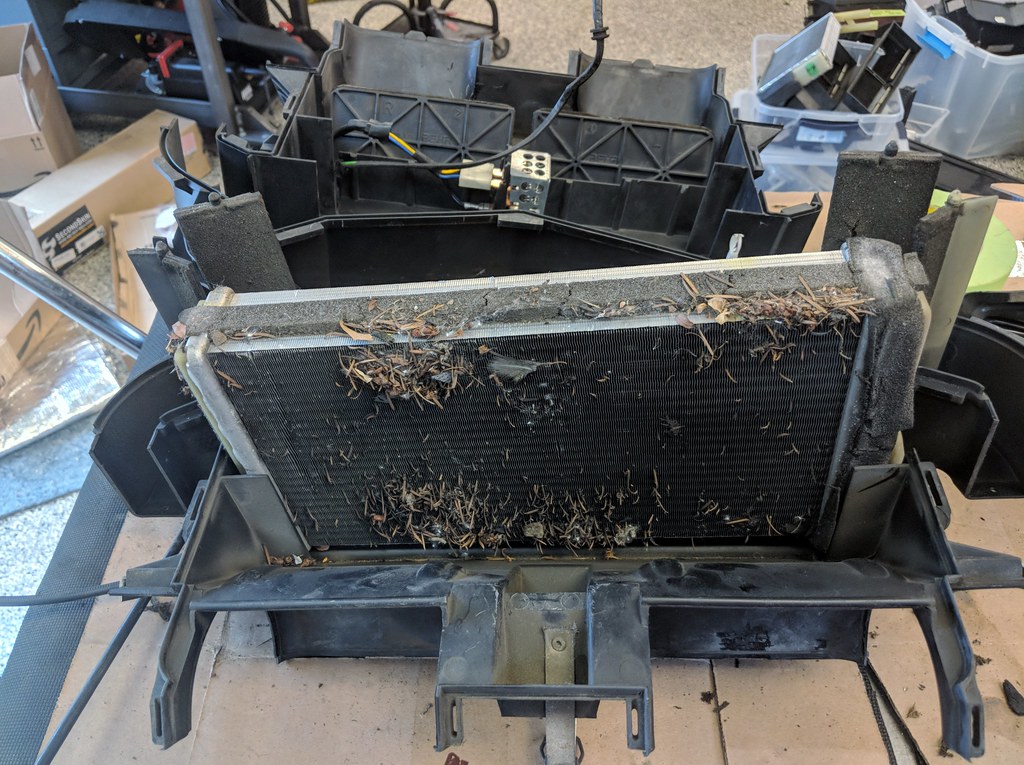
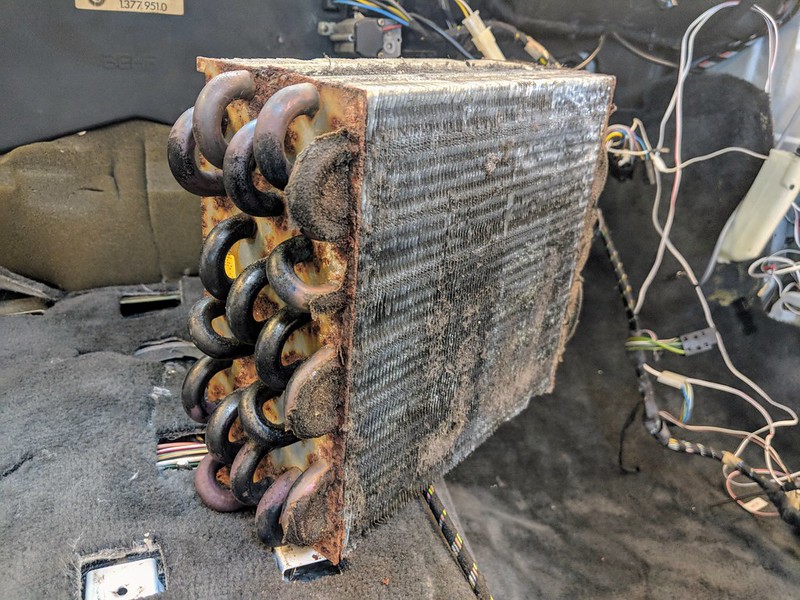
Nope. Once i saw the condition of the condenser I realized there was NO WAY I was putting things together without replacing it. I got on the phone with the mobile AC guy, but he can't come until next week.
Image

I had a choice: pop the freon and damage the ozone layer, or wait. One of the condensers I have is in great shape (I believe from Minerva where Ladue/Rondo/Micah/PO had replaced it fairly recently). In the end I decided to do it right and wait. I could still make the car drivable with no heat/ac.

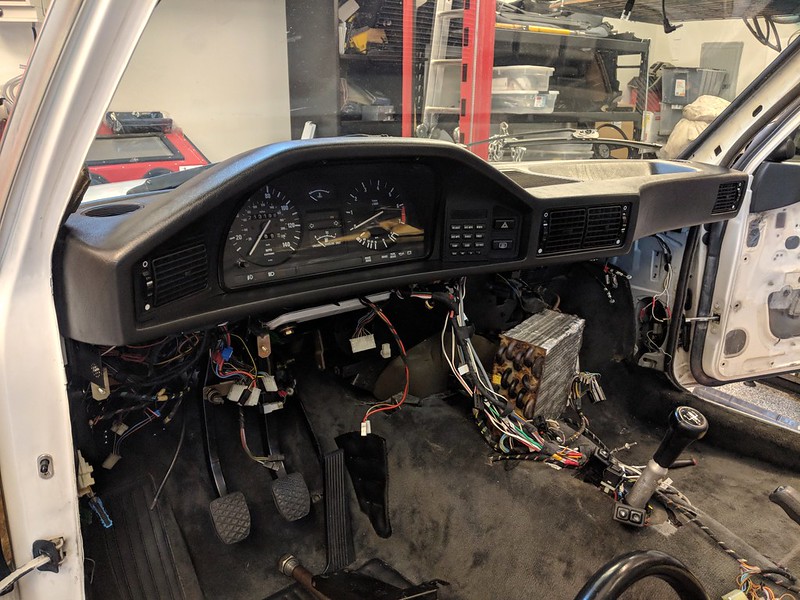
Ready for dash...
Image

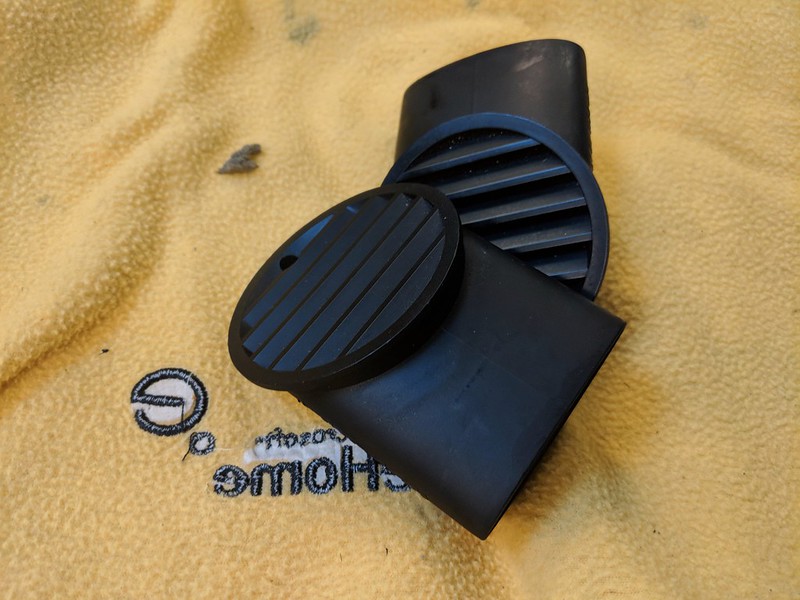
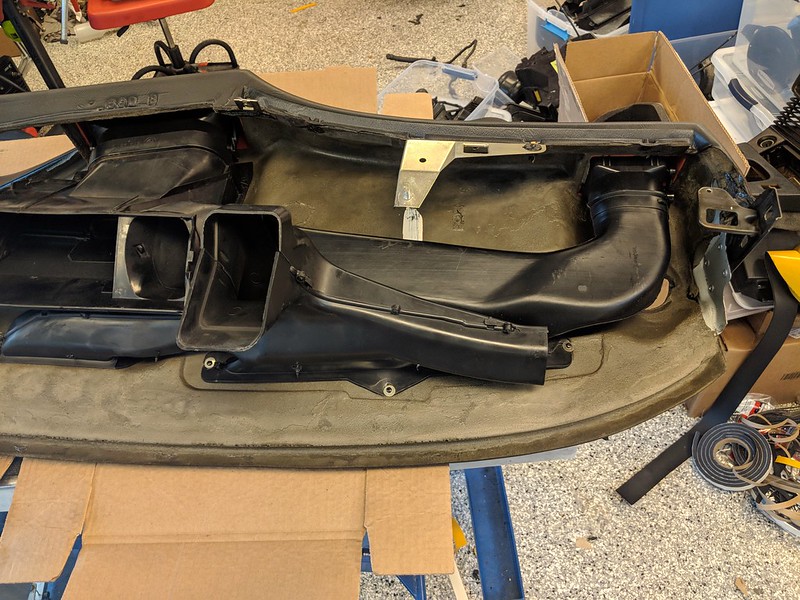
Matthew and I struggled to get it in, as I expect everyone does with windshield in place. But we got it done with patience. I had failed to put ALL vent ducting in before installation which was a bummer. Its possible to finagle the small vent hoses after the fact, but putting them on the dash first would have been correct.
Image

Image

Ta-da!
Image

We reconnected heater hoses, double checked everything and tried to start it. At this point it was 8:30pm and energy was low. It wouldn't start.

Went through all standard checks and determined no spark, yes on fuel, yes on V at coil, but no start. I needed food and Matthew needed to get home so I called it a night...

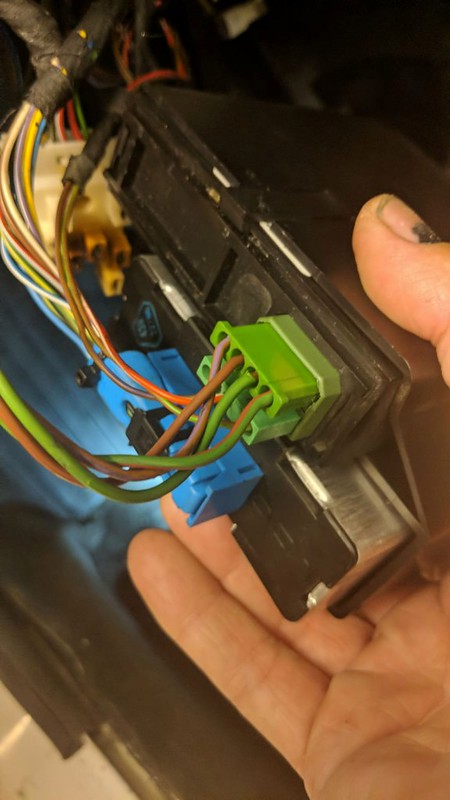
But then between texting the Oracle of the Desert and some WhatsApp messages, as I gulped an epic beer, it came to me: I couldn't find one of the green wires that goes into the box by the cruise control unit.
Image

Chris reminded me that box is the obc relay box... In my starving state I had decided there was only one green plug. I should have realized this was stupid and kept looking. I found the bastard behind the carpet.
Image

She started up and runs like a sewing machine.

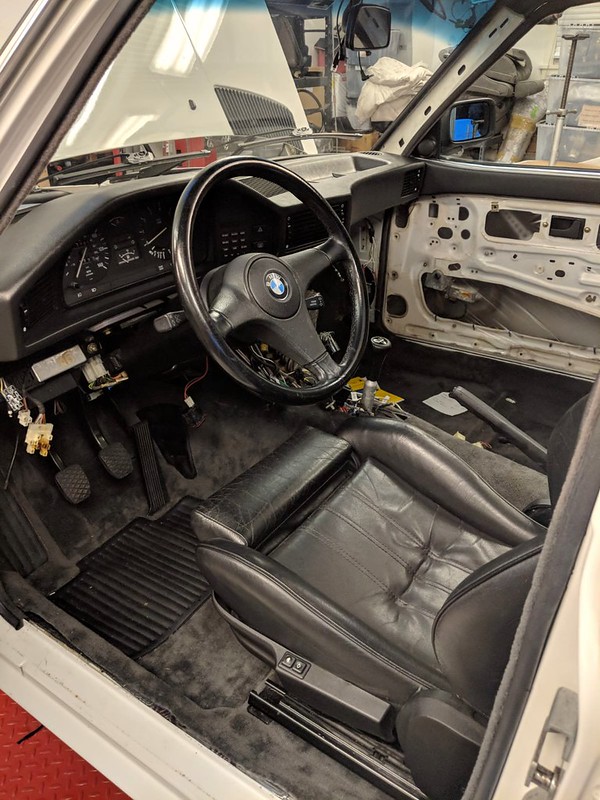
I buttoned a few more things up and went on a test drive. Zoom zoom. Without a heater fan or AC box in place the cabin is down right drafty. Heh.
Image

Woot!
Re: Maytag: The Alpine '87 529i

Posted: Jun 09, 2018 1:57 PM
by Dale3783
I will never get tired of reading one of your threads. Often many times over. Thanks for being so You.

Re: Maytag: The Alpine '87 529i

Posted: Jun 09, 2018 2:42 PM
by tig
Dale3783 wrote:I will never get tired of reading one of your threads. Often many times over. Thanks for being so You.
You're welcome. I am glad I'm me.

Re: Maytag: The Alpine '87 529i

Posted: Jun 09, 2018 8:26 PM
by tig
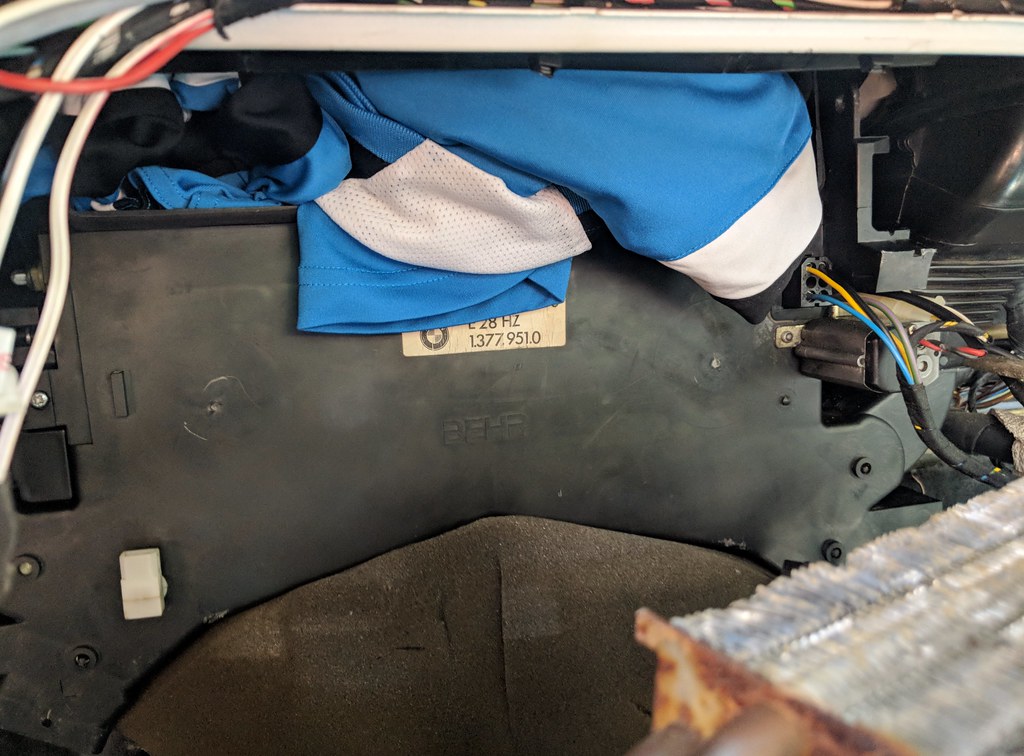
Ok, first, driving an E28 without a heater fan or AC box when it's cold out is... cold. Thank goodness I happened to have a spare, non-smelly soccer jersey in the car on my way to the BMW Dyno Day's event at Carb Connection this morning.
Image

Ready for the test. Anxious, I'm sure.
Image

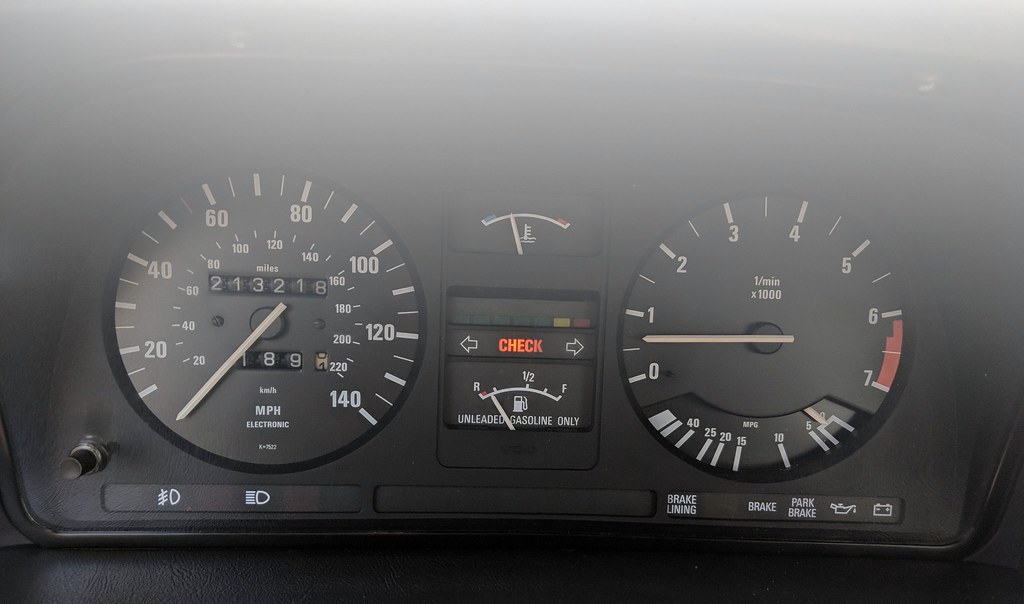
Documenting mileage.
Image

A run, with glorious audio:
https://www.youtube.com/watch?v=XVfYyjKU8XI

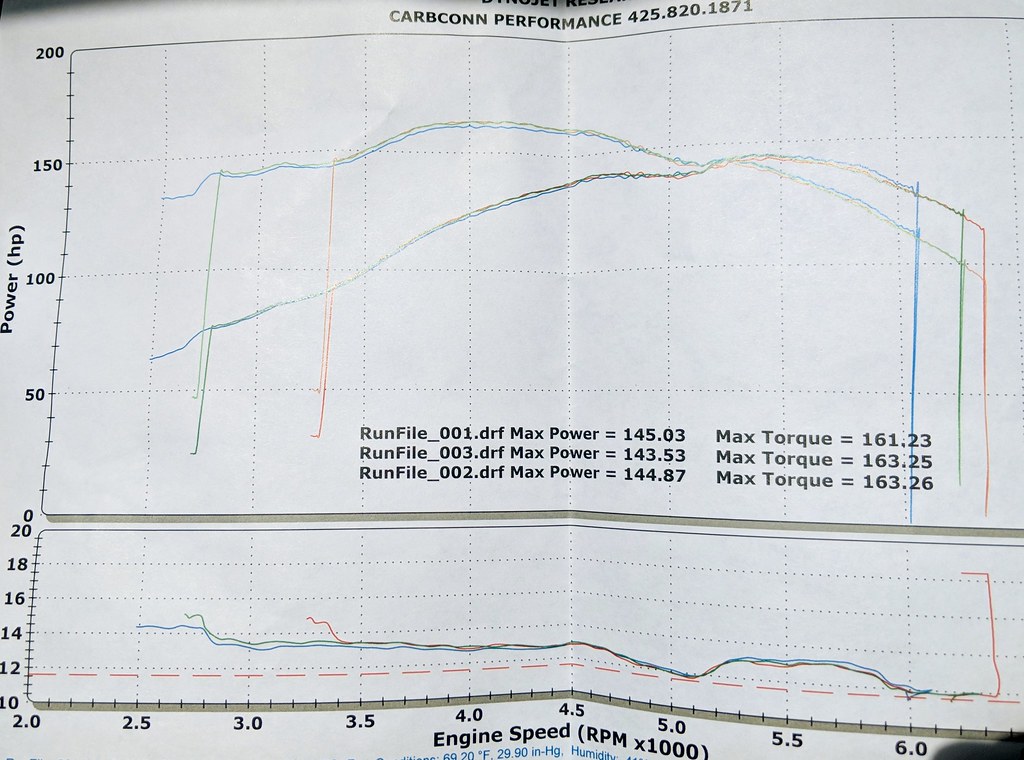
The results.
Image

Lame. But not unexpected given the stock 325i tune and restrictive Eta exhaust (not even Super-Eta). The AFRs make it clear there's more in there. Glad to see no lean. Odd dip and rise at 5000rpm. Nice and flat curve.

When driving this car you definitely feel that low end torque between 3500-4500 rpm. Makes it a hoot to drive. This is motivating me to keep the exhaust a little restrictive...

Best of all it didn't esplode.

Re: Maytag: The Alpine '87 529i

Posted: Jun 12, 2018 9:52 AM
by tschultz
Impressive work, as usual!

Re: Maytag: The Alpine '87 529i

Posted: Jun 15, 2018 8:15 AM
by Adam W in MN
Outstanding updates. I especially wish I had had your experience and pictures when I installed sound deadening and tried also to replicate the carpet foam thickness on my E12!

Re: Maytag: The Alpine '87 529i

Posted: Jun 17, 2018 12:31 AM
by tig
Yesterday was a looong day in the garage. In the end I got the center console in.

Doesn't sound like much, but given what needed to be done...

You'll recall that I had to stop assembling the interior once I found out the AC condenser looked like it was 31 years old. I couldn't find anyone last Friday to come by and service the R12 in the system, so I had to do the Dyno run on Saturday with a 'partial' interior:
Image

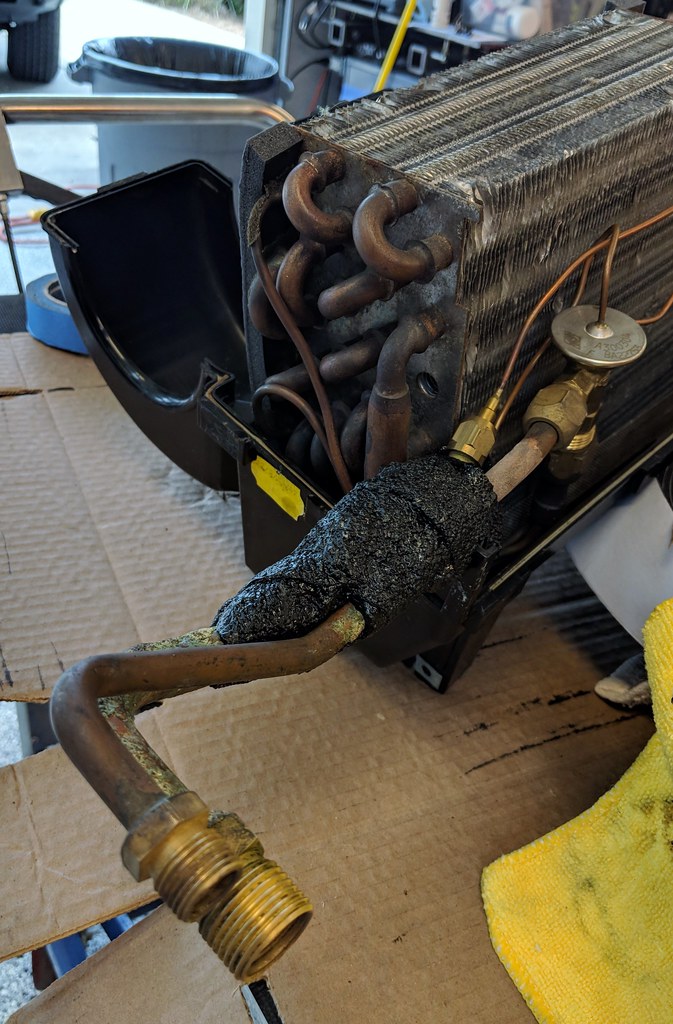
Step one, while waiting for Rick's Mobile AC (now owned by Keith, who's apparently just as awesome as Rick) to show up, was to get then 'new' condenser ready. This condenser that came in Minerva and was clearly used lightly. No rust. It may have been installed when the car was torn down for restoration and never finished. Or it has just a little time on it. The expansion valve looks brand new.
Image

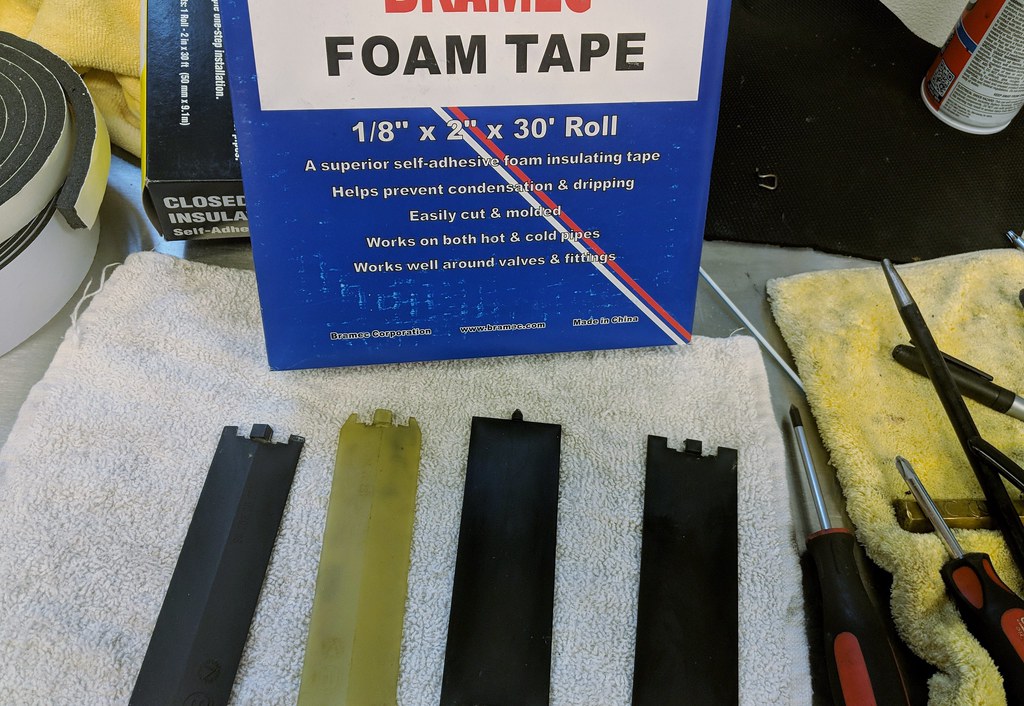
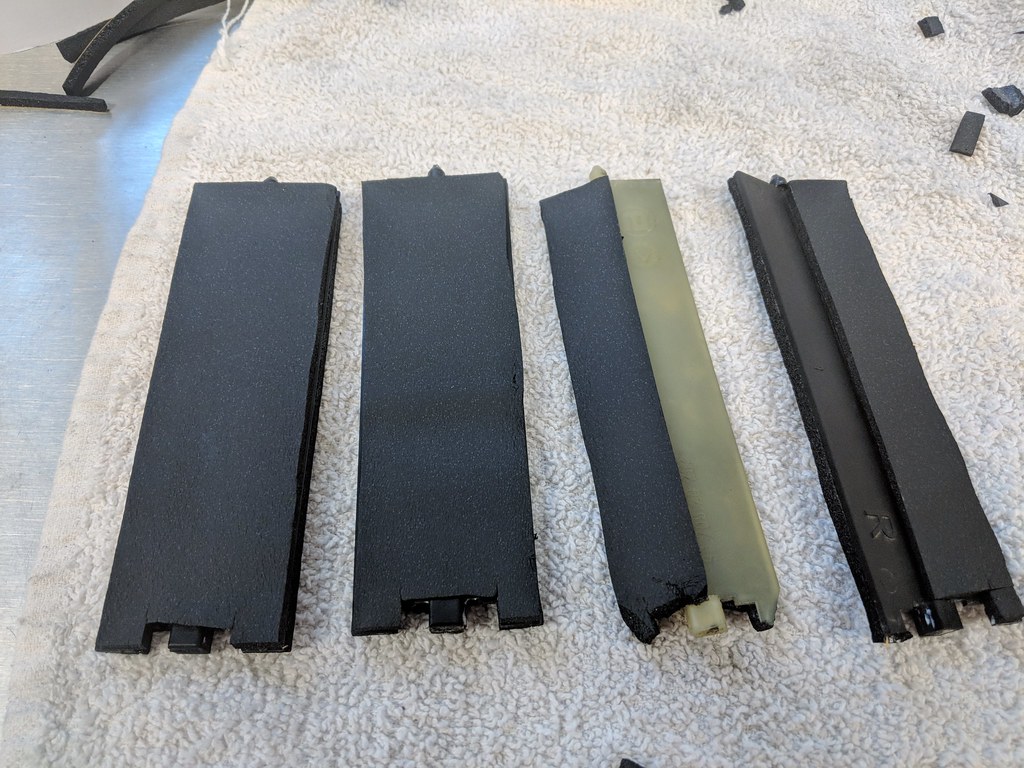
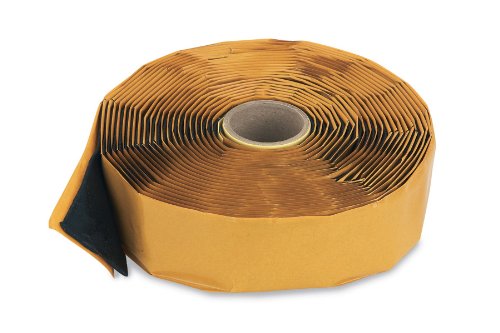
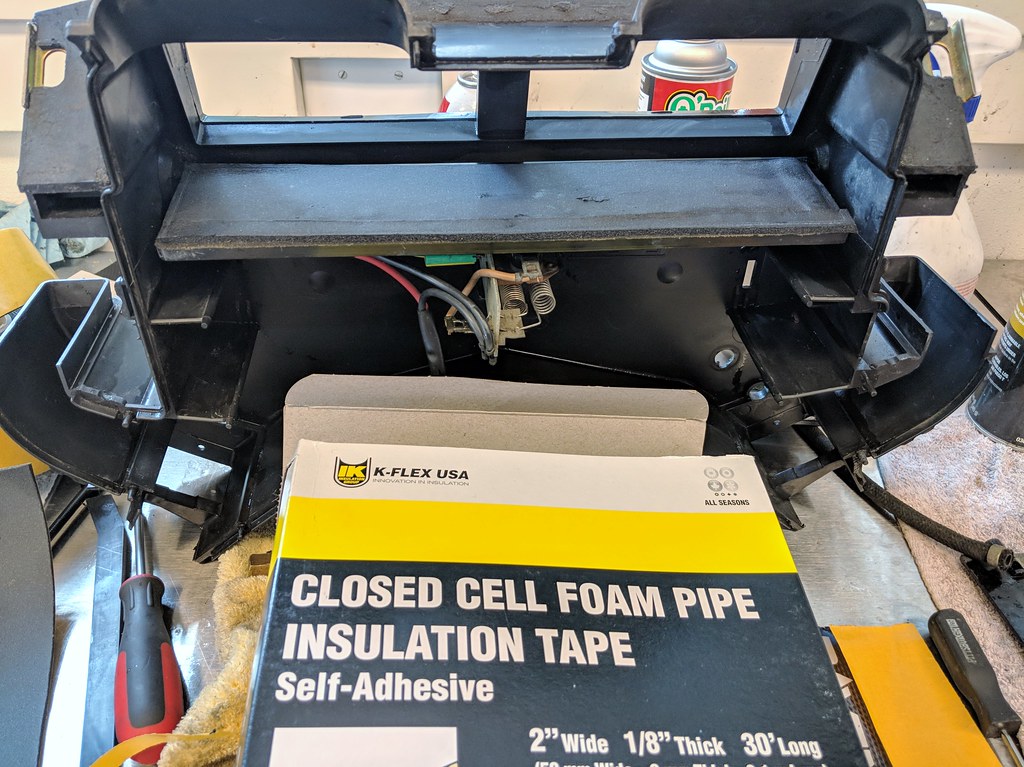
I bought this cork based tape for insulation based on advice elsewhere:
Image
https://www.amazon.com/gp/product/B0049 ... =ceklog-20

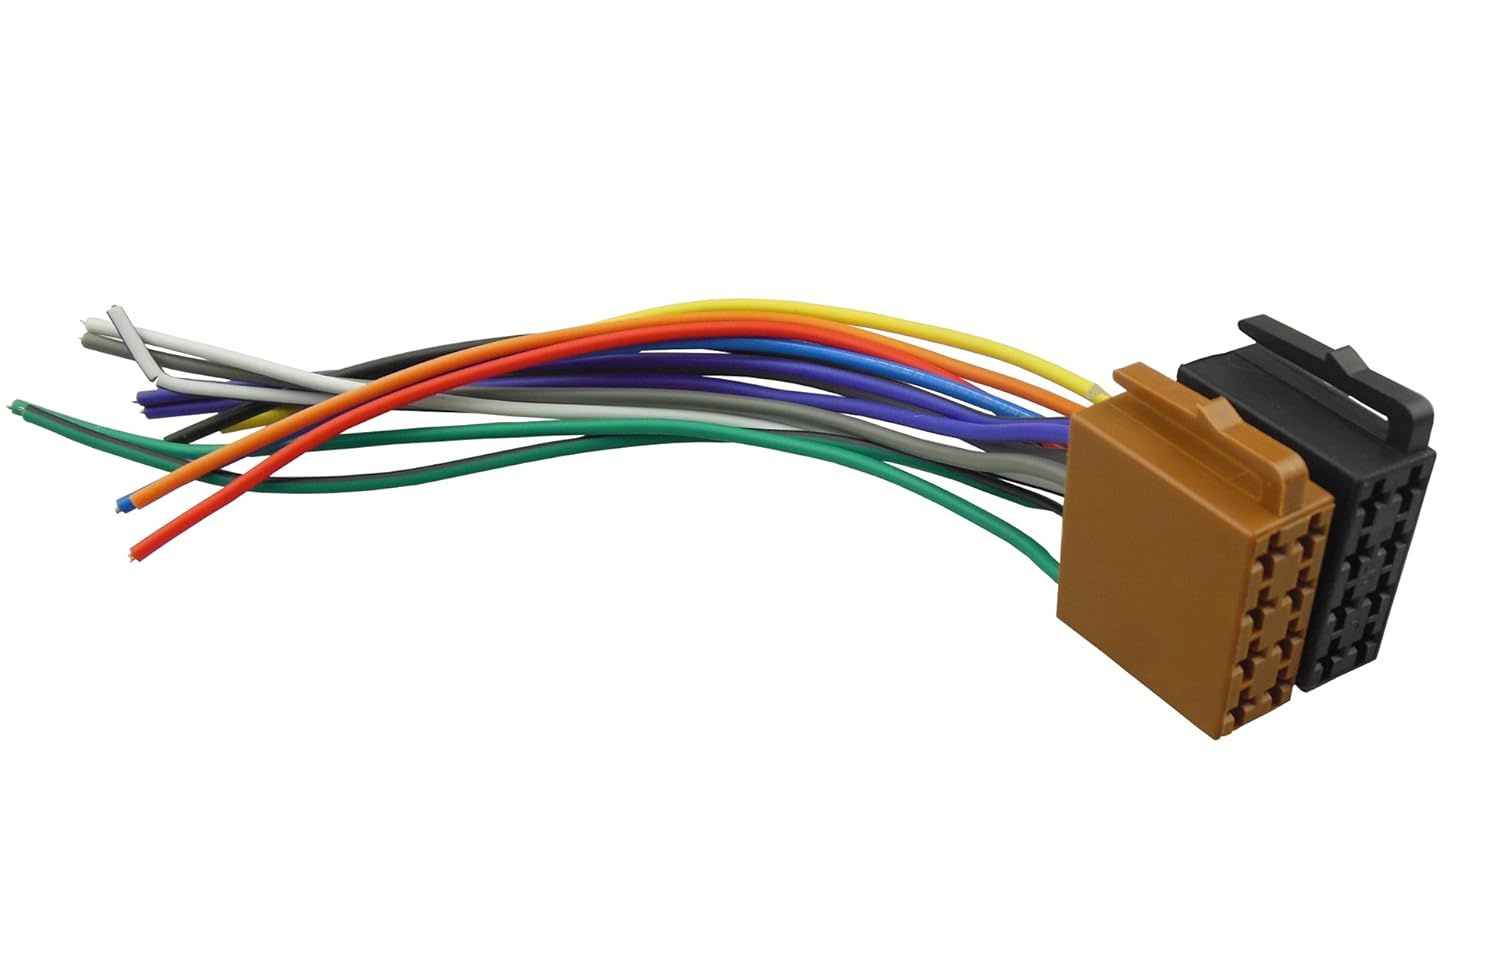
I also spent a bunch of time prepping for the new stereo head unit install. The old JVC unit was just fine (in fact it works slightly better than the one in Vlad) but I had a Kienzle MCR-1116BT unit sitting there that I had bought for this car ages ago and was really curious to see how they actually worked (I have the ultra hard to find and NLA MCR-1016BT on a shelf, waiting to go in the 911). These units use the ISO wiring standard so I had to source this on Amazon:
Image
https://www.amazon.com/gp/product/B00ZG ... =ceklog-20

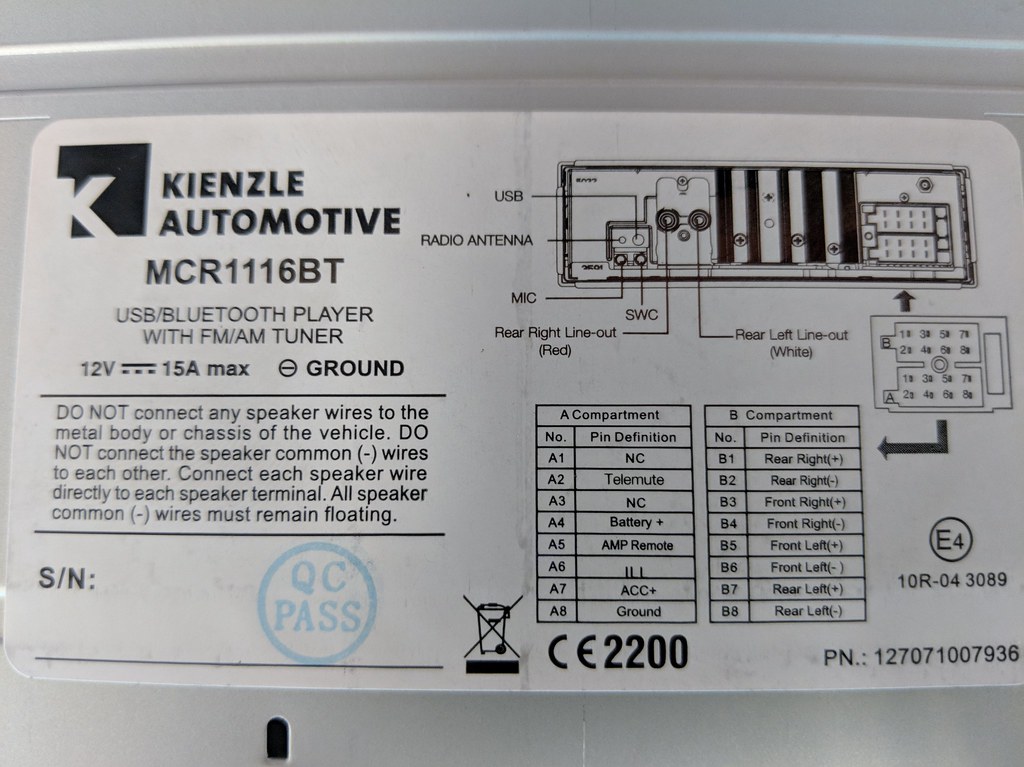
Snapped a pic of the wiring diagram on the unit since my vision is so bad and I couldn't find my garage glasses.
Image

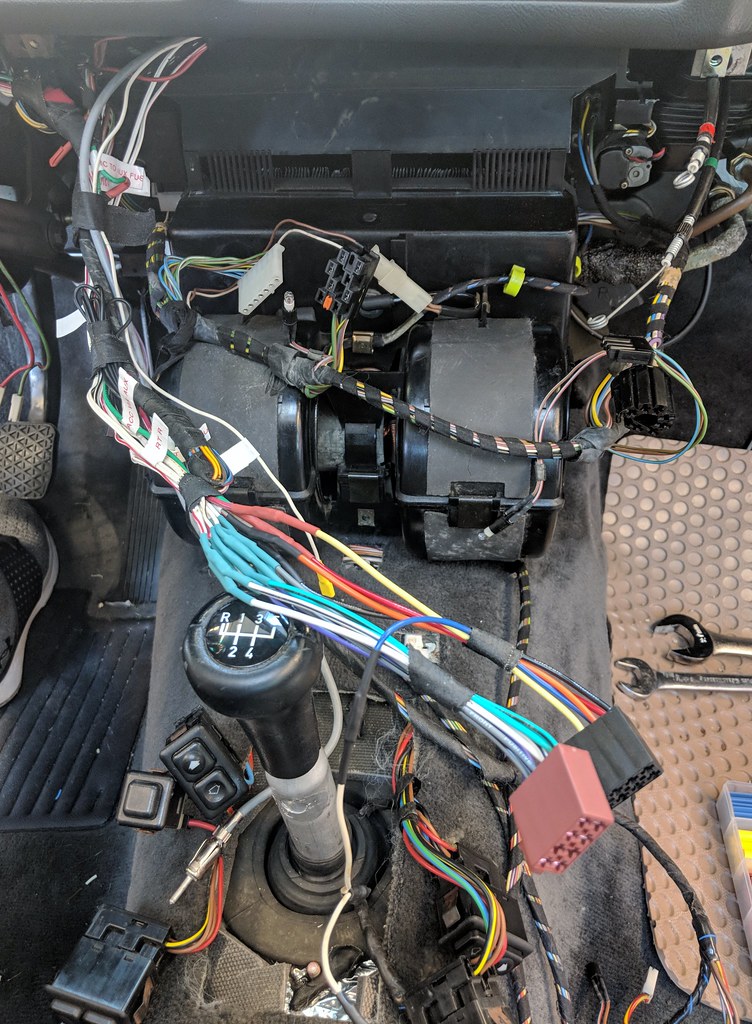
Tidy (for me) wiring (including antenna wire cutoff switch using a fog light switch and my super-duper USB-C adapter):
Image
(this pic was taken later in the day; trust me I did this in the morning).

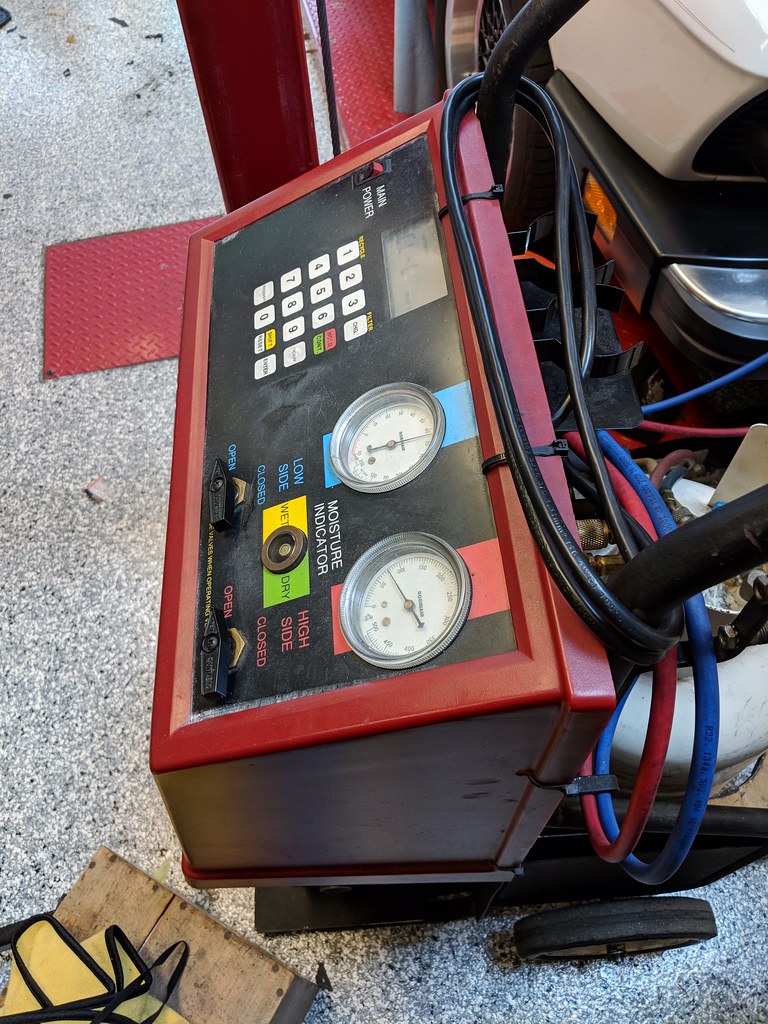
I thought I took a pic of Keith's cool (pun intended) device for testing Freon. He used it before sucking the R12 out my unit to ensure it was not contaminated (and was R12). Since Rick put the stuff in just about 2 years ago, it was not surprising to find it wasn't contaminated.
Image

Apparently these R12 charge systems are getting hard to find/repair. Keith claims when this dies, he has some spare parts, but he'll likely be out of the R12 biz when it happens.
Image

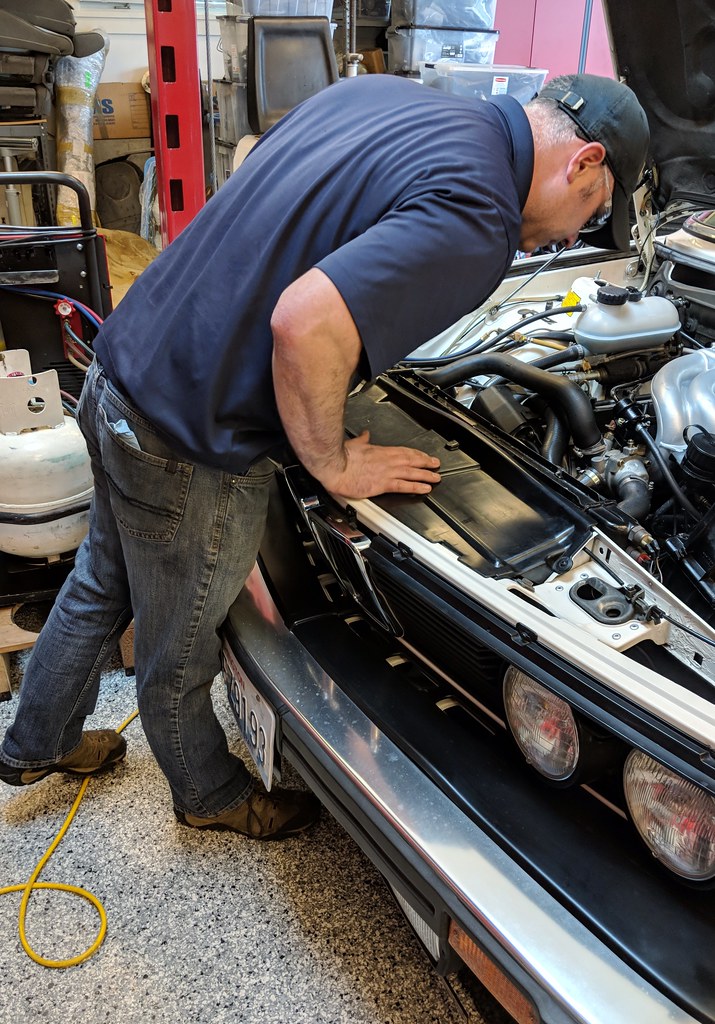
Keith was awesome in helping me get the new condenser/unit in after I pulled the old one.
Image

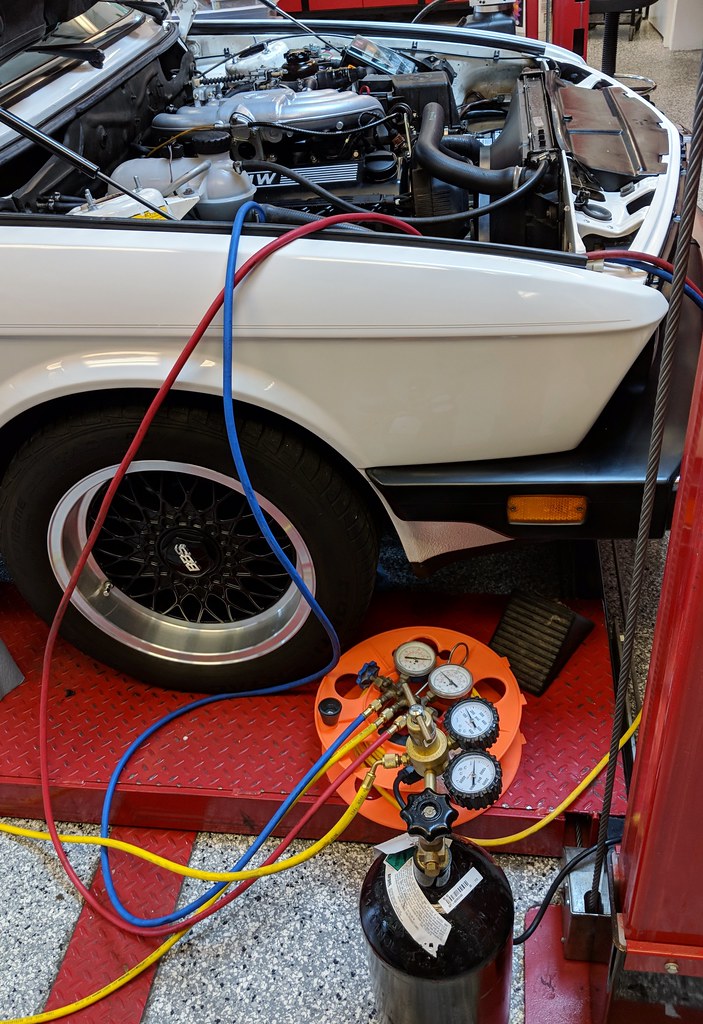
Before putting Freon in, he used nitrogen to test for leaks. None found.
Image

Blew cold!
Image

Keith left at this point and I carried on...

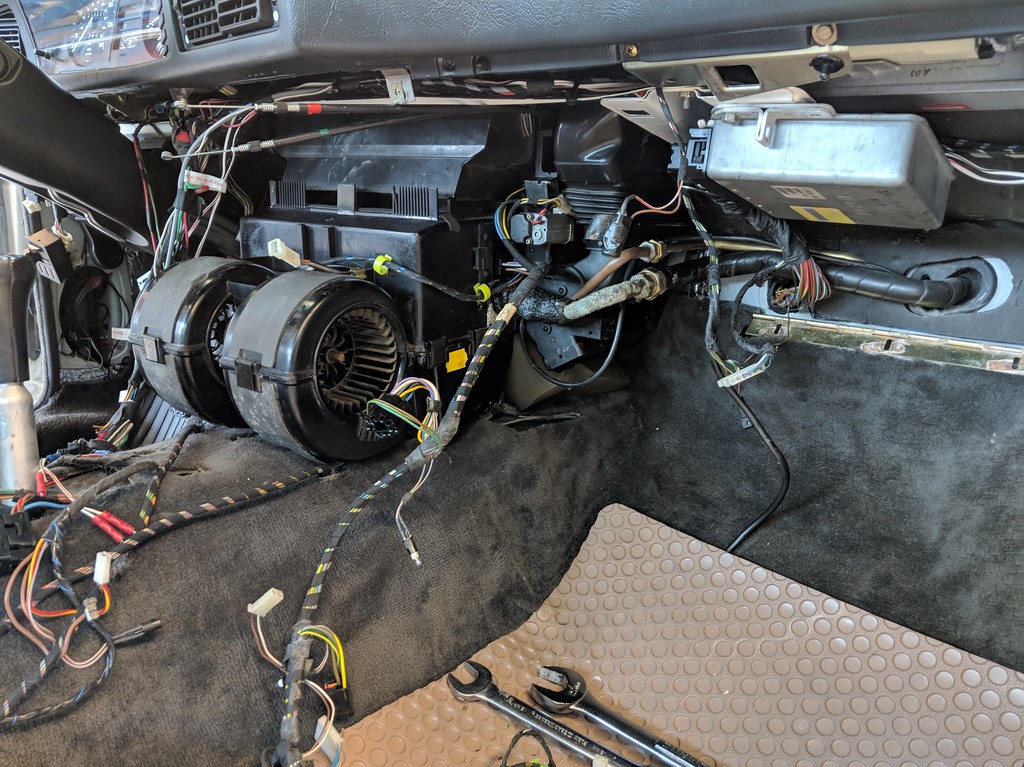
Progress. This was about when I realized I'd forgotten: a) the insulation that goes above the AC unit, b) the nuts/screws that secure the AC unit to the chassis, and c) something else I can't remember right now. But trust me, this was an exercise in two steps forward, one back. Over and over.
Image

One bitch was getting the Heat/AC vent cables connected to the HVAC unit. I also couldn't get them to STAY attached, so I had to use some zip ties to hold them in their little places. I'm sure I screwed something up that led to this, but in the end it all works, so there.

Victory. Sort of.
Image

Notice what's wrong? I didn't at first either.
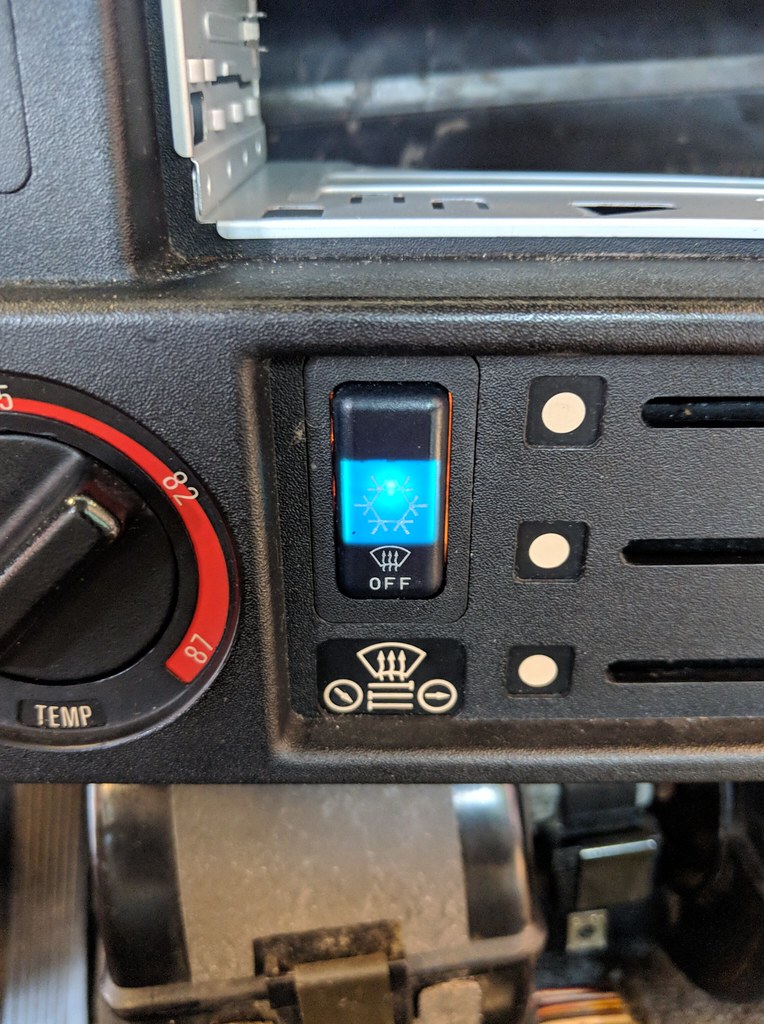
Image

The left HVAC blub is burned out. I should have tested them before putting this all together!!!

Also, my fancy USB-C adapter stopped working during the shakedown drive. Hopefully it just came unplugged (I plugged it in blind).

So, I get to pull it apart again. Yay.

Re: Maytag: The Alpine '87 529i

Posted: Jun 19, 2018 1:11 AM
by tig
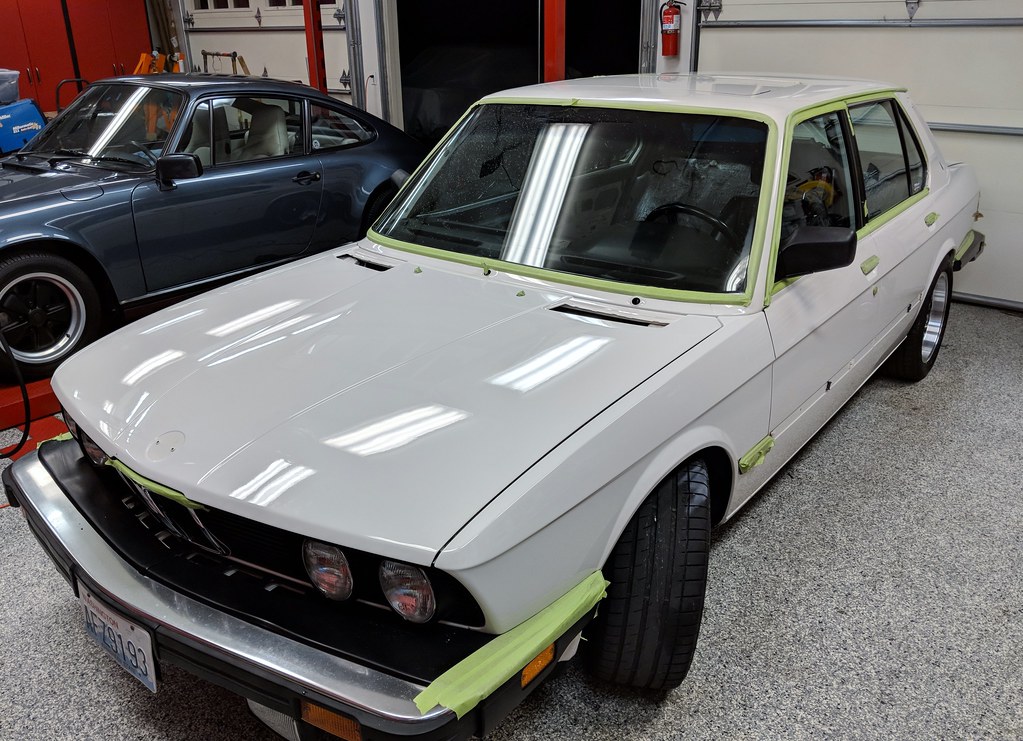
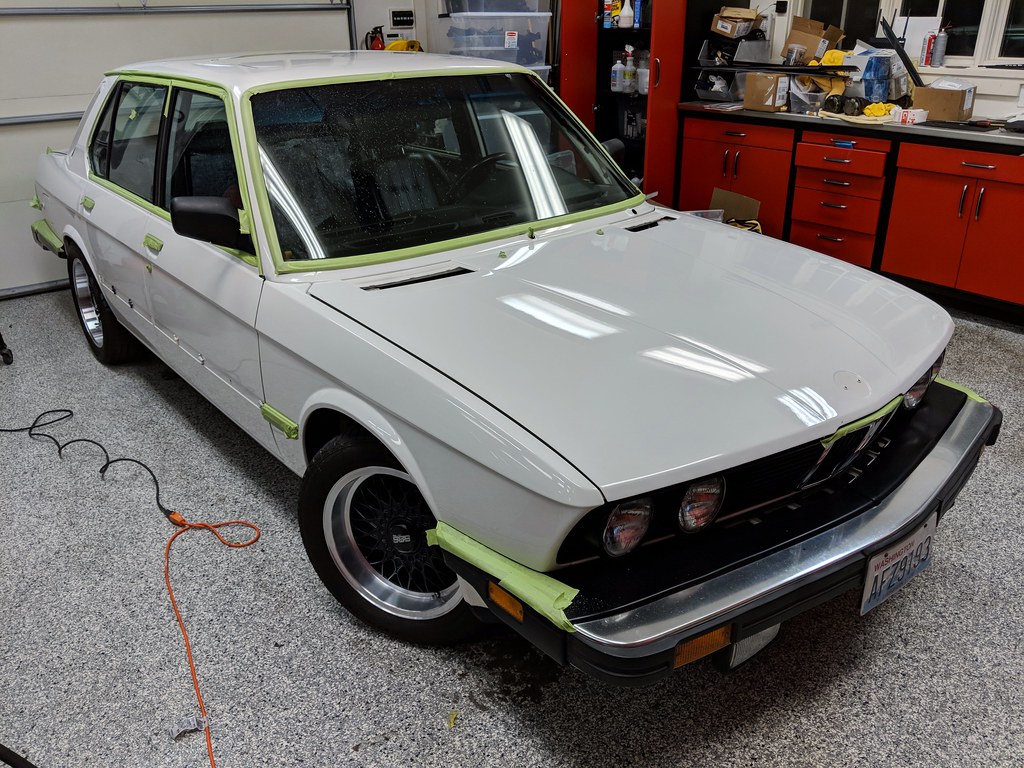
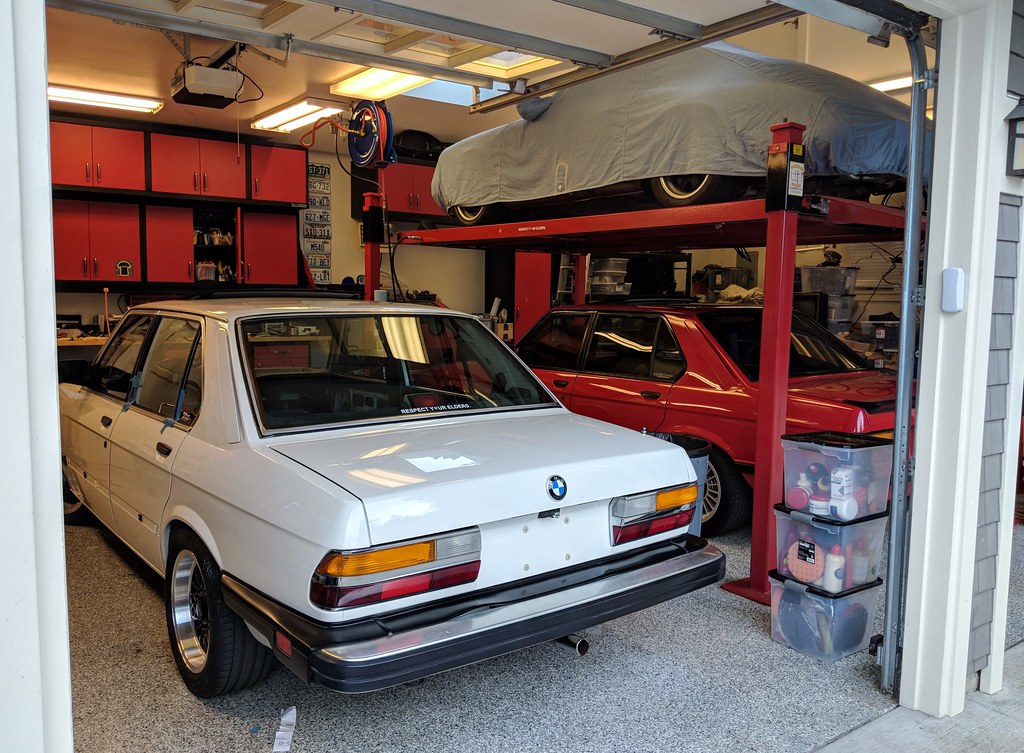
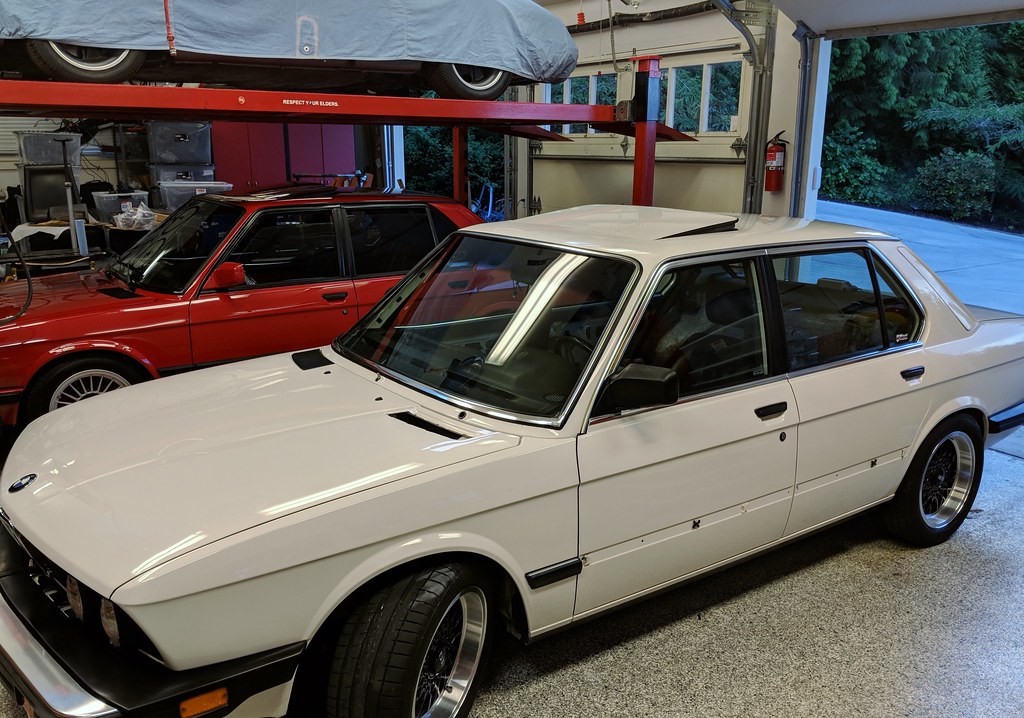
Pretty sick of working on interior, so I shifted to paintwork correction. Recall I detailed this car when I first bought it, but it was a pretty half-assed job. I don't think I've waxed it since. This time I'm going deep.

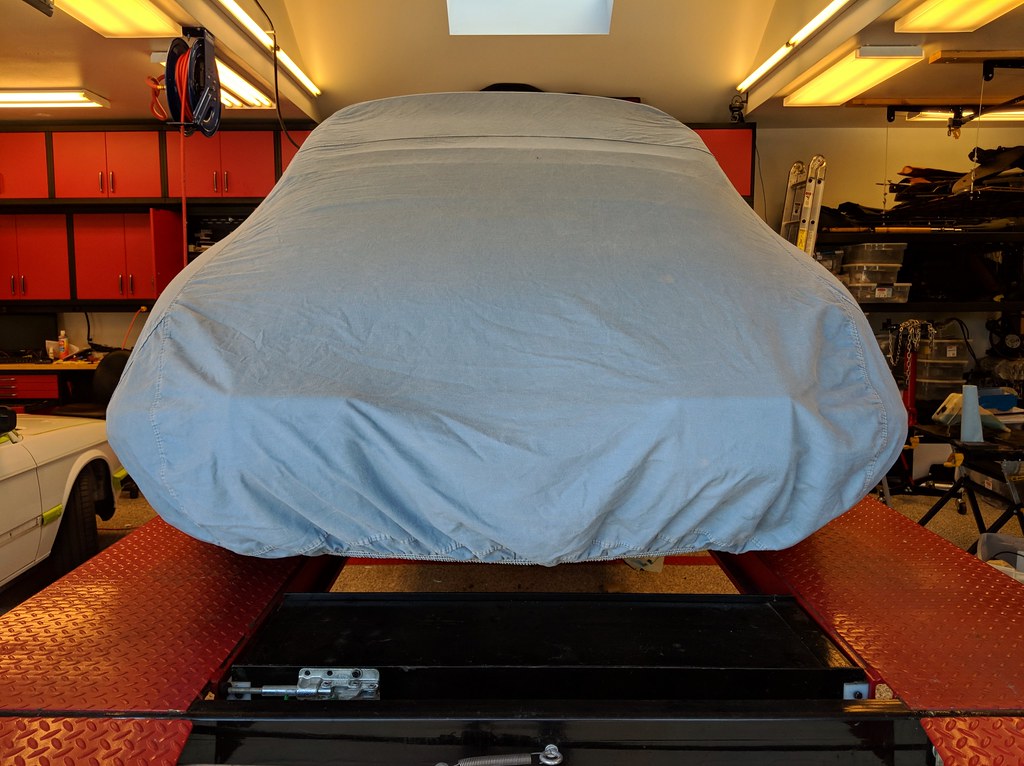
Vlad is relegated to being outside while this is all going on. CJ's home from college and his shit has taken up a garage stall. The 911 is on the lift, covered to avoid polish splatter.
Image
Image

Recipe for this detail is below. I've never done this new ceramic stuff, so this is actually a test/practice for me before I use it on a car I actually care about (ha!). @occoupe swears by it, and I trust him on stuff like this. You can't argue with his results.
  1. Standard wash
  2. Griots Clay Bar using Speed Shine as lube.
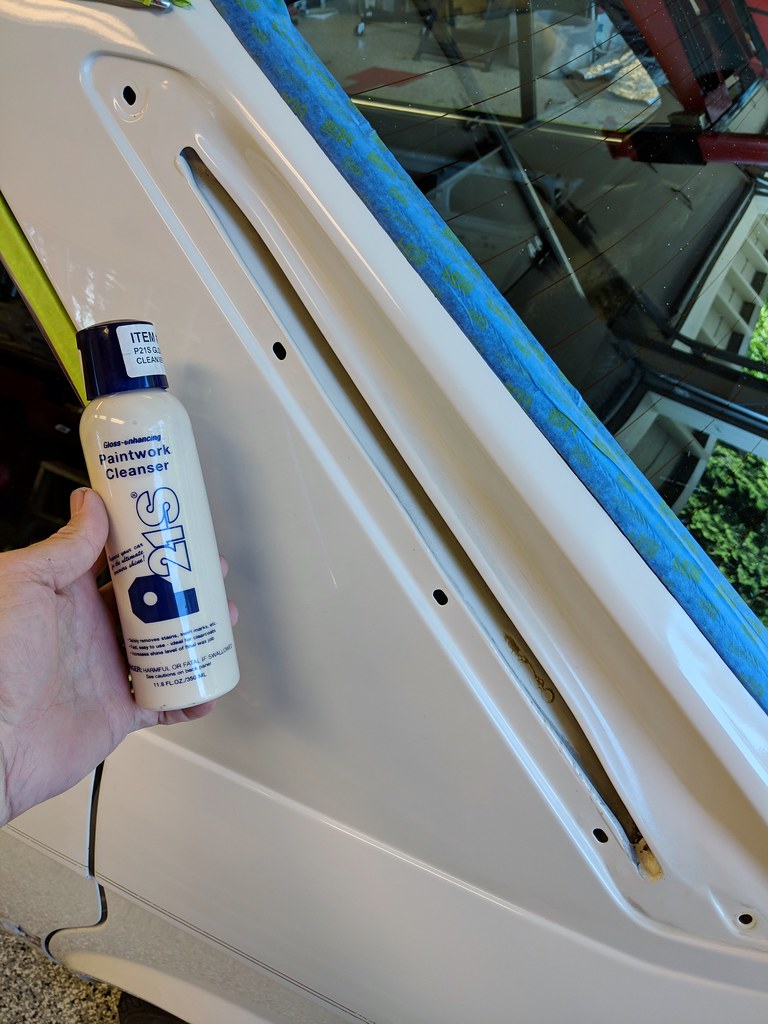
  3. P21S Gloss Enhancing Paintwork Cleanser
  4. Mask to protect stuff
  5. Menzerna Heavy Cut Compound (if needed)
  6. Menzenra Medium Cut Polish
  7. Menzenra Super Finish
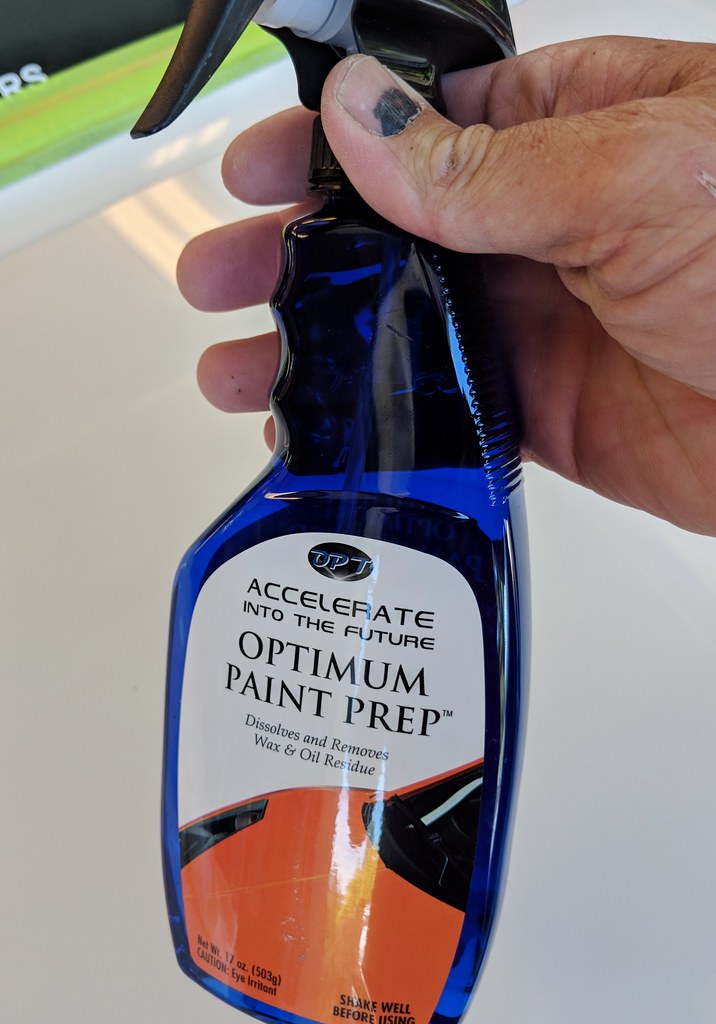
  8. Optimum Paint Prep
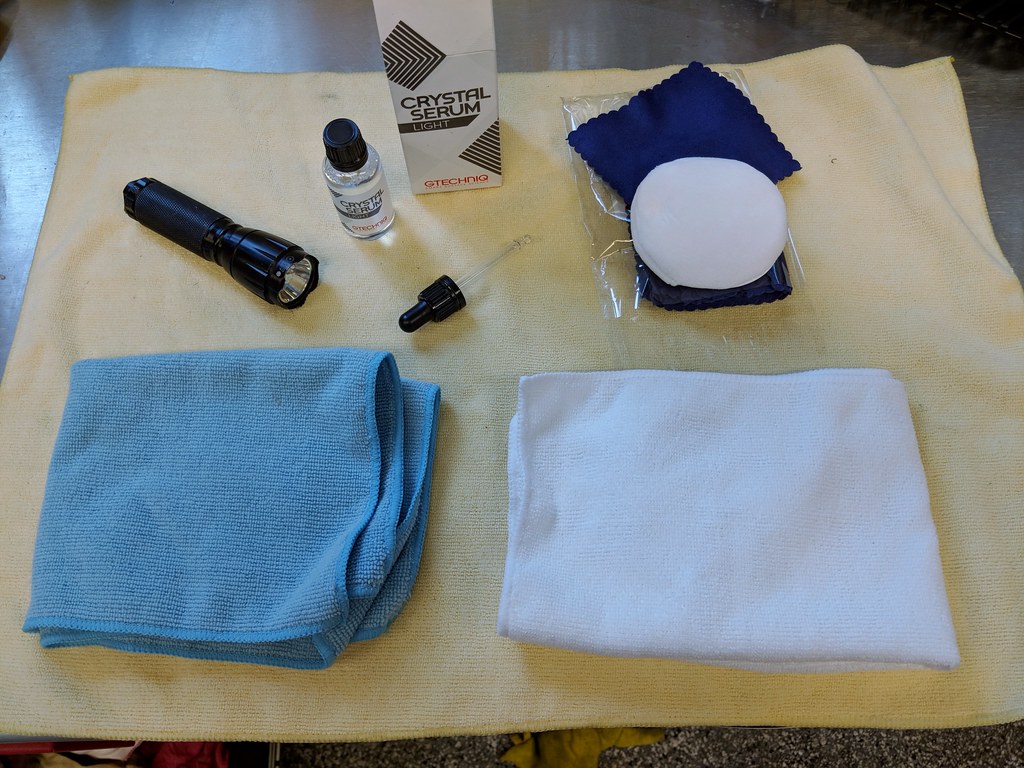
  9. Gtechniq Crystal Serum Light
  10. Gtechniq EXO V3 Ultra Durable Hydrophobic Coating
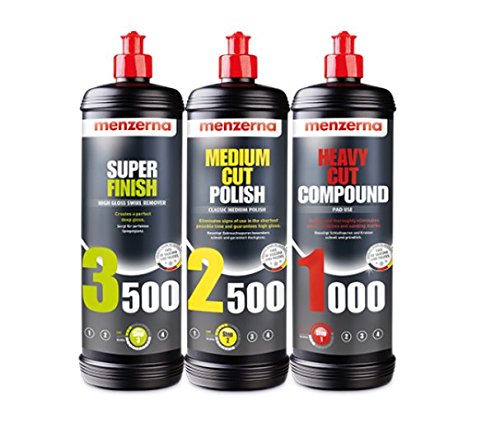
My bottles of Menzerna were 10+ years old, and while they still contained product, the bottles were brittle and the sauce hard. So I bought new. I'm glad they've improved their labeling to make it more clear what's what. I had all sorts of notes written down before. The new bottles are easier to use too. Nice.

Image
via Amazon


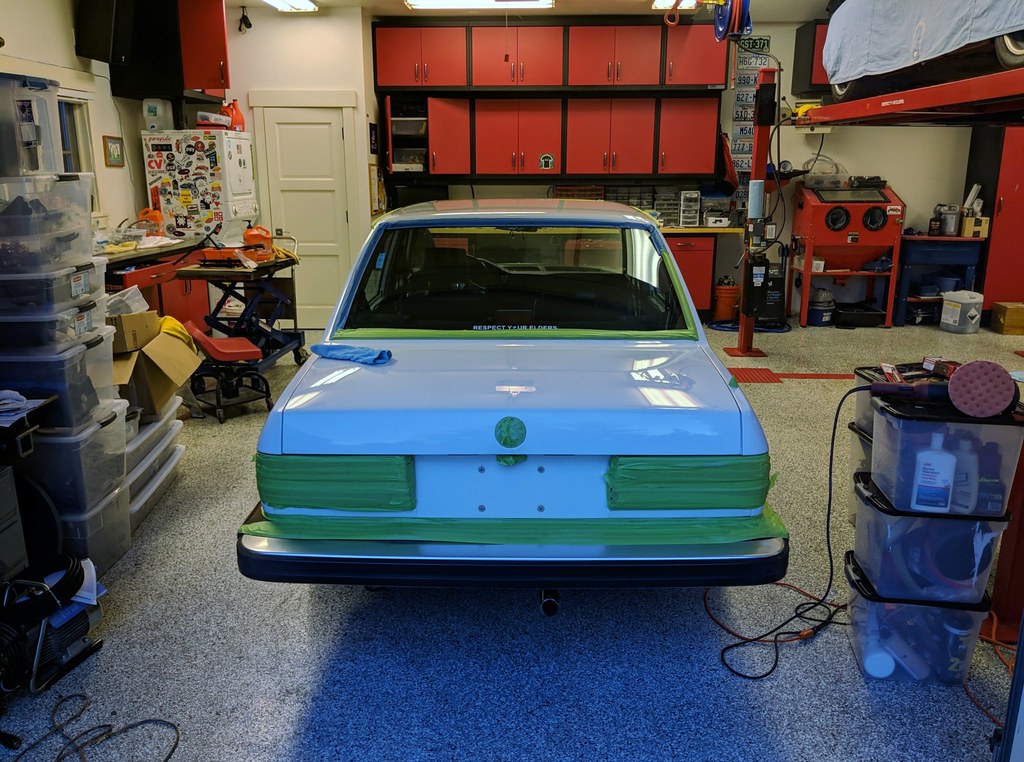
I actually washed, clay bar'd, and used the P21S paintwork cleanser before the interior project, so yesterday I just used some speed shine to re-clean the car. Then masked.

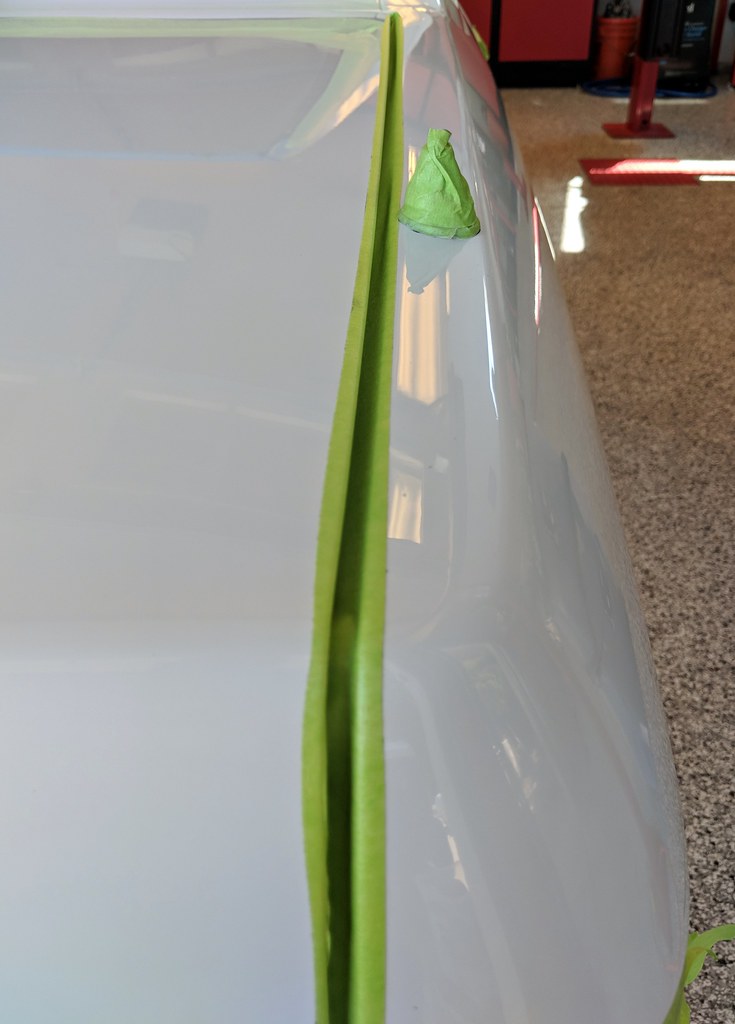
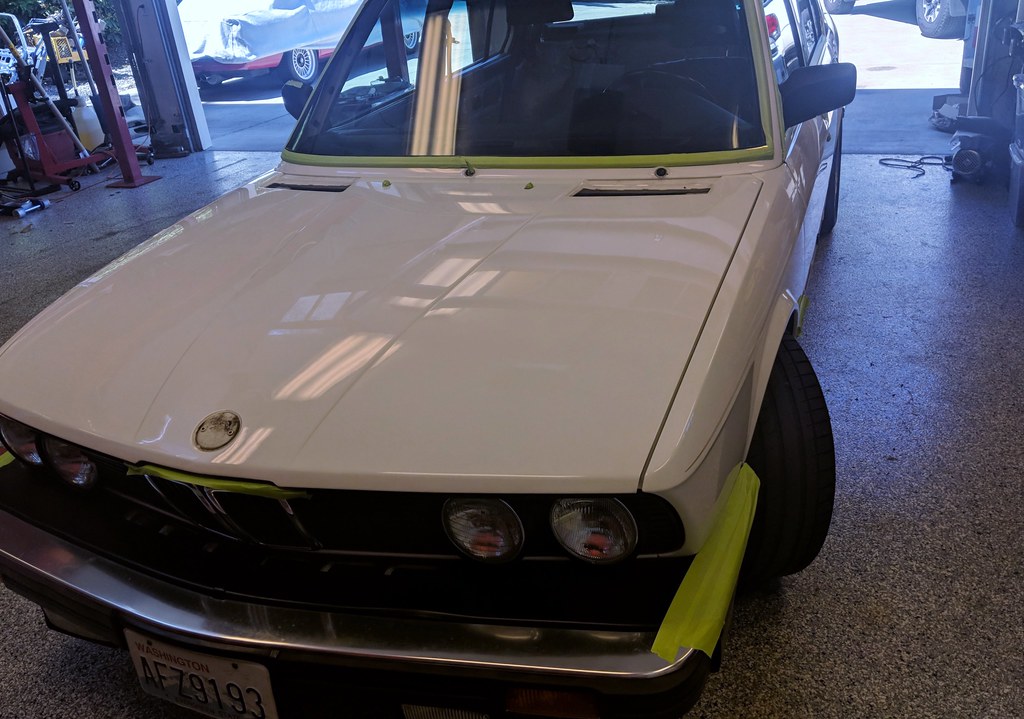
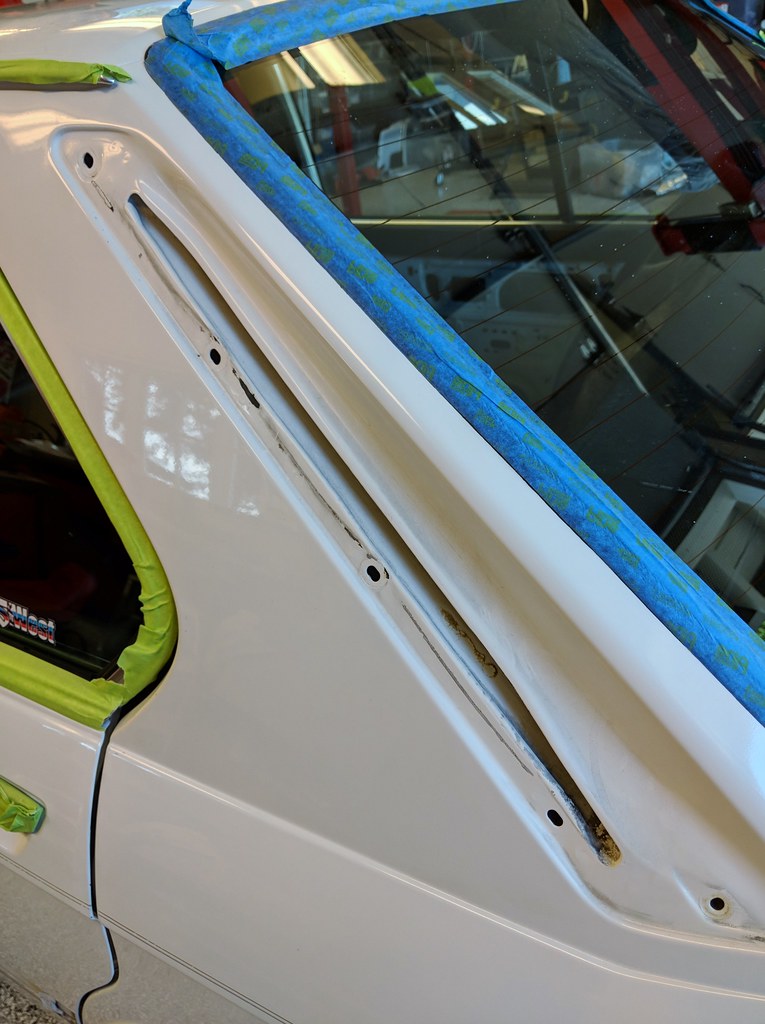
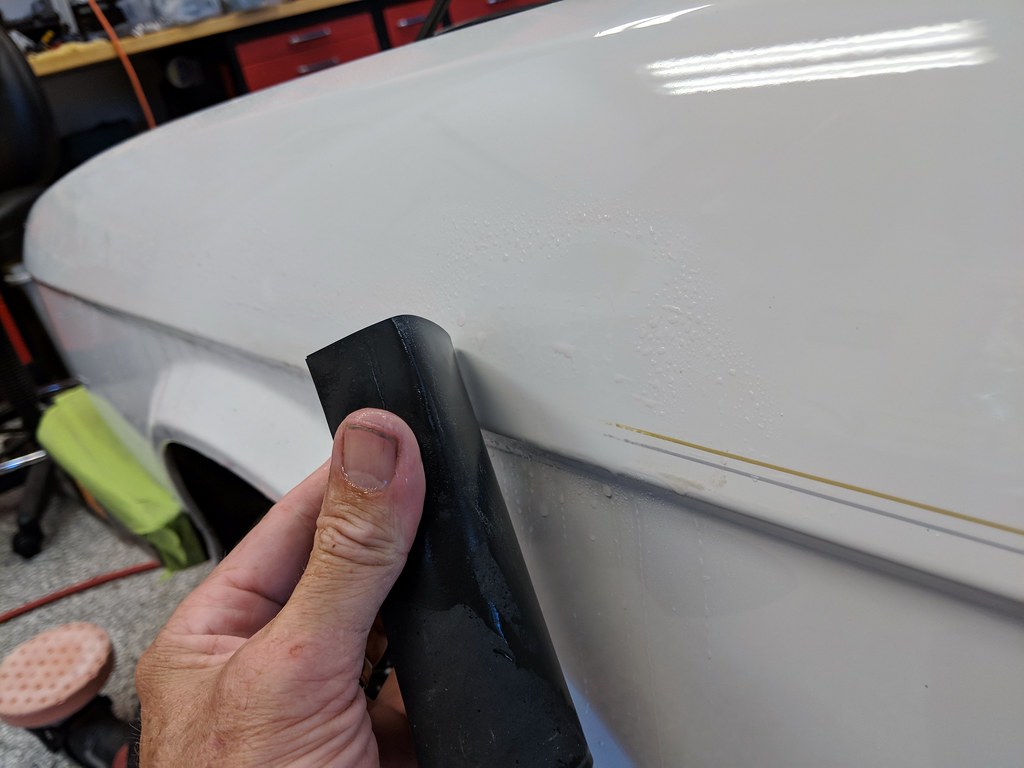
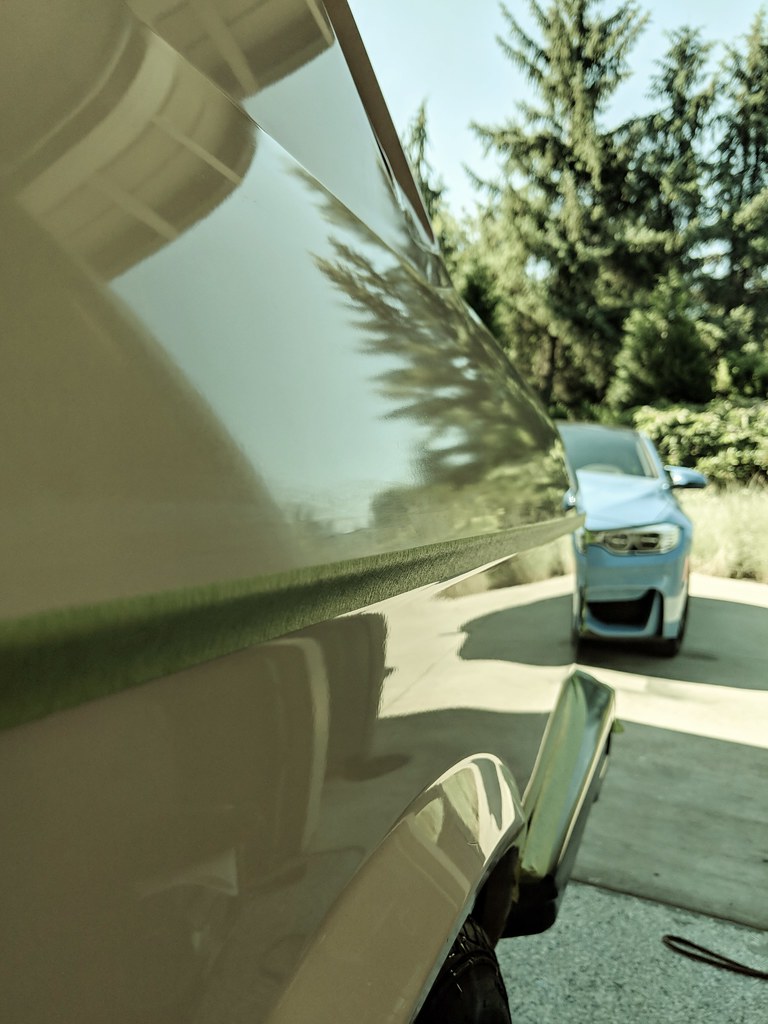
I learned the hard way that the single stage paint on these cars can be super thin and easy to burn through, particularly on the edges and ridges. So I now do two things to defend against this: a) mask as in the 2nd pic below and b) use a paint thickness gauge.
Image
Image
Image

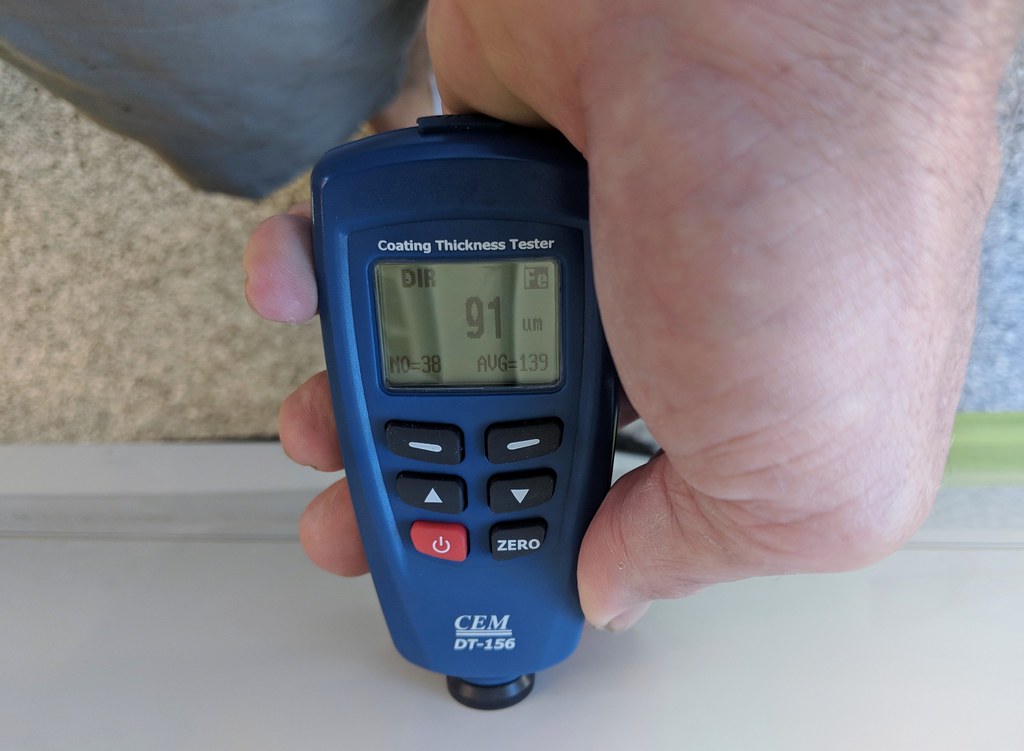
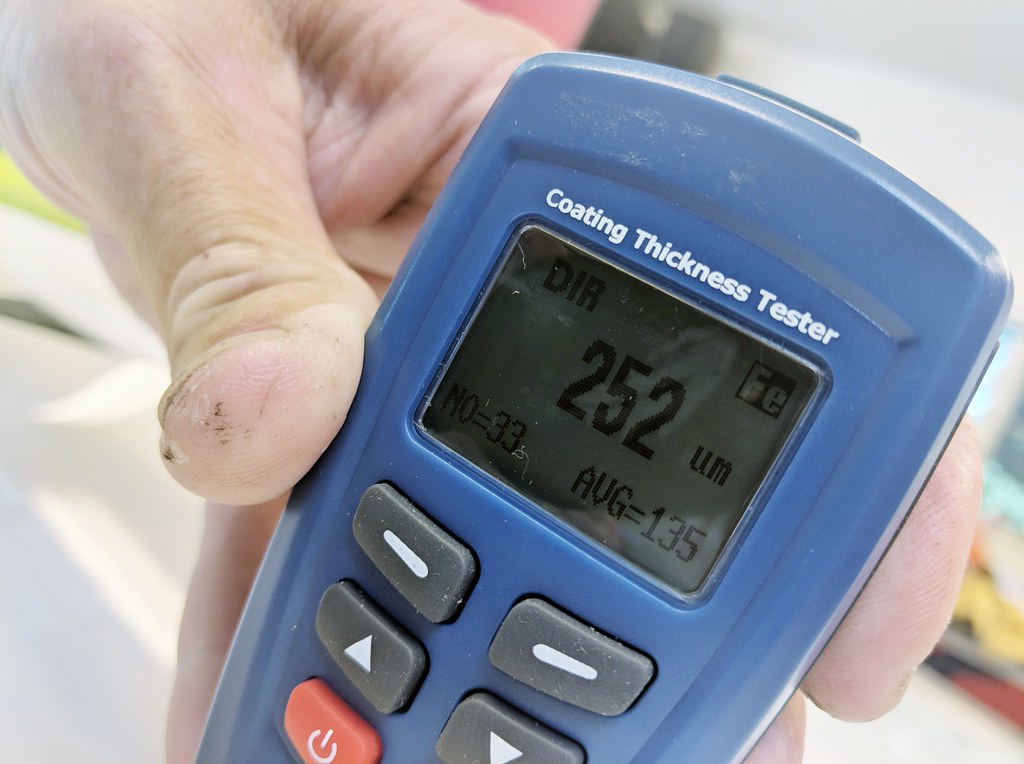
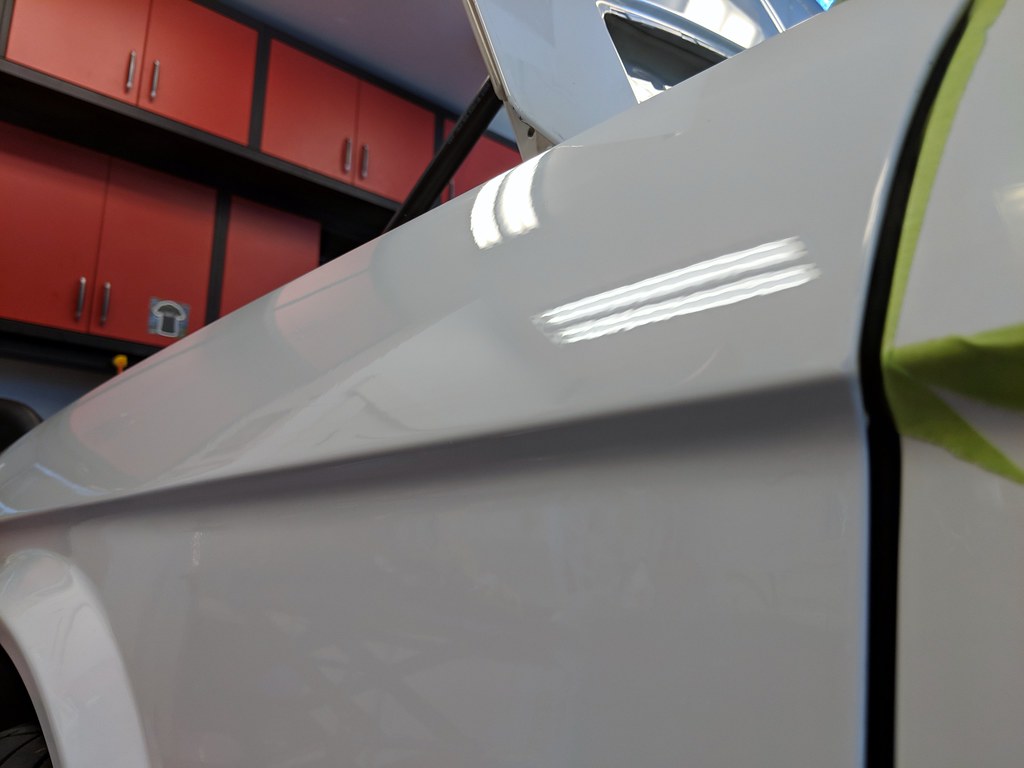
The paint thickness meter doesn't lie. Using it I can see with no ambiguity which parts of this car are still original single-stage and which have been repainted with clear. The single-stage stuff is between ~70um and 130um. The thinnest spot is on the trunk lid back where the emblems used to be. I was not the first person to remove the badges from this car... The roof is in the ~90 range near the rear, but gets real thick up front where it's clear clear was blended in.
Image

The hood and part of the roof has been painted. Clearly.
Image

The repaint is not bad, but not great either. In a few spots the clear isn't so clear, especially where the blending was done by the sunroof on the passengers side. The paint color matches very well. It's usually really easy to tell an Alpine car has been painted because matching the color seems really hard.

Like everyone who's normal, I do horizontal surfaces first, then vertical. I don't apply protectant (wax, or in this case the ceramic stuff) until the entire car has been paint prepped/polished. As I proceed I dive into the various nooks and crannies (depending on my motivation). For example:
Image

This stuff is da'bomb for removing old grime. Magic. Just a little on an applicator spunge and a bit of elbow grease and that gray stuff comes right up.
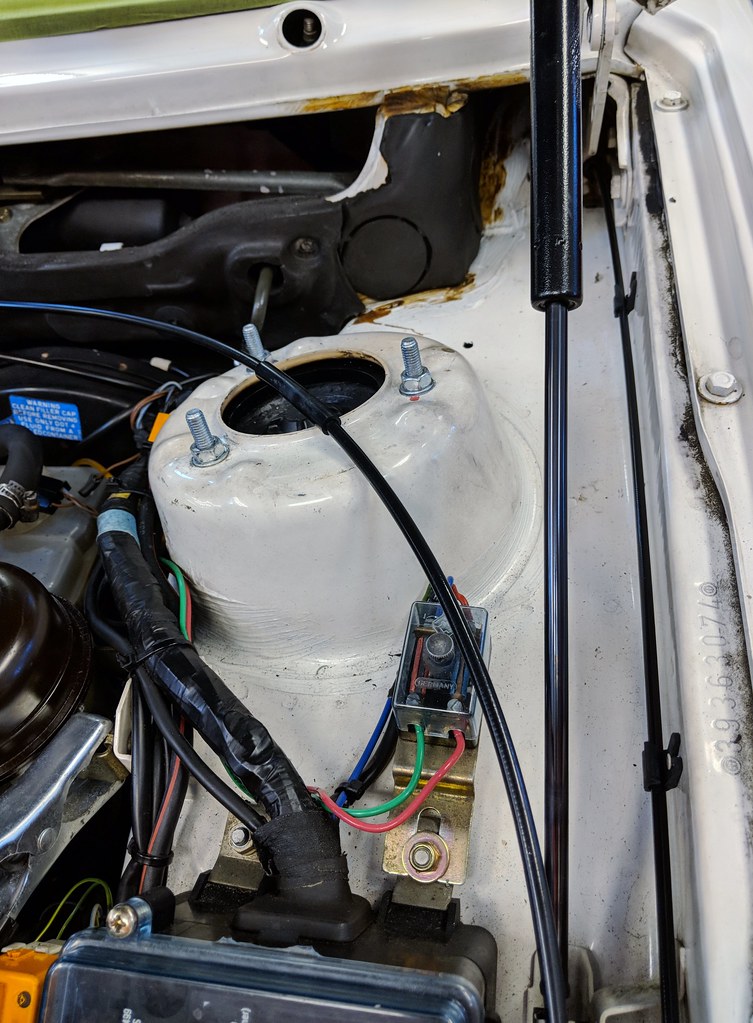
Image

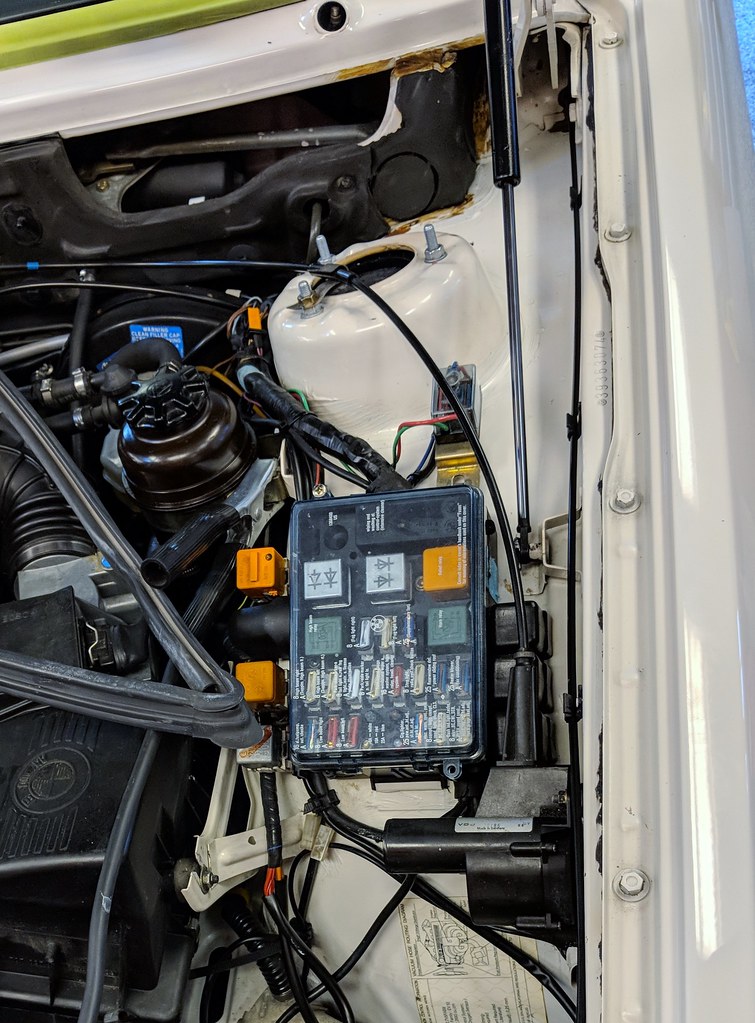
P21S Paintwork Cleanser works WONDERS on the grime in the engine bay. I've tried other cleaners and nothing comes close to how well and quickly this stuff works.
Image
Image
(Yes, I know this won't meet @occoupe or @vinceg101's standards, but this is about as far as *I* go).

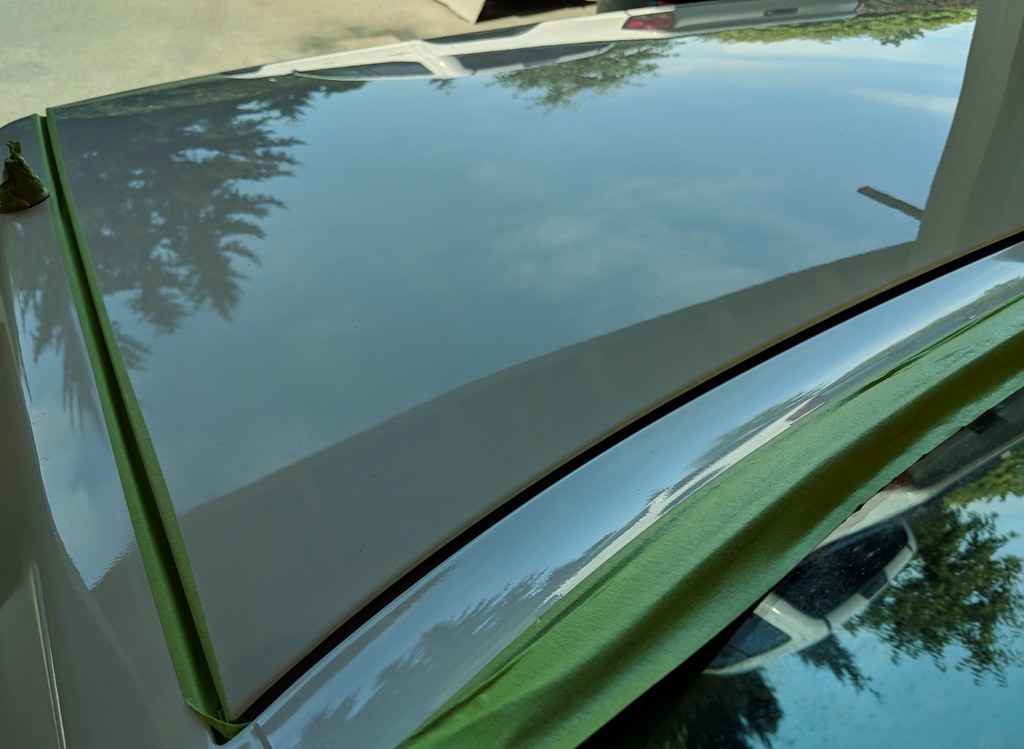
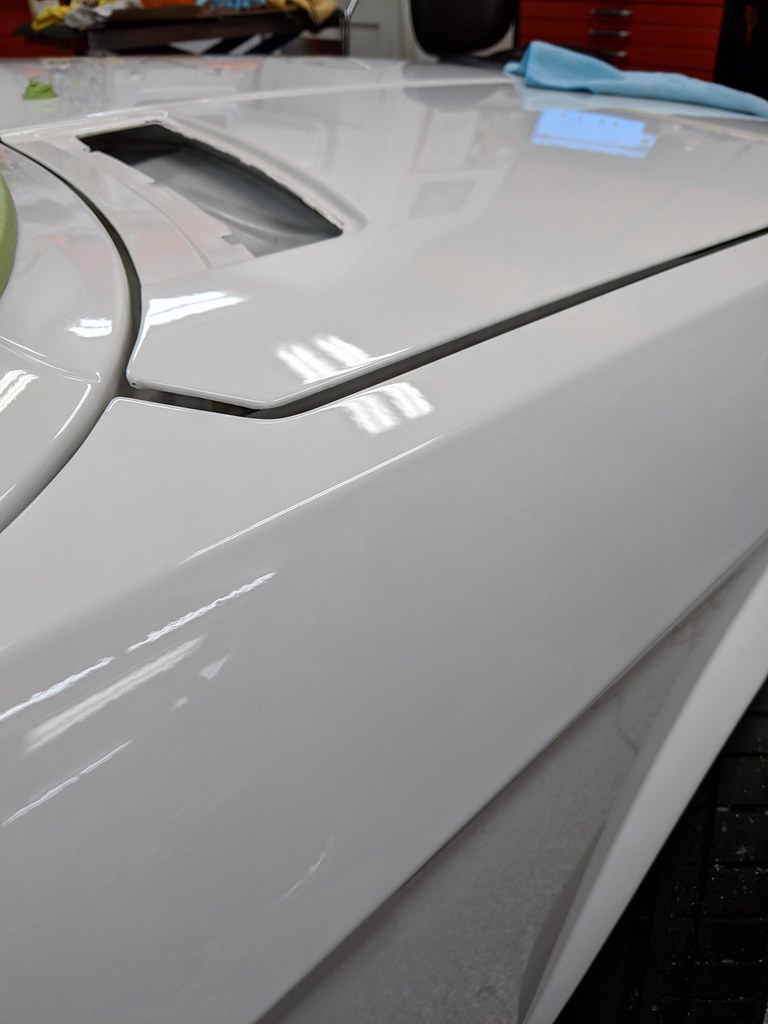
I got all the horizontal surfaces done today before I realized I had drained the battery leaving the car in ACC yesterday and couldn't move it to the lift. My back won't allow me to polish the sides of a car without it on a lift. At least that's my story. Trunk lid and most of roof looks amazeballs. Hood is nice.
Image

Note, I check paint thickness regularly as I polish. Today I took at most ~2um off. I didn't use heavy cut anywhere. This car's paint will last a LONG time.

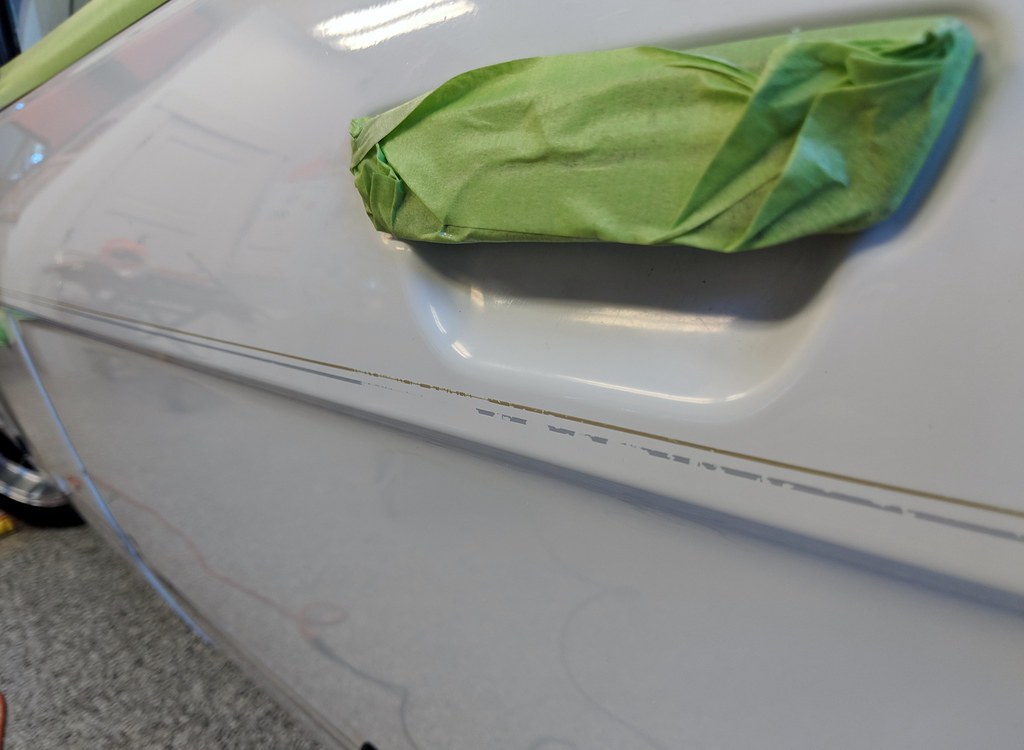
When I get to the sides tomorrow, these will be coming the rest of the way off:
Image

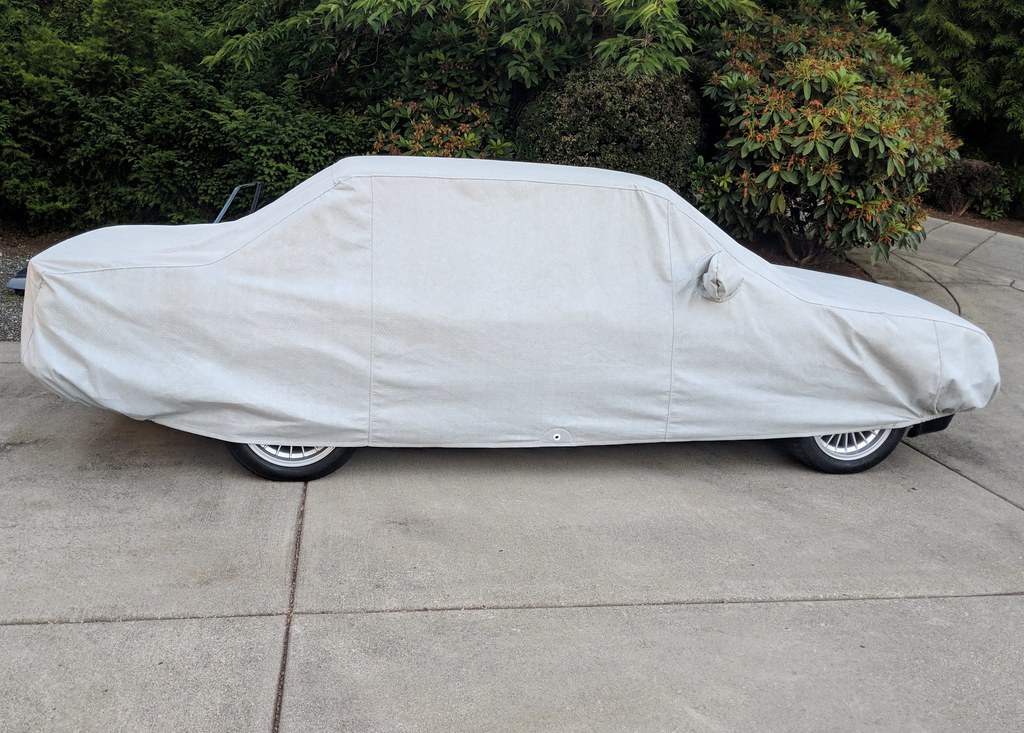
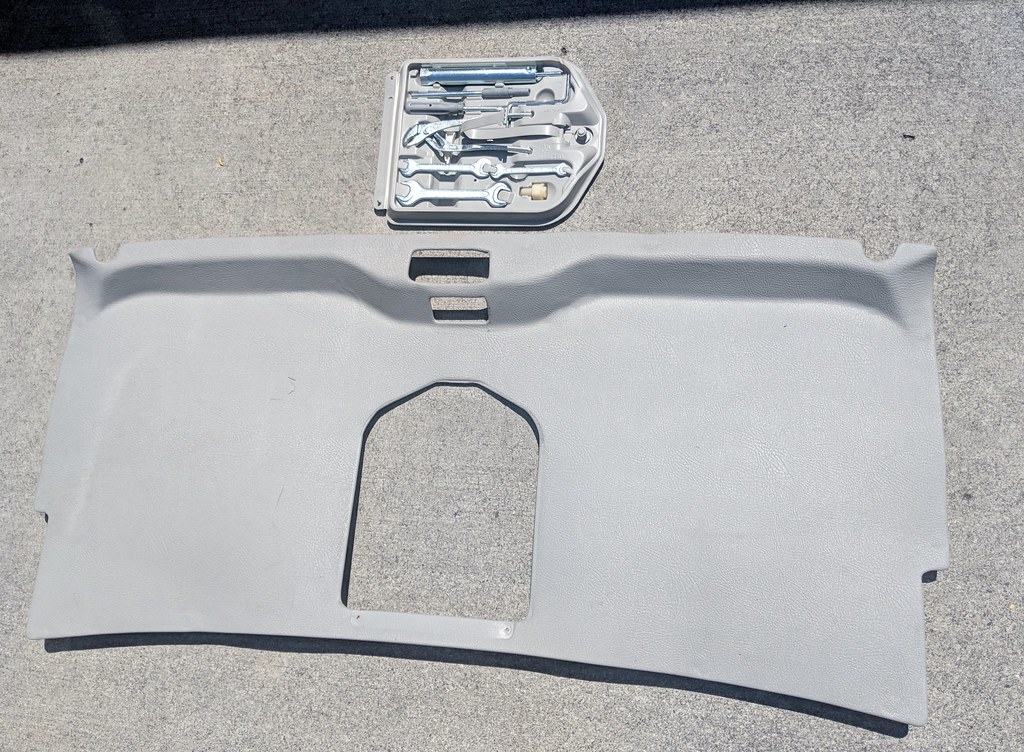
In other news, this is now for sale because the large trunk cover/toolset I got for Minerva is not good enough for that car. So I'm removing one more piece of evidence this was once a White on Beige automatic 528e.
Image

Re: Maytag: The Alpine '87 529i

Posted: Jun 21, 2018 1:48 AM
by tig
Yesterday I wet sanded the pinstripes off and finished polishing. What a fuck load of work. It's been a few years since I wet sanded so I did some studying (Youtube videos!) before starting. Using 2500 grit paper and Final Inspection (same as Speedshine) I proceeded carefully. It came up fairly easy and I didn't burn through the paint anywhere (!). There are still some little ridges in the paint where it was, even after heavy cut polish, medium polish, and polish but I doubt anyone but me will notice and it's too risky to cut deeper.
Image

I was worried the Menzerna heavy cut polish wouldn't be enough to get the wet sand scuffs out, but it did great. Likely has to do with how soft/old this OE single stage paint is.
Image
Image
Image

As noted above this car has been painted in a few spots using clear. I found a spot by the driver's C pillar. I could probably cut all this back, but I felt it was just too risky (who knows what repair is under there) and will just live with it for now.
Image

Pinstripes done and everything polished:
Image
Image

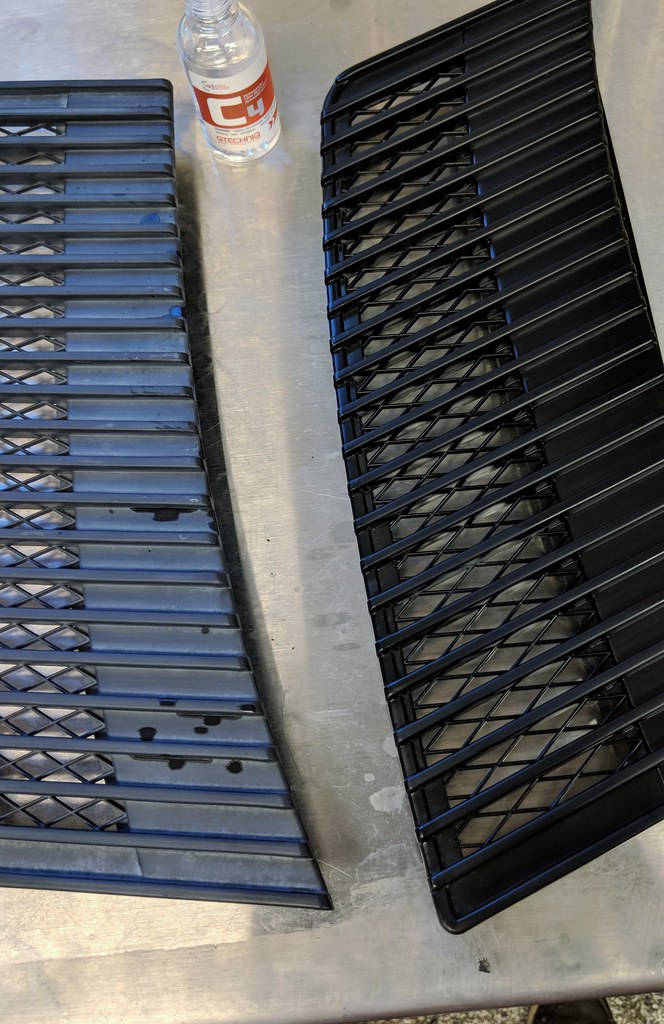
I also tried Gtechniq's trim restorer. Like most of these products, it probably won't last but it'll look good for a while.
Image

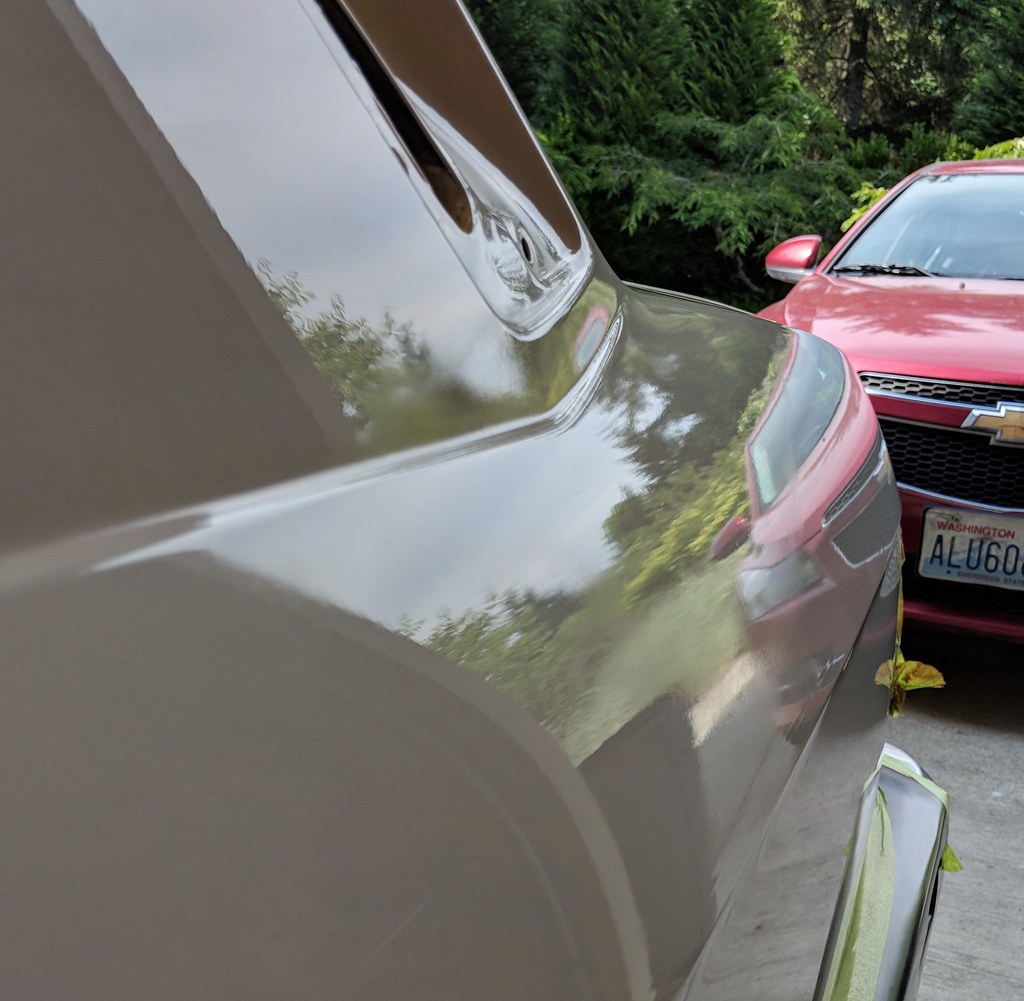
After visiting Minerva this morning (will post pics on that thread later) I powered through and finally finished the exterior detail of Maytag.

Today was just the application of Crystal Serum Light and two applications of Exo V3. I've never applied either so I took my time and watched some Youtube before starting (and bugged @occoupe who as most gracious with his help). In the end, it's easy. The key is

1) Ensure the paint work is VERY clean after polishing the shit out of it. Clean, clean, clean with something like this:
Image

2) Good light. I don't have great light so I utilized an LED flashlight. I'm going to upgrade my garage lights ASAP.
Image

3) Ensuring you wipe off all the product within a few minutes, not leaving any residue. This stuff cures within about 8-10 minutes and only a heavy cut polish will remove it...

Just like wax/polish you do a 2'x2' section at a time. Apply with applicator then immediately wipe off with super-fine micro fiber cloth. Ensure you wipe beyond where you thought you put product to get it all of. Then follow with another micro-fiber to double be sure. Repeat (ensuring surface has been cleaned of all wax/polish residue first!).

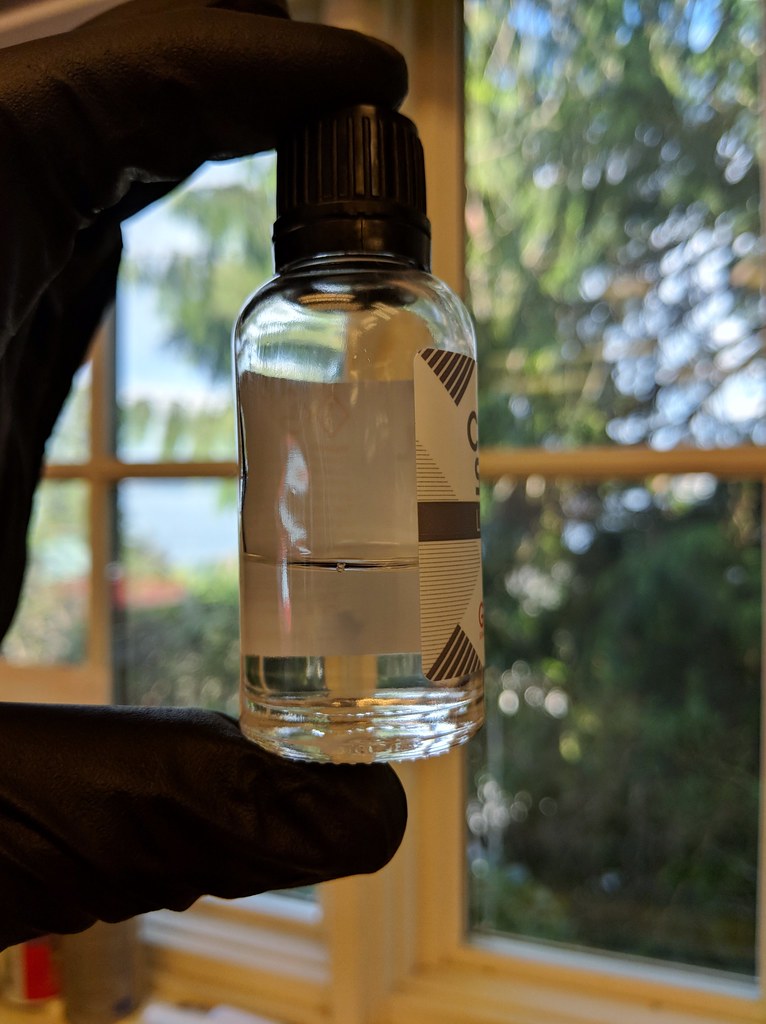
I used just over half a bottle of the CSL. They claim one bottle like this will do two cars. I probably could have been a bit more stingy in my application and that would be true. This amount left might do the 911, but I'll def be ordering more before doing another car.
Image

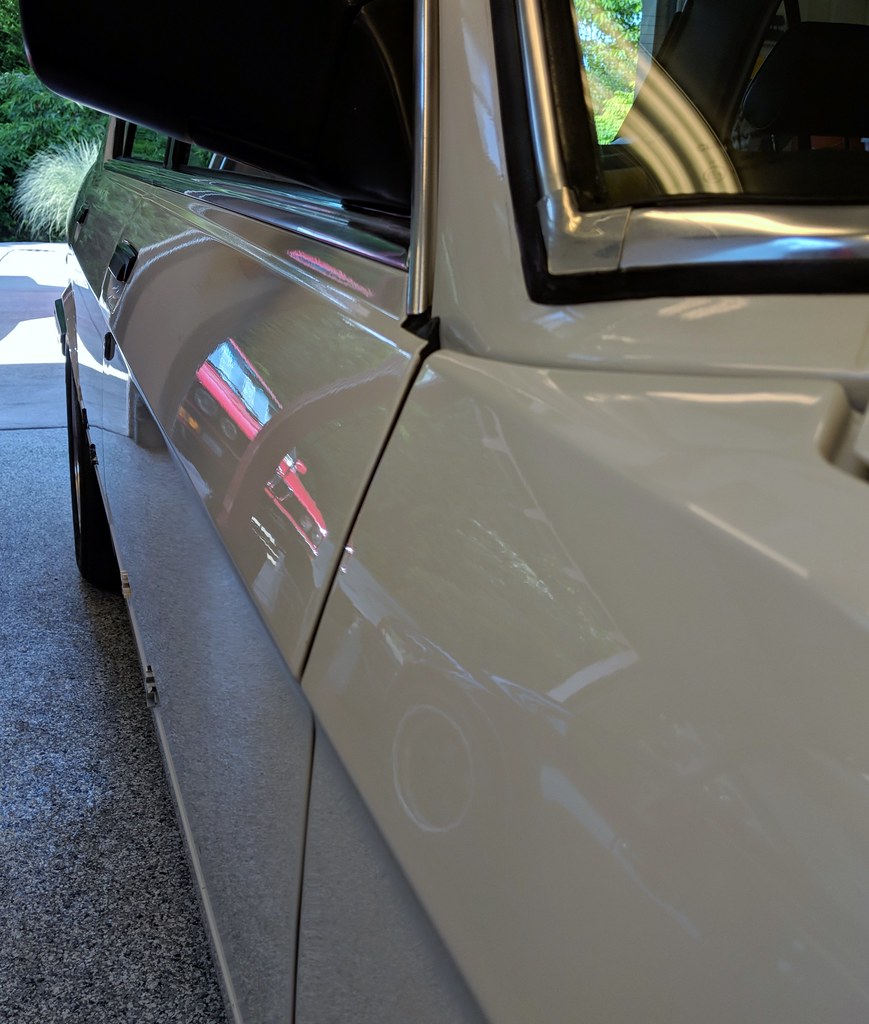
Once I was done with the CSL, I applied two coats of Graphiq Exo V3. It is much easier to apply. A few drops per panel on the applicator and it wipes off just like a wax. Came out real nice.
Image
Image
Image

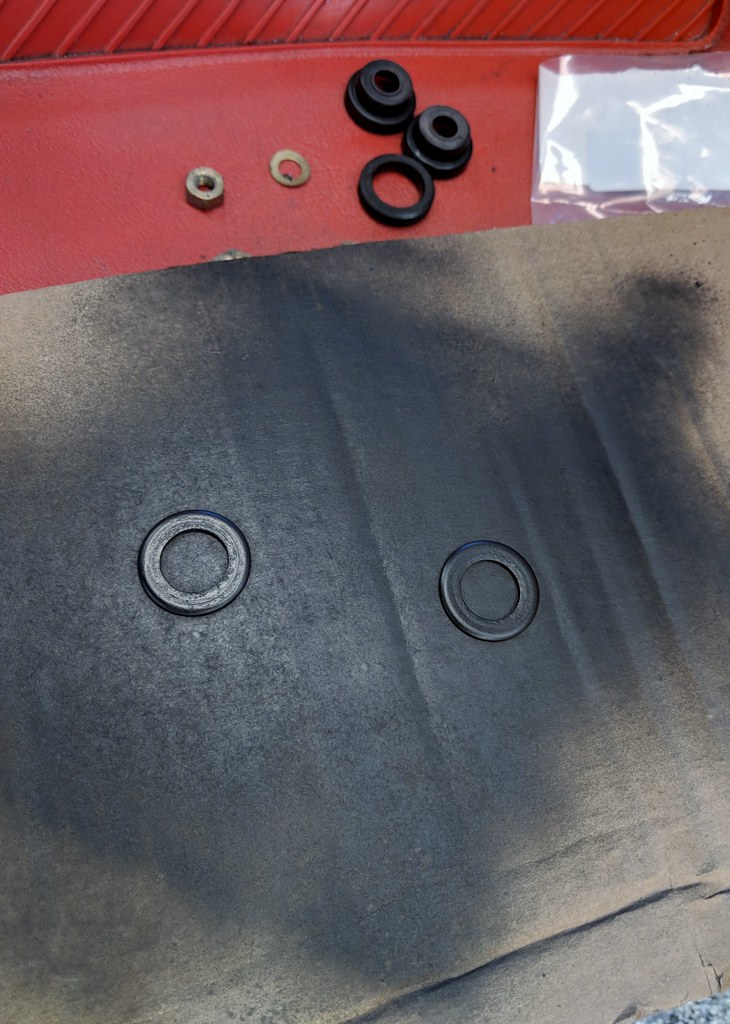
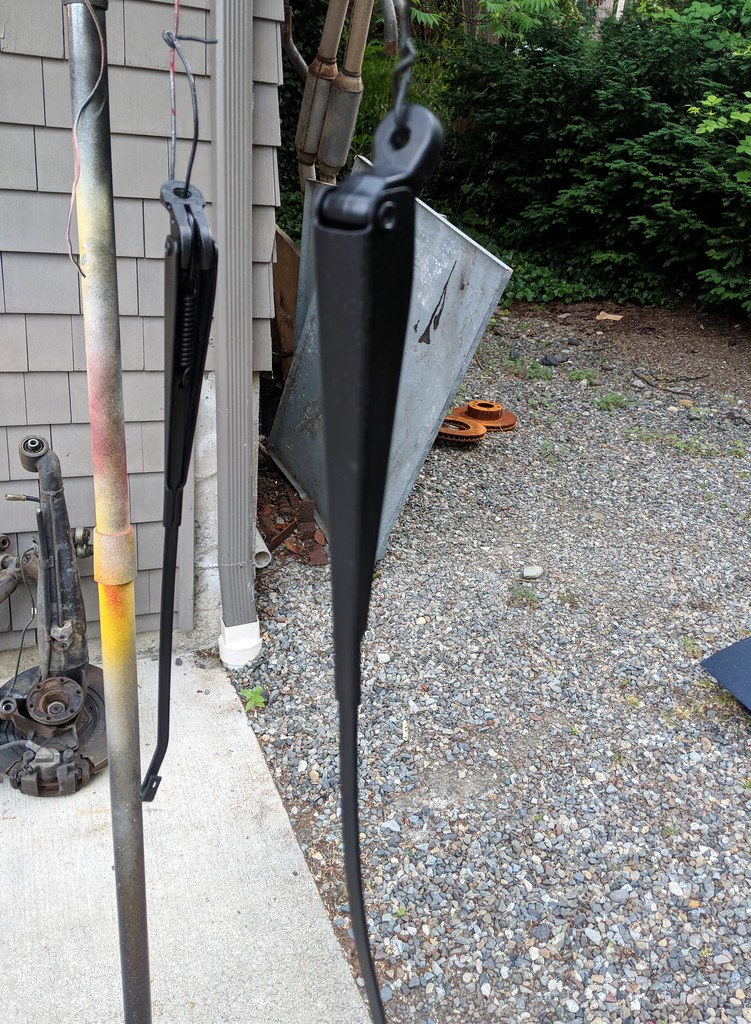
I then went to put the wipers back on. I have new rubber o-rings/dampers but realized the old washers were fugly and their bare metal would show through. Then I remembered how fugly/chipped the wiper arms were so out came the SEM Euro Trim Black...
Image
Image

No pics, but side trim is on (and treated with the Gtechniq product) too. I'll be taking a vacation from my vacation for a bit now...

Bye.
Image

Re: Maytag: The Alpine '87 529i

Posted: Jun 21, 2018 9:27 AM
by 1st 5er
cek wrote:... I'll be taking a vacation from my vacation for a bit now...

Bye.
"Baby steps."

Bon Voyage.

Re: Maytag: The Alpine '87 529i

Posted: Jun 21, 2018 1:09 PM
by ElGuappo
So much good stuff.
Thanks for the deep dive.

Re: Maytag: The Alpine '87 529i

Posted: Jun 23, 2018 3:34 PM
by wkohler
Neat.

Re: Maytag: The Alpine '87 529i

Posted: Jun 27, 2018 12:38 PM
by Adam W in MN
The amount of thoroughness and time to do this job right is kind of discouraging! I guess I just know myself and I wouldn’t have the patience to see a detailing project like yours through to the end. But it’s still interesting to read through, thanks for keeping this up to date.

Re: Maytag: The Alpine '87 529i

Posted: Jul 12, 2018 12:14 AM
by tuffode
Skimmed through this thread and your build seems very interesting. The car has improved immensely since you got it!
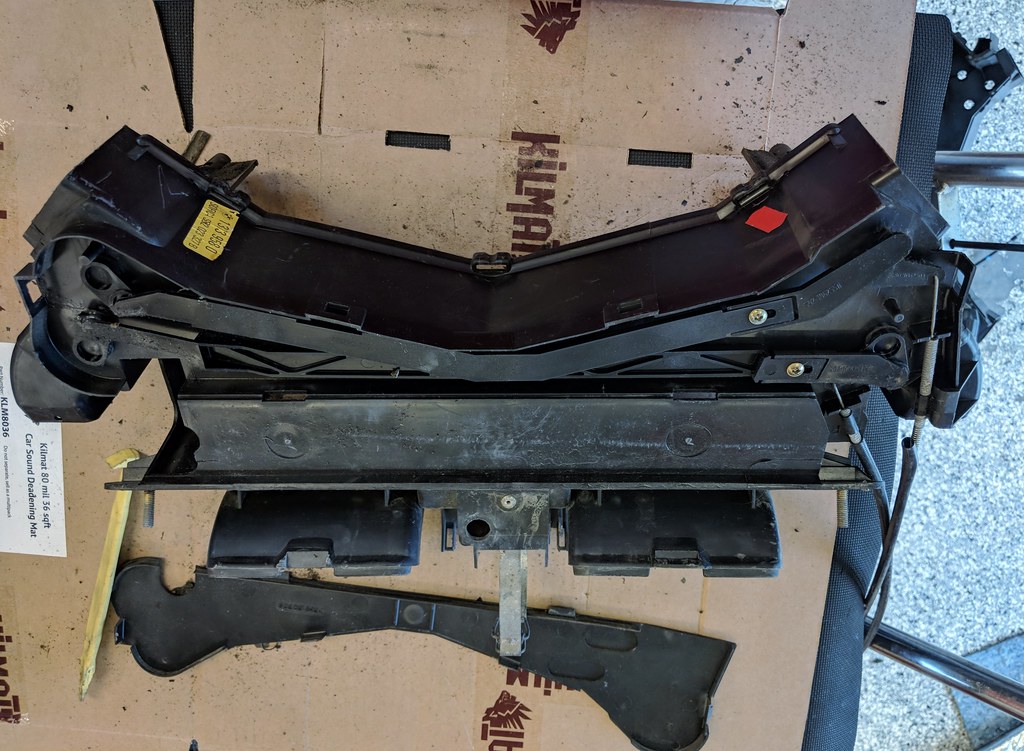
So was the exhaust tip chrome like that when you got it? Or did you polish it or something. My 528e looks great, but the exhaust tip stands out like a sore thumb. Its very dull and has some surface rust.

Re: Maytag: The Alpine '87 529i

Posted: Jul 12, 2018 12:25 PM
by BDKawey
tuffode wrote:Skimmed through this thread and your build seems very interesting. The car has improved immensely since you got it!
So was the exhaust tip chrome like that when you got it? Or did you polish it or something. My 528e looks great, but the exhaust tip stands out like a sore thumb. Its very dull and has some surface rust.
go to any given auto parts store and pick up a exhaust tip. most of them just have a set screw to pin it against the tailpipe. they're like 10 bucks. such as:

https://shop.advanceautoparts.com/p/pil ... 7CL3*15328

Re: Maytag: The Alpine '87 529i

Posted: Jul 12, 2018 12:32 PM
by tig
BDKawey wrote:
tuffode wrote:Skimmed through this thread and your build seems very interesting. The car has improved immensely since you got it!
So was the exhaust tip chrome like that when you got it? Or did you polish it or something. My 528e looks great, but the exhaust tip stands out like a sore thumb. Its very dull and has some surface rust.
go to any given auto parts store and pick up a exhaust tip. most of them just have a set screw to pin it against the tailpipe. they're like 10 bucks. such as:

https://shop.advanceautoparts.com/p/pil ... 7CL3*15328
Yep. That's exactly what I used.

Re: Maytag: The Alpine '87 529i

Posted: Jul 12, 2018 1:52 PM
by tuffode
BDKawey wrote:
tuffode wrote:Skimmed through this thread and your build seems very interesting. The car has improved immensely since you got it!
So was the exhaust tip chrome like that when you got it? Or did you polish it or something. My 528e looks great, but the exhaust tip stands out like a sore thumb. Its very dull and has some surface rust.
go to any given auto parts store and pick up a exhaust tip. most of them just have a set screw to pin it against the tailpipe. they're like 10 bucks. such as:

https://shop.advanceautoparts.com/p/pil ... 7CL3*15328
Thanks! I'll go pick one up today, didn't realize they sell these.