Page 1 of 1

Head rebuild and front mount fun.

Posted: Mar 11, 2012 12:54 AM
by BATESY
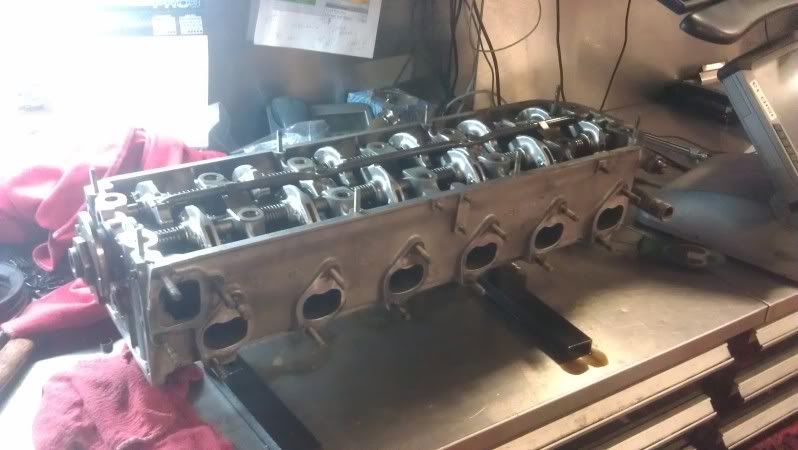
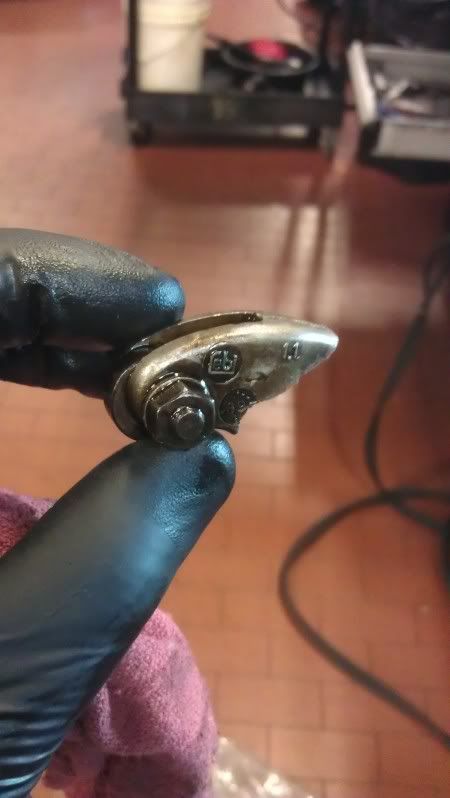
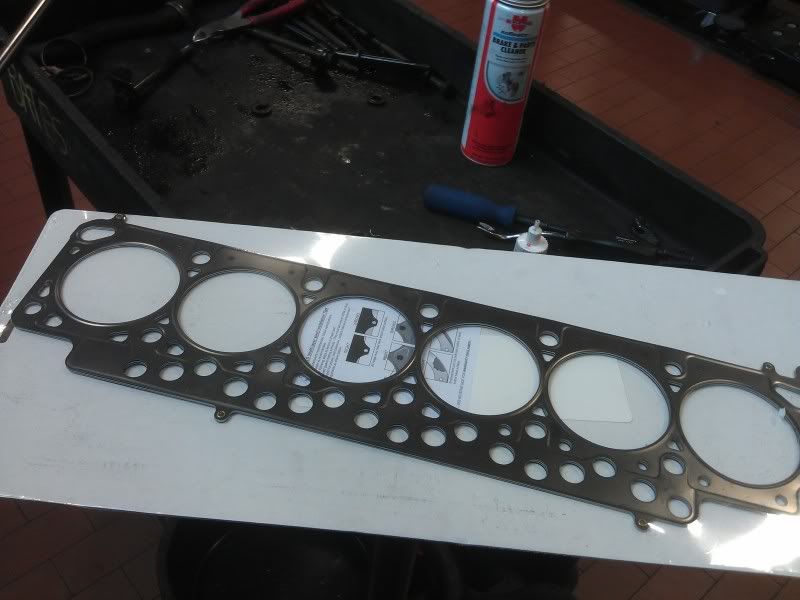
So I havent really done to much to my car ever since the euro convsersion. Recently driving like an ass I broke number 6 rocker. I saw this as a good time to replace the HG with a MLS cosmetic with some arp headstuds.
Image

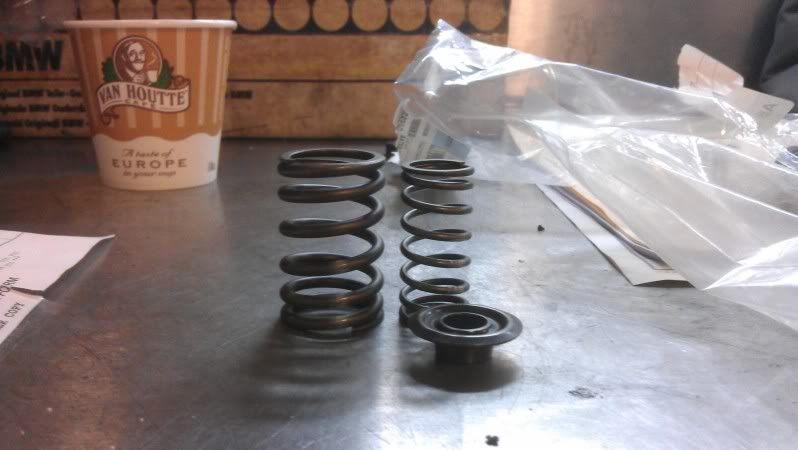
Got talking to TCD Todd about this and he recommended some new valve springs, So I ordered up some B35 dual valve springs because Im in there anyway, might as well make it so I can beat the crap out of my car and still have fun.
Image

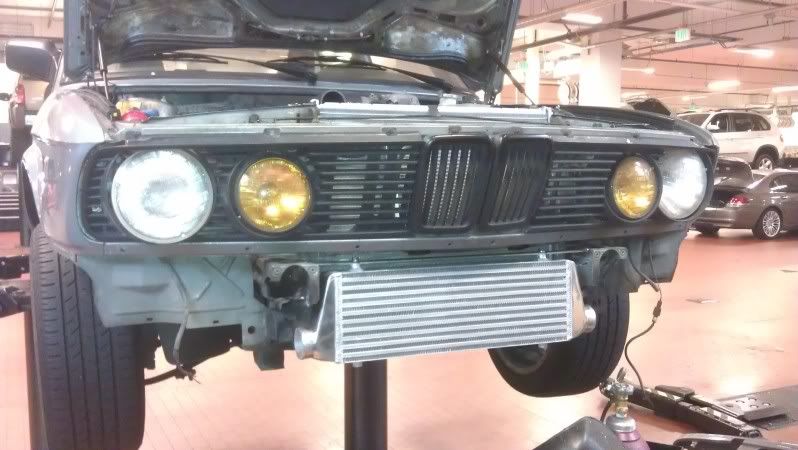
Figured while Im spending money on the car might as well order up my DIY ebay special Front mount with piping, as my stock 745i wasnt helping me at all, total to do the front mount was about $280 bucks give or take.
Image

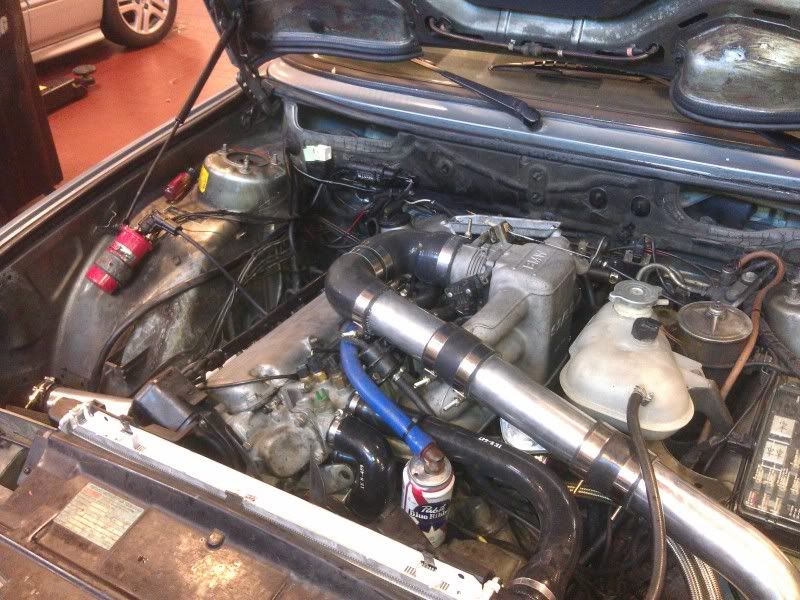
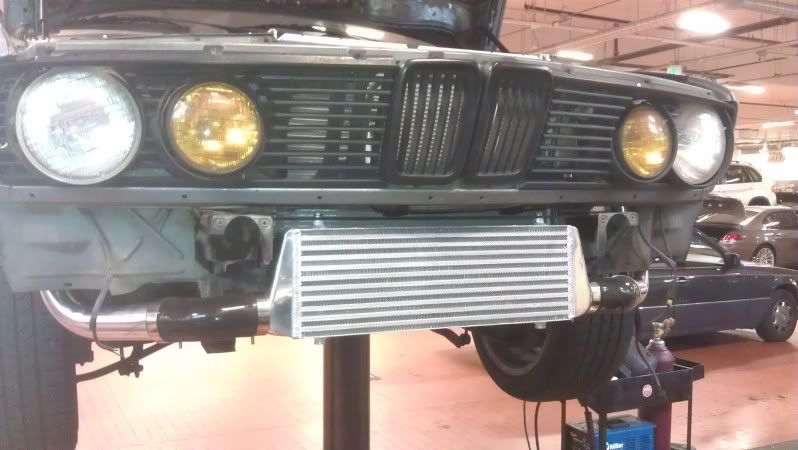
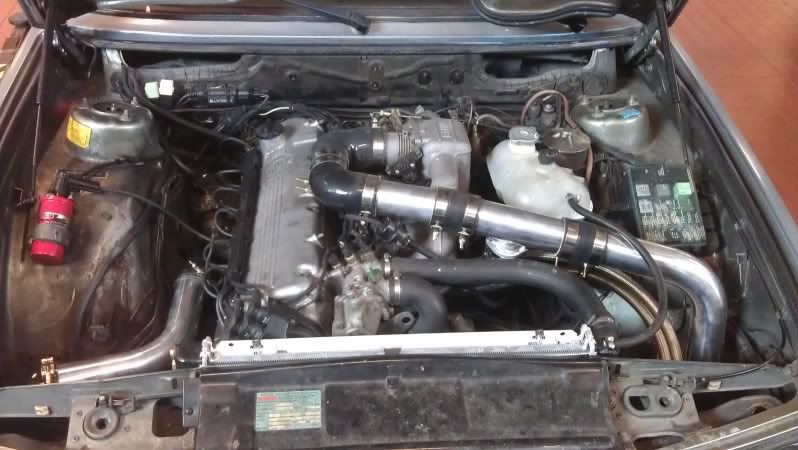
Front mount all mocked up with a steel bar to mount it and then two 45 degree silicone bends off it to two 90 degree bends into the engine compartment.
Image

Sorry Brad but I stole your routing idea from you on the IC piping. I was going to flip mani but I'll do that later stage, give me some fun down the road.
Image

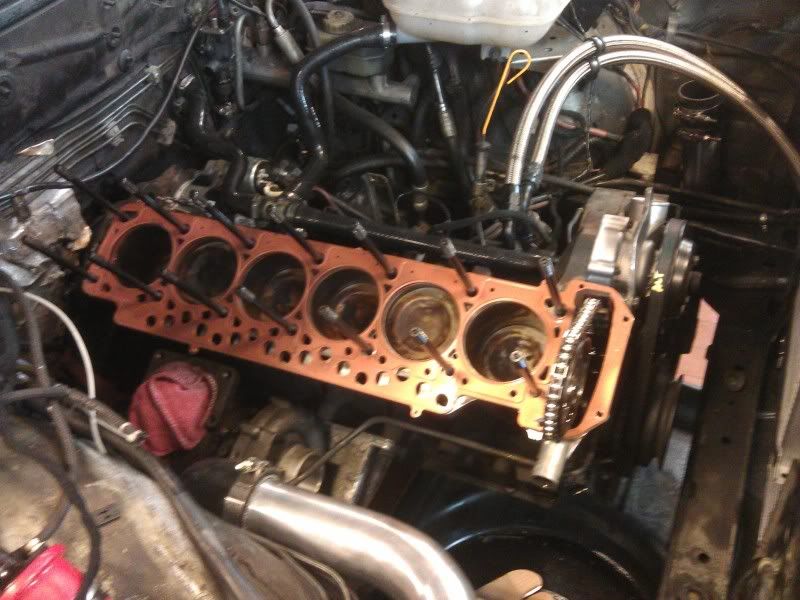
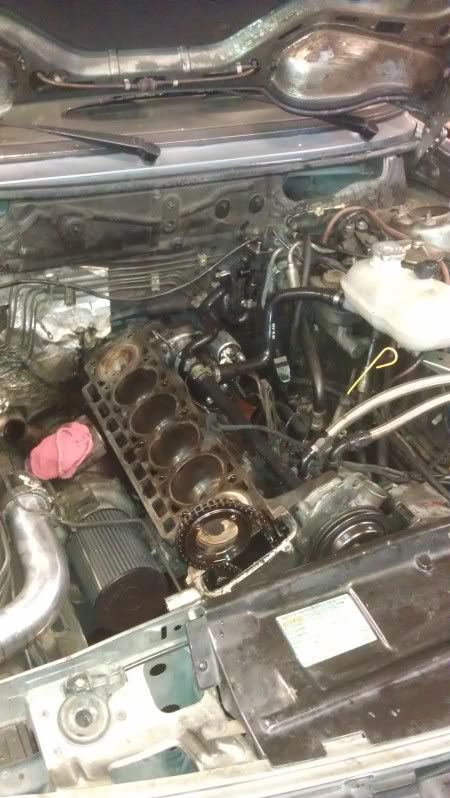
Cyl Head off, found out that my timing to the camshaft was off a tooth this whole time, awesome. thanks to whom ever did that before me. The air filter was just put on there for fun, not staying. Seattle is a little to rainy for that setup.
Image

Cyl head fresh out of his bath.
Image

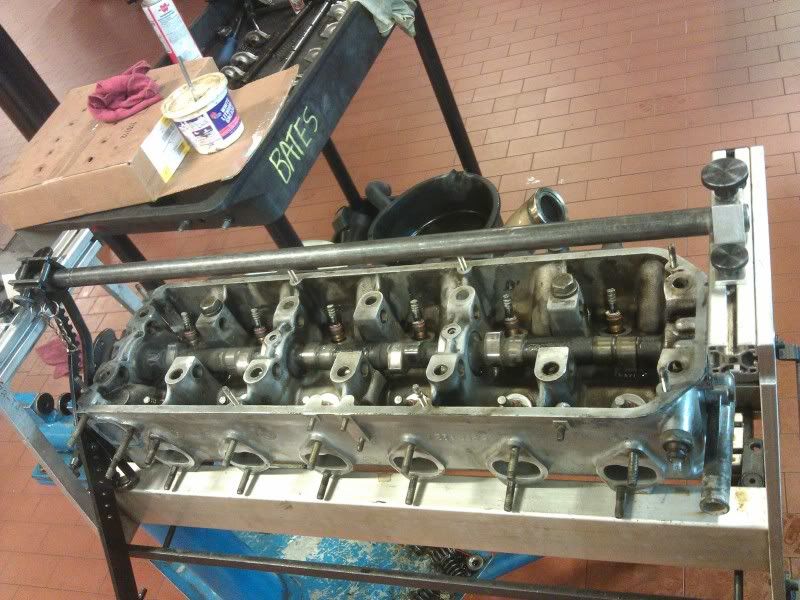
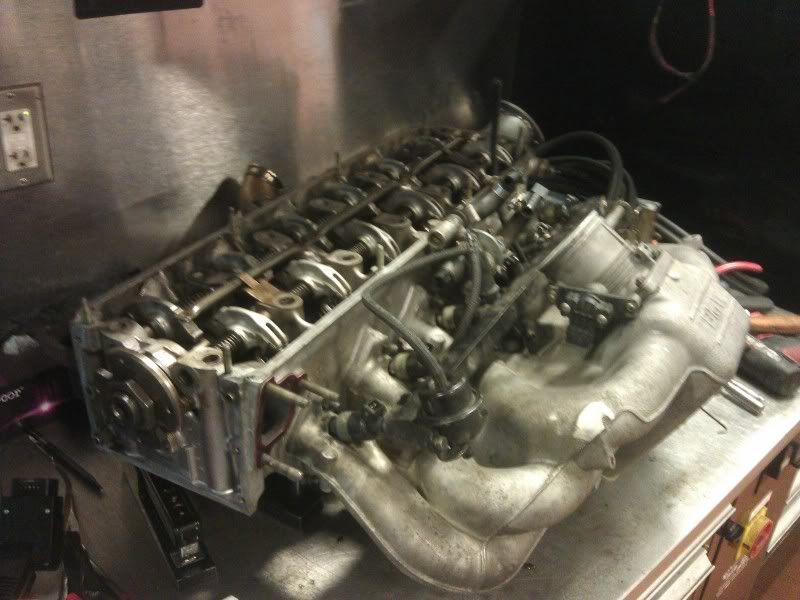
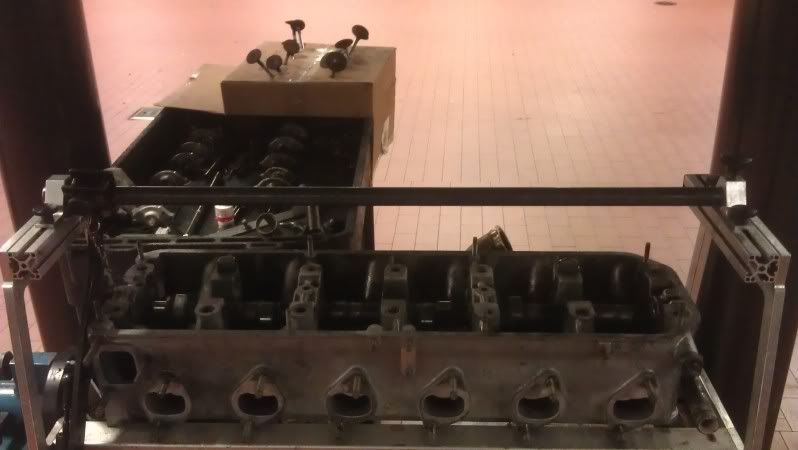
Head disassembled, valves lapped, had to order the correct valve stem seals. MLS and head studs will be here next week, more updates then.
Image

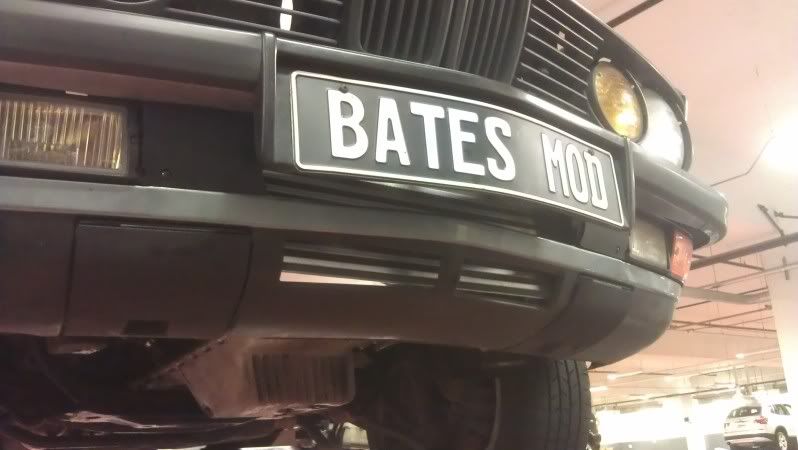
Front end all finished up. YAY!!!
Image

Posted: Mar 11, 2012 9:10 AM
by 9mil
I like that FM - I have been going back and forth on liquid to air or FM... Did you go 2.25 to 2.5 at the compressor outlet and run all 2.5 until the throttle body? Trying to figure best size piping kit to get.

Posted: Mar 11, 2012 8:32 PM
by BATESY
Yea its a 2in to 2.5in transition elbow off the turbo outlet to the 2.5in piping to the 2.5in to 3in transition elbow to the throttle body. came out good other then the mass couplers around the BOV, I dont have a tig to weld it all together.

Posted: Mar 11, 2012 8:53 PM
by 9mil
Still looks good either way-

You remember what size it is? I am guessing it and the piping kit are off eBay or something like CX Motorsports?
Got any more pics by chance-

Imitation is the sincerest form of flattery!! Thanks for letting me copy;-)

9

Posted: Mar 11, 2012 9:35 PM
by BATESY
http://www.ebay.com/itm/350384616735?ss ... 1497.l2649

28x7x2.5 intercooler.

its CX racing that makes all of it, there is a couple of off hand companys with cx starting the in the name.

your also going to need 2 or 3 of the 2.5in 45 degree bends,

http://www.ebay.com/itm/180764648313?ss ... 1497.l2649

I used two, one off each side of the intercooler. could have used one more to make it easier on the intake manifold side of the piping.

then your going to need 2 90 degree 2.5in

http://www.ebay.com/itm/180813710149?ss ... 1497.l2649

then....a 2in to 2.5 off the turbo,

http://wideopentuning.com/index.php?mai ... ts_id=4275

and then a 2.5in to 3in to the intake maniold/throttle body.
http://wideopentuning.com/index.php?mai ... ts_id=4276

in that intercooler kit for cx racing you get enough clamps but your going to need to order a 3.5 or 350 clamp for the throttle body if using that linked transition hose, need a 3.5 due to the thickness of it.

http://wideopentuning.com/index.php?mai ... ts_id=4630

other thing you cant see in the pics in that on the front intake manifold support bar that used to be that I had to grind off the mounting point, where the bolt threads in and make it as smooth as the intake mani. made more room for the pipe to close the hood.

for mounting the intercooler I used a piece of 1.5in flat bar from home depot and welded it onto the frame horns, drill two holes and fit perfectly. putting the valance back on was a little tight, had to trim some plastic off the tow hook covers. also you have to get rid of your front tow hooks, I used a 4.5in cut off wheel, be surprised how easy they come off. also using a air saw trimmed the nessesacy metal away to fit the piping and give it some clearance. I still need to figure out how to mount the piping to the car, just kinda sitting there right now. need to do a
Lowes trip.

Posted: Mar 11, 2012 10:32 PM
by 9mil
Your the man- thanks for the recipe... I have been collection silicon joints... Knowing I would end up picking up a kit at some point anyway.

I'll add the e24 how to when I get it in.

Thanks!

Posted: Mar 12, 2012 3:21 PM
by thrty8street
great info, keep us updated on the progress

Posted: Mar 12, 2012 9:04 PM
by marc79euro645
nice job on the i/c.
now would also be a good time to consider better rockers. I went to ireland engineering heavy duty rockers after I broke my second rocker.
Also, an adjustable cam sprocket helps.
good job
marc

Posted: Mar 12, 2012 10:08 PM
by T_C_D
Big improvement!

Posted: Mar 13, 2012 8:50 AM
by Nebraska_e28
Looking good. I'll be waiting to hear updates on how this setup runs.

Posted: Mar 13, 2012 12:52 PM
by grey ghost
Yeah dude, very nice work. I look to do the same one day to cut back on all the plumbing I have.
That ic tucks in there very nicely....
Is there enough space in there for an ic thats 4" thick, but equal in the other dimensions.
The stock 745i ic is ~250 ci.
Yours is 385 ci.
Mine is 528 ci.

Your unit 4 inches thick would be 616 ci.
I really like the way your ic sits in there and its a great reference for the rest of us.

Thanks for sharing...

Posted: Mar 13, 2012 11:41 PM
by BATESY
Sorry for the delay on pictures. I got the car back together yesterday after 10 hours straight working on it. Lets begin.

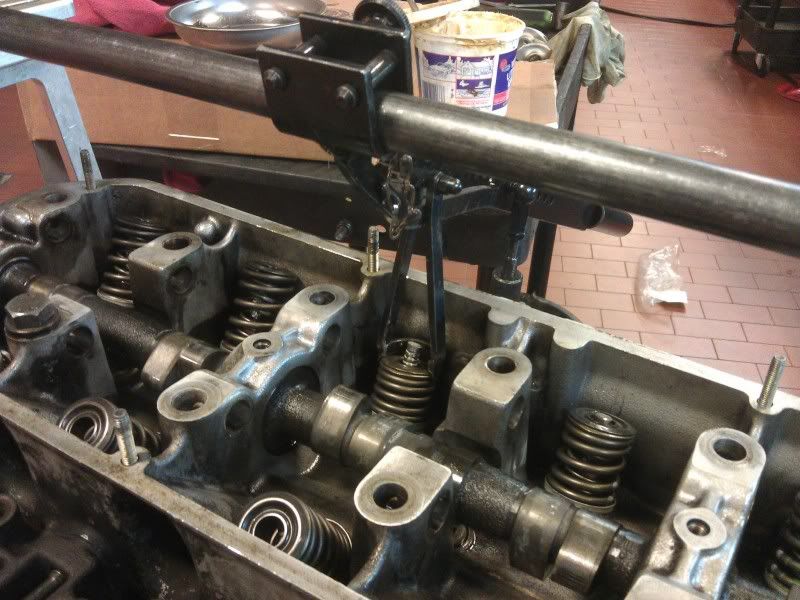
BTW BMW special tools are AMAZING!!! job would have sucked by yourself or with the air controlled valve spring tool.

New seal in and valves installed.
Image

Valve springs being pressed with the tool, it locks down so its all a one man system.
Image

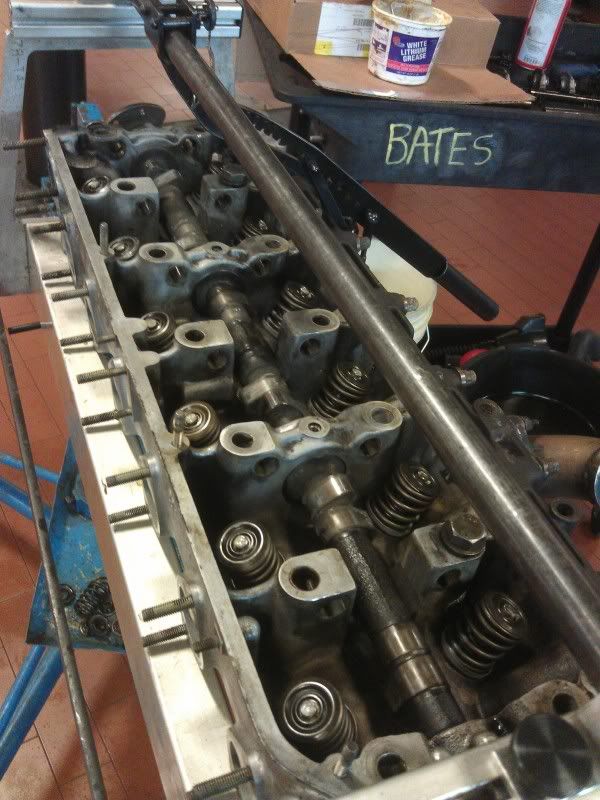
All the valve springs in. YAY!
Image

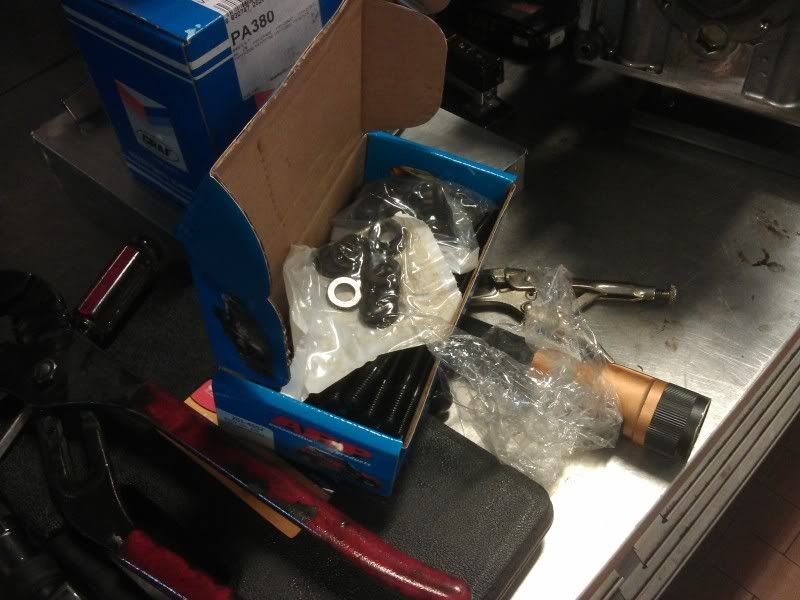
UPS FINALLY SHOWED UP, I really though they wouldnt with all my goodies to finish this up.
Image
Image

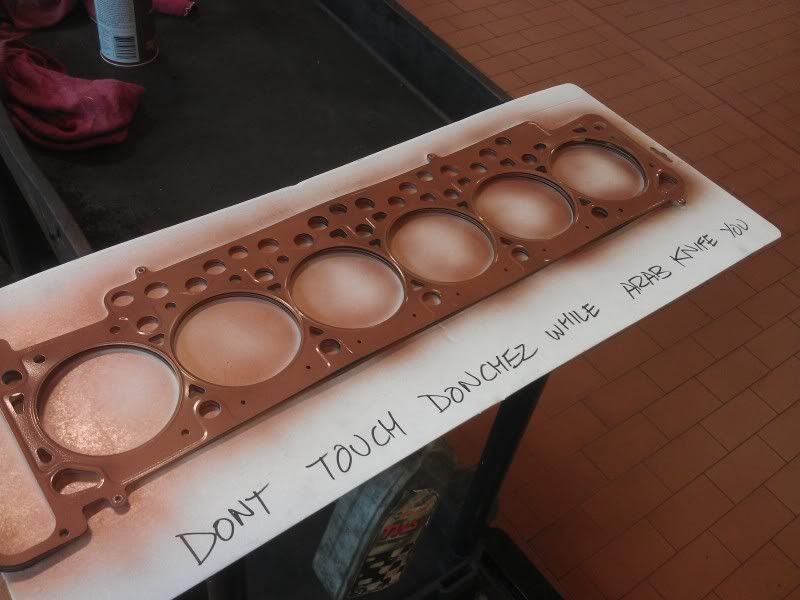
Got the headgasket sprayed with copper spray, I didnt have my head machined so I felt it was needed, Todd I know you said I didnt have to but Im wierd and the spray is one less thing I have to worry about.

Arabic co-worker/friend to defend my headgasket while I ran to lunch and let it dry.
Image

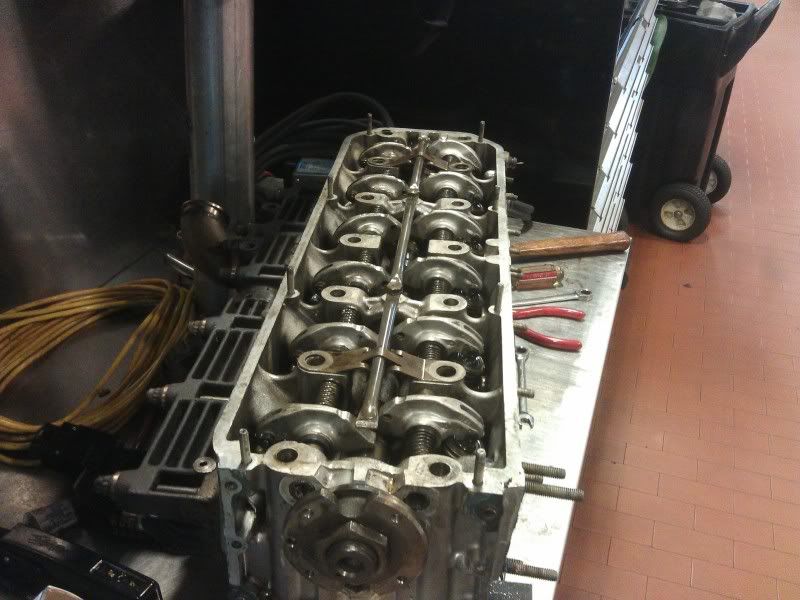
New rockers, shafts in and valves adjusted, I know remember why I hate rebuilding heads.To answer your Q, I didnt go with aftermarket rockers, rockers are meant to break, most common cause for a rocker failure is to tight of valves, tighter more then .012, or valve float, which is what happened to me.
Image

Intake manifold back on with new seals, I never removed the exhaust manifold, those gaskets though me at $22 bucks a piece. fuck that.
Image

headgasket and studs in, this is wear I fucked up, I got this all installed and then trying to put the head on it doesnt clear the firewall in the rear, I need about 2 more inches of room to make that work, even removing the rear coolant port didnt help and I wasnt about to try to installed that thing with the head install, work smart not stupid they say. ended up removing all the studs and installing the head and then reinstalled the studs with new loctite.This was the only way to do it.
Image

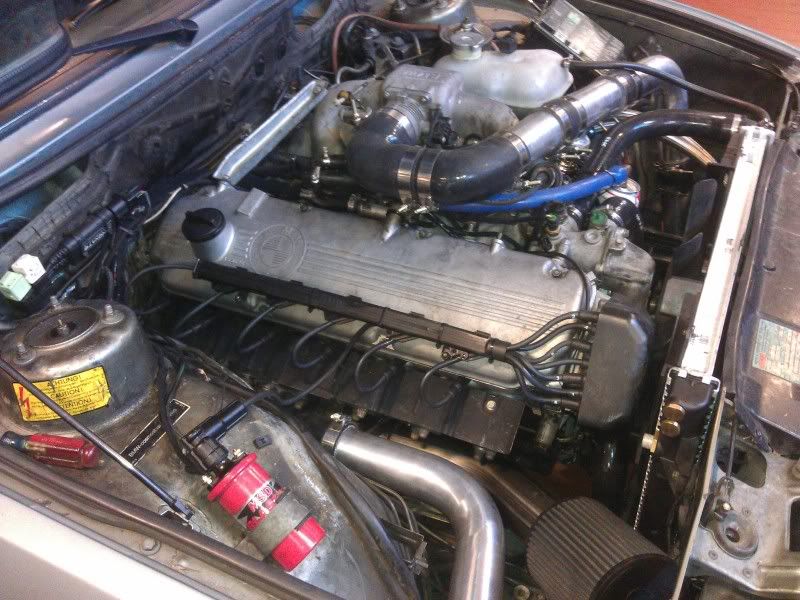
I know your going to say where is the in between pictures, I didnt take them, starting going crazy a little. finished product.yay. Now I know I said that to tight valve adjust can fuck things up, and it can. After this picture I went crazy pissed, car ran like shit. found a couple of odd ends loose, fixed those. still runs like shit. Got to work today, did a leak test with the smoke machine. no leaks.Found out that I adjusted the valves with the wrong feeler gauge, a .010 gauge, the valves with the engine running couldnot be heard, NOT A GOOD THING, m30's are the loudest valve train motors, including m10 and m20 on BMW's planet of engines. This thing smoked and back fired like you couldnt believe, lucky no burnt valves from the tight valve adjust. Re-adjusted the valves to a nice .012 which is stock spec. Car runs perfect. Finally got the MS computer on it to get rid of some stumbles but other then that awesome. I was going to data log on the way home but it started snowing, no fun.
Image

As you can see I installed a sweet oil catch can, from my early VW days. works like a charm.
Image

Overall a easy job compared to most headgasket jobs I have done on BMW's and such, head studs definately make it easier, no angle torque. Driving the car, the new HG and studs helped but that front mount made the biggest difference. Ill have to wait and see on the dry how it does and this summer Ill have to see on the dyno what numbers I pushing out. IM me if you have any Q's.

Posted: Mar 13, 2012 11:46 PM
by BATESY
Sorry Ghost I forgot to answer you Q. I dont know if you could get a 4in in there. maybe 3 or 3.5 but you would be pushing it. The setup on there is rated for about 350 to 500hp, no real need for me to go any bigger. If I do Ill just water to air the intercooler system at that point.

Posted: Mar 27, 2012 10:19 PM
by 9mil
Still going good?

I'm trying to retro this to the e24 and just received everything for the kit - fortunalty the engine bays are just different enough to make it a PIA!

Any chance you can toss up some pics specifically where you went in through the body ( hole saw I am assuming ) and back out to get to the intake length?
I'm going to to have add a couple of bends to accomidate the ps resivouir and some other roadblocks, but should be do able.

Thanks for the help!

Posted: Mar 28, 2012 12:23 AM
by Shadow
Just wondering is there a reason why the m30 gasket doesn't really match block on oil drains?

Posted: Apr 26, 2012 9:13 PM
by 9mil
Any update? How much difference is there in the butt dyno?

I have been installing mine and fortunaly the PS resivouir is directly in the way.... So I will have one extra set of 90's in there to make it even more of a mess!

9

Posted: Apr 28, 2012 9:32 PM
by BATESY
Sorry I havent been on here much. Car has been down right after the HG. Turbo got sent out for leaking seal. Car ran super good with the new setup. I didnt really get to play that much only had it on for a week or so till I had to take the turbo off. Glad to hear your is going good.