The White Wonder: Build Log
Posted: Mar 29, 2020 2:29 AM
Hello e28 friends. As we’re in the time of corona, I now find myself with enough free time to make a substantive first posting with a nice amount of pictures to keep you all entertained while we’re hunkered down. This post will also serve as a way to record what I’ve actually done on my current ride, in the past 1.5 years, and maybe offer some information to you guys as you work on your various projects.
By way of background, I’ve been into e28s and older BMWs for some time. My father was very much into BMWs in the 1980s when I was a kid, having owned an e21, two e23s and two e28s at various points during the 80s and early 90s. His affection for these cars definitely wore off on me. I was lucky to get as a hand-me-down my his white ’84 528e in 1997.
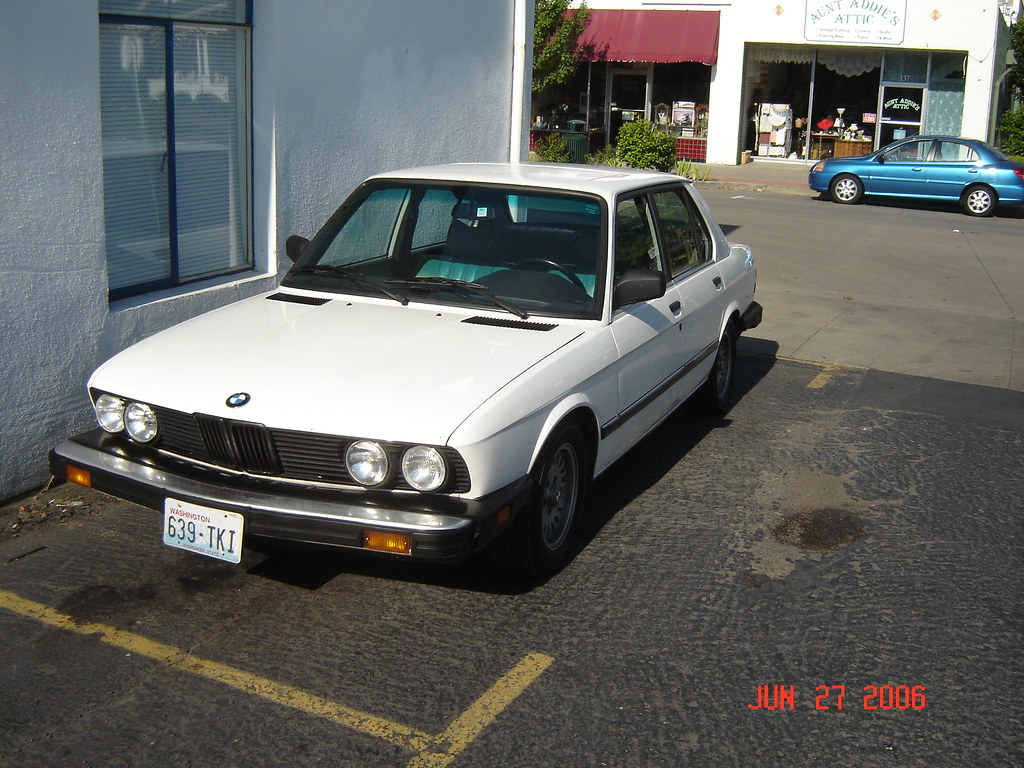
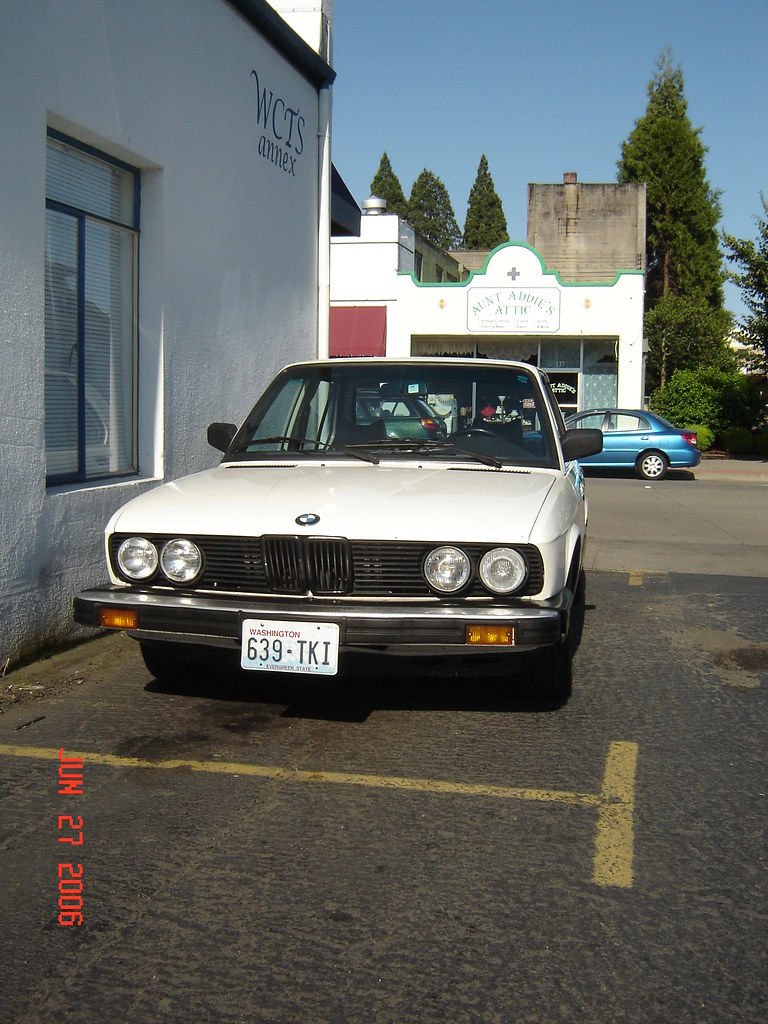
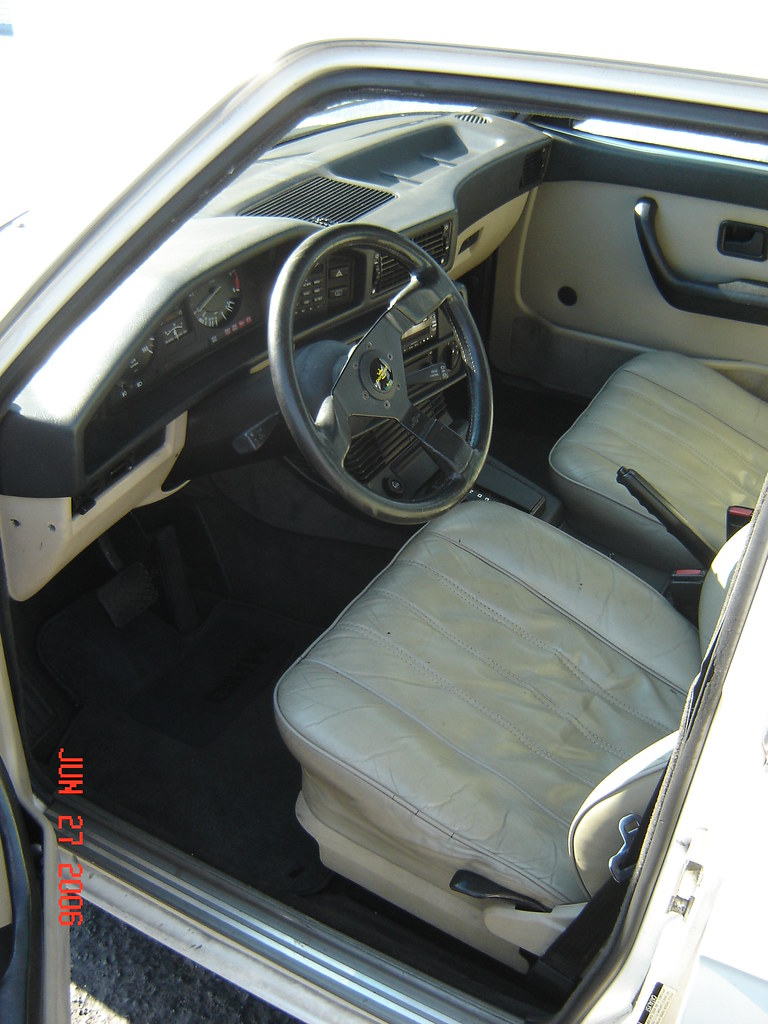
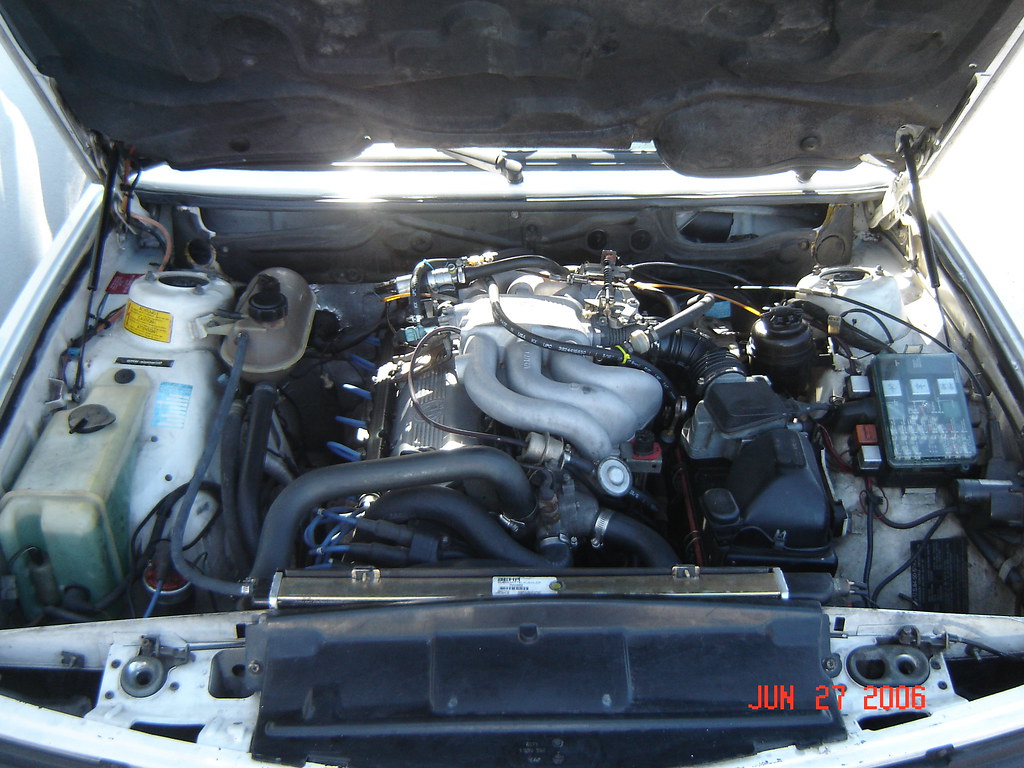
The car was wonderful. But it was an auto, so of course I was pining for a 5 speed. Just before heading to law school, in 2003 I got a delphin grey ’88 super eta with a 5 speed.
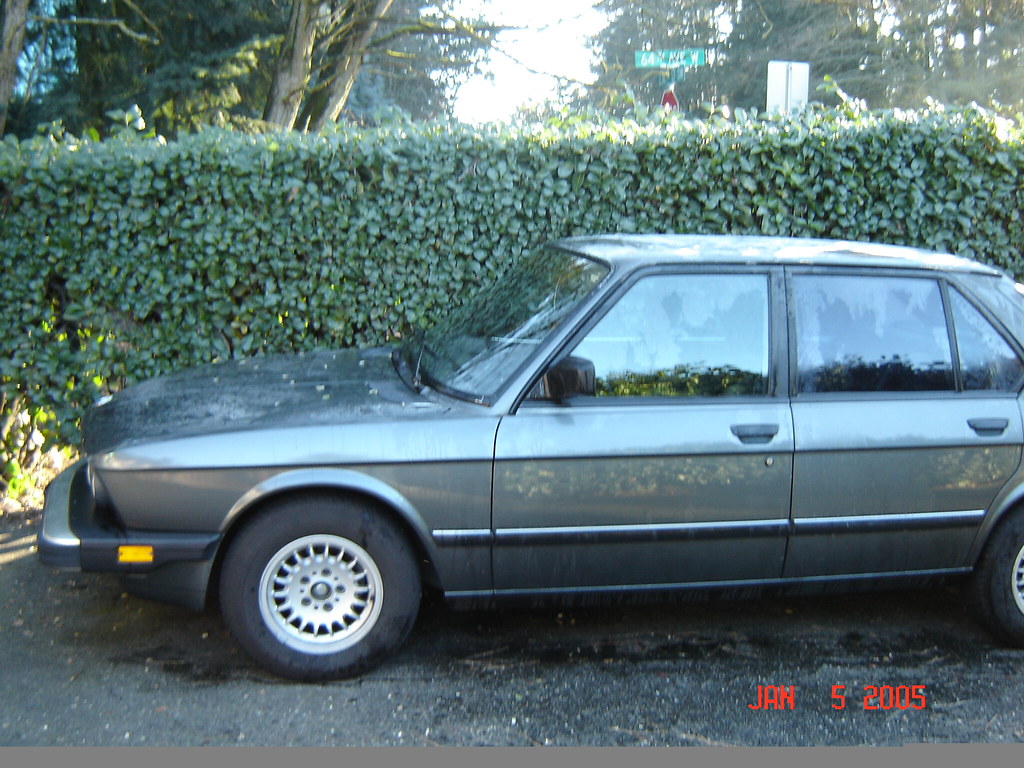
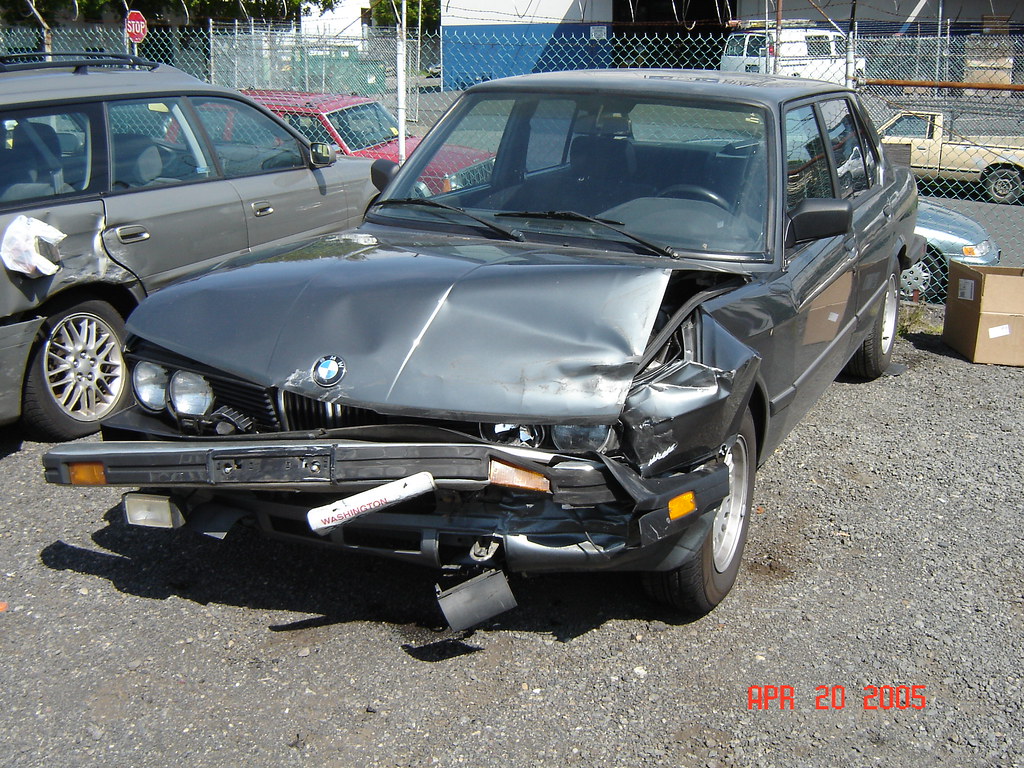
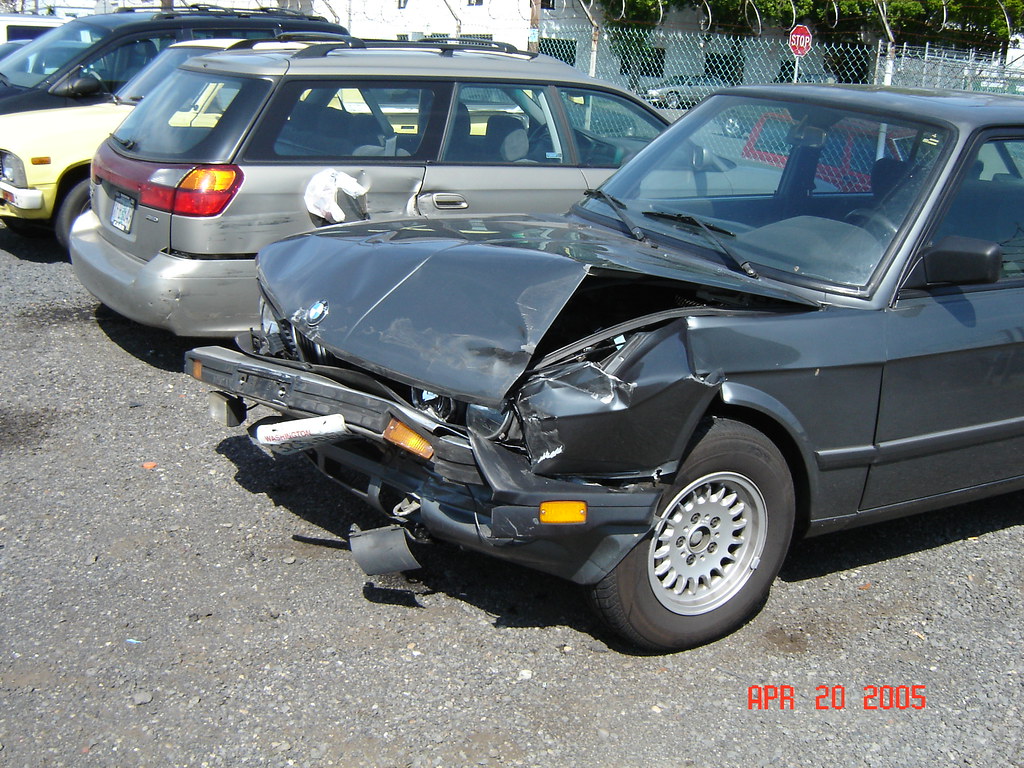
The car was a blast, but wouldn’t last long. In March 2005 a guy in a Honda ran a stop sign and I t-boned him. The super eta was no more.
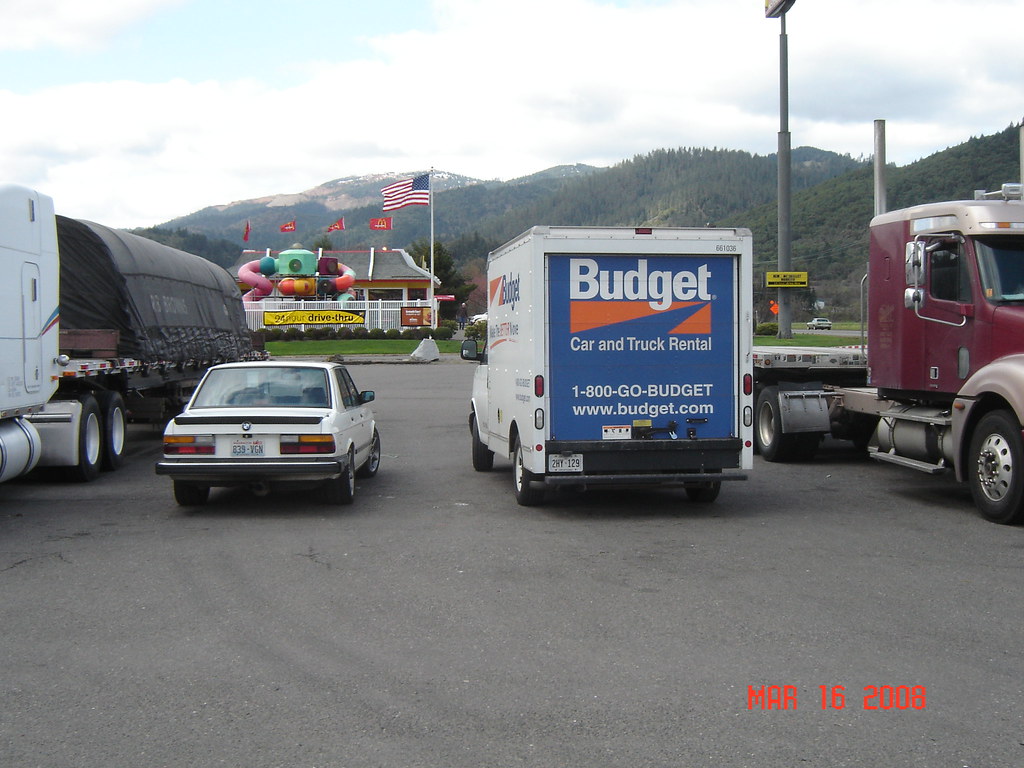
But I still had my ’84 that I would use daily until May of 2006 when I was able to get a pretty clean ’87 white on pacific blue 535is, 5 speed. Here’s a back side shot of it during my first move back to California after law school.
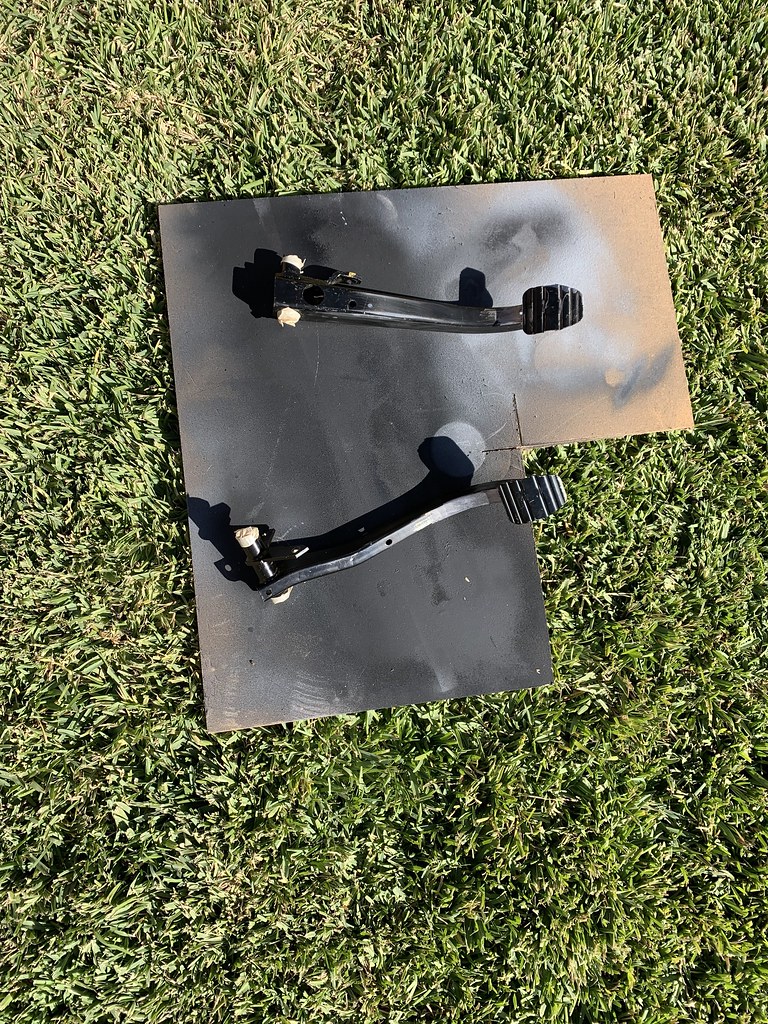
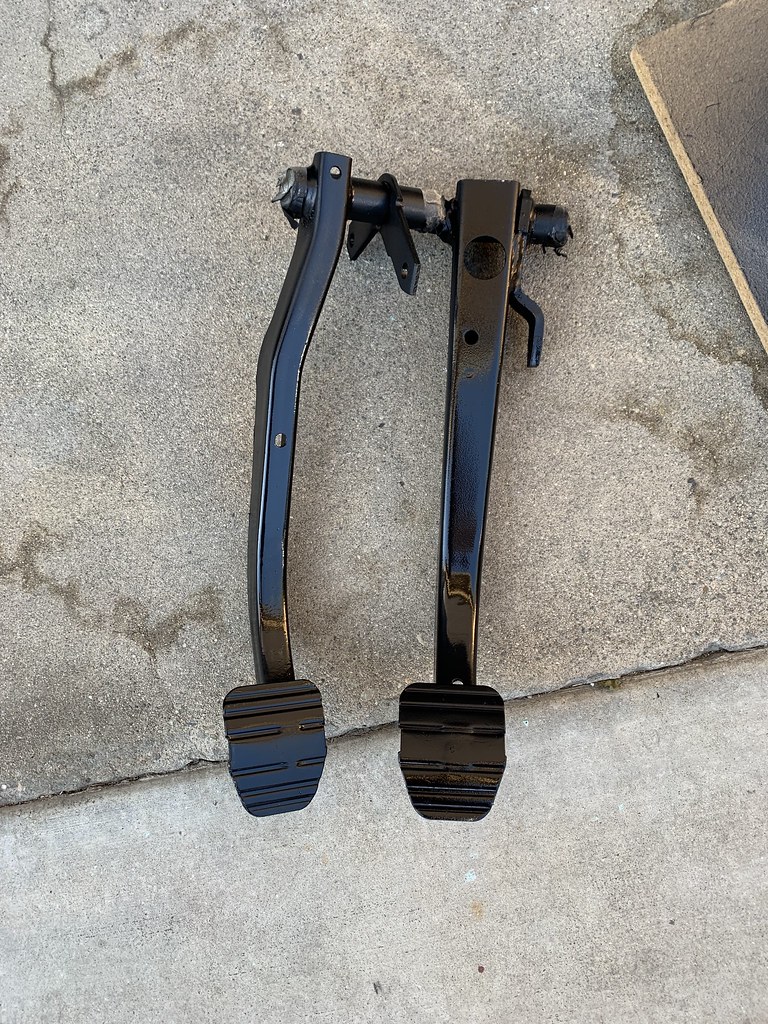
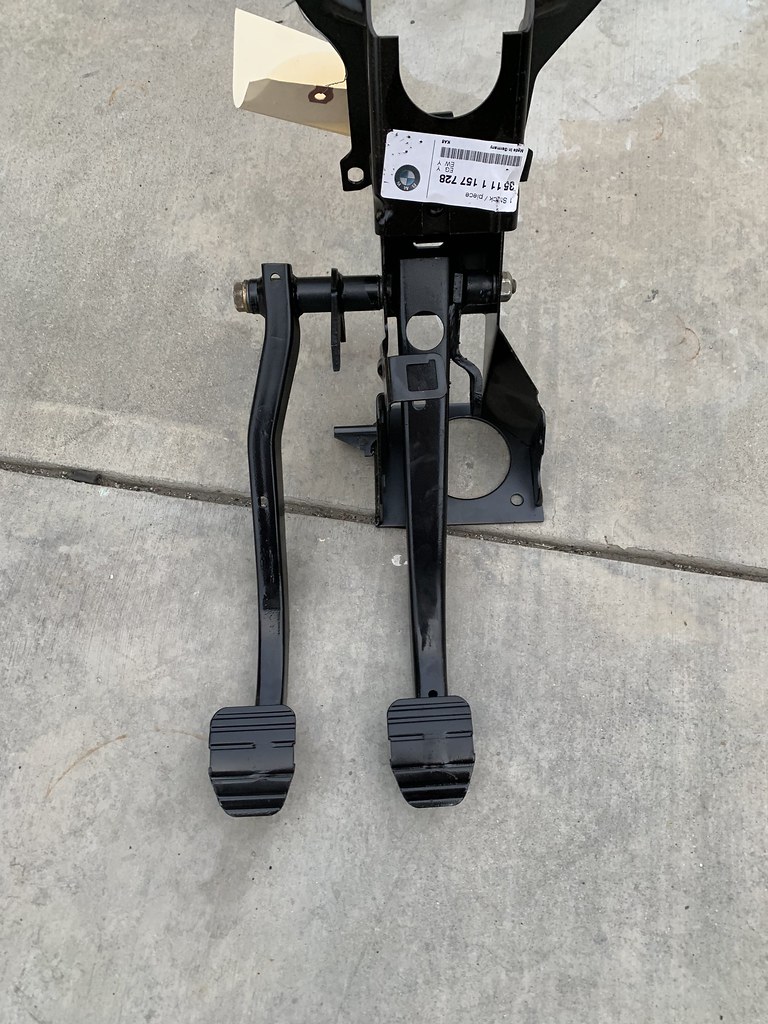
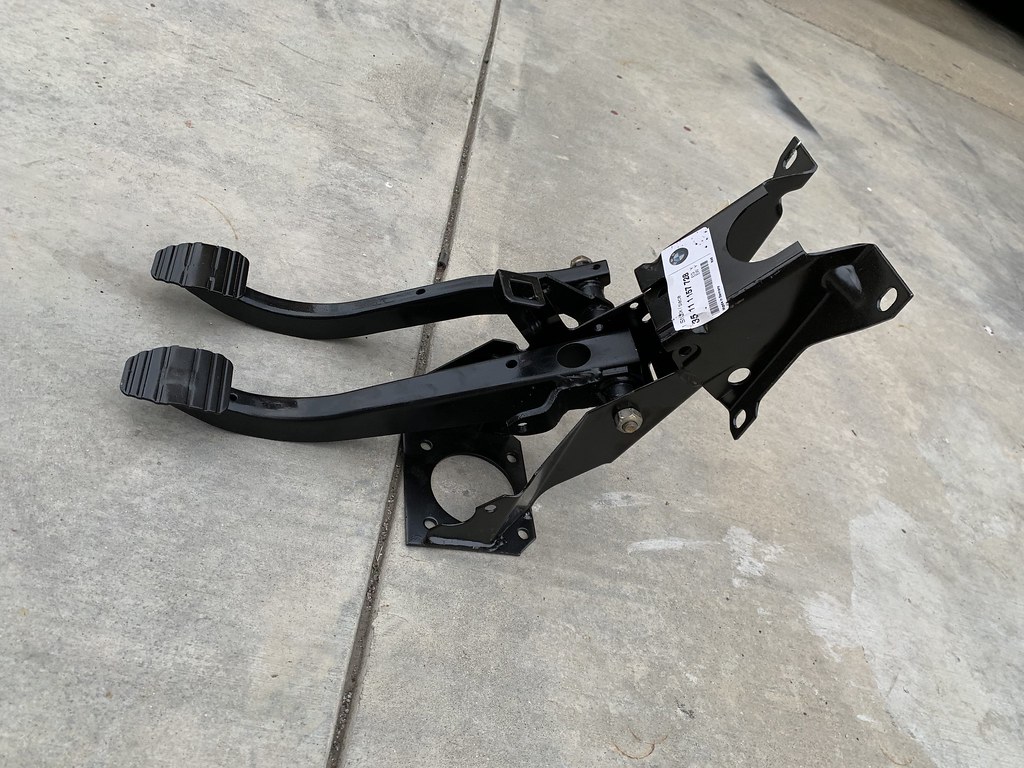
The prior owner put on a lot of go fast bits, including Mille Miglia wheels, HR lowering springs, Bilstein sport shocks, e28 M5 front brakes/calipers and rear 540 brakes/calipers, e32 750 MC, stainless steel brake lines, the larger ST sway bars, 3:73 diff, Billy Boat exhaust, Z3 SSK, and Dinan chip. The car had a crack free dash and euro headlights too. The car did need work, and from 2007 to 2008 I replaced the bottom end, had the head rebuilt, put in a new clutch, swapped in an M5 steering gear box, and had the pedal box repaired.
While addressing the mechanics of the car, I also purchased euro bumpers, valance, and signals from Australia in 2007. I spent about $315 with shipping. I finally installed them a year later, after smashing into a dog at 80 mph on the freeway and then a month later getting rear ended by a Chevy Suburban.
Here’s after the dog encounter.
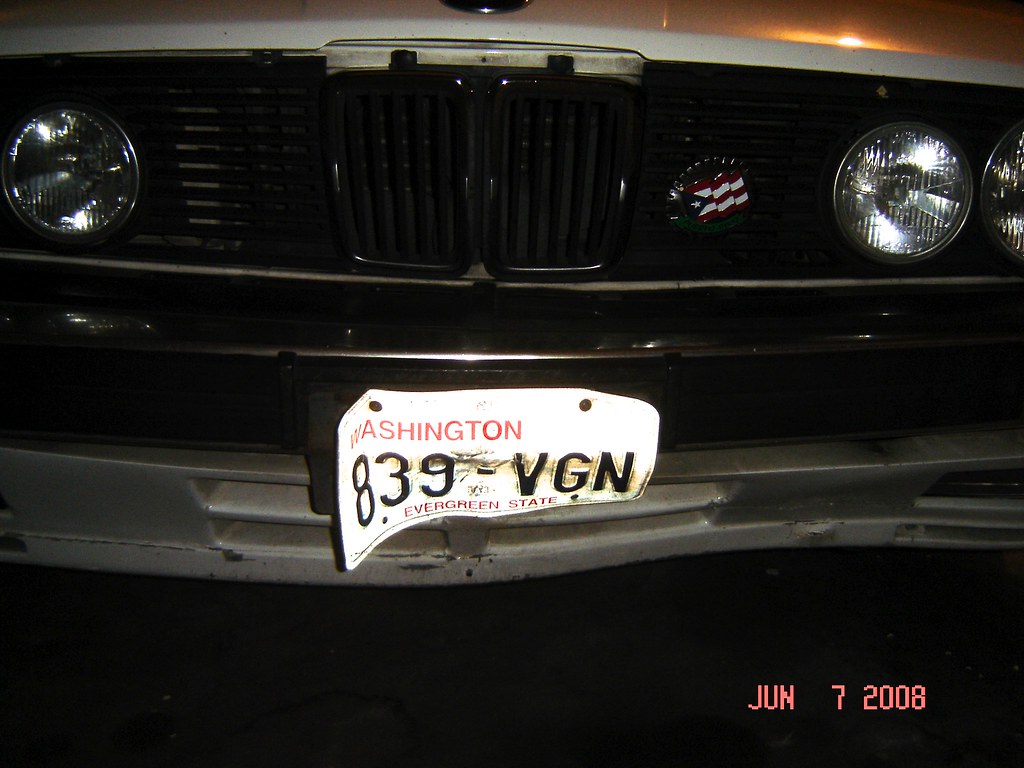
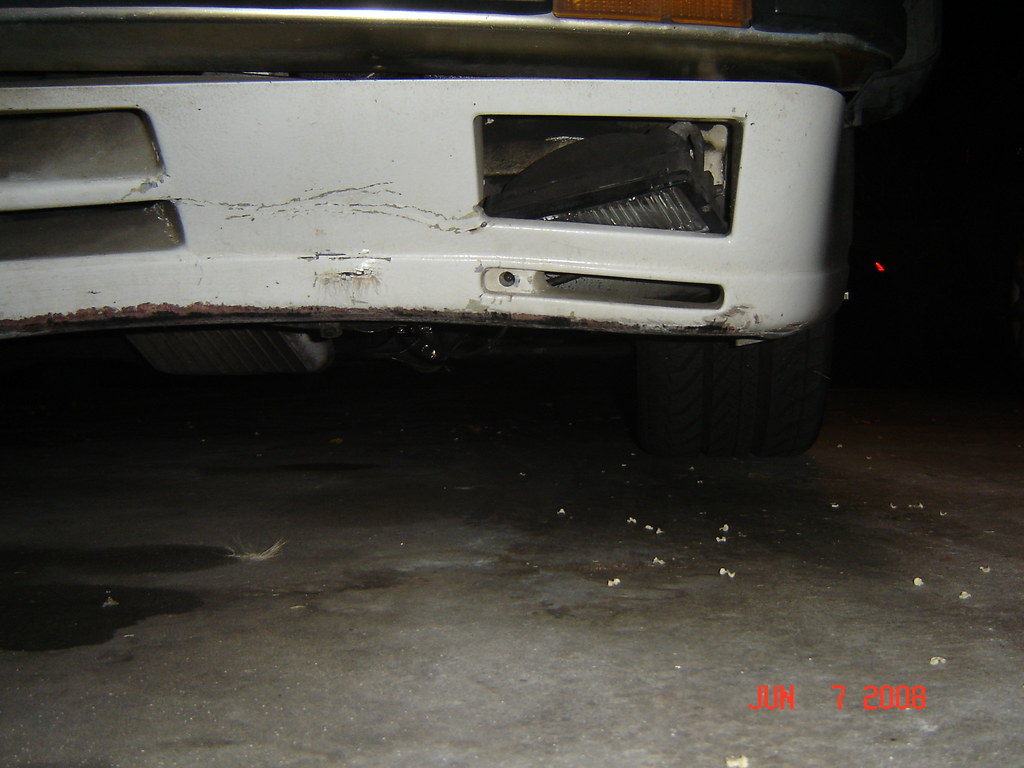
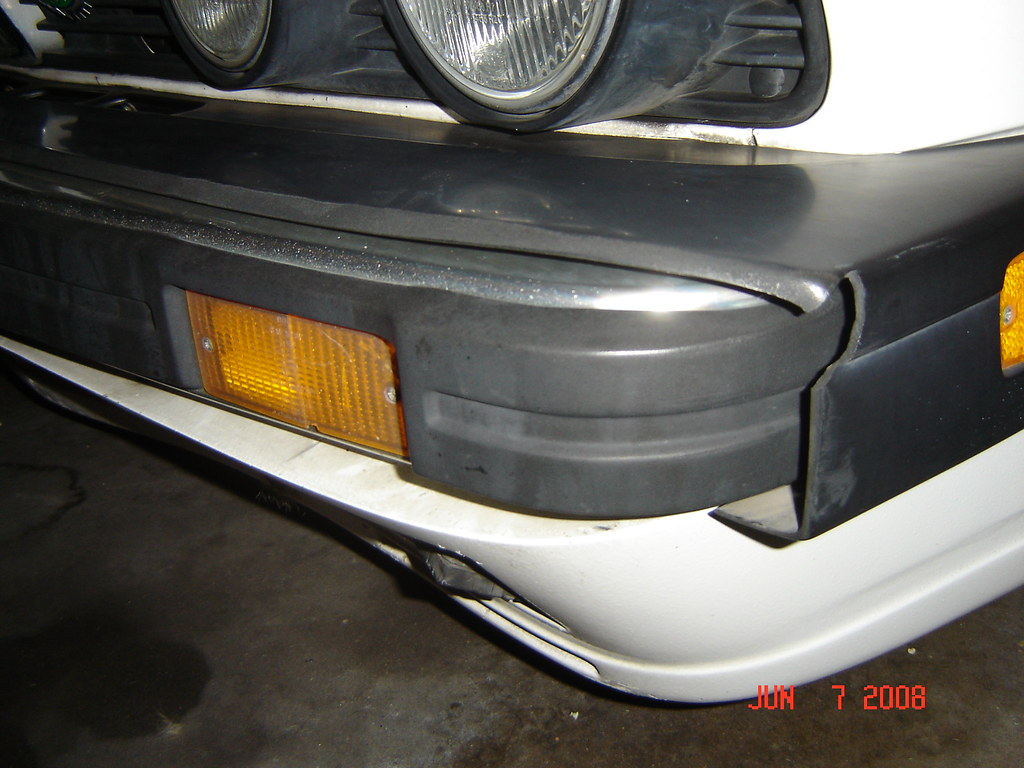
And here’s after the euro bumpers went in.
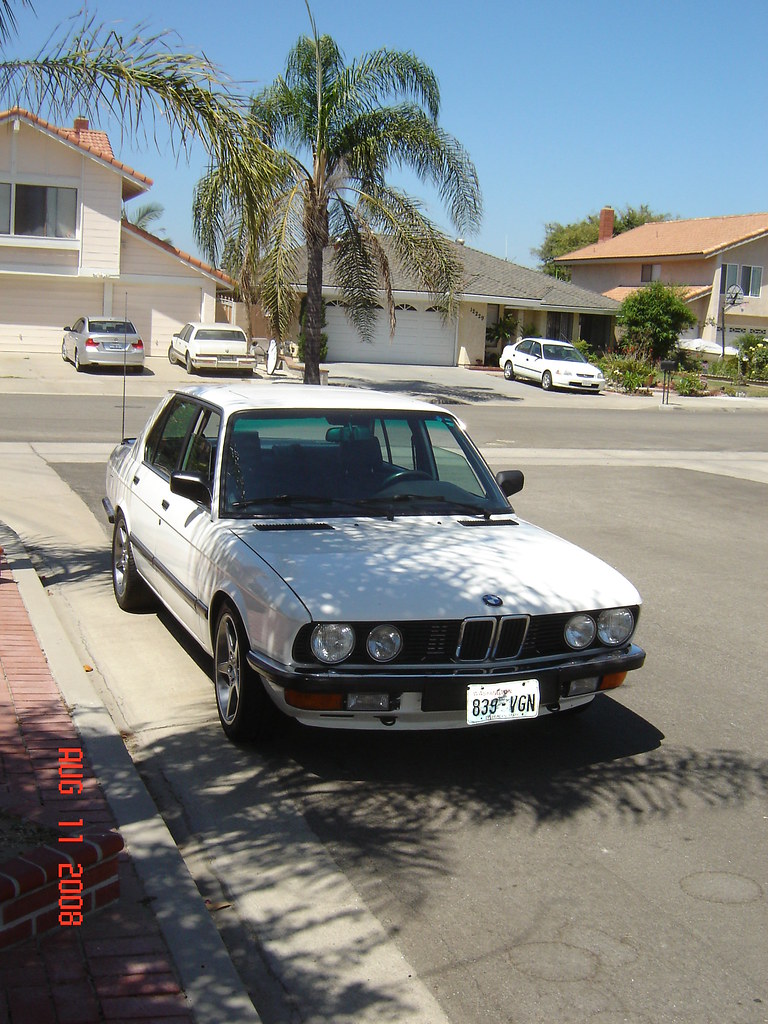
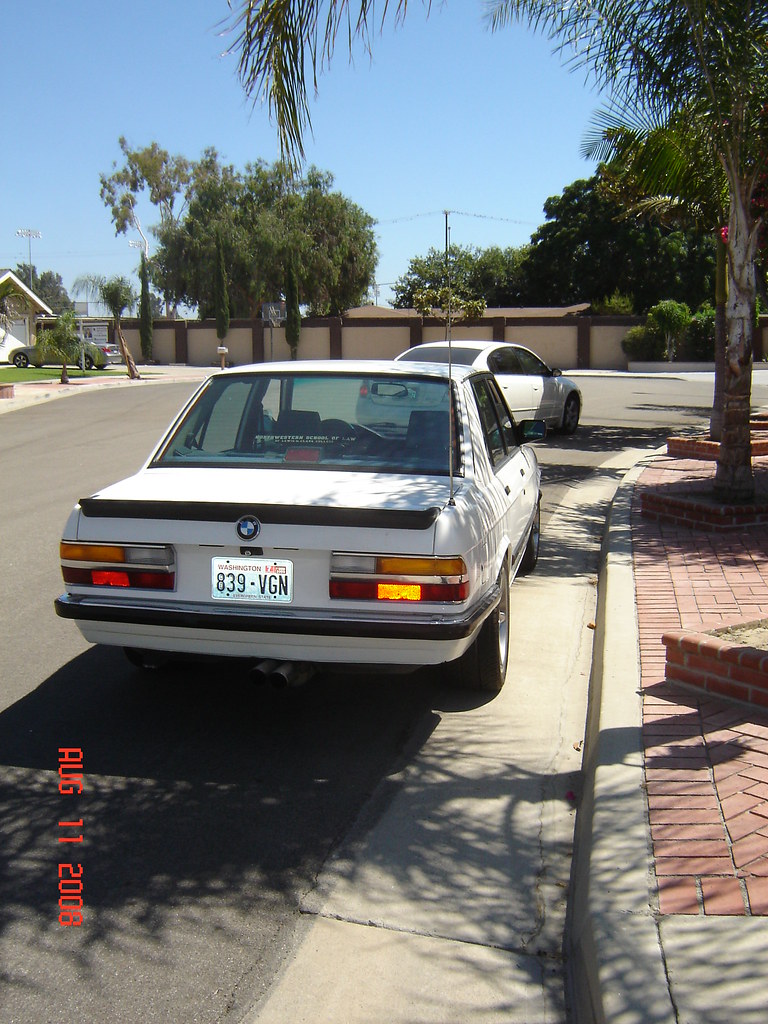
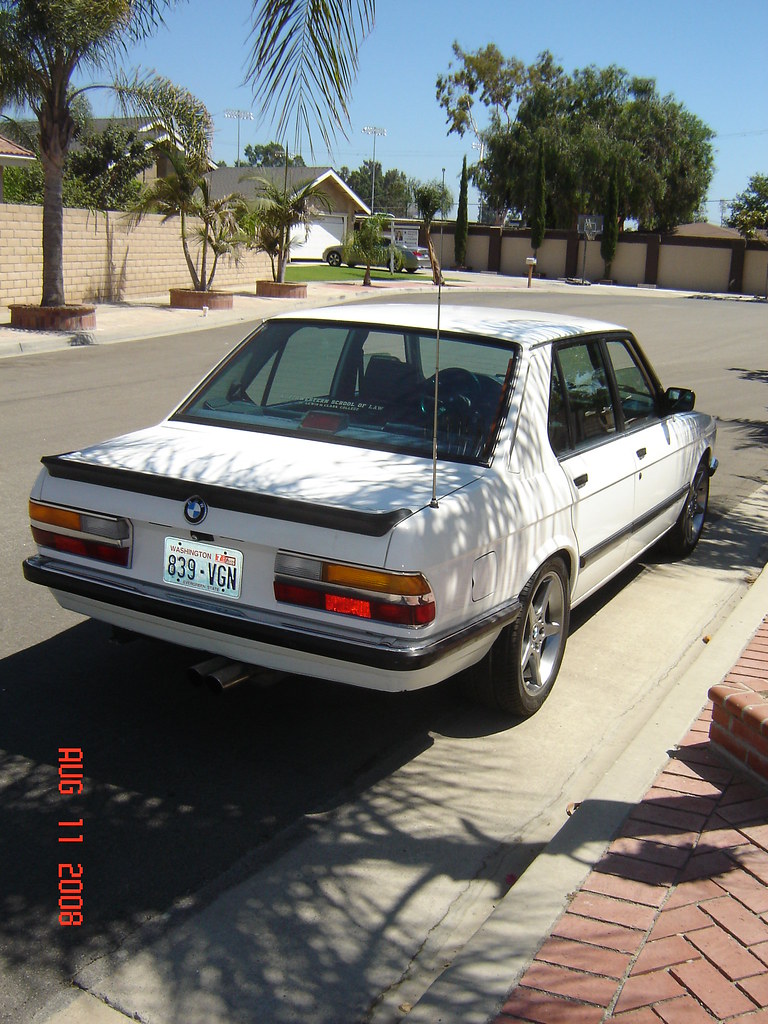
I also bought a LaDue Hartge spoiler in or around ’08, which I didn’t end up installing until after I made another move to the Seattle area in 2014.
The spoiler going on.
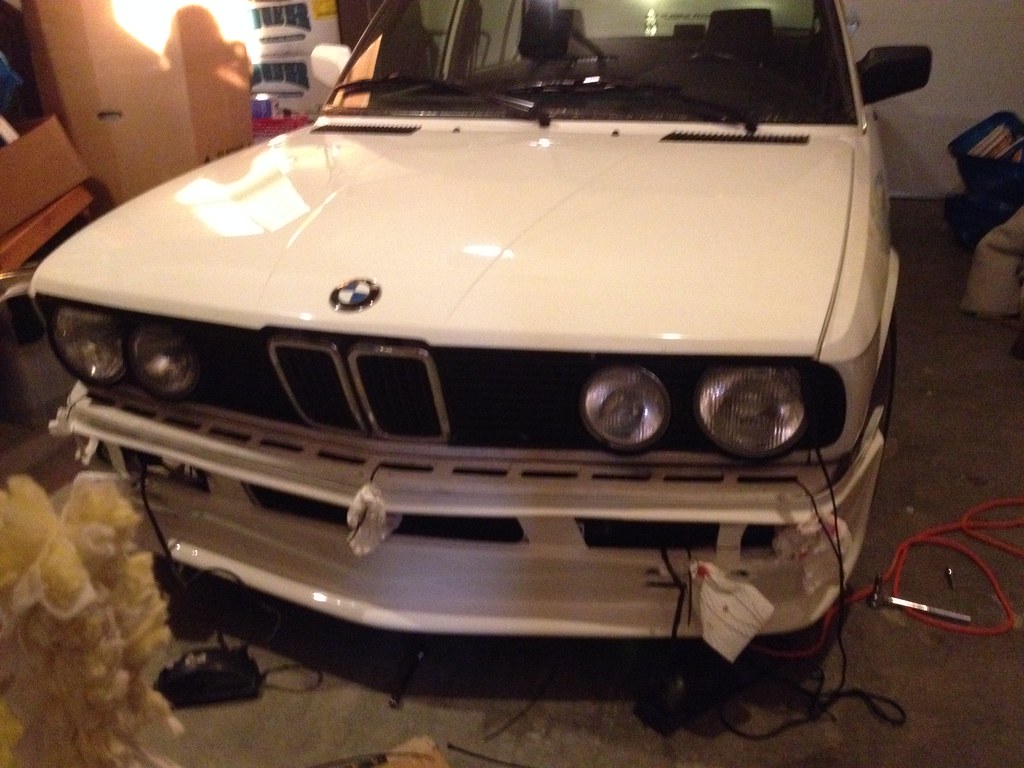
Spoiler installed! Made a dramatic visual difference, especially as I had an early shallow chin euro valance on the car. The car also felt less "floaty" at speed.
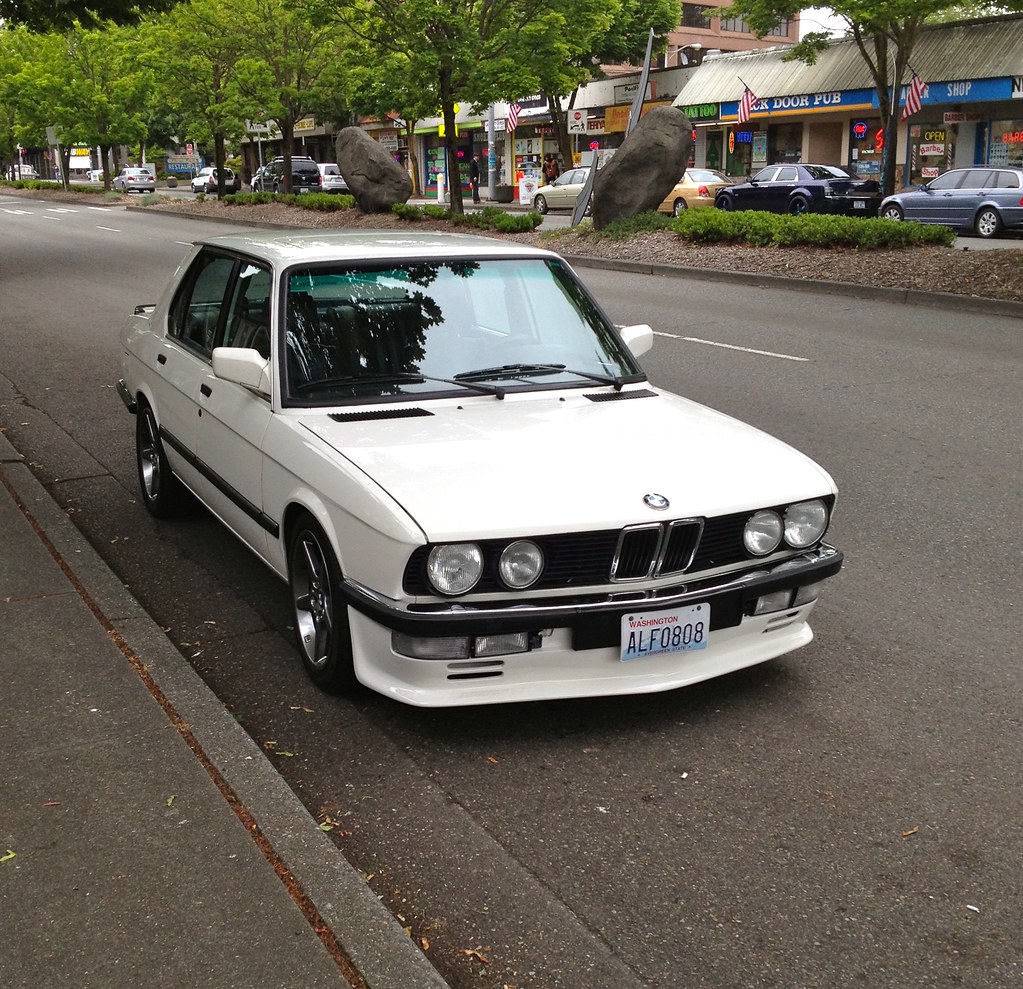
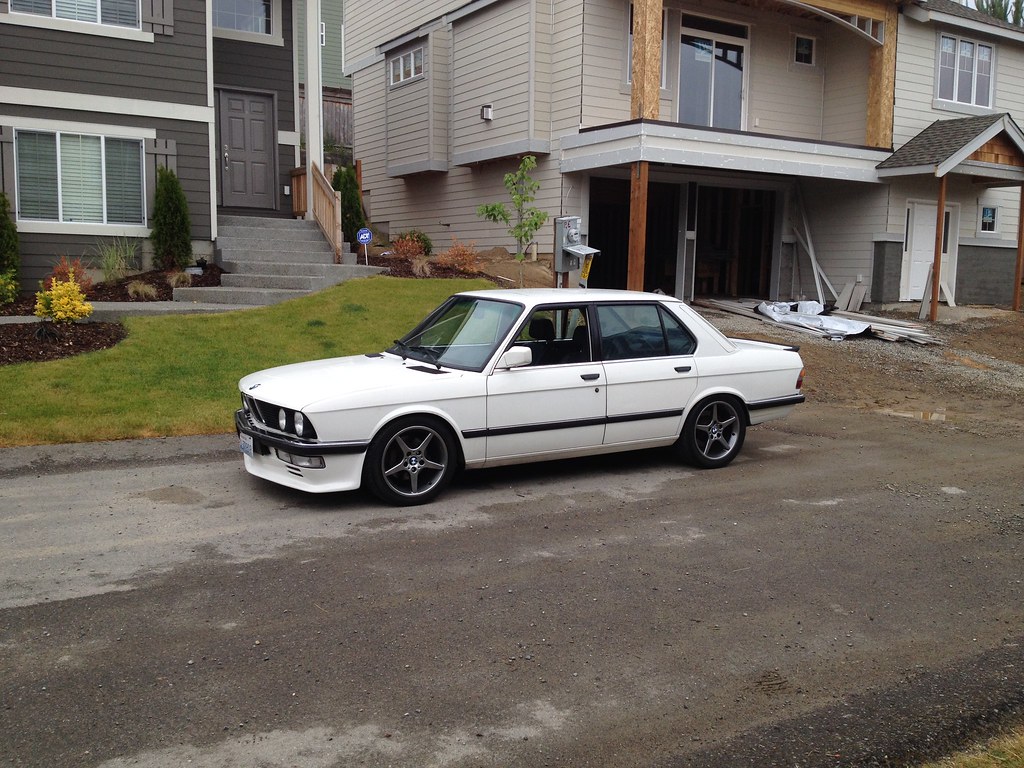
I also bought a set of staggered style 32s from a mye28 member, which only needed slight straightening. The car has 235s in the front and 255s in the back. This is pretty much the exterior of the car today.
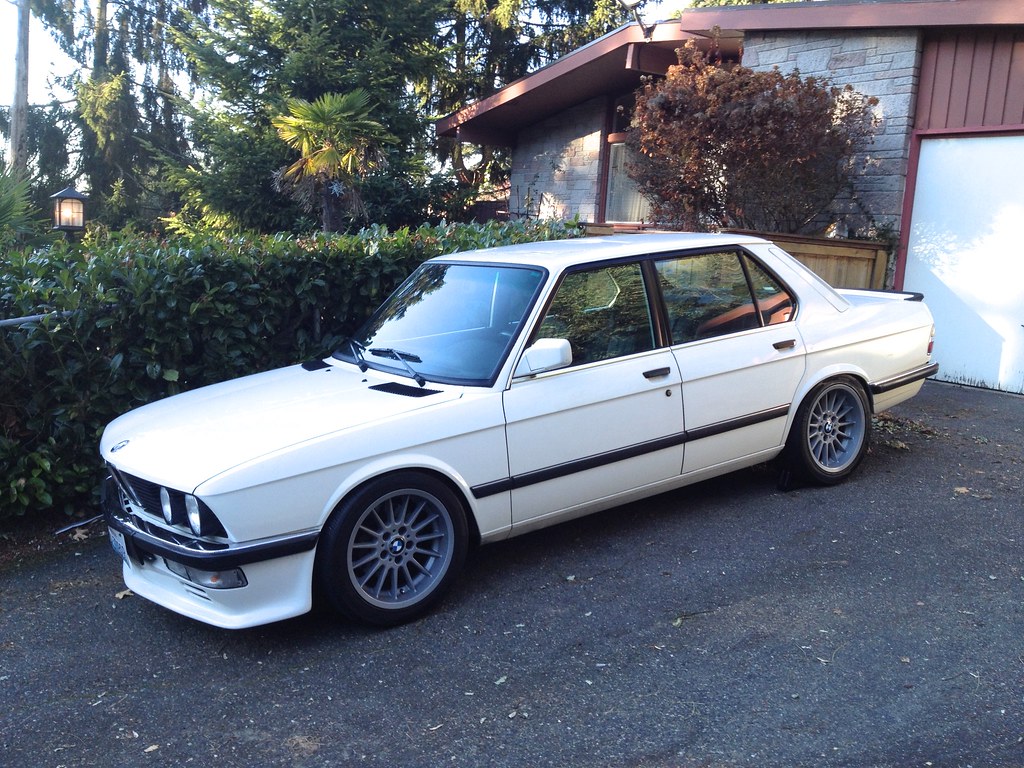
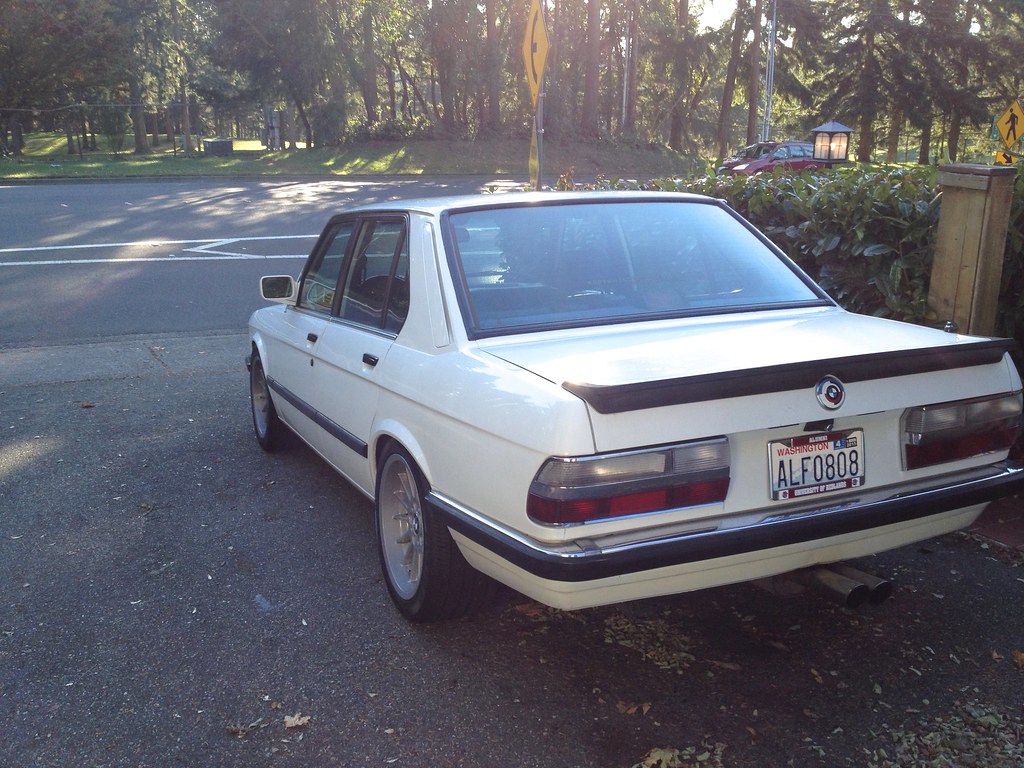
And after moving back to California.
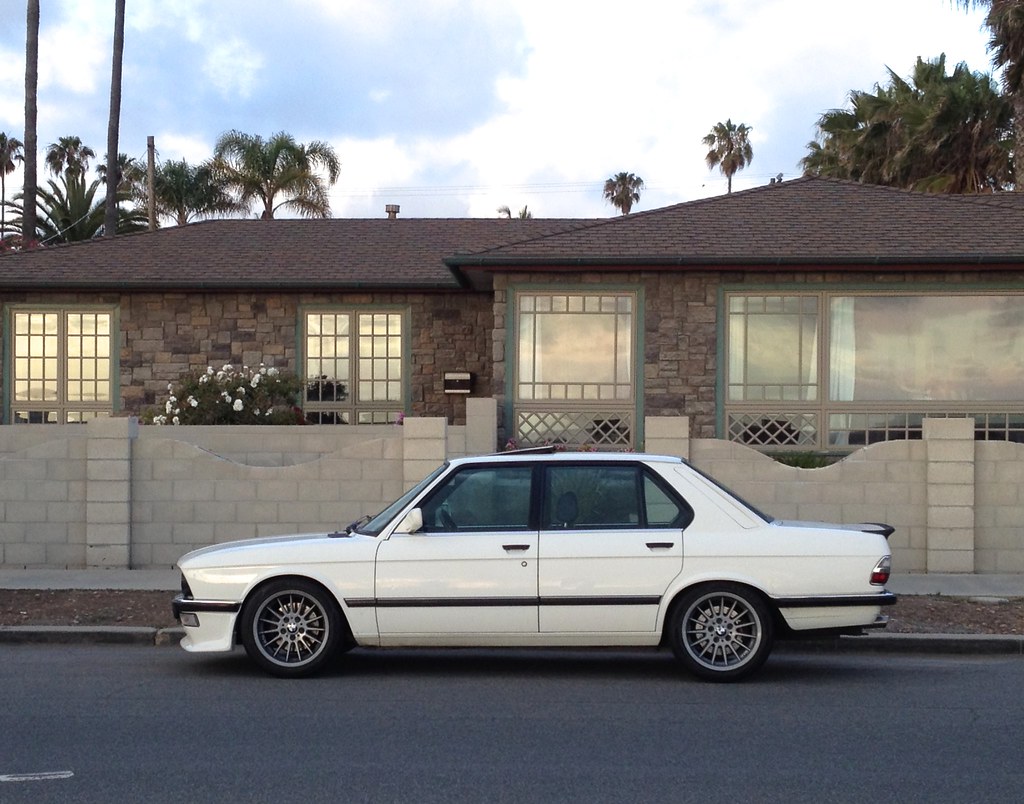
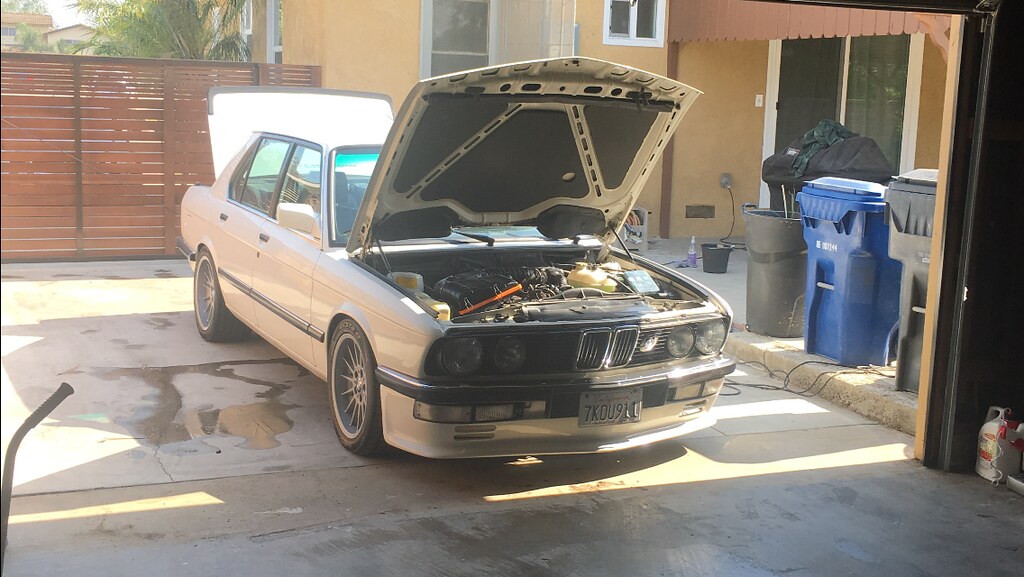
Up to this point, I relied on shops to undertake most major repairs, and I was content to do the small easier tasks. The last thing I had a shop do was install aluminum e31 lower control arms, and new upper control arms with the Moosehead bushings.
I stopped using shops in 2018, as I had invested in tools, now had a house with a garage, and my e28 was only driven once or twice a month. Also I have a vision for this car, and to have a shop do every possible thing on the car is cost prohibitive, and it’s not likely to get done at all relying on somebody else. I figured it was time to get going on this project on my own.
I first started with a smaller project of retrofitting LED brake lights and rear lights. I wanted LEDs for the obvious improvement of over the stock lighting. But I also wanted to maintain the stock appearance of the tail and brake lights. I further wanted to add a foglight in the factory location.
I found on R3Vlimted.com a company called VLEDS in Bellingham, WA. They advertise various LED bulbs for most applications. I bought their V6 extreme red bulbs for the brakes. These were not plug and play as their website indicates, as they assume the e28 has a socket which their LED harness could plug into.
To make it work, I requested their 7440 bulb connector. I then purchased two 7440 pigtails from Amazon. To wire them in, I cut the positive wire for the brake light from the rear light wiring harness. I then crimped that to the positive on the pigtail, and wired a new ground. The VLEDS blub then plugged right in. The actual bulb housing then securely plugged into the factor bulb socket for the brake lights.
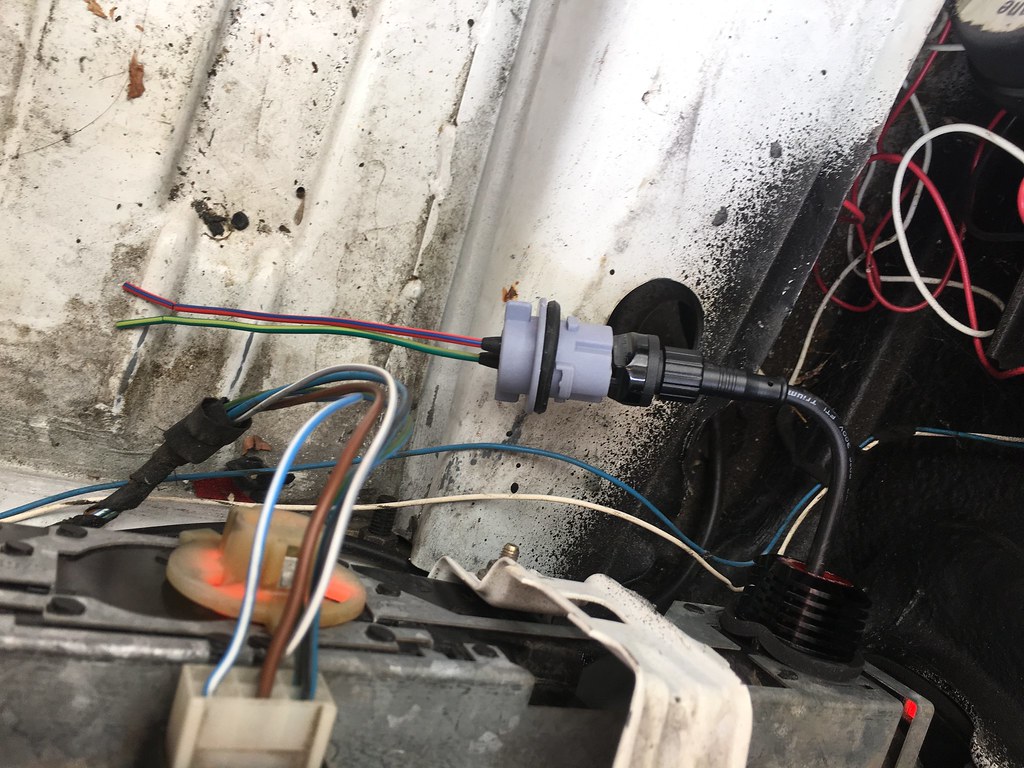
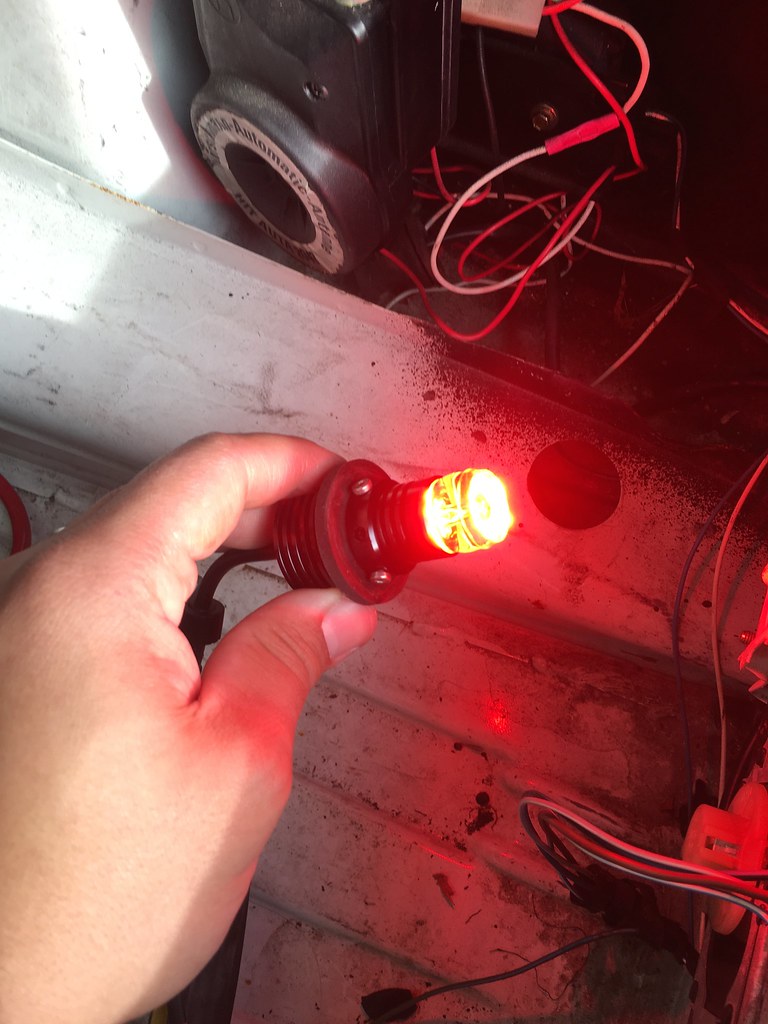
I retained the incandescent bulb for the high mount light to maintain full cruise control functionality. I also added their LED license plate lights. I did the jumper wire trick in the trunk check control module to avoid the bulb out warnings on the check control panel. I also bought VLEDS 1156 taillight bulbs, which plug right into the factor bulb holder with no modification. The brake lights worked, and they’re absurdly bright. The added bonus was no more annoying radio shutdown when I hit the brakes. The taillights and license plate light were also nice and bright.
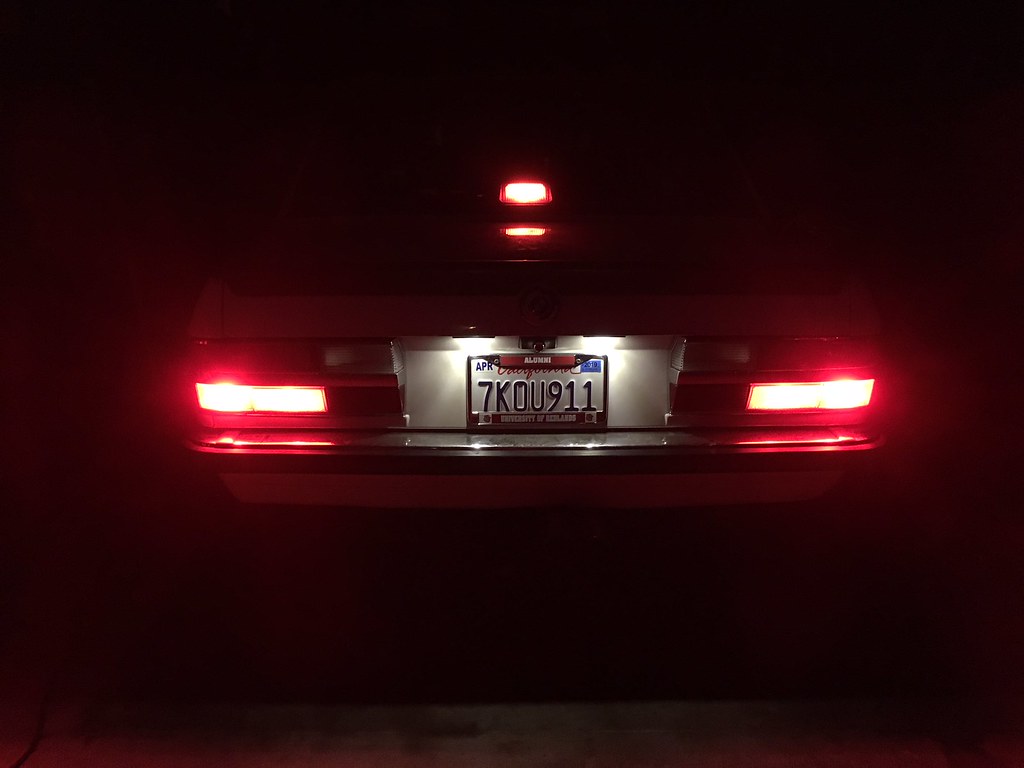
Here’s a comparison of the taillights, with the LED on the left and incandescent on the right.
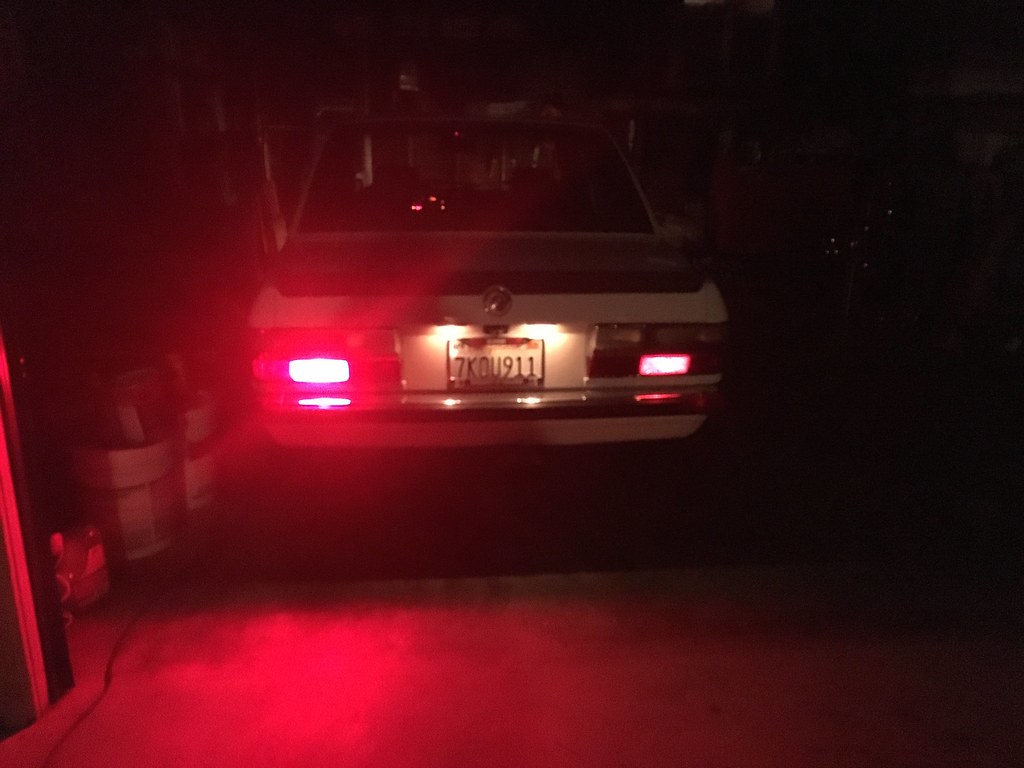
And here’s a side-by-side comparison with the taillights of my 2007 Mercedes E350.
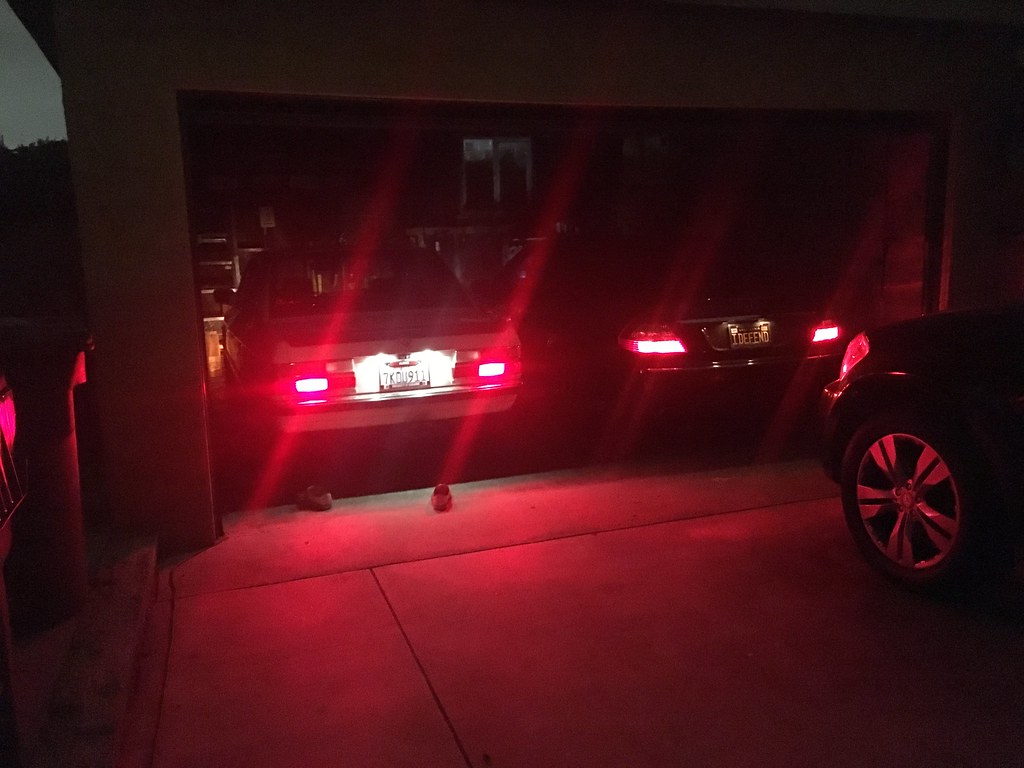
All these photos were taken with my phone, and they don’t entirely capture the quality of the LEDs. They are very bright and clear. Much improved over stock.
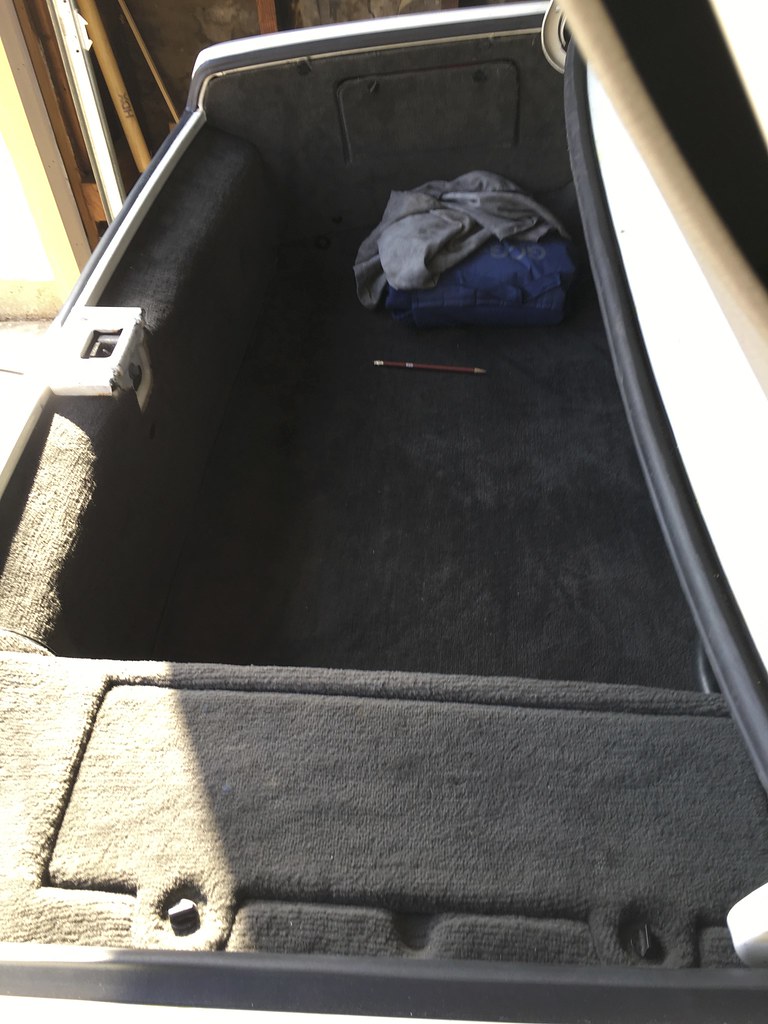
With the success of the lighting project, I now was ready to tackle something larger. I wanted to replace my interior carpet, as the original carpet in my car was thrashed with brake fluid that had leaked out of the clutch master cylinder on the driver side. It had all sorts of other stains too. Of course, mission creep started instantly, as I figured if I’m taking out the carpet, I might as well redo my stereo wiring, as it had a terrible alternator whine. And if the carpet was out, now would be the time to lay down modern sound deadening. It would also be a good time to relocate the battery to the trunk and run the battery cable inside, as I had previously purchased a M5 trunk carpet set ready to use.
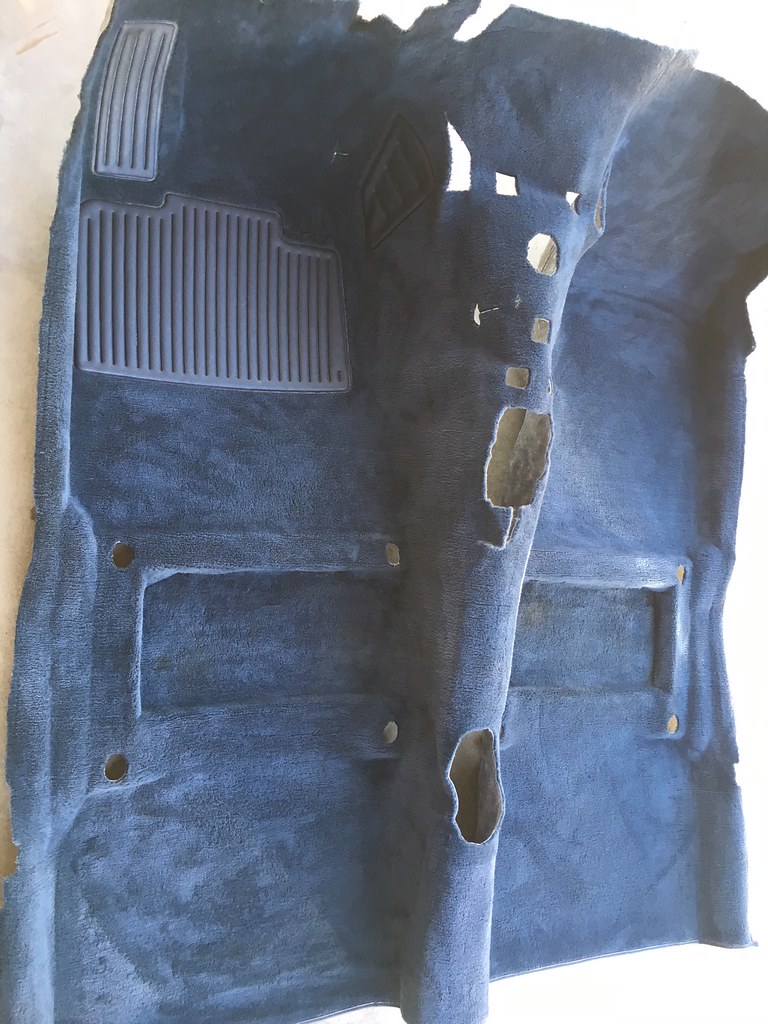
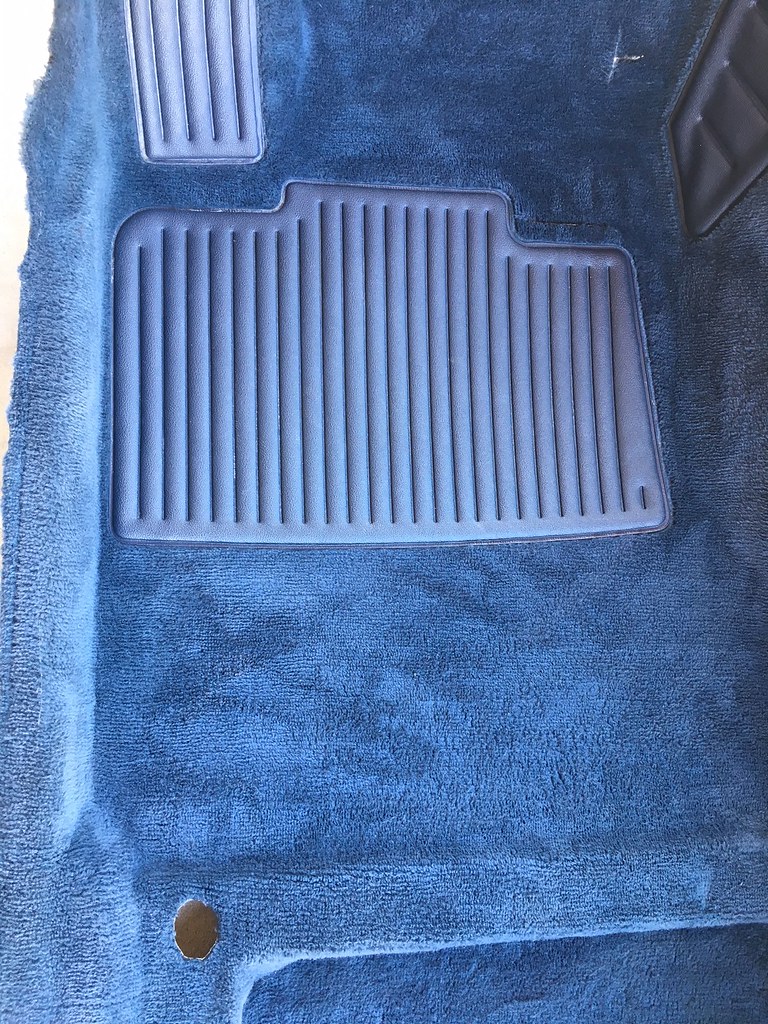
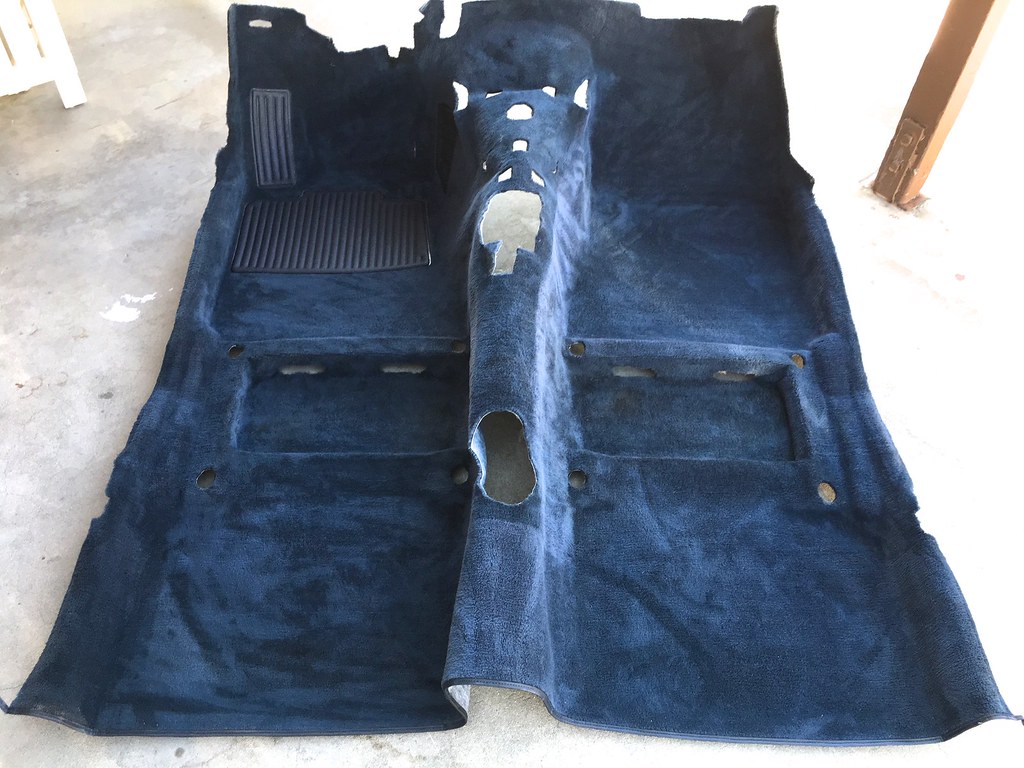
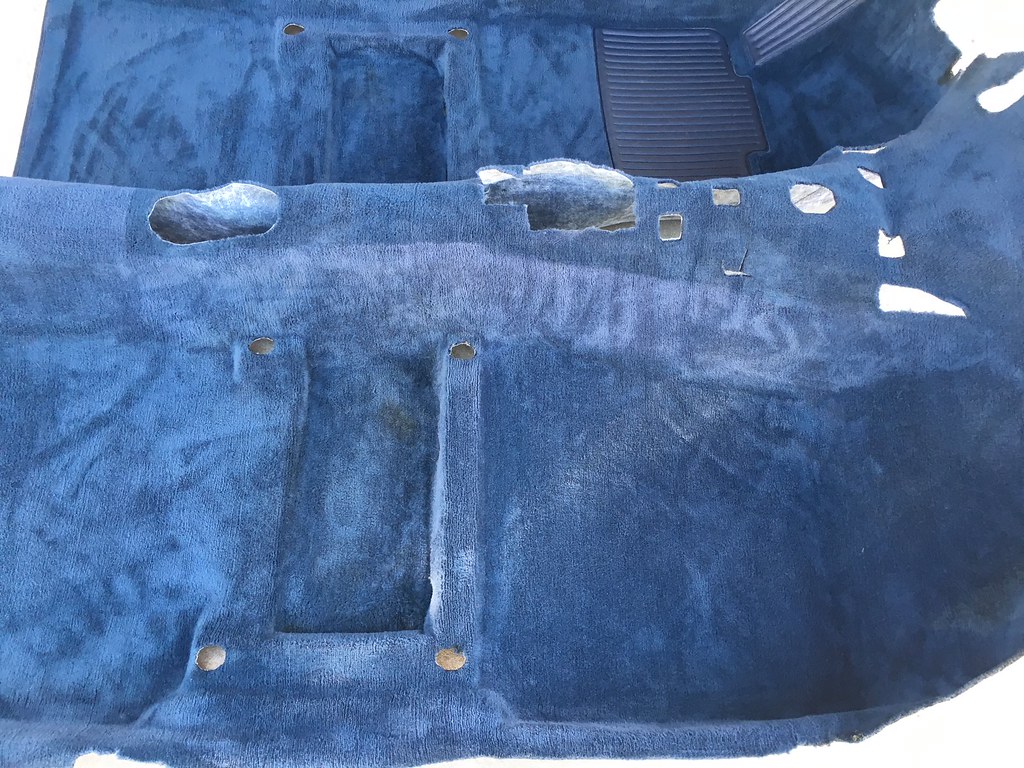
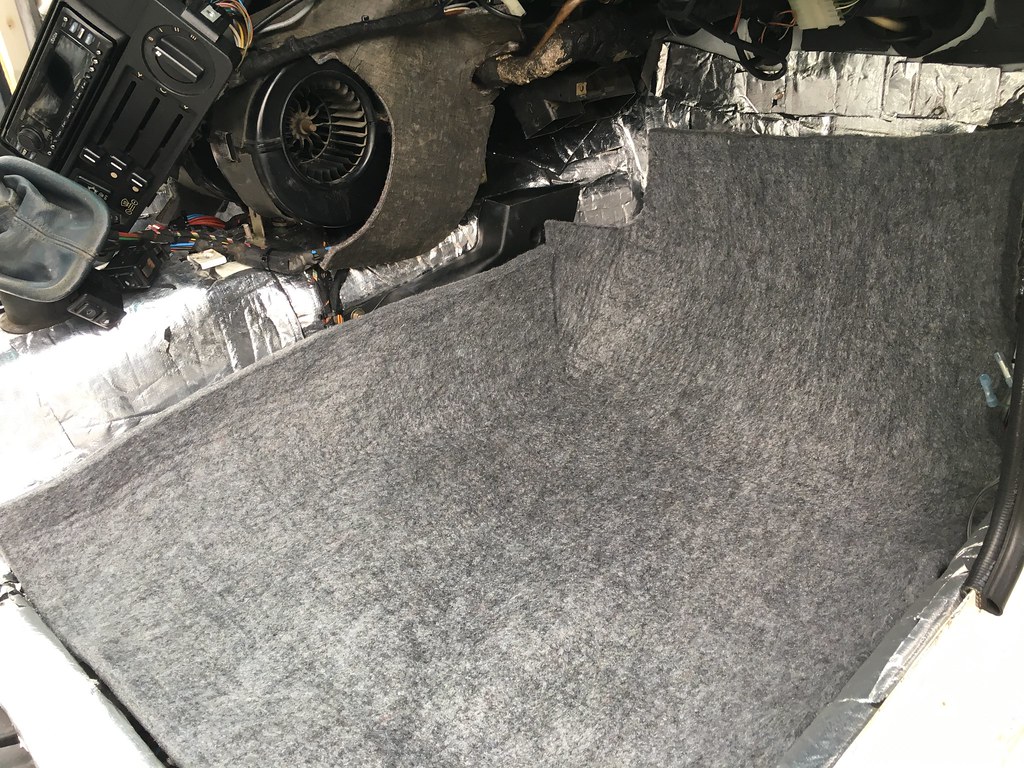
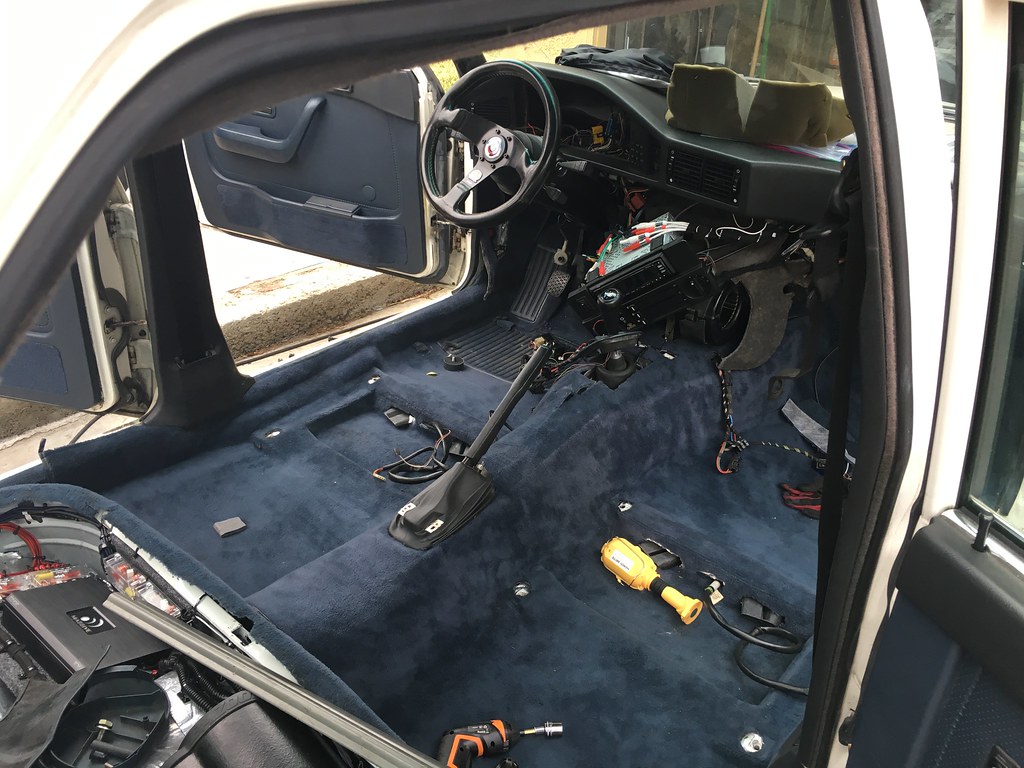
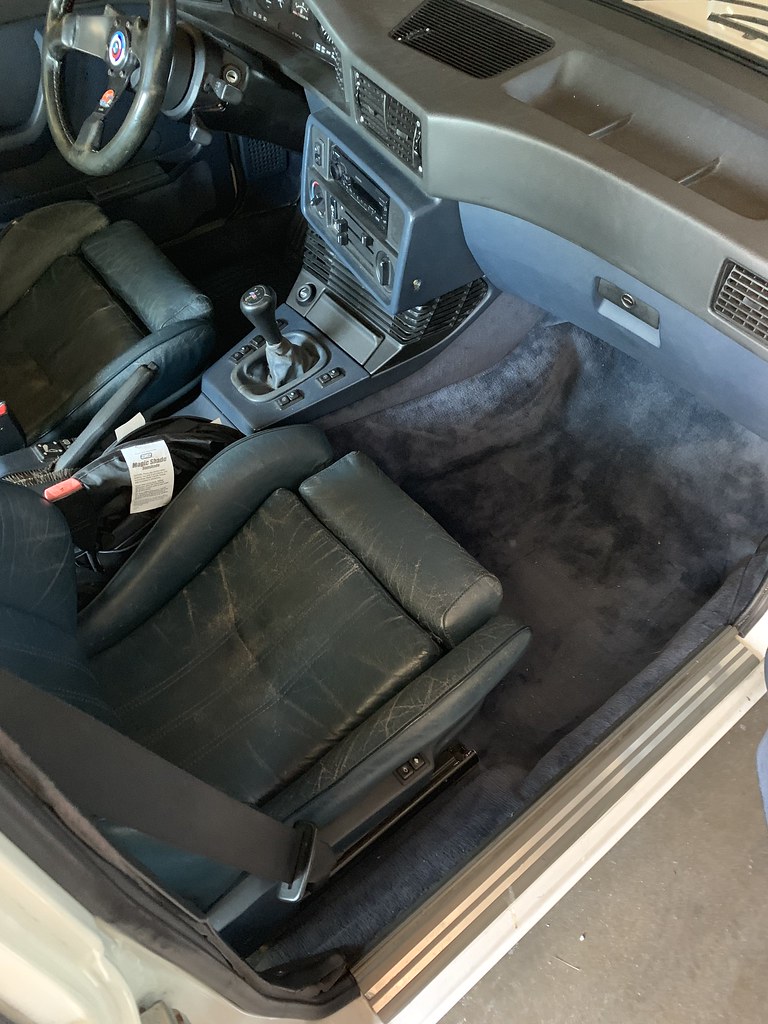
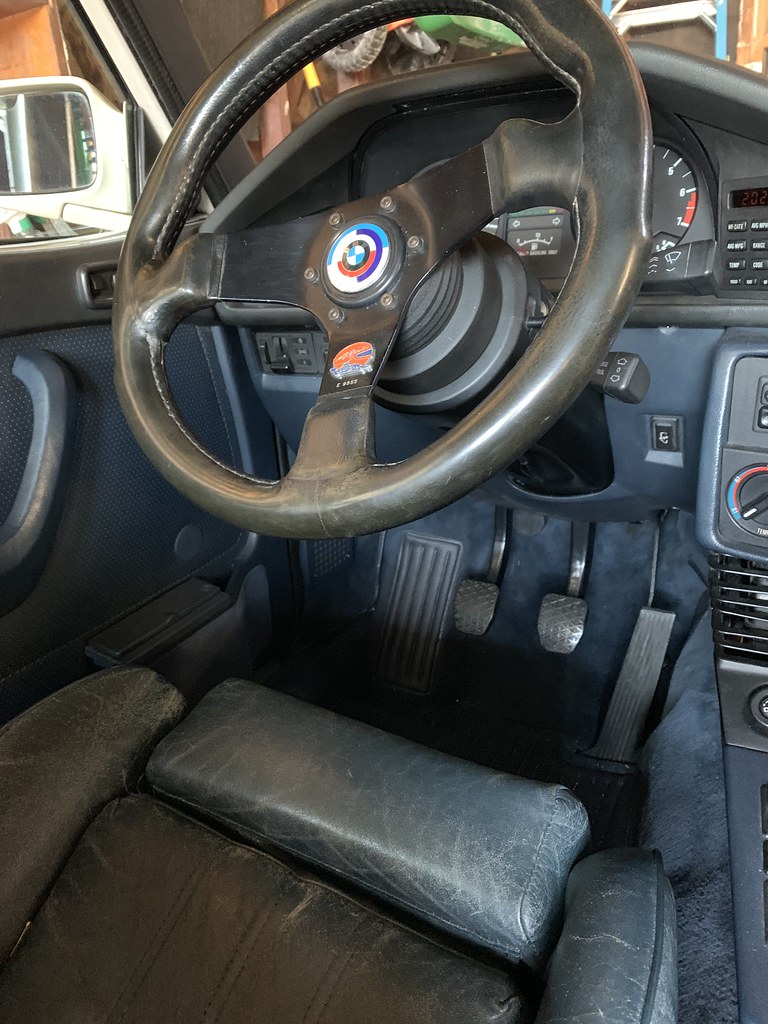
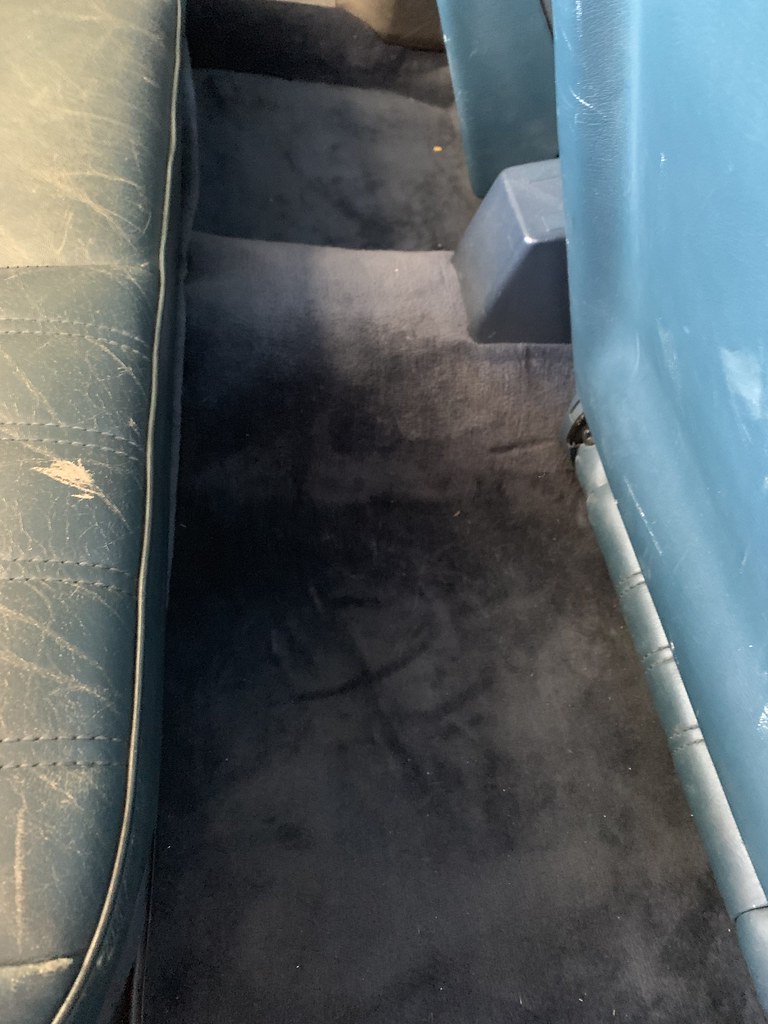
With my initial project parameters set, I purchased a clean early style pacific blue carpet on eBay. It had no tears, only a bunch of old coffee stains. I used some powder laundry detergent, a plastic brush, and a garden hose to clean it up.
I didn’t take any before shots, but the carpet looks like new after cleaning.
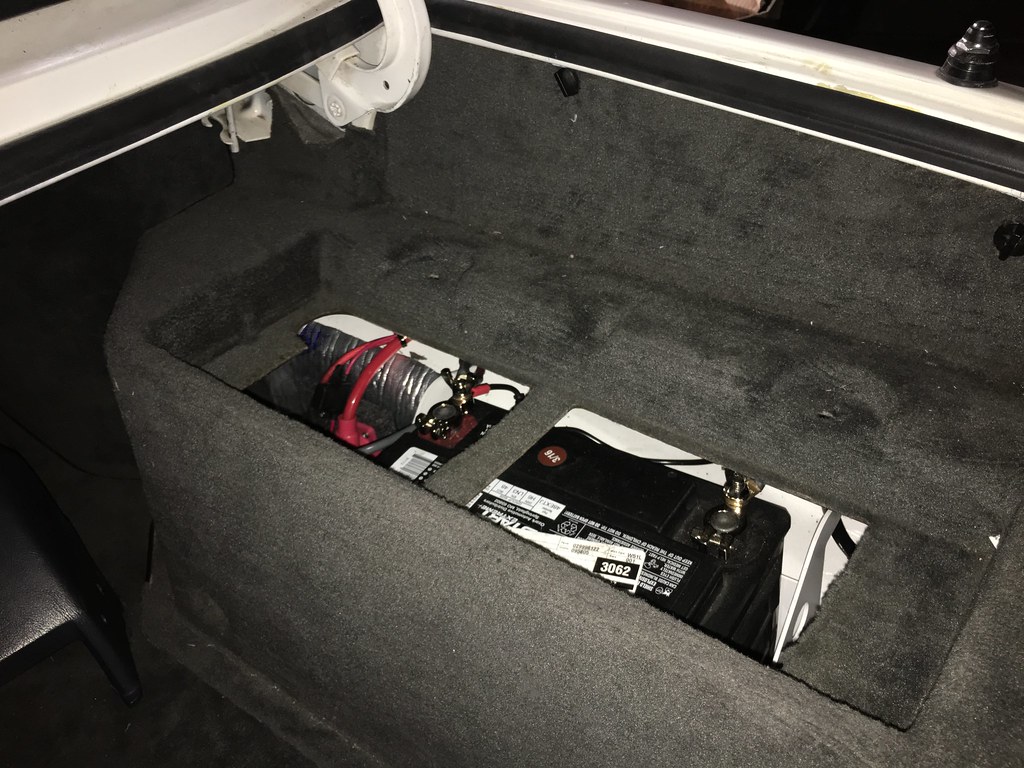
I also found a battery tray on Amazon, Allstar ALL76100, that would fit nicely under the M5 battery cover.
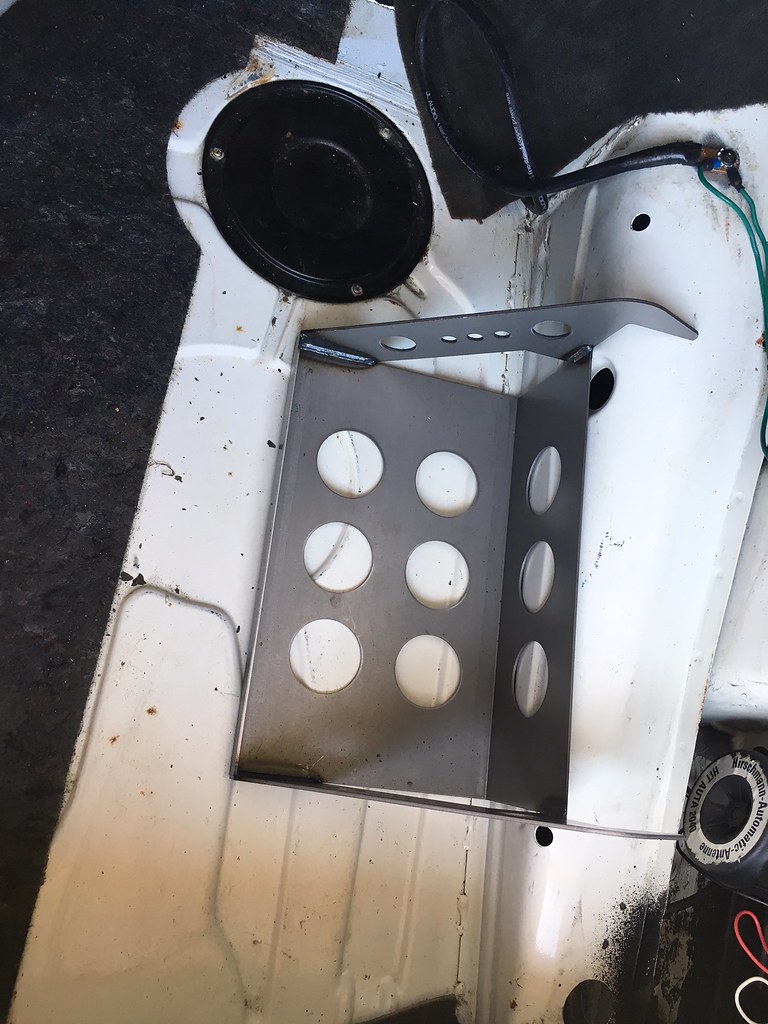
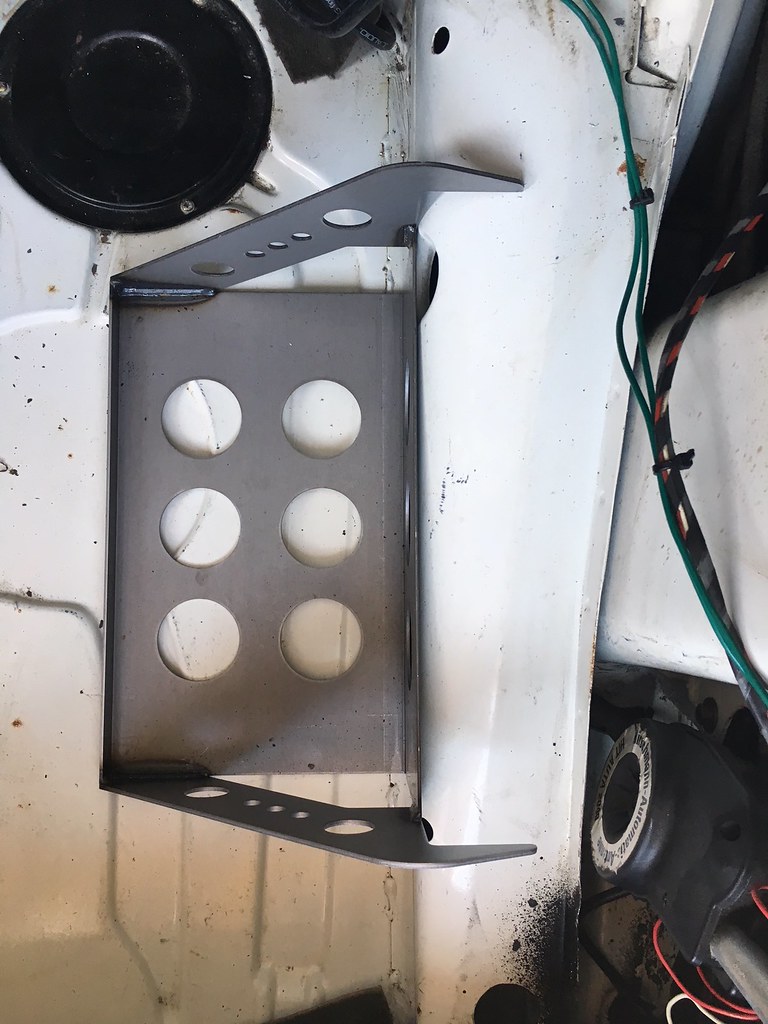
Once I got both, I began to assess really how I’d make this all happen. In adding the battery to the trunk, I now decided I was going to sound deaden the trunk as well. A few years back I purchased a set of rear headrests and hardware that I planned on installing. Since I was working in the trunk, it would be easy to at least install the headrest hardware. That would require also relocating the aftermarket amp that was screwed into the rear trunk bulkhead.
The trunk also suffered from gas vapor syndrome, and since I planned on working in the trunk, surely there’d be no harm in adding something else to the project list. I was further concerned with a spark source in the trunk in the form of a car battery and fuel vapor build up. I sourced some cloth braided fuel lines from eBay UK to replace all the lines from fuel filler neck to the fuel expansion tank in the trunk. I purchased all the clamps online as well.
I started the actual work in earnest, by inspecting my fuel tank neck to ensure there was no rust. It looked good to me.
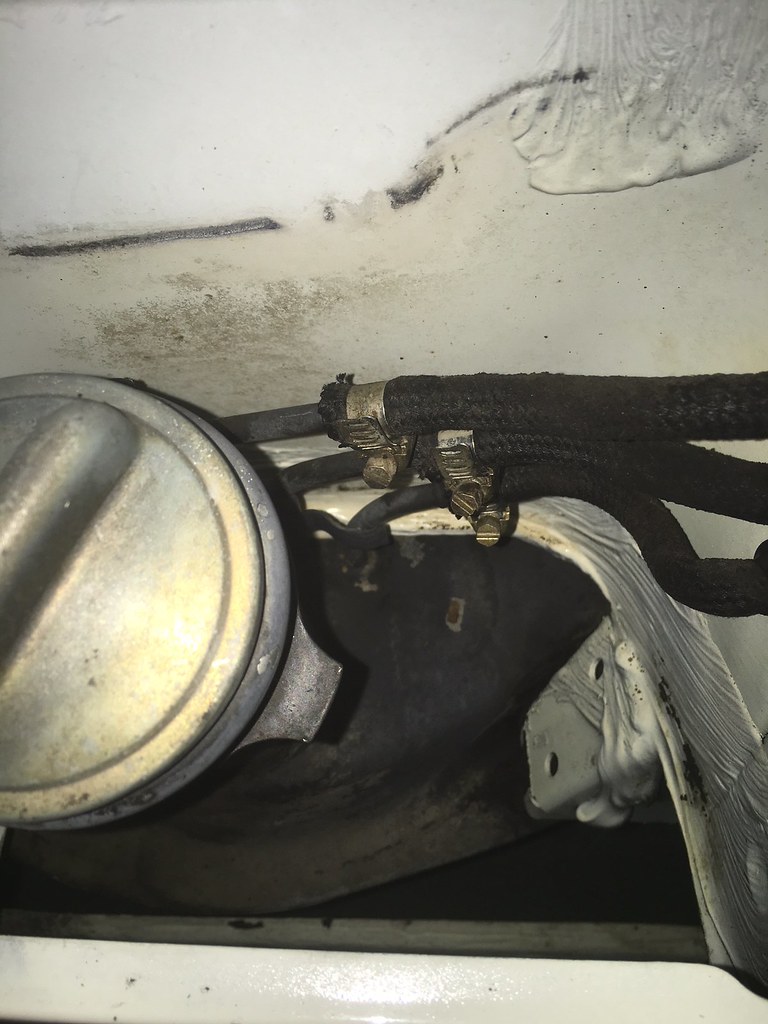
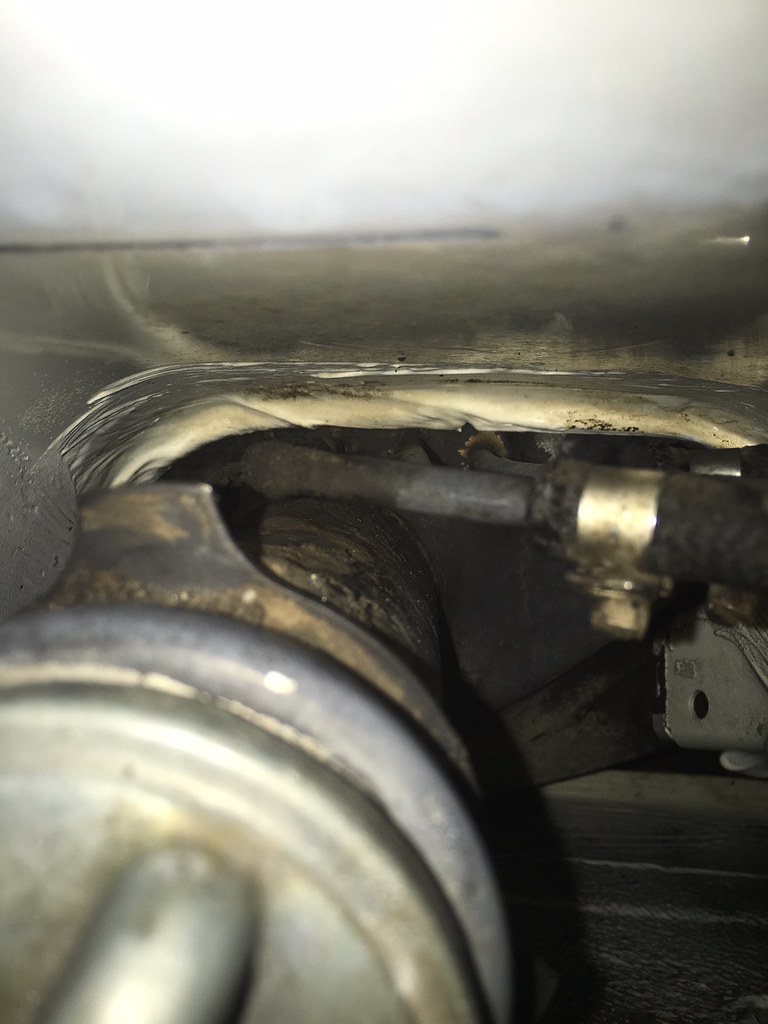
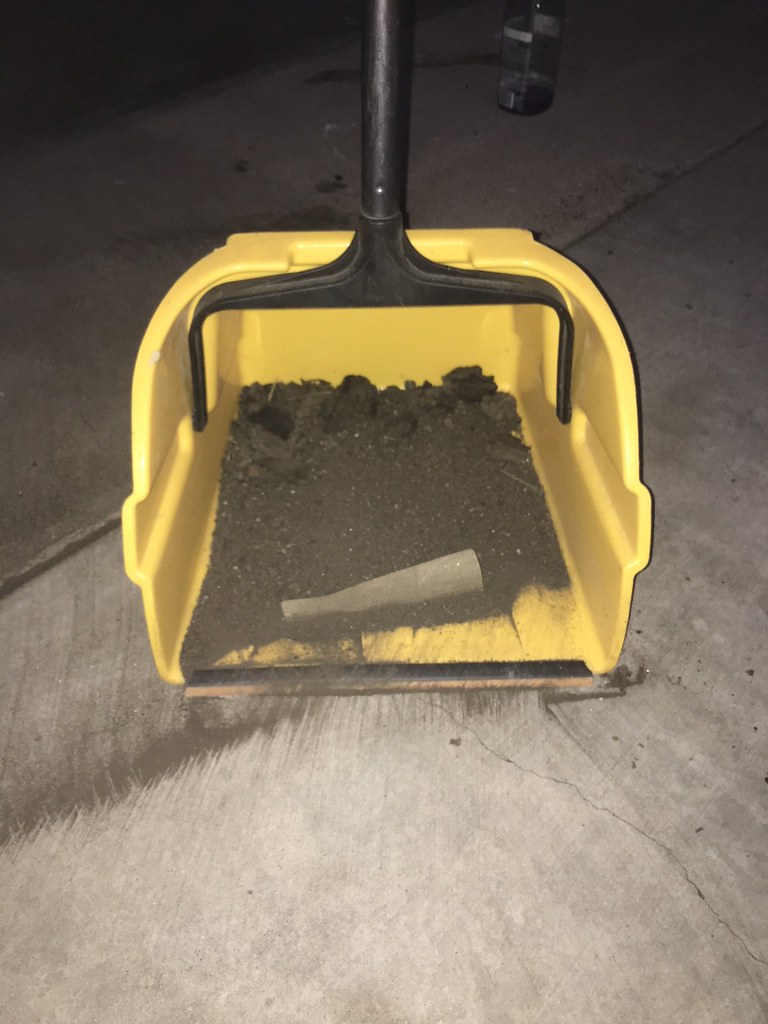
I also removed 30 plus years of dirt that had accumulated on the fuel tank.
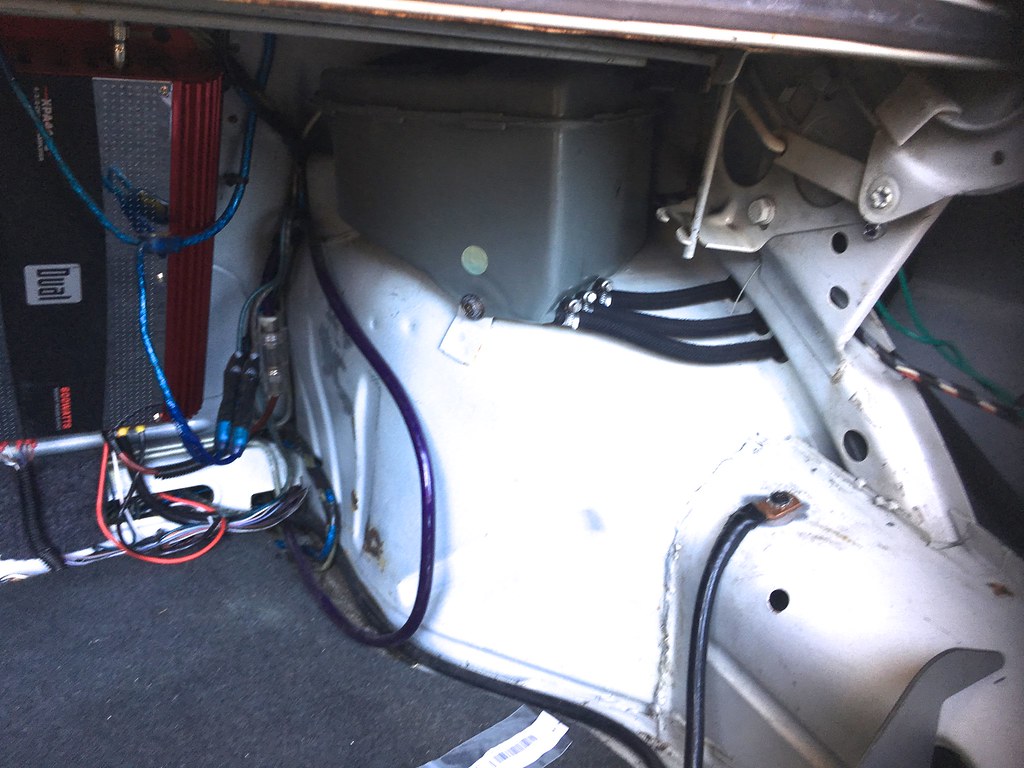
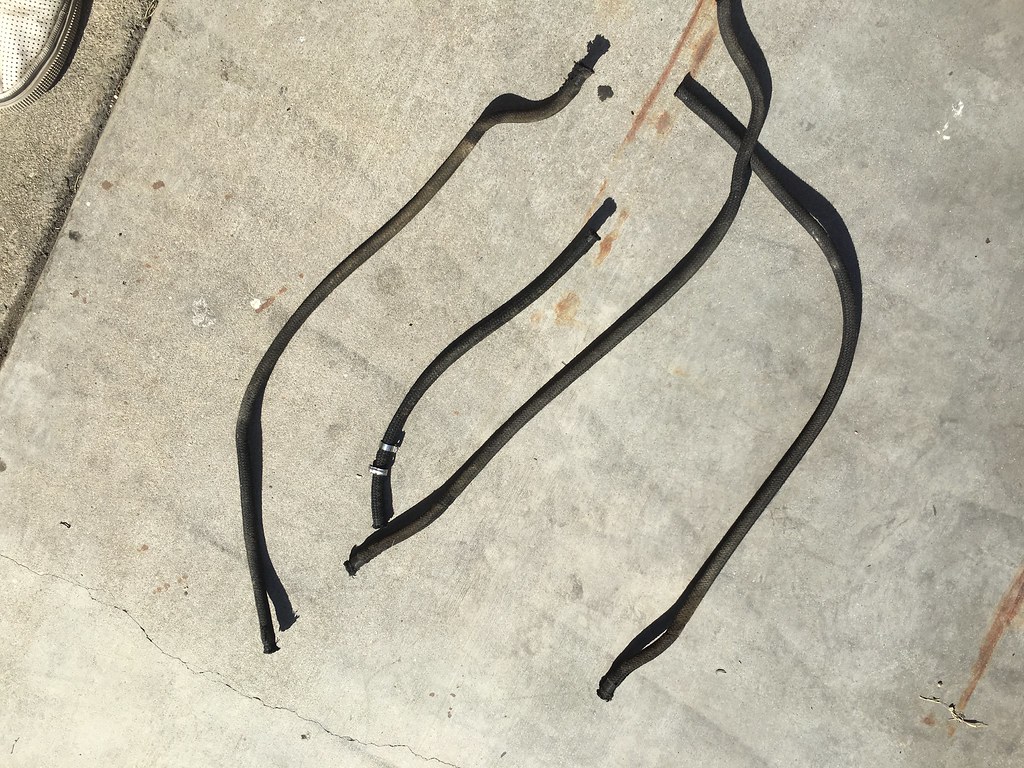
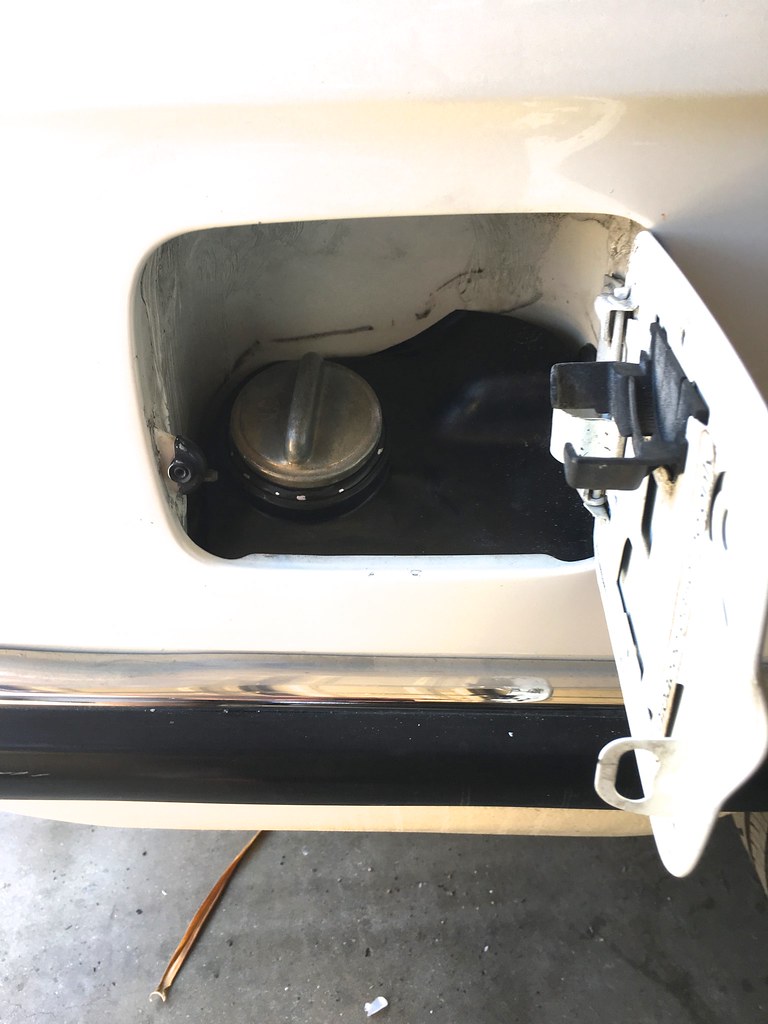
I then swapped in the new lines, and cleaned up the expansion tank. I also swapped in a new rubber cover in the fuel filler door area from an e12. My original was dry rotted and crumbling apart. I had to cut the e12 item a bit for it to fit.
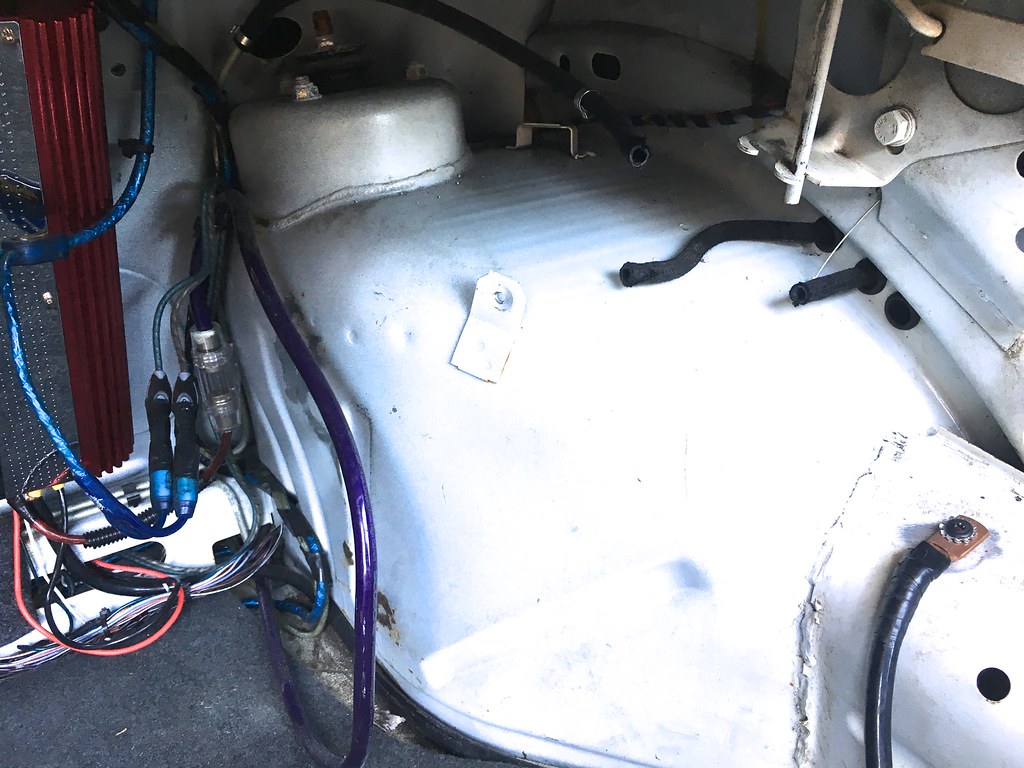
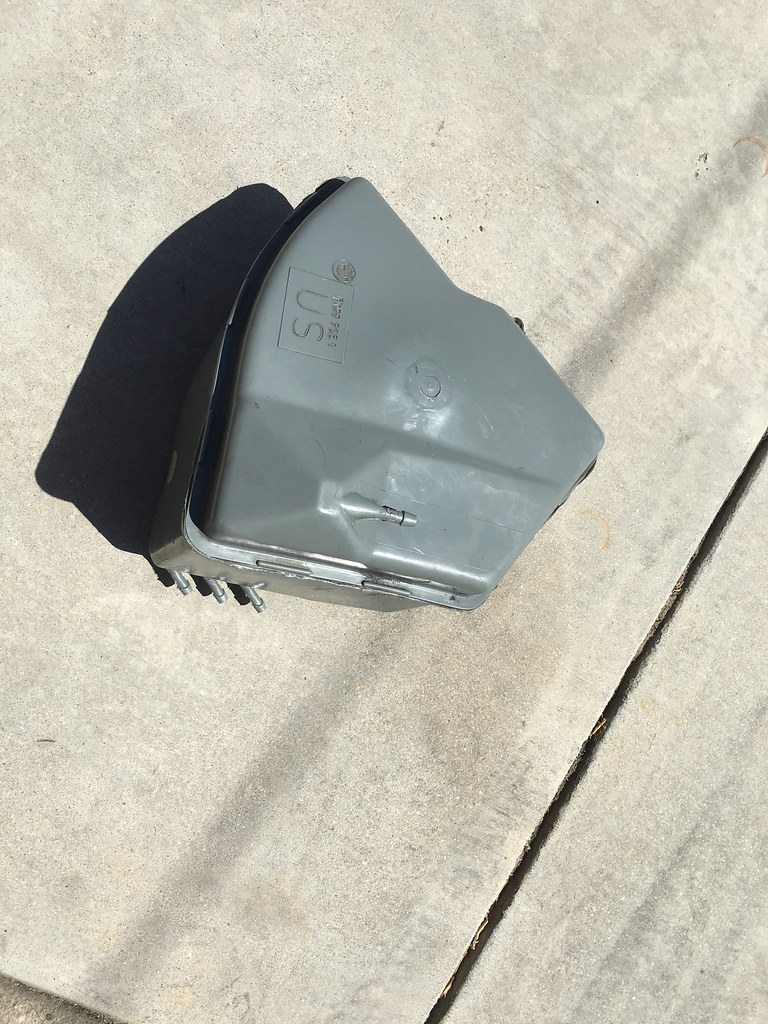
New lines in.
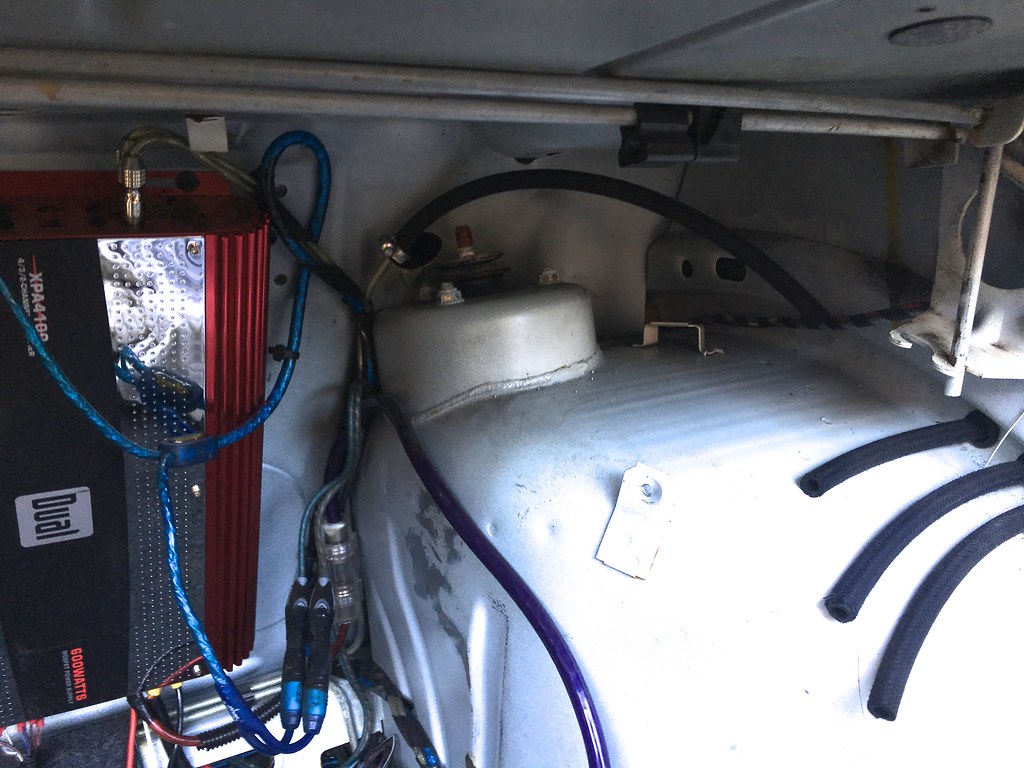
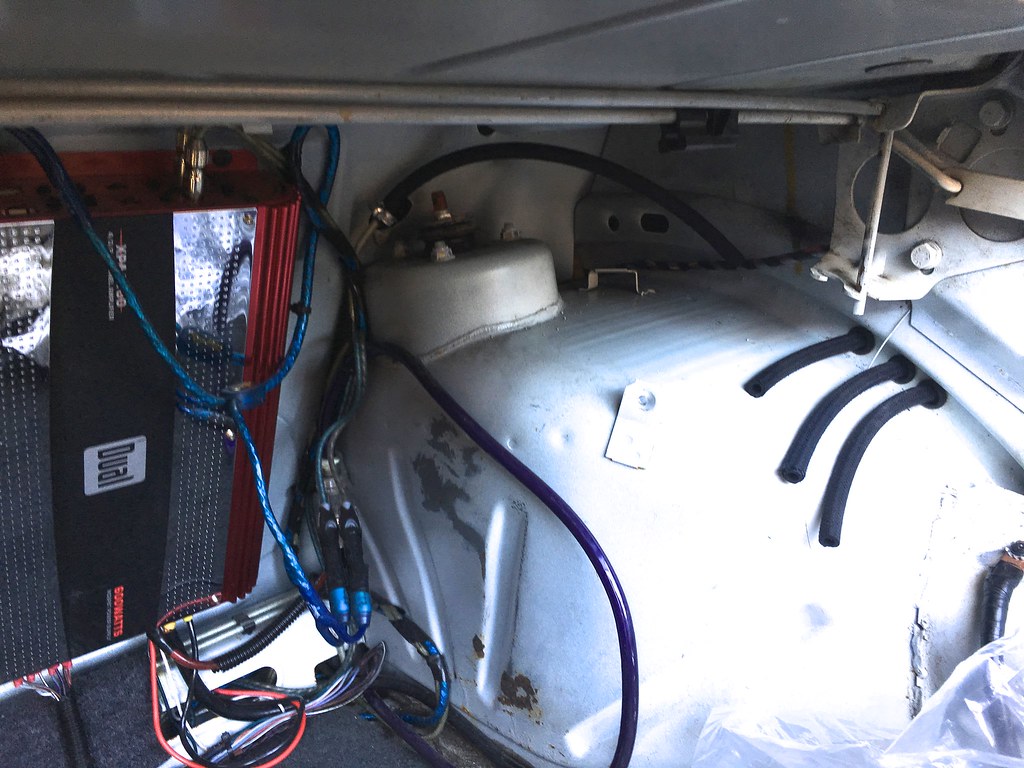
Old lines out.
The new rubber cover.
I then paid a mobile welder to weld in the box for me.
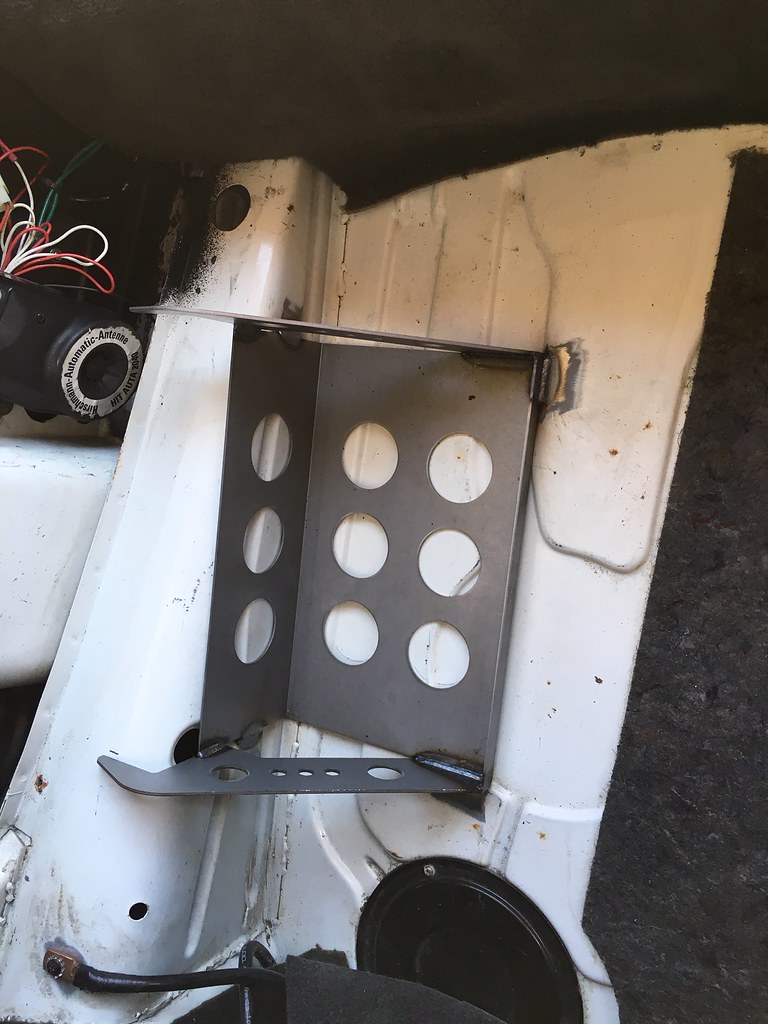
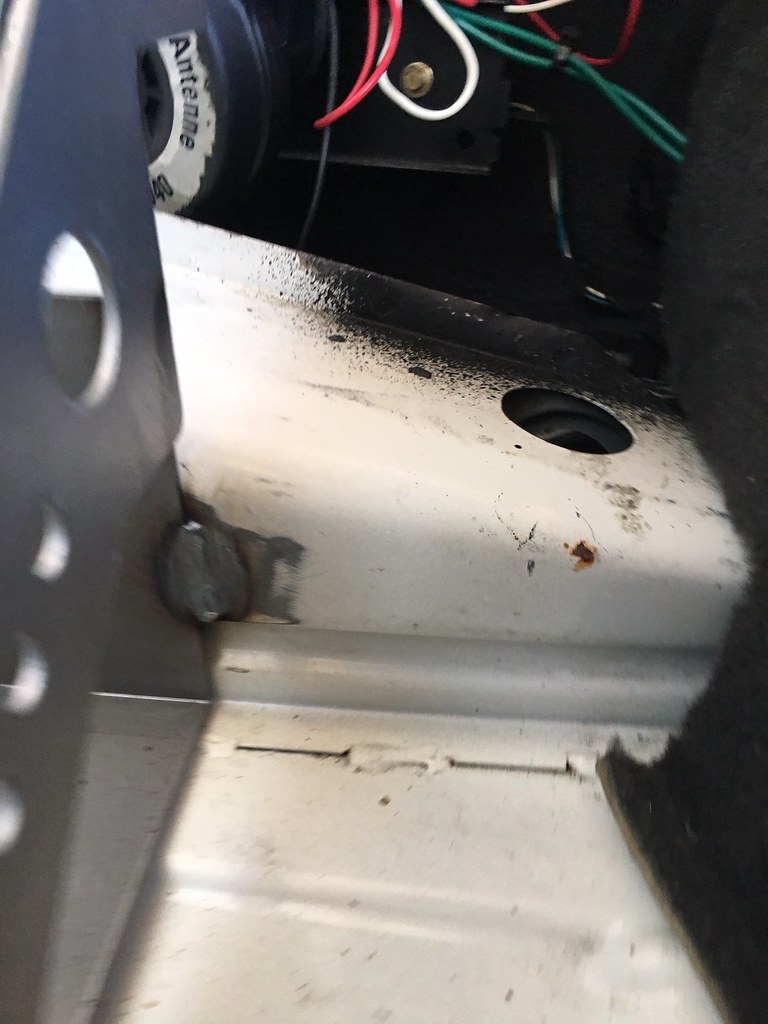
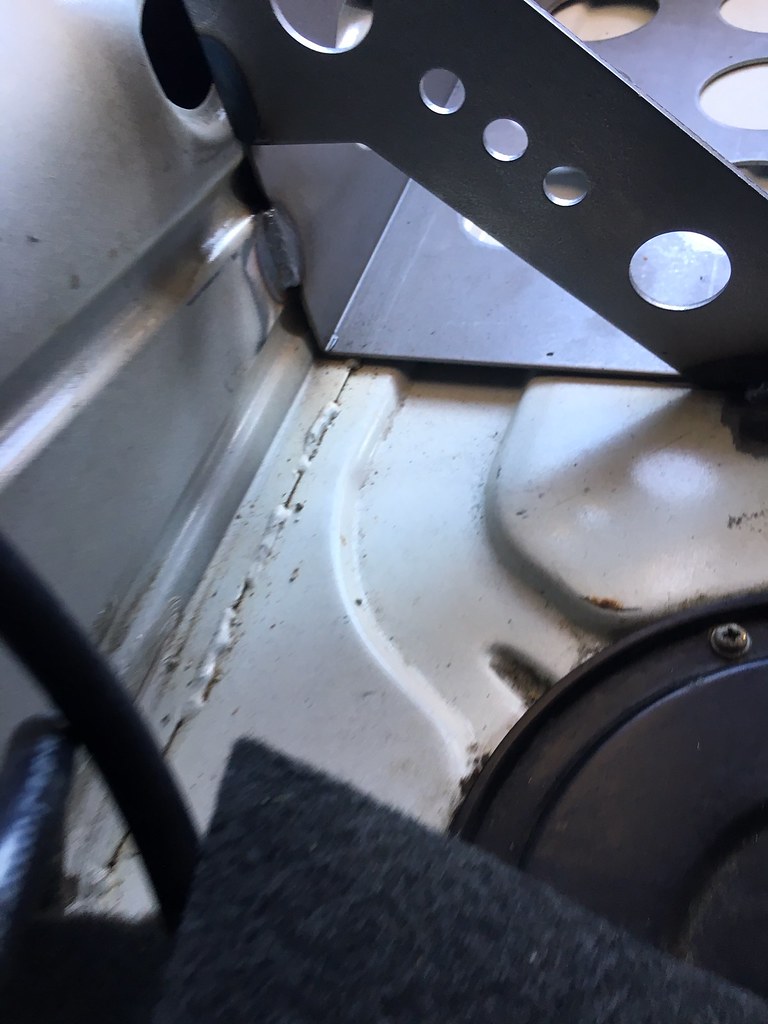
Once the box was welded in, I began inspecting the entire trunk for rust before I was going to lay down the sound deadening material. The trunk was very clean with only surface rust in a few places.
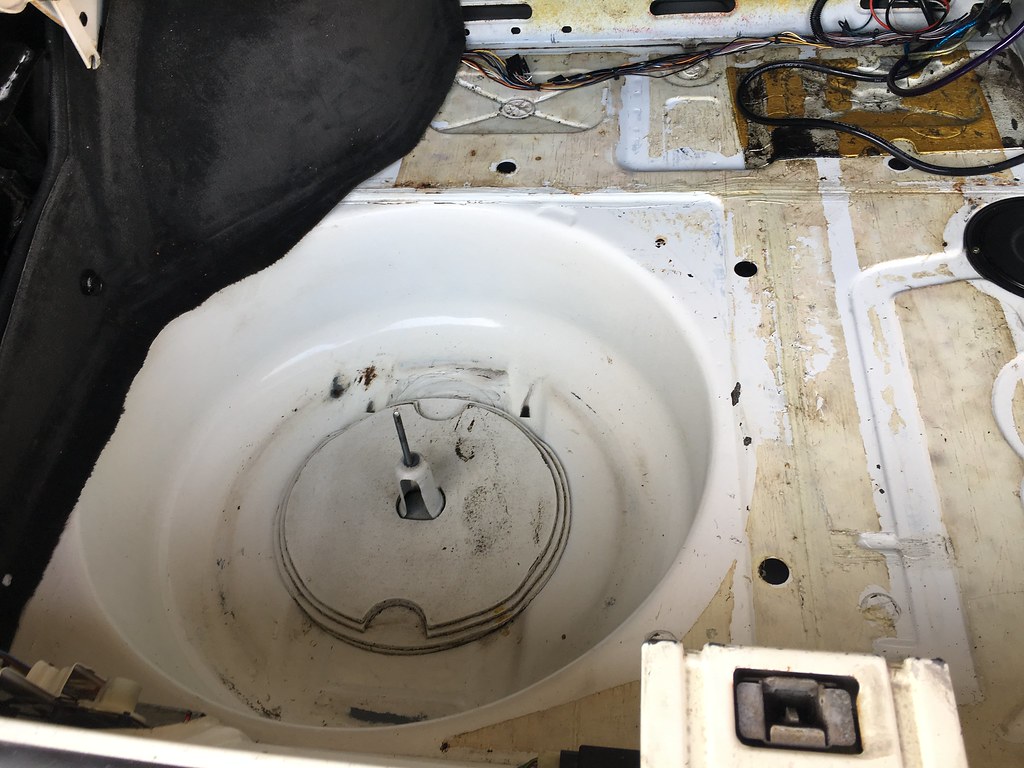
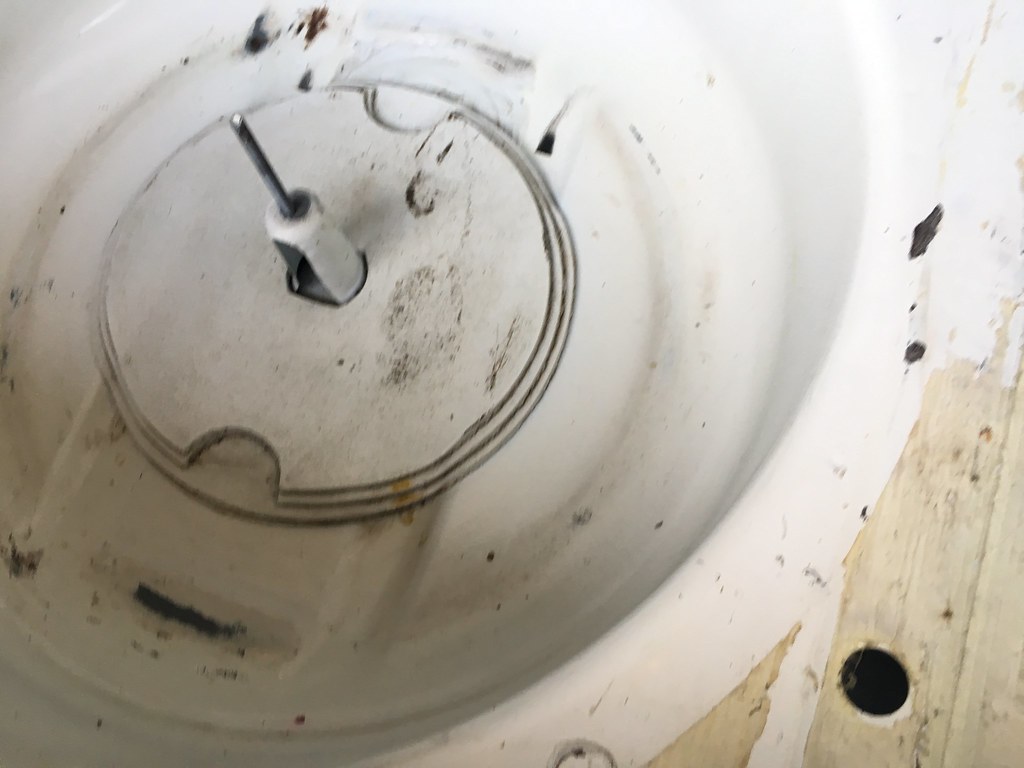
However, there was more noticeable corrosion around trunk seal near the rear tail panel. Enter mission creep again. I decided to pull the trunk seal, strip all the paint where I saw rust, treat the rust and repaint.
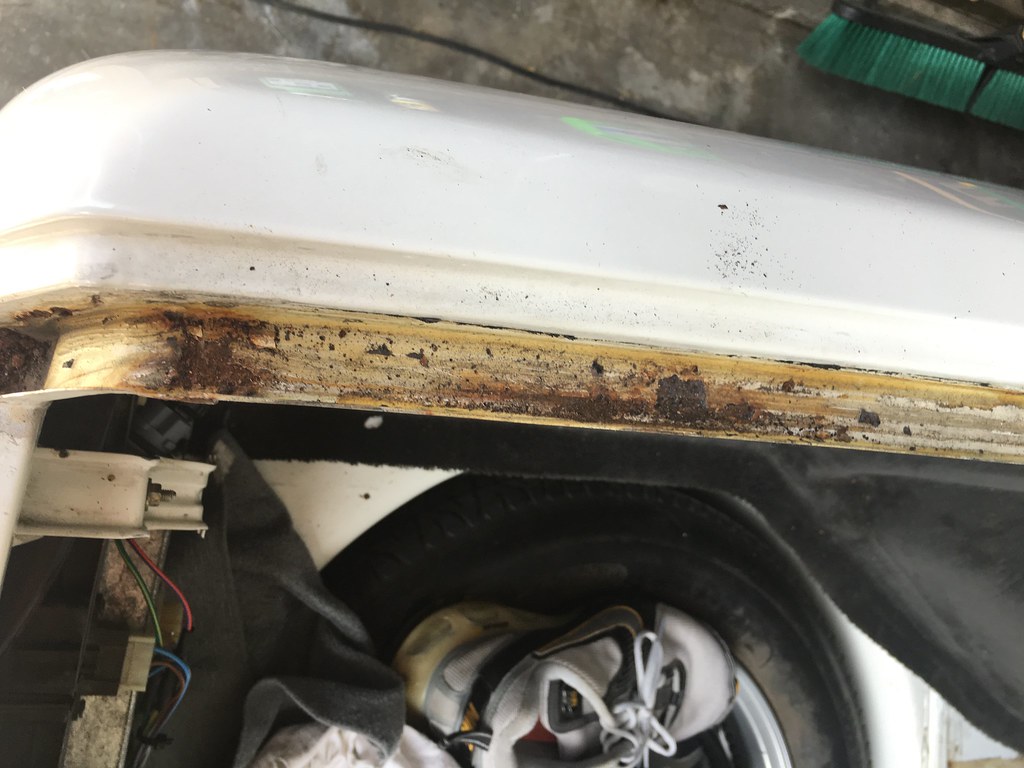
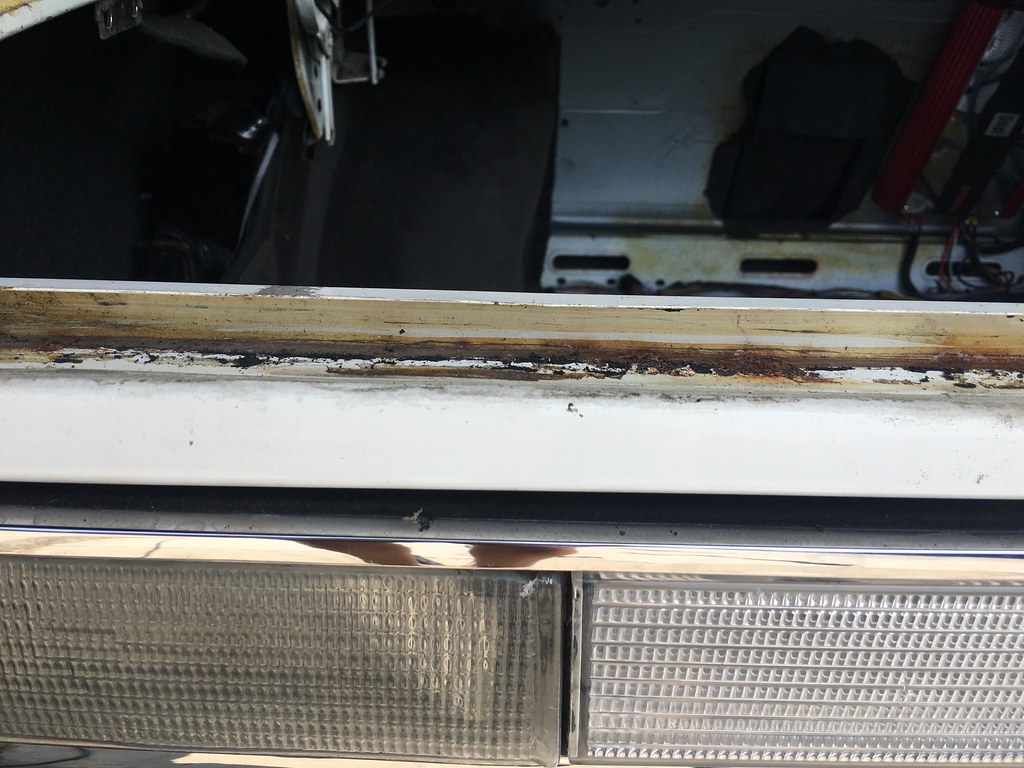
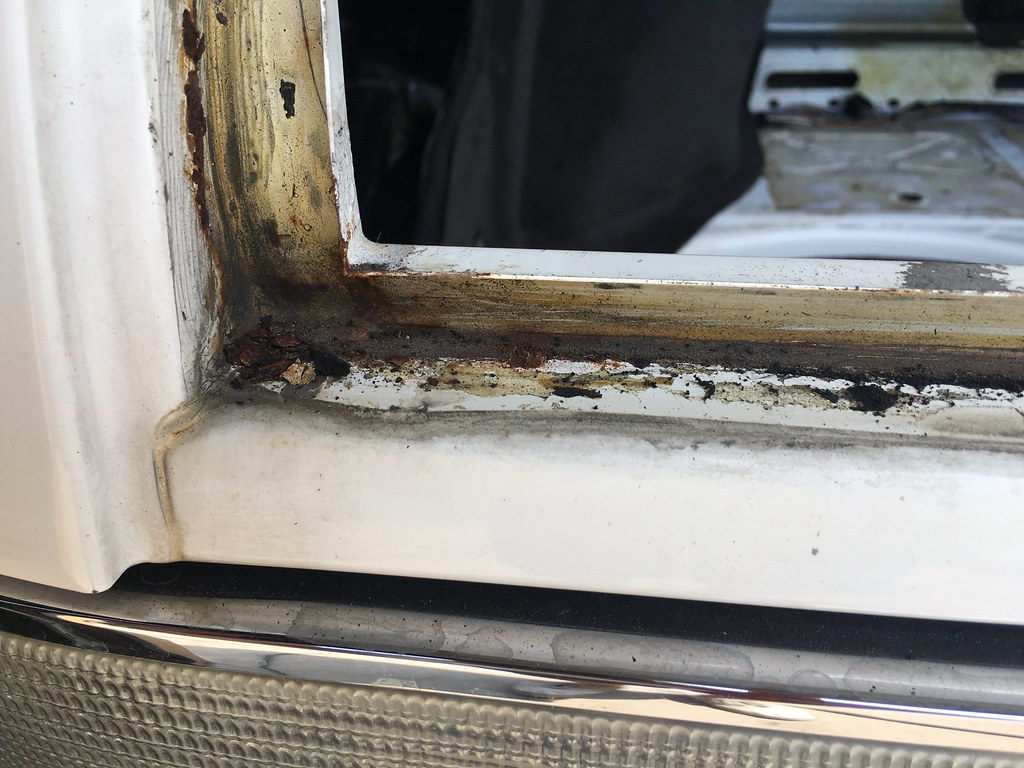
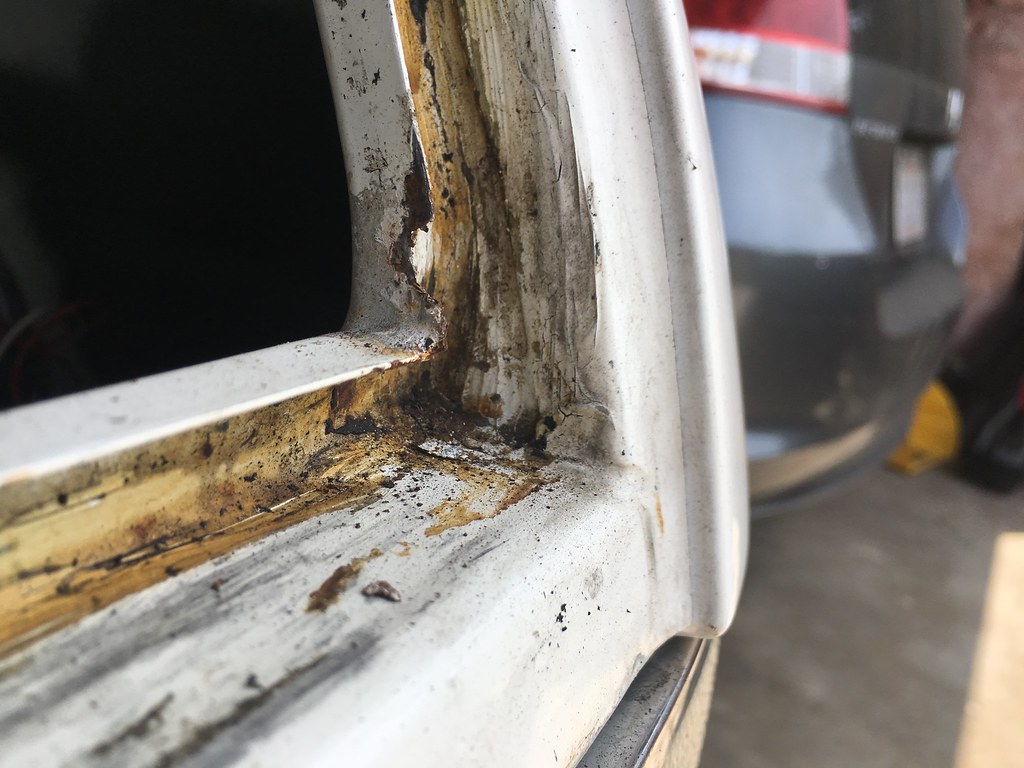
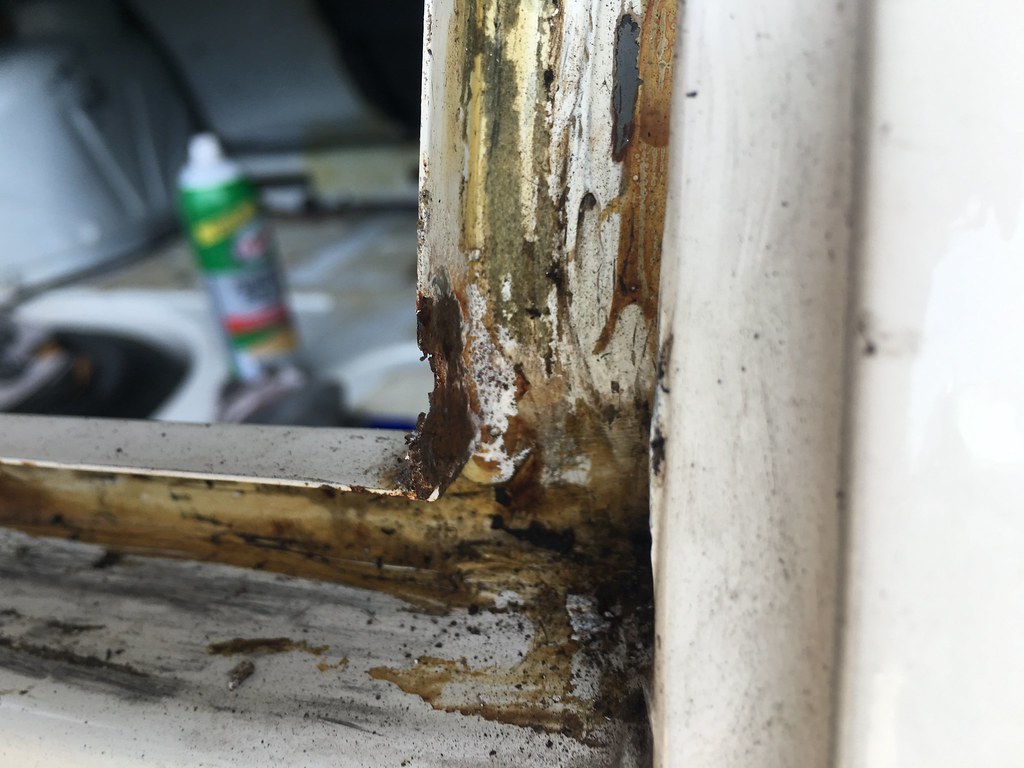
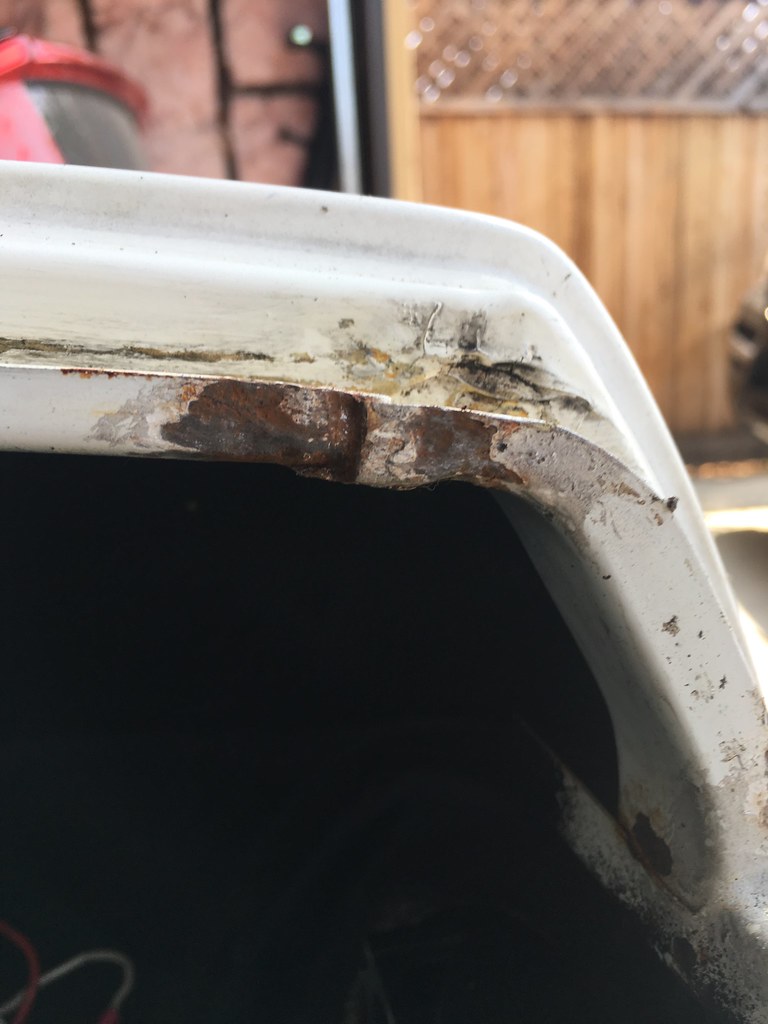
Stripping, treating and painting done.
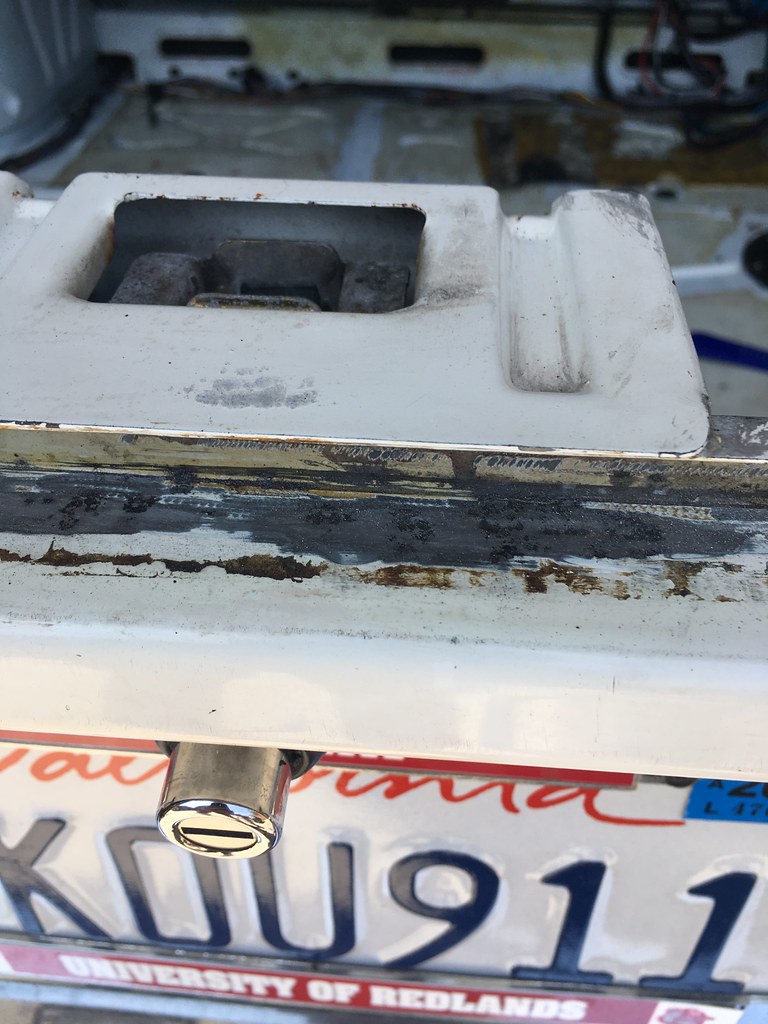
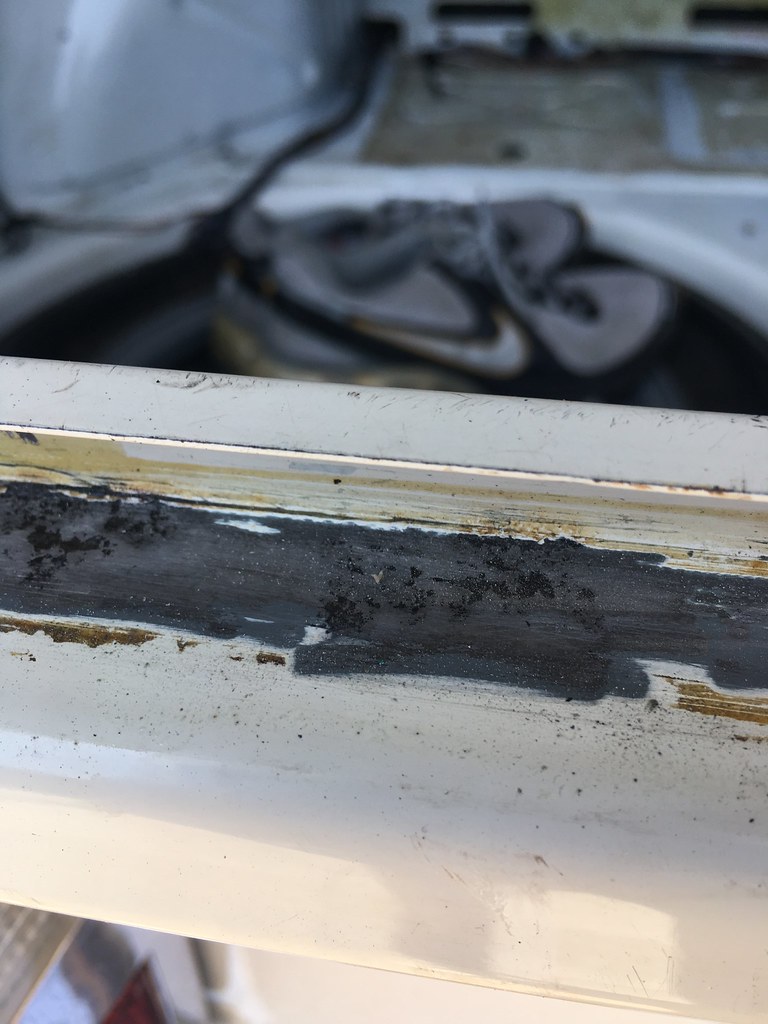
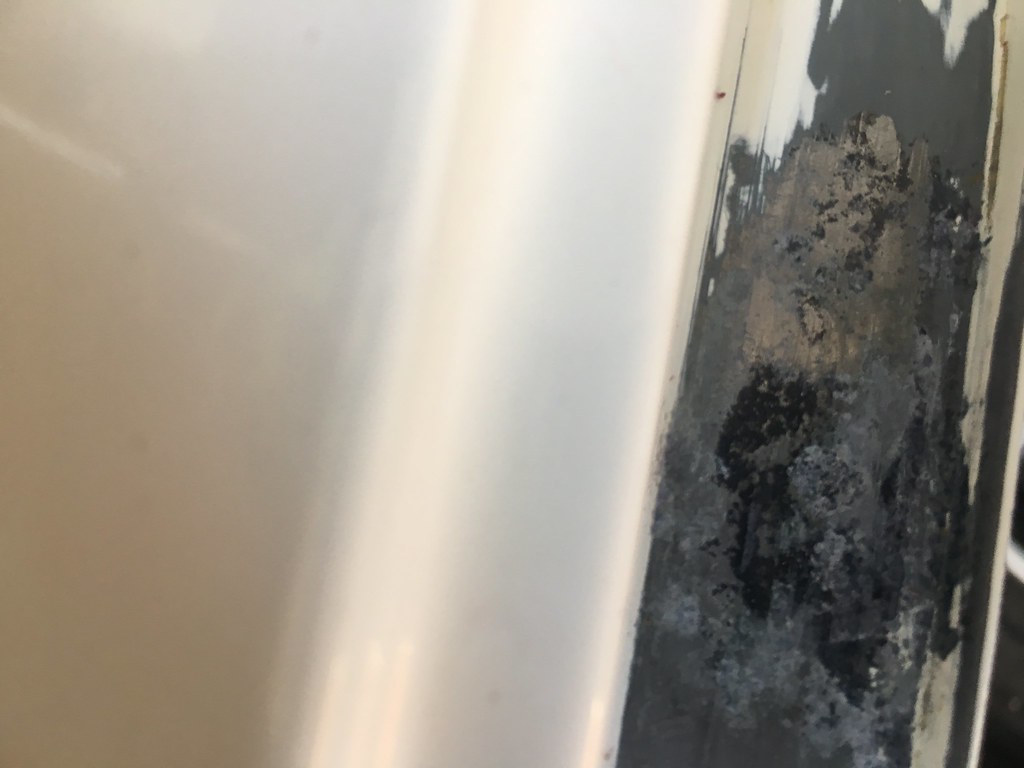
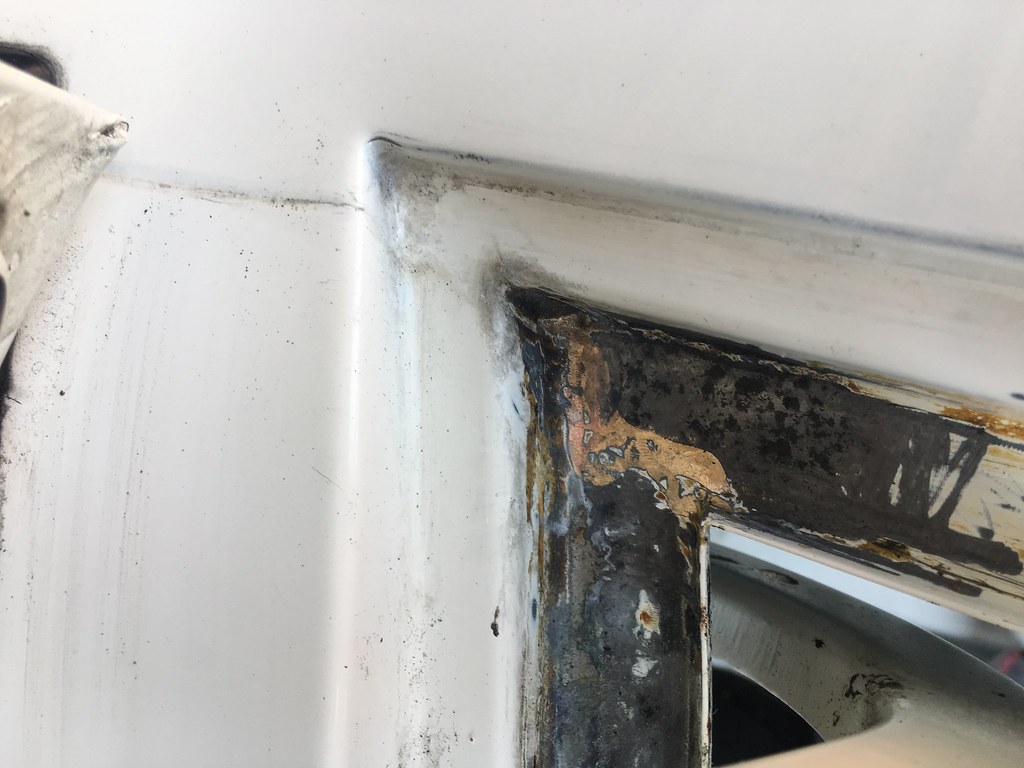
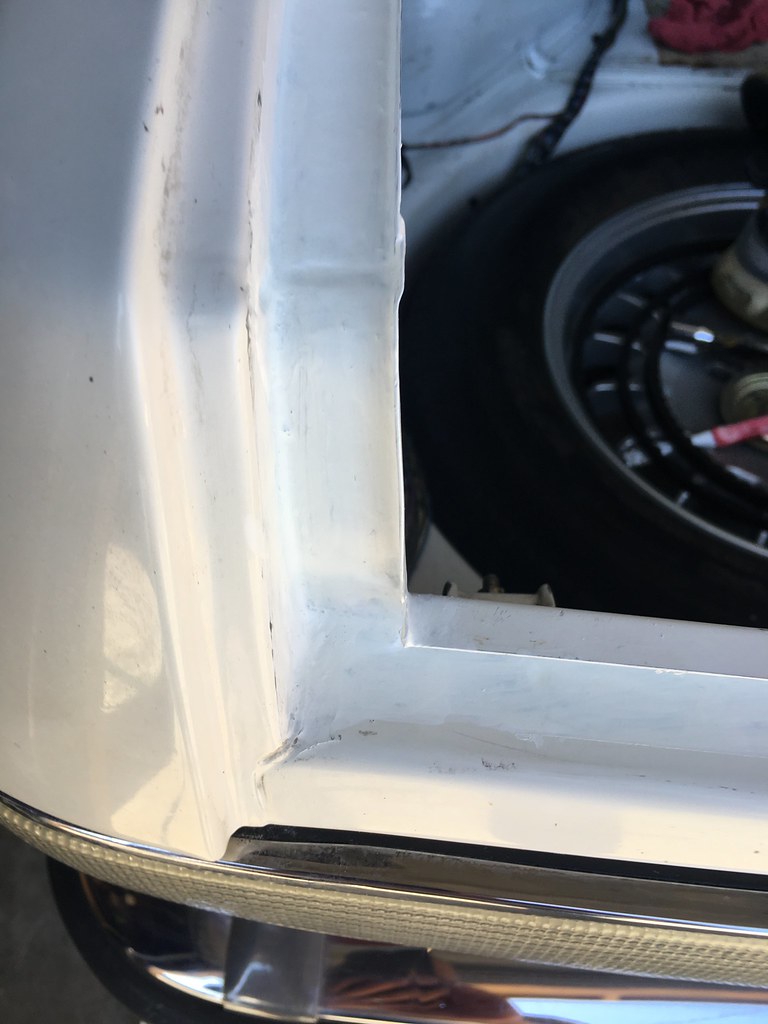
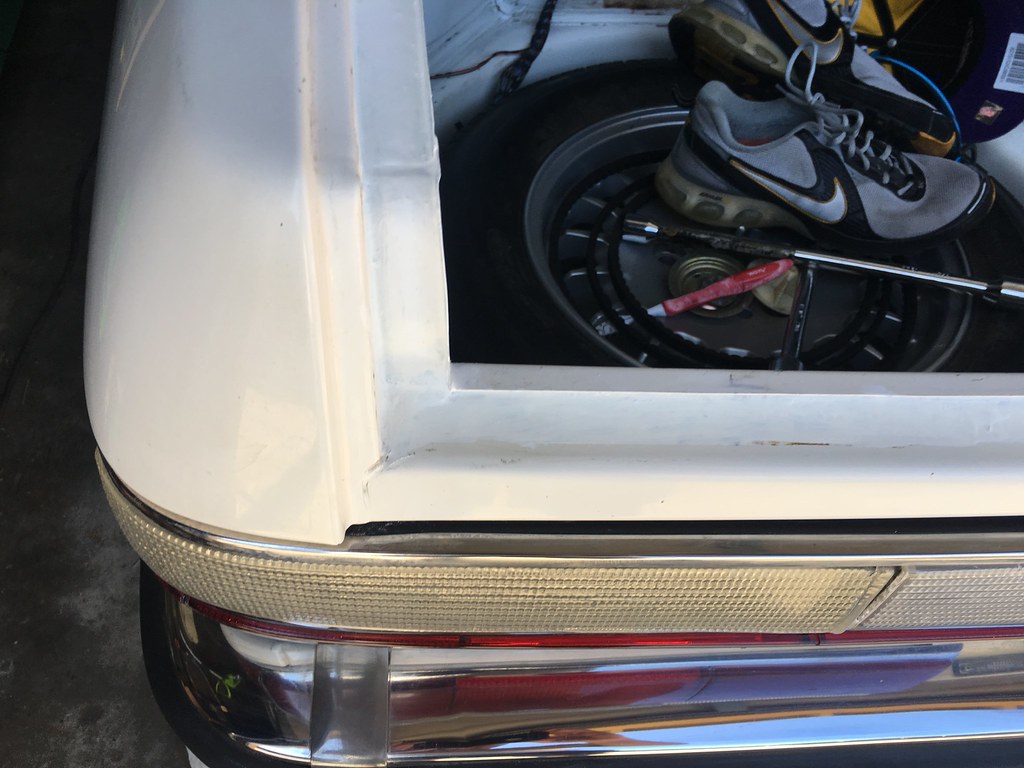
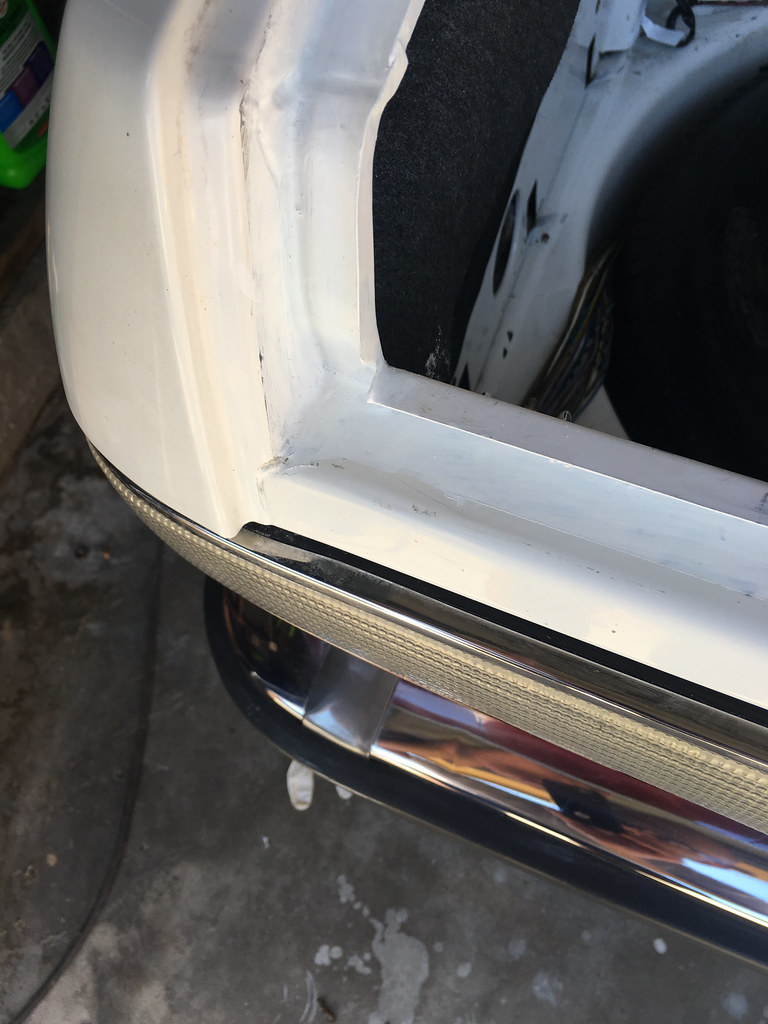
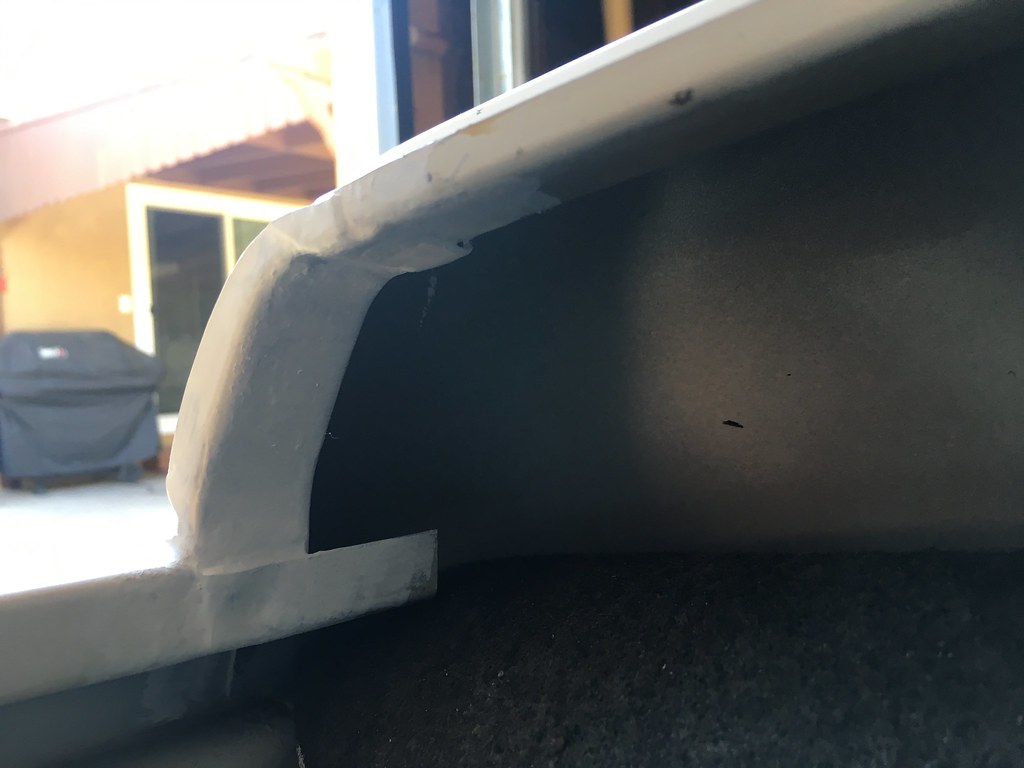
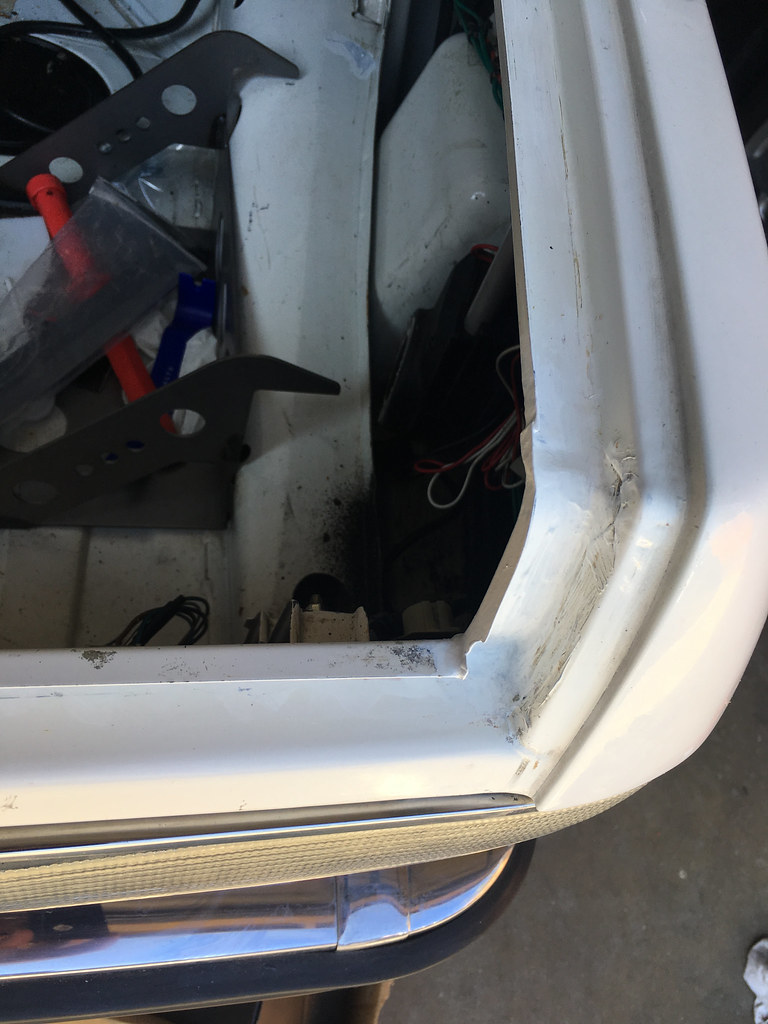
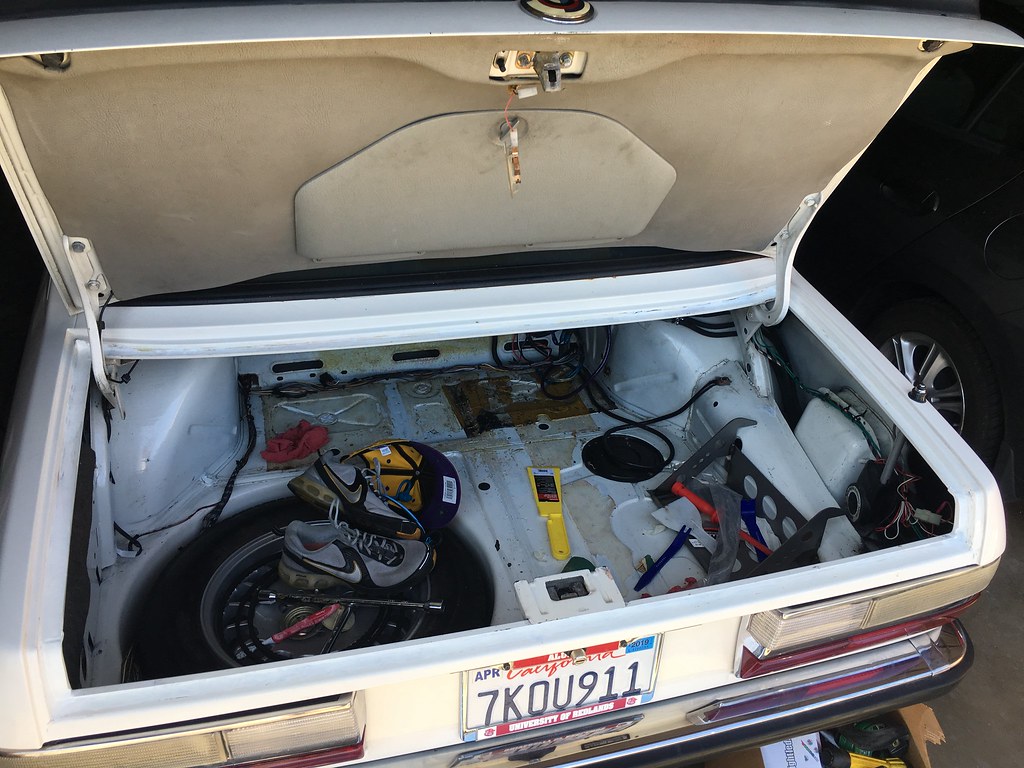
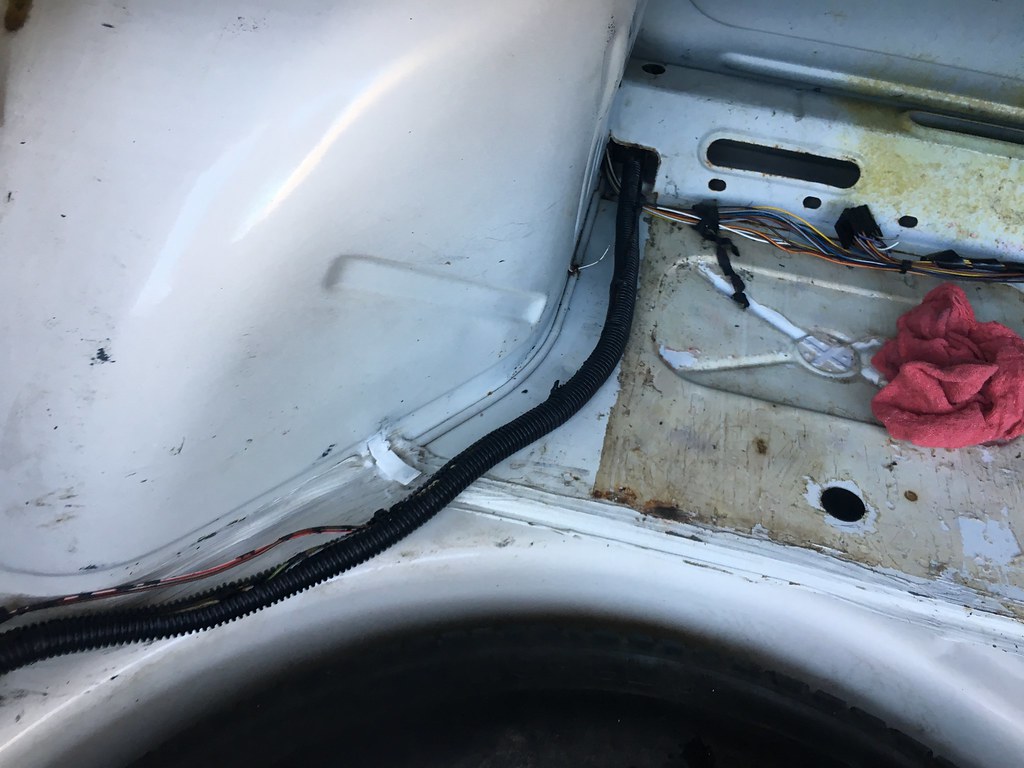
I likewise did spot rust treatment on the other spots in the trunk as well. I also re-wrapped the wire harness coming into the trunk with some split loom, as the original harness tape disintegrated entirely.
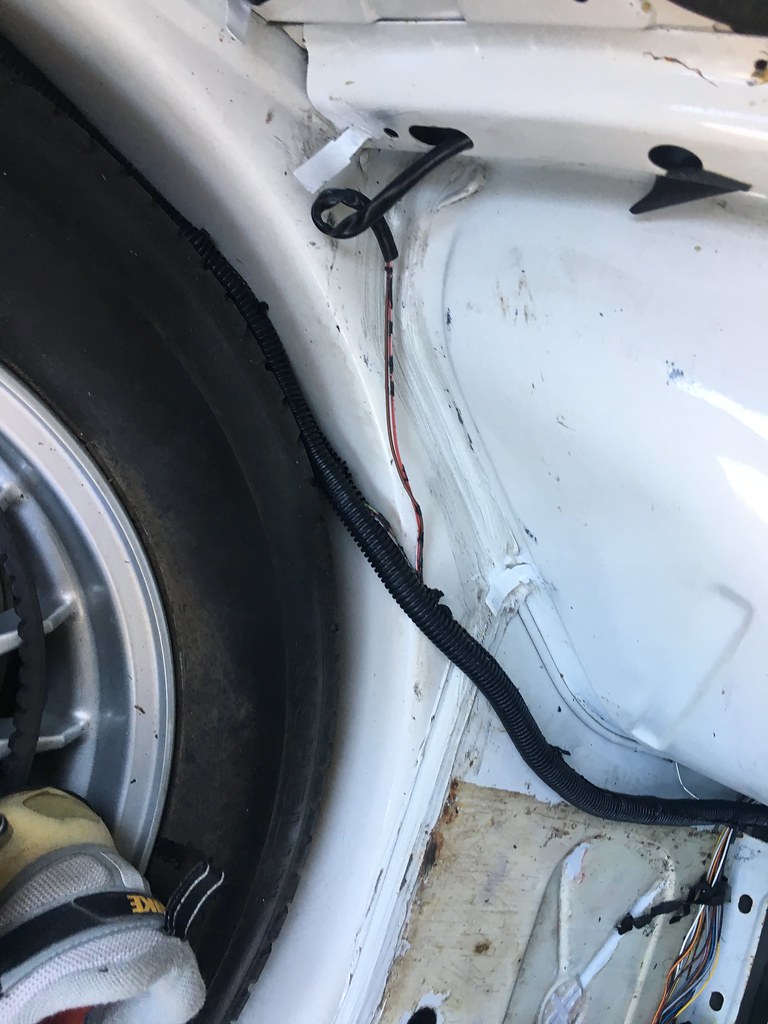
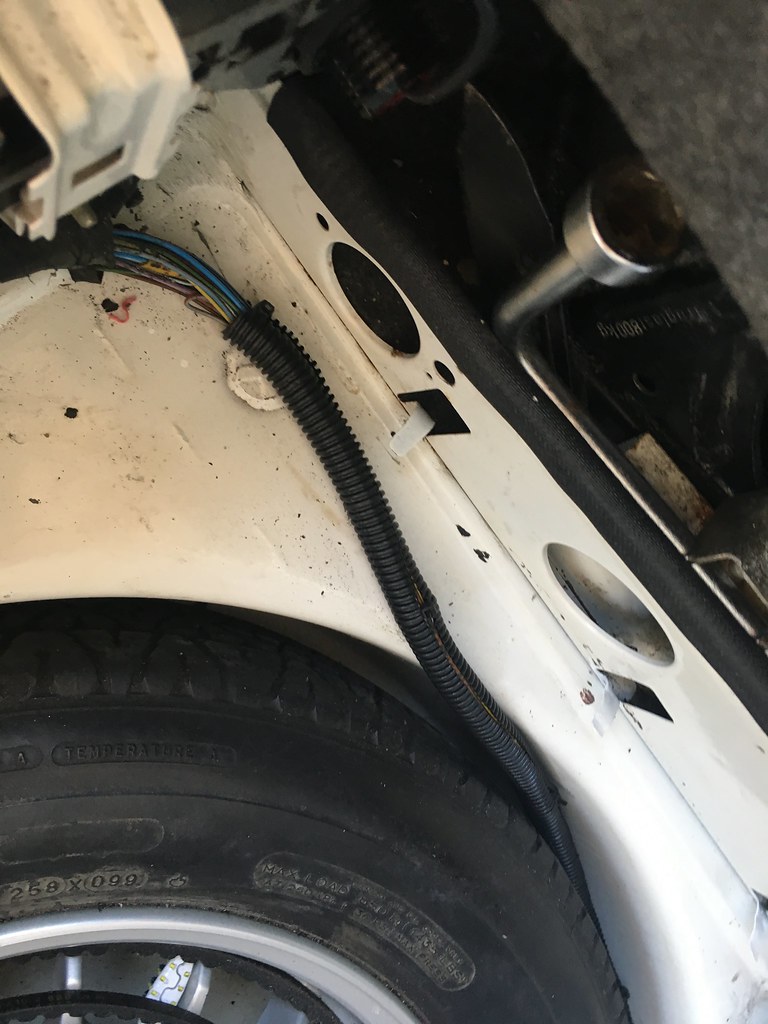
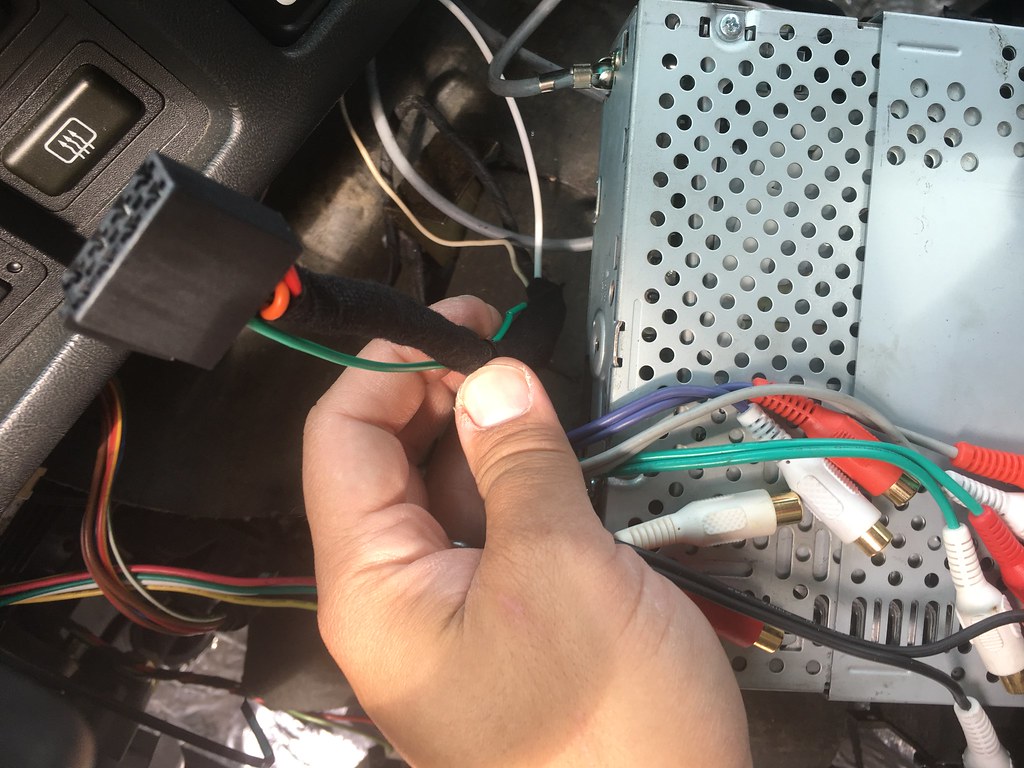
I further took down the amp off the rear bulkhead. Looking at it, there was a jumble of RCAs, poor crimping, and remnants of the original wiring harness for the car audio.
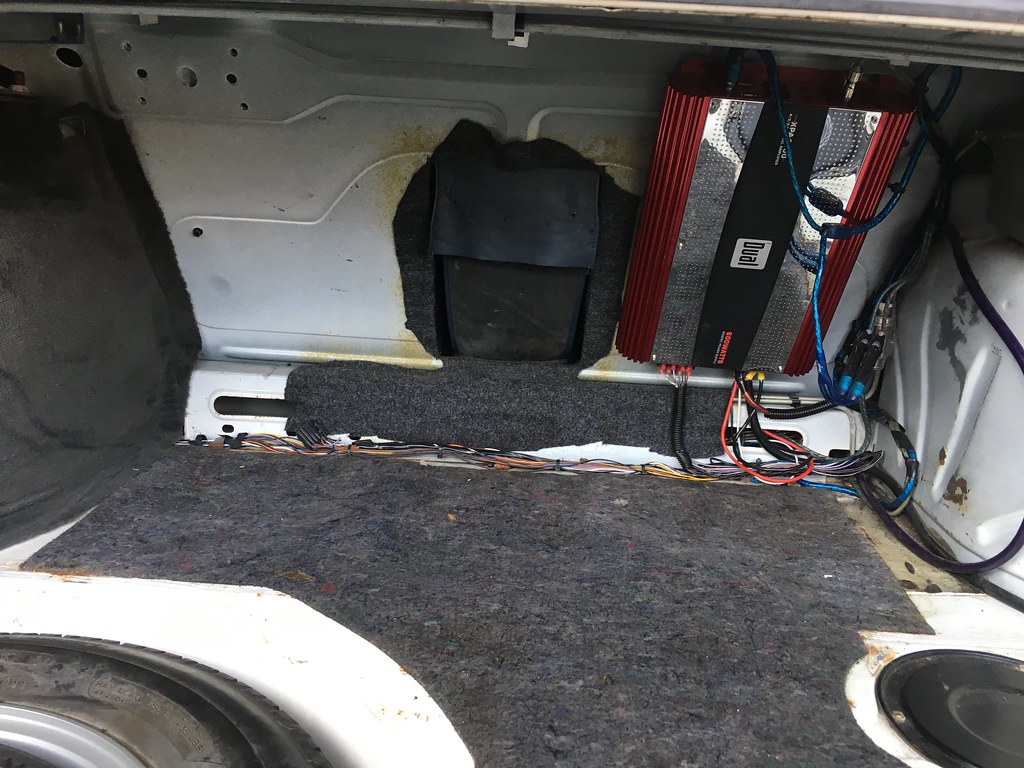
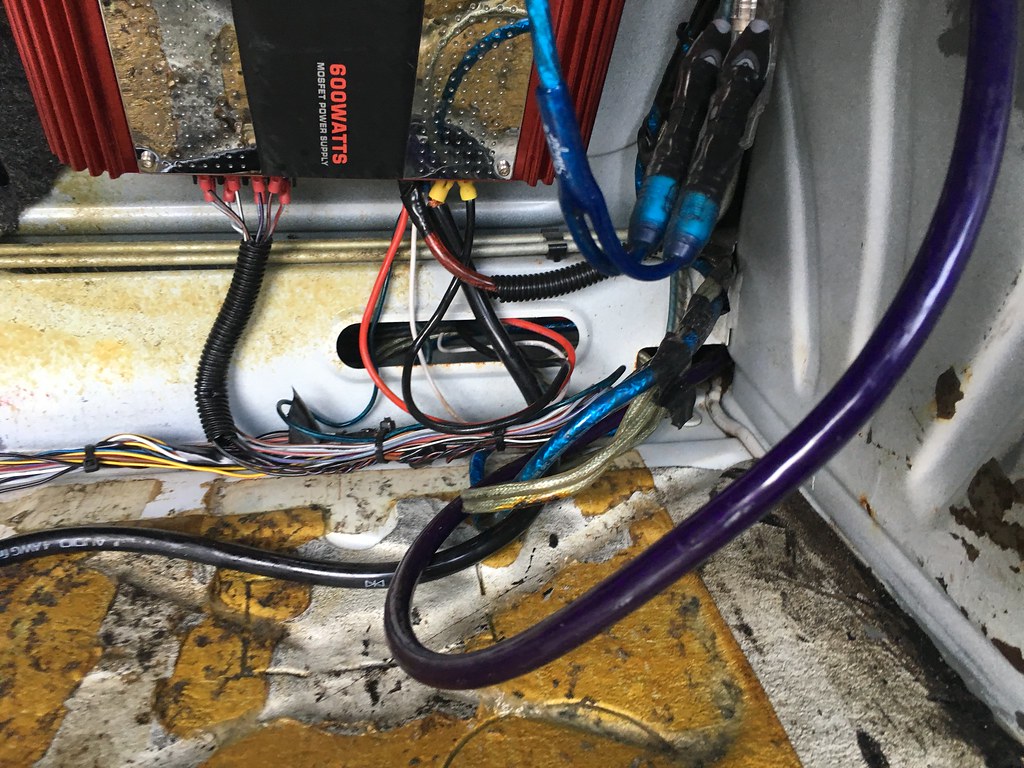
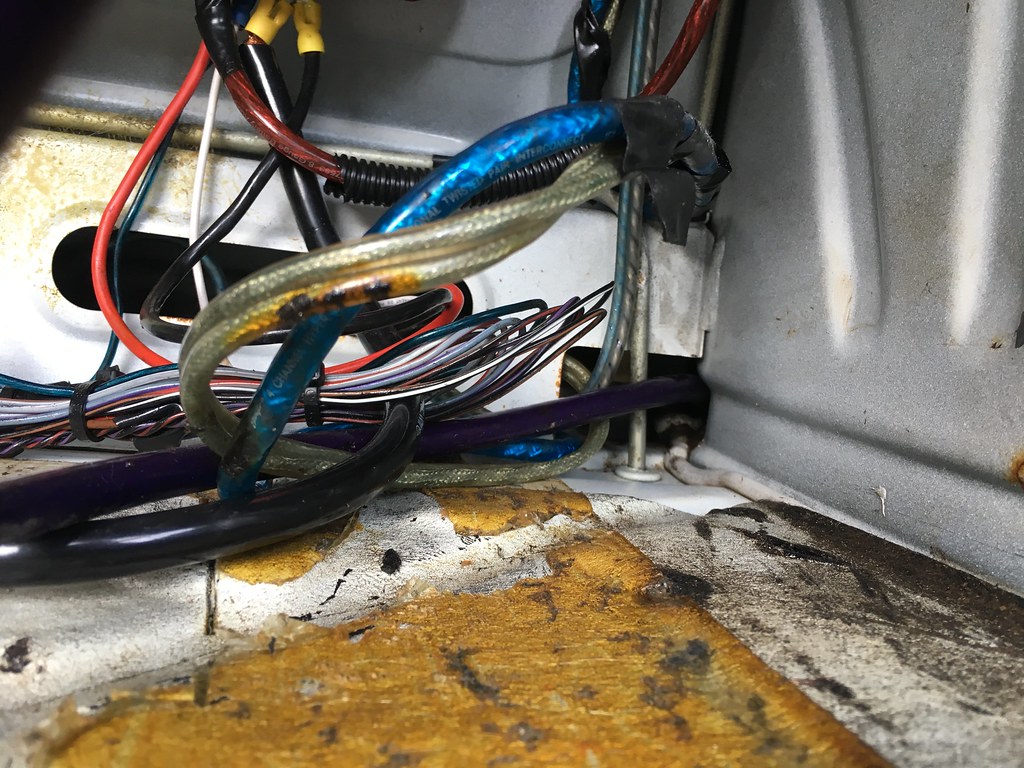
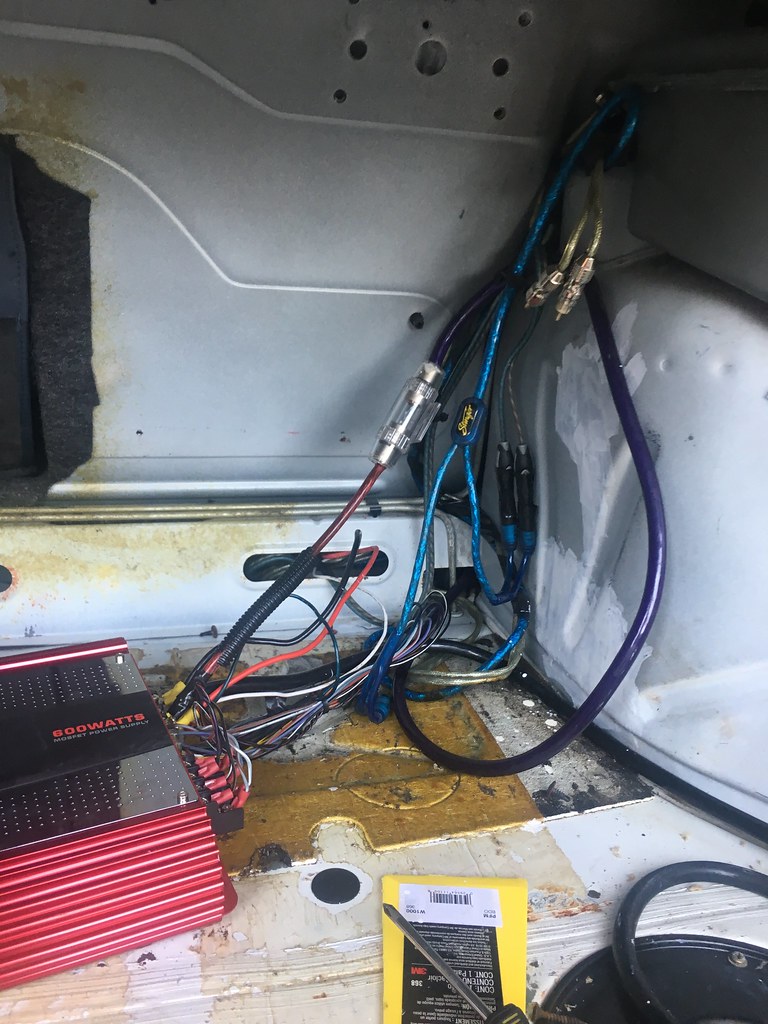
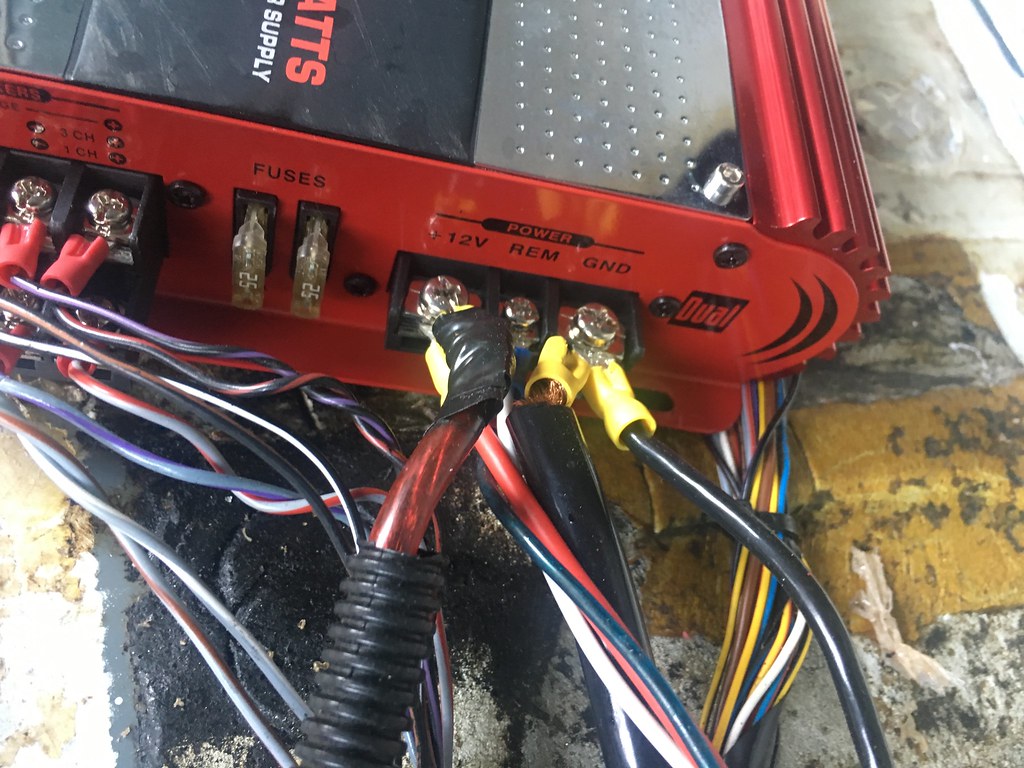
Now it was time to paint the tray and welds. I found a vendor on Amazon that sold their version of BMW’s alpine white. After priming and painting, it came out well.
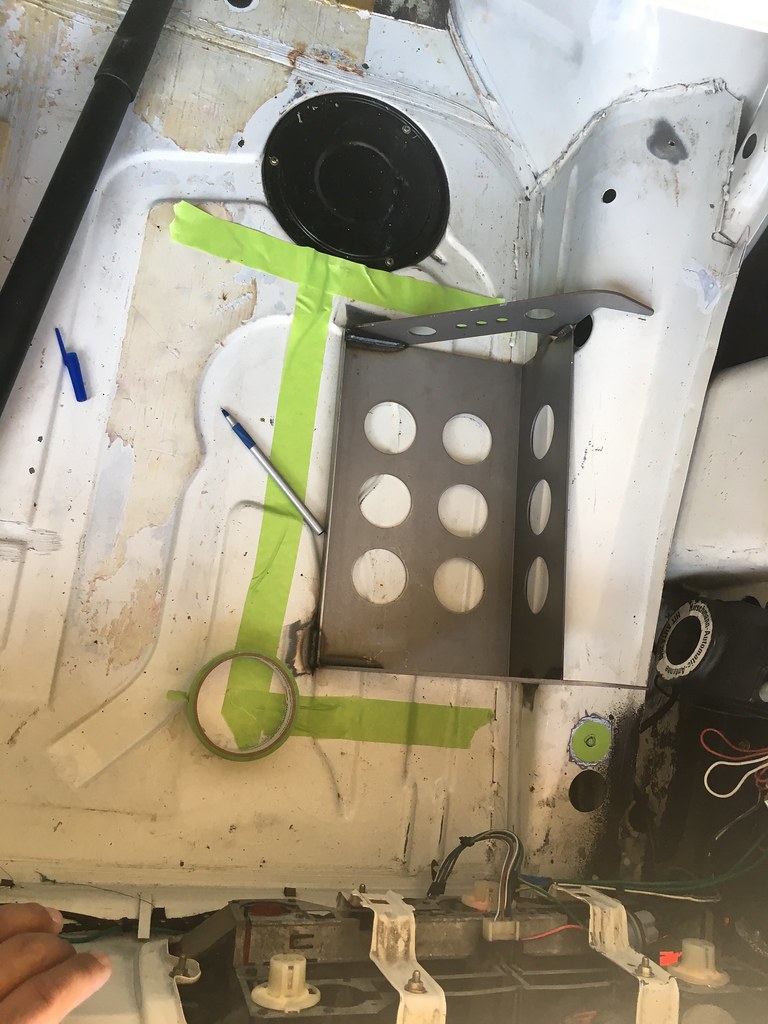
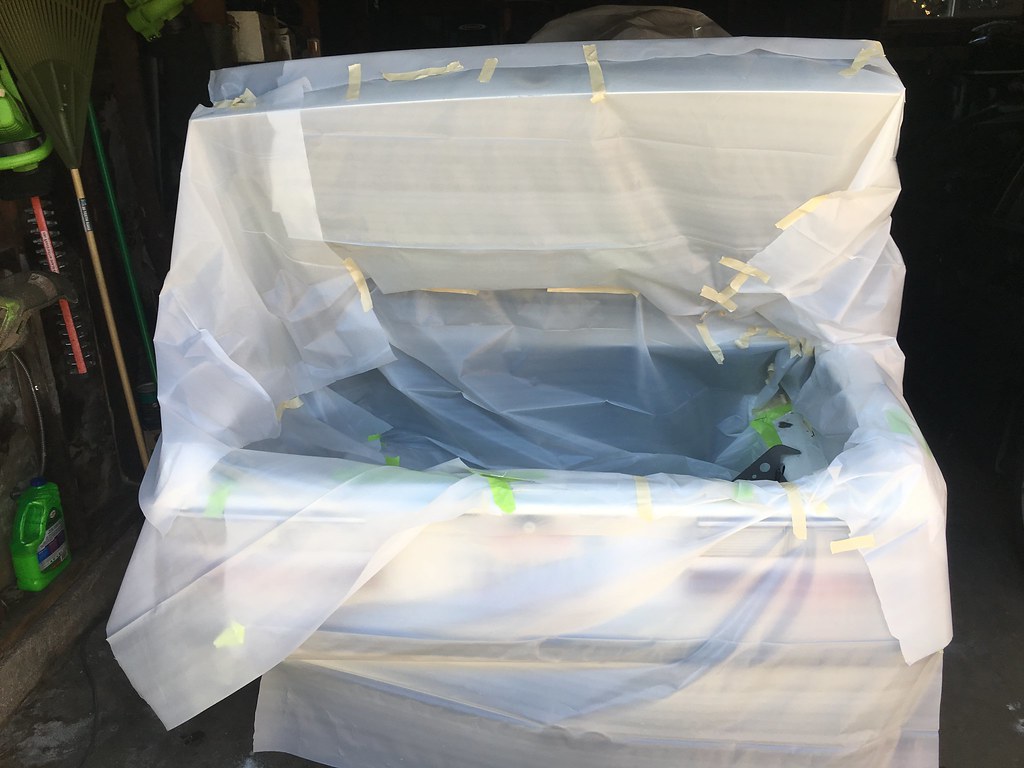
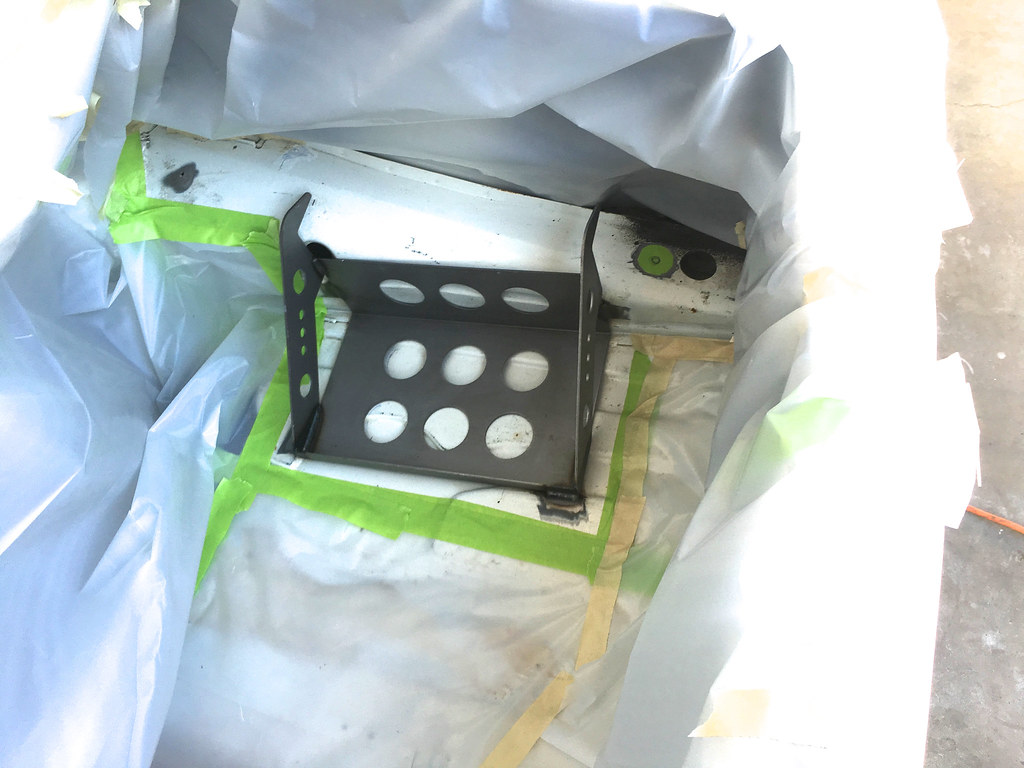
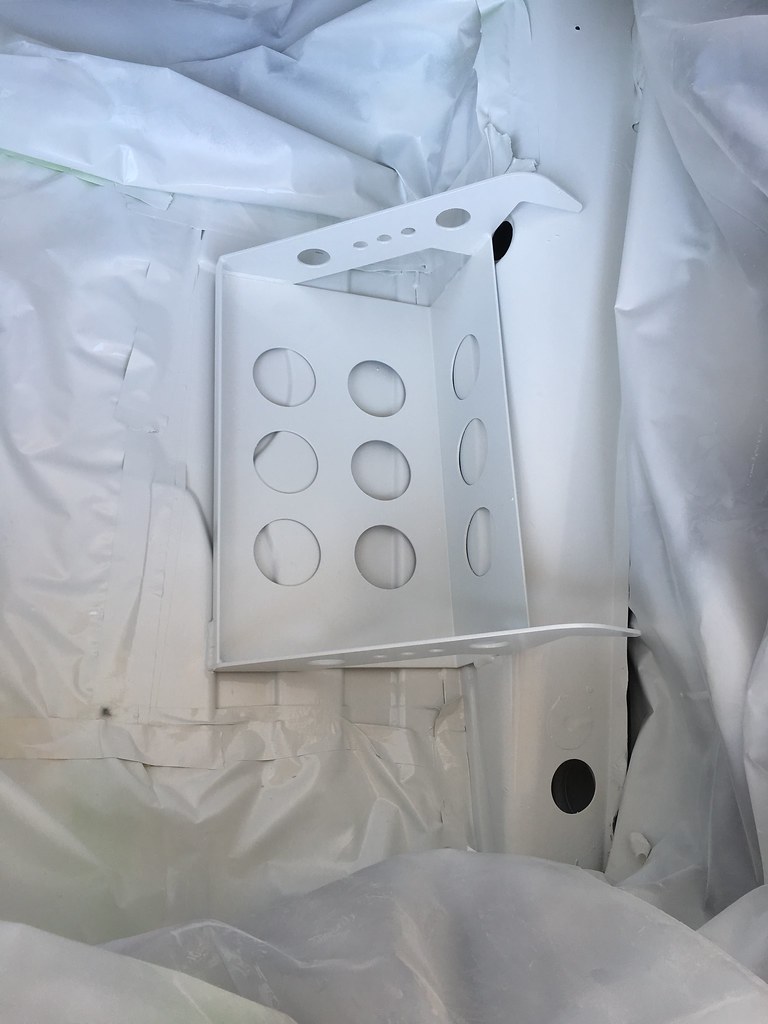
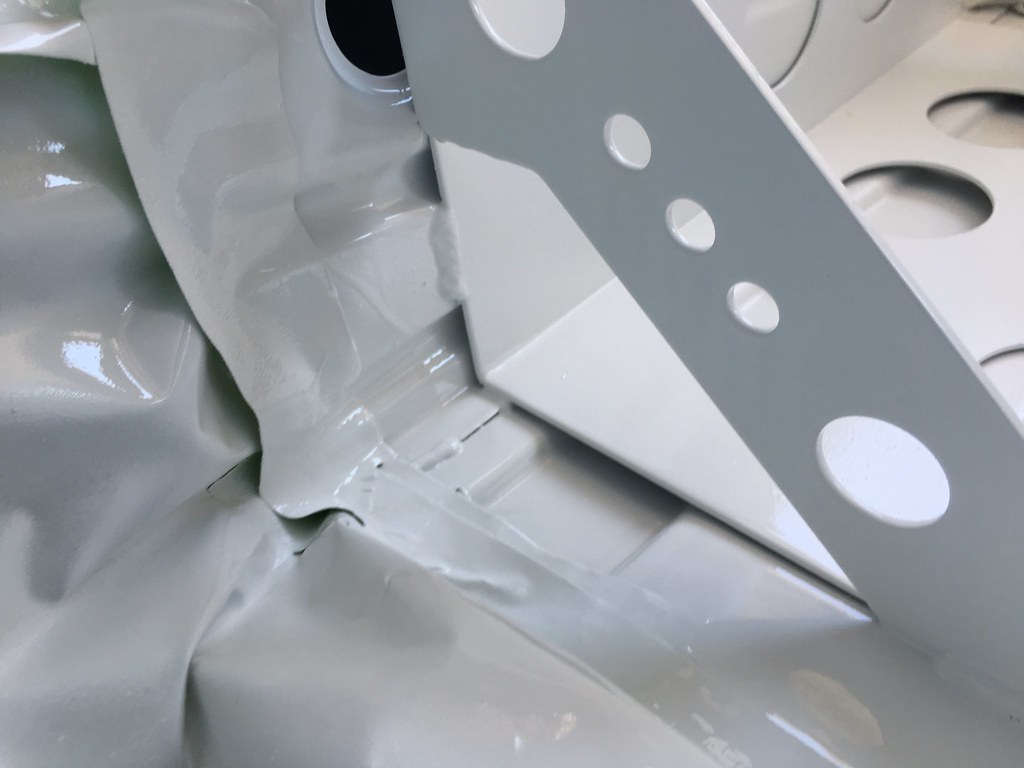
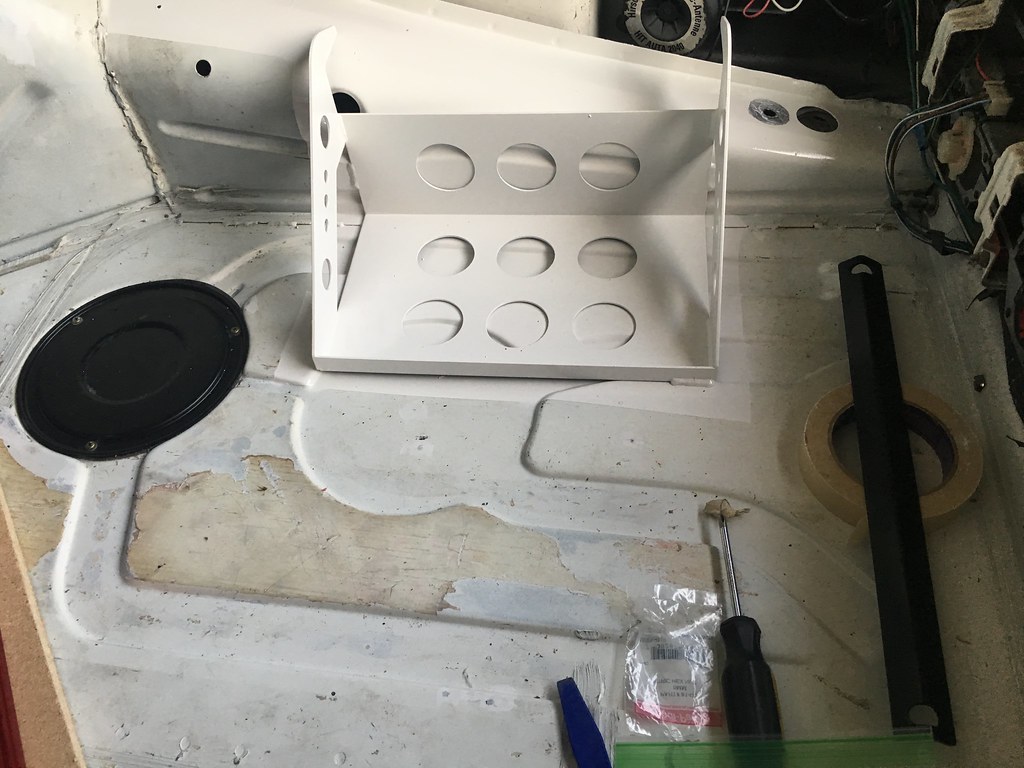
Once painting was done, I laid down the sound deadening material. I used Thermo-Tec, which went down without issue.
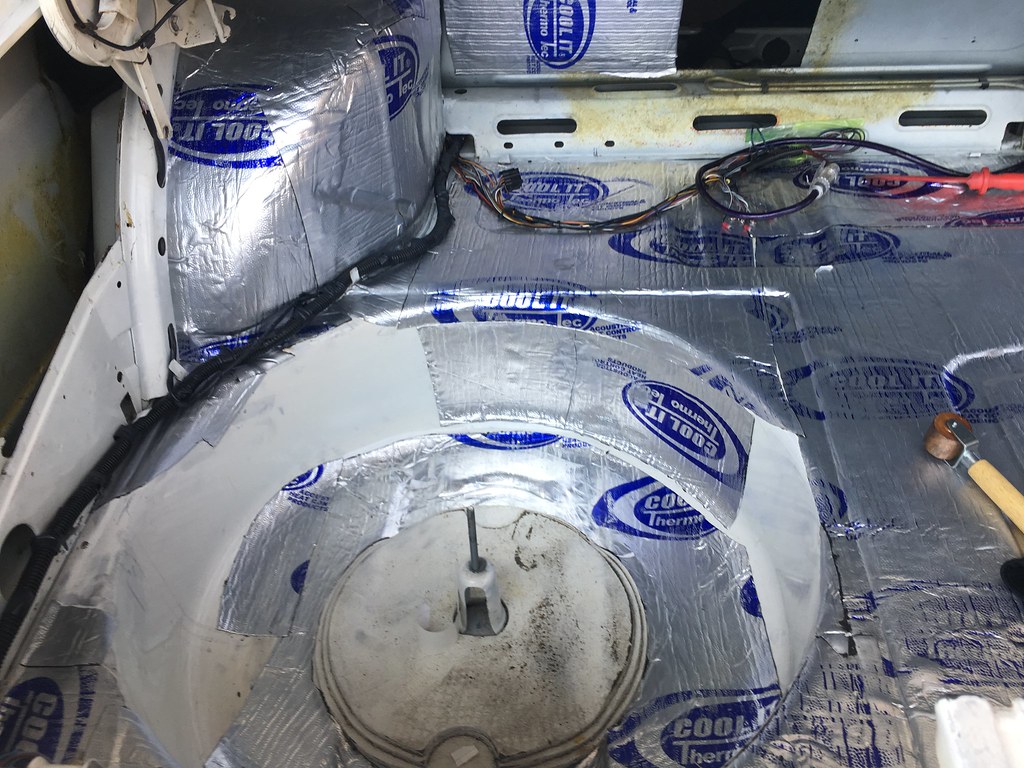
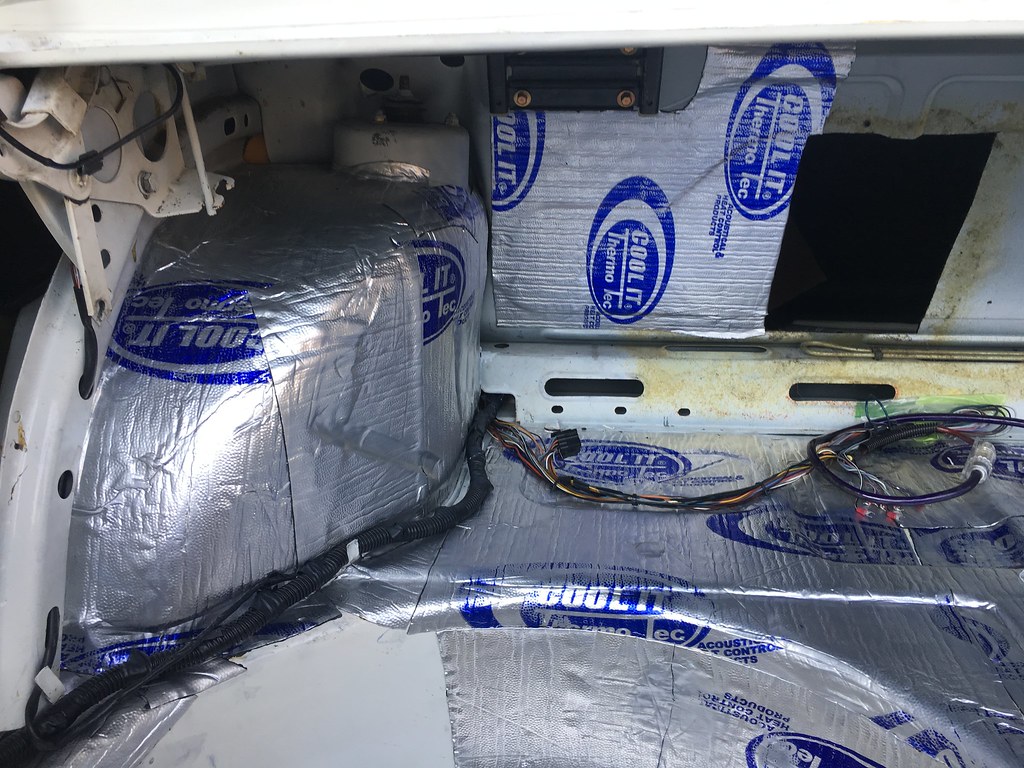
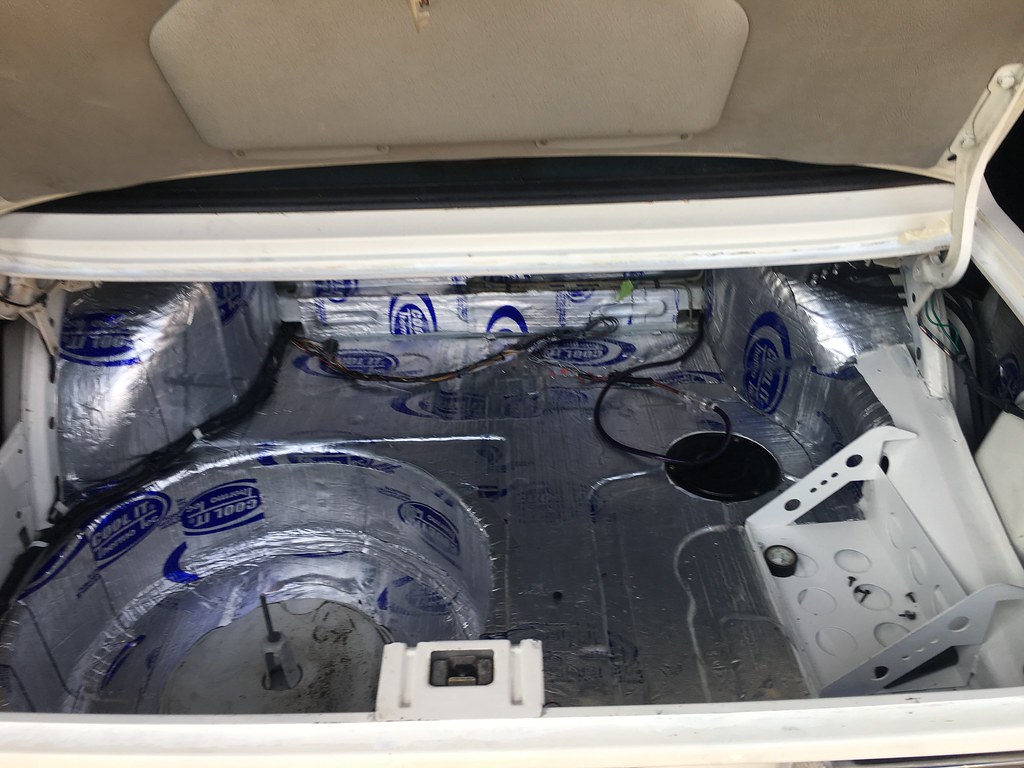
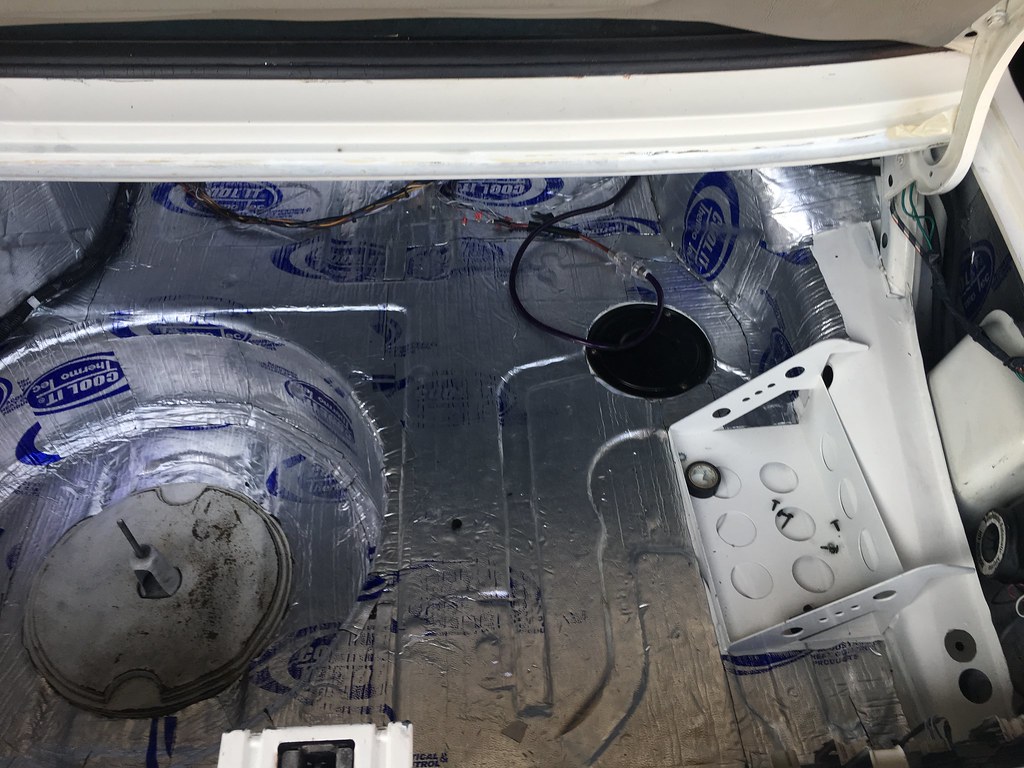
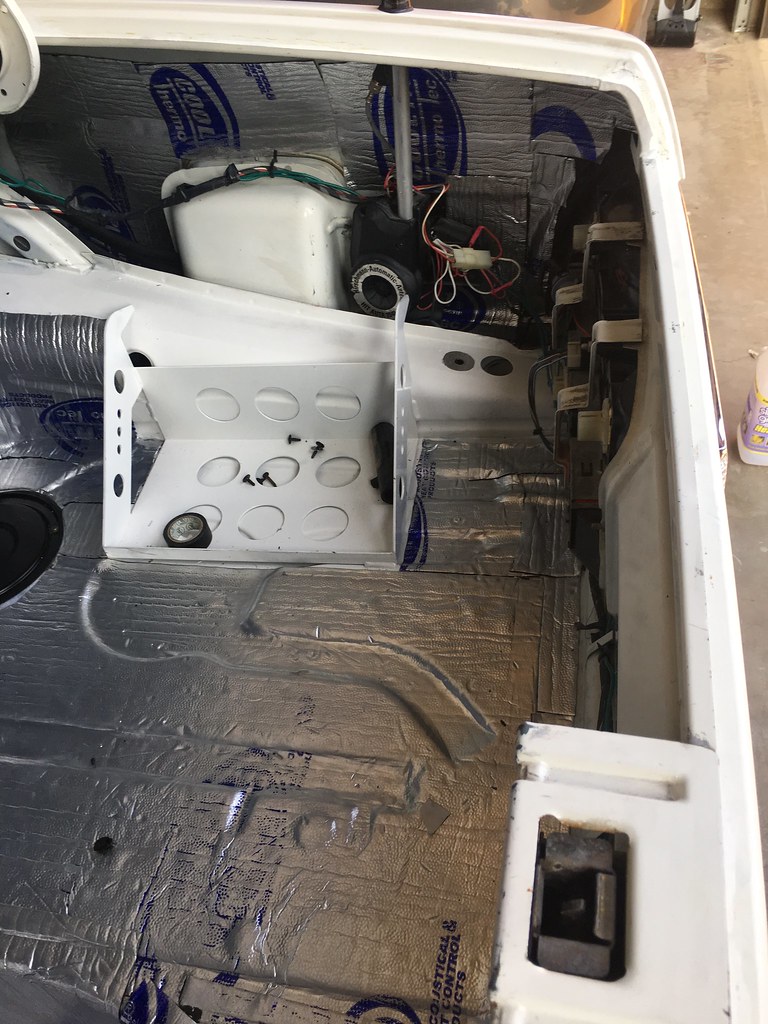
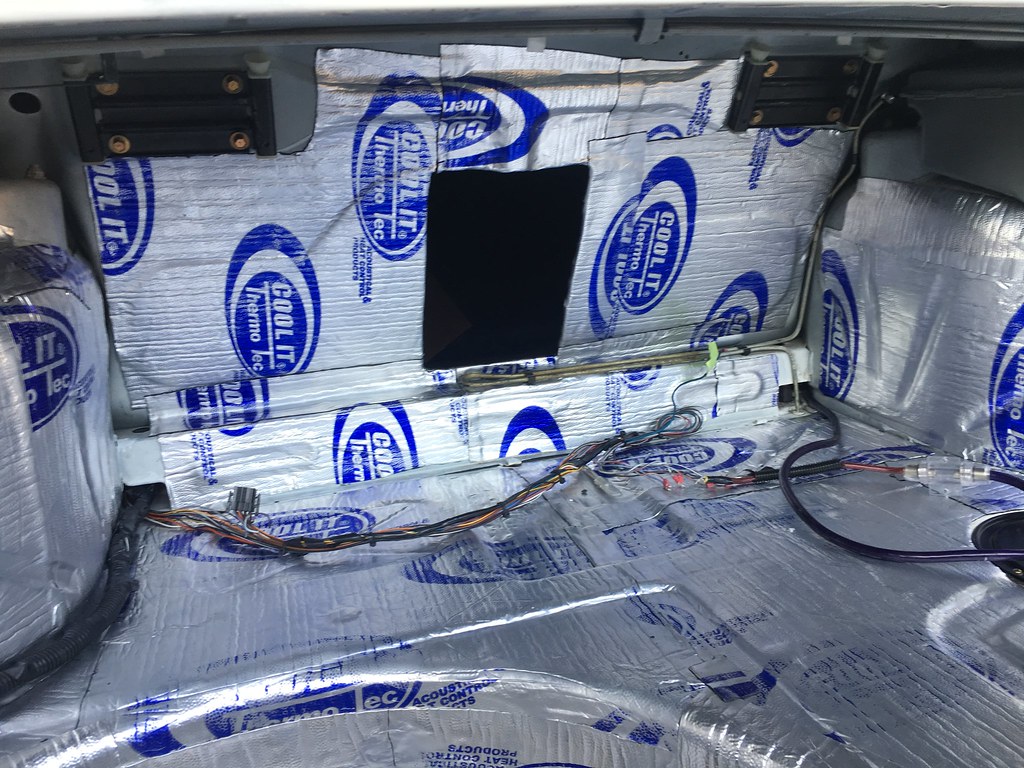
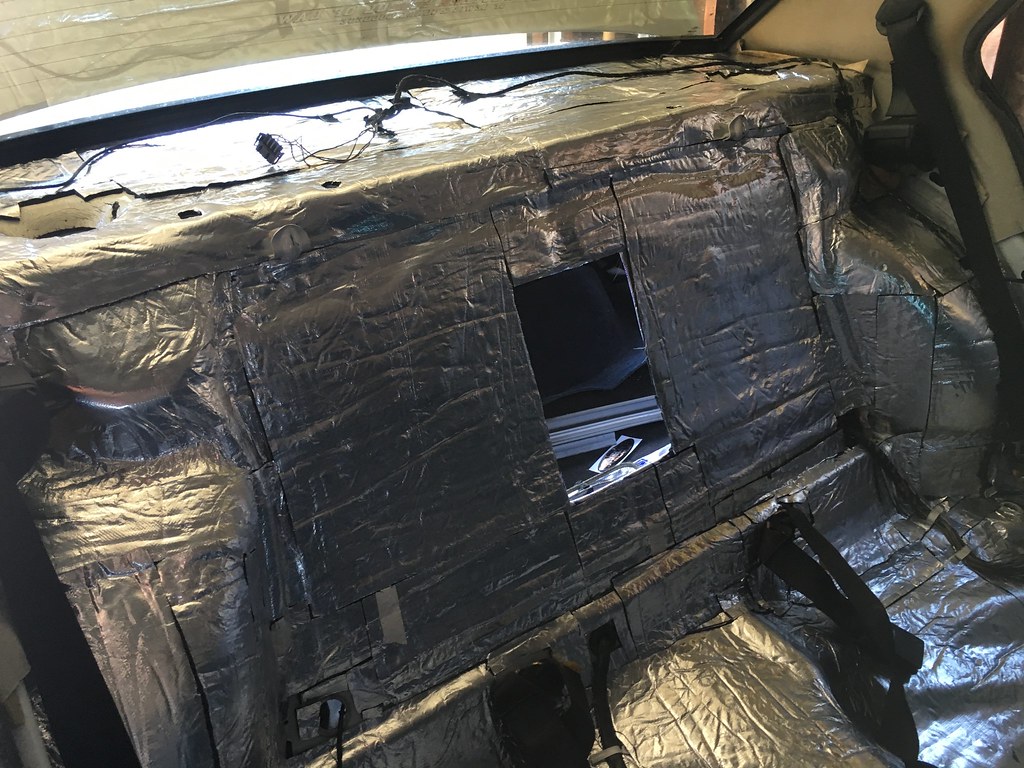
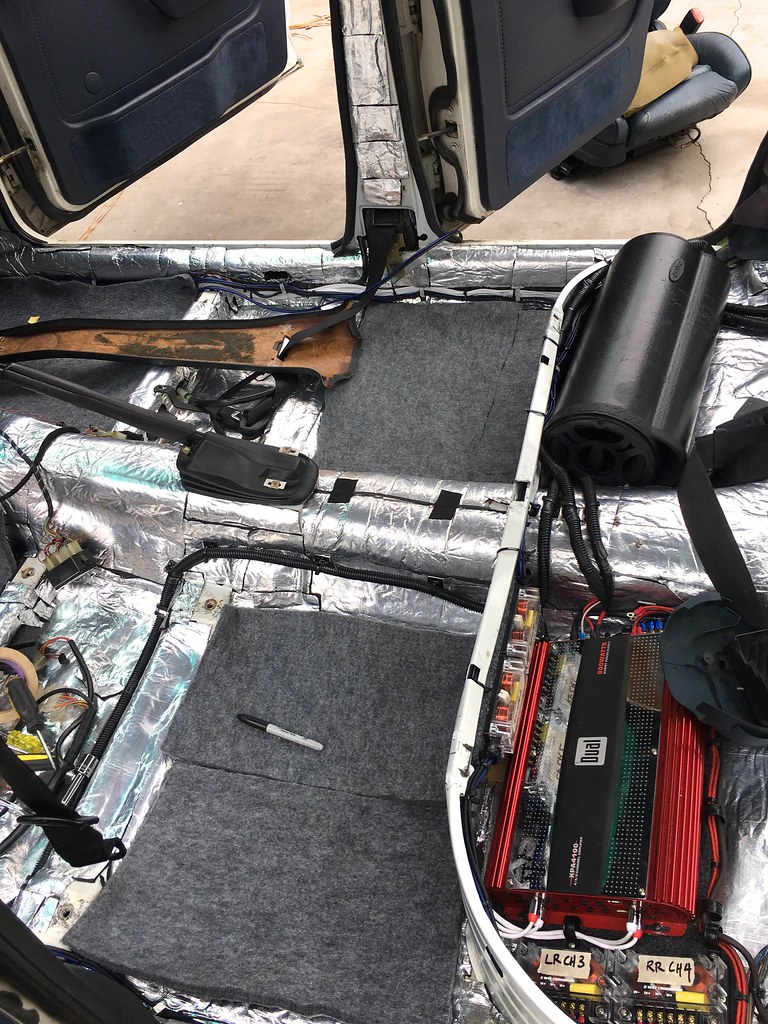
With the trunk sound deadening pretty much done, I moved on to the interior. I began by laying a different sound material under the rear bench and rear bulkhead that I found on eBay. It was cheaper than Thermo-Tec, and slightly thicker. There was no brand on it, but it looked like a generic HVAC type material.
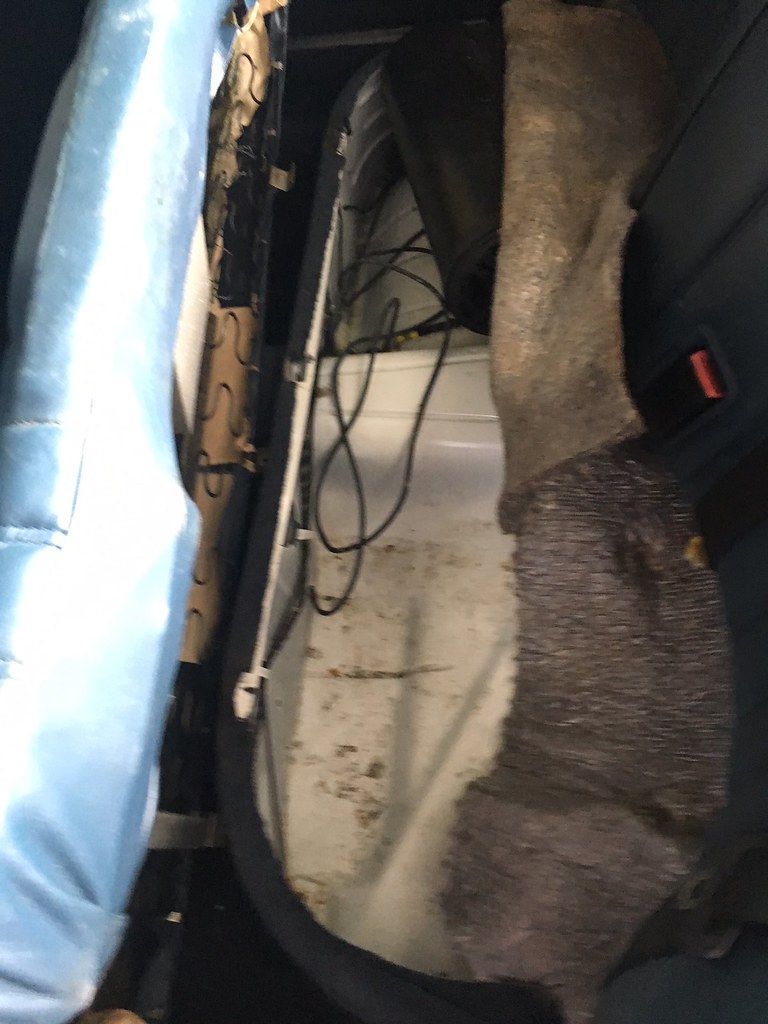
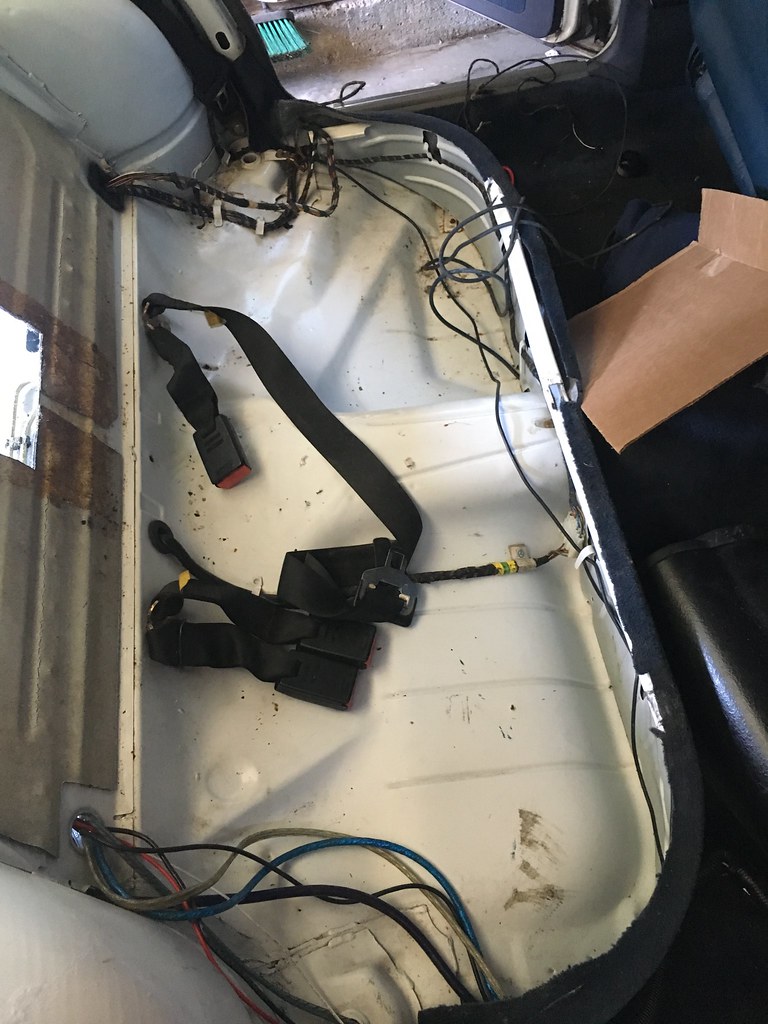
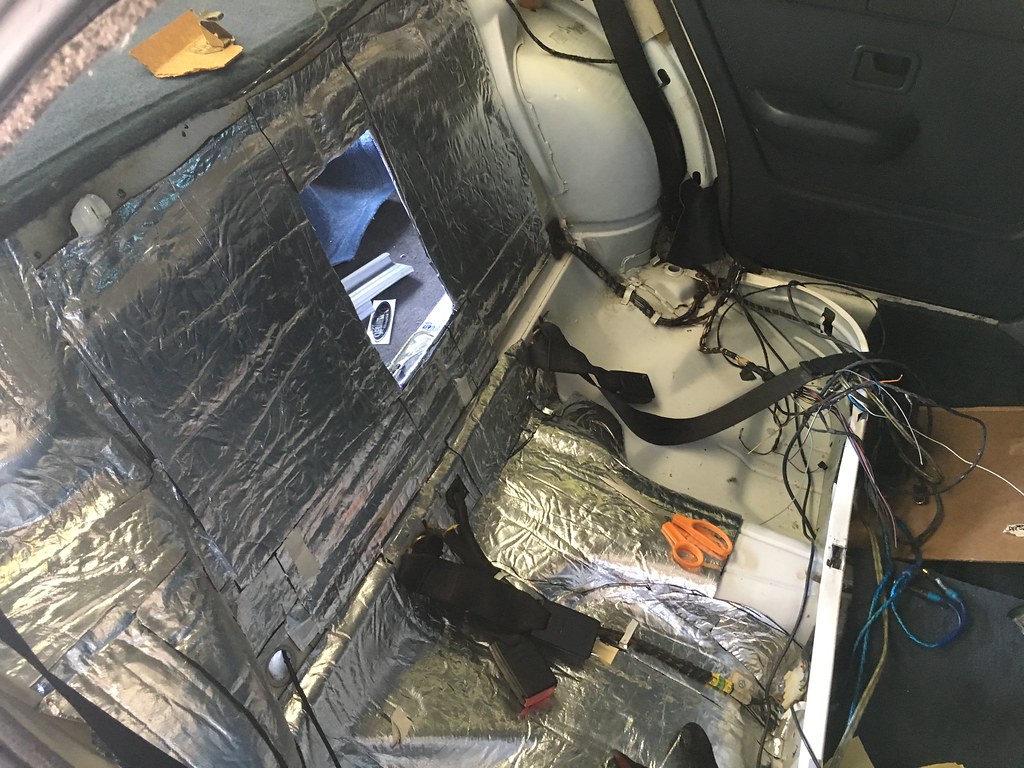
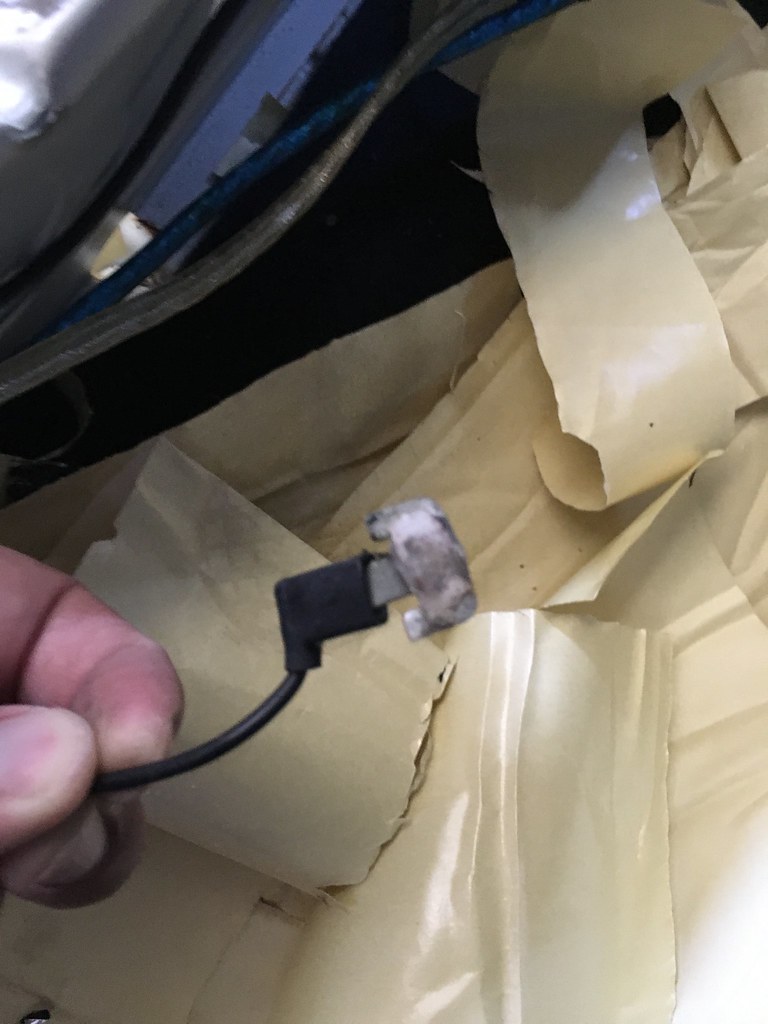
While laying down the material, I found out why my rear defrost never worked. Looks like someone got a little zealous taking out the rear parcel shelf at some point in the car’s life and tore the leads off the rear glass.
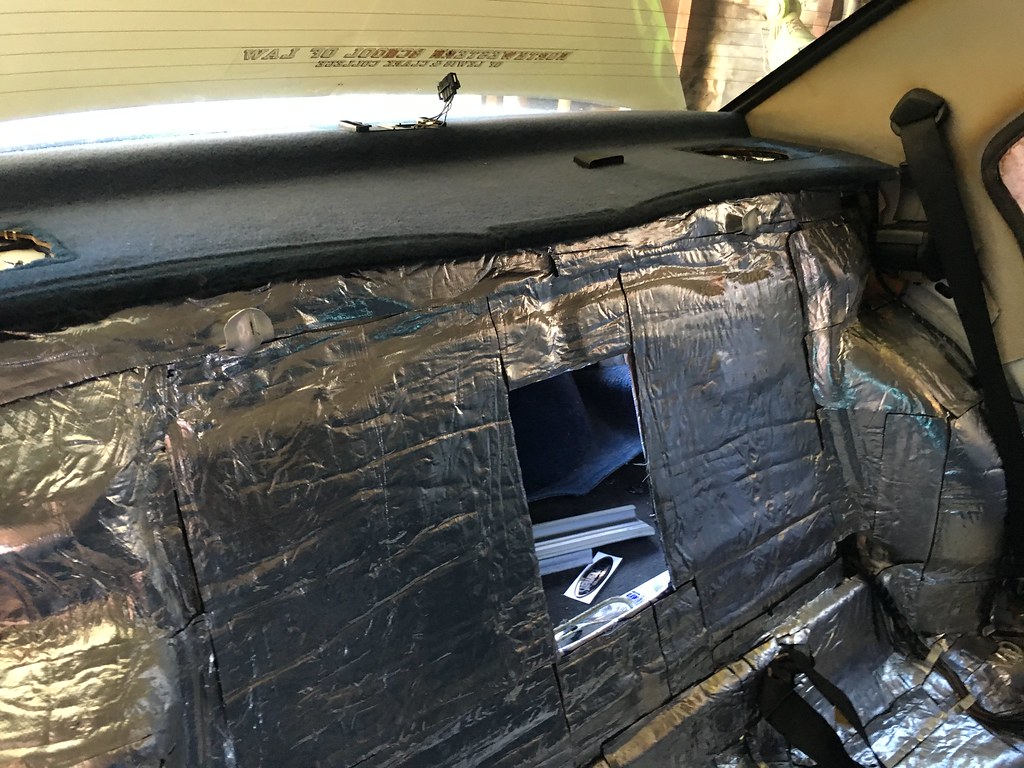
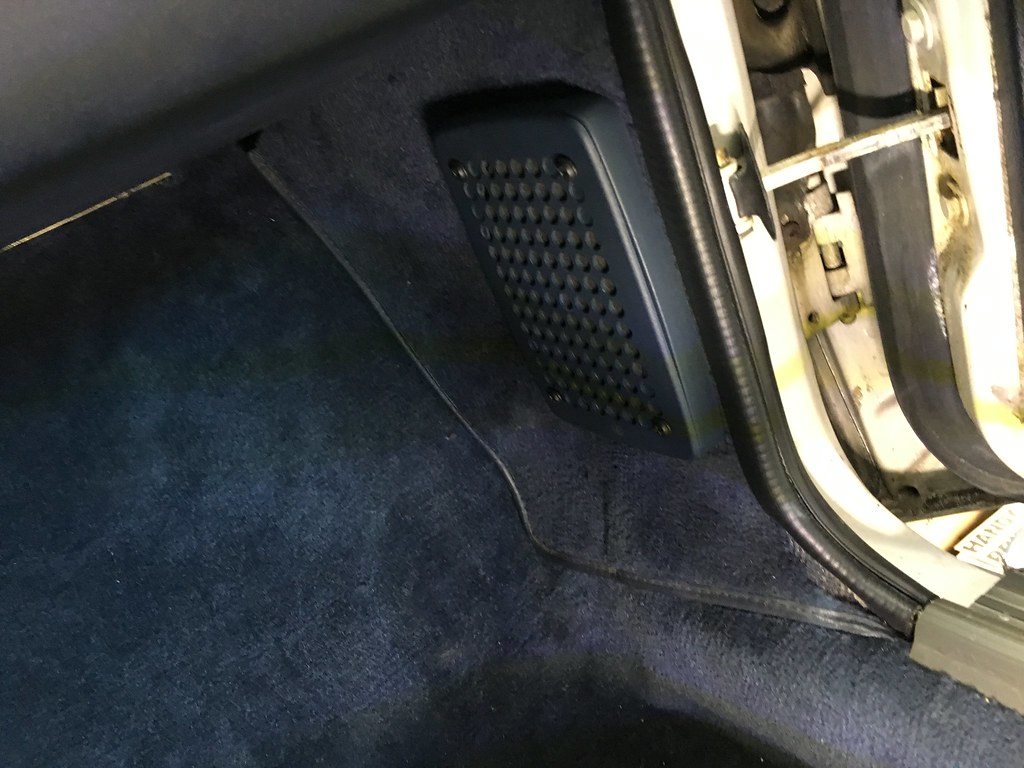
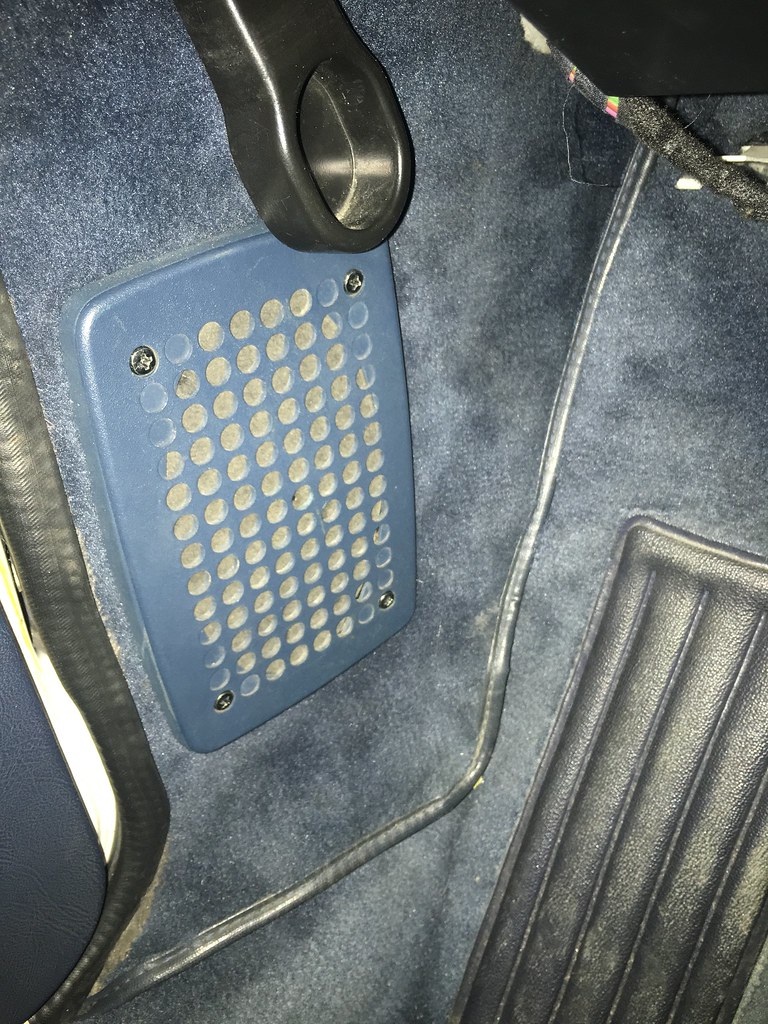
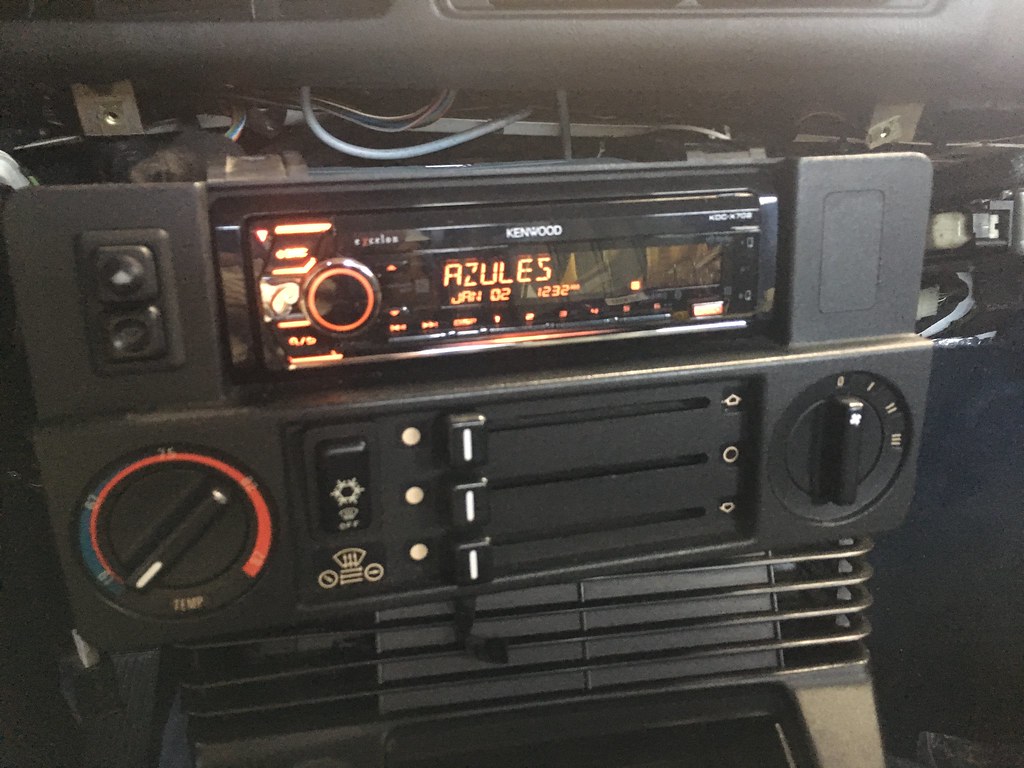
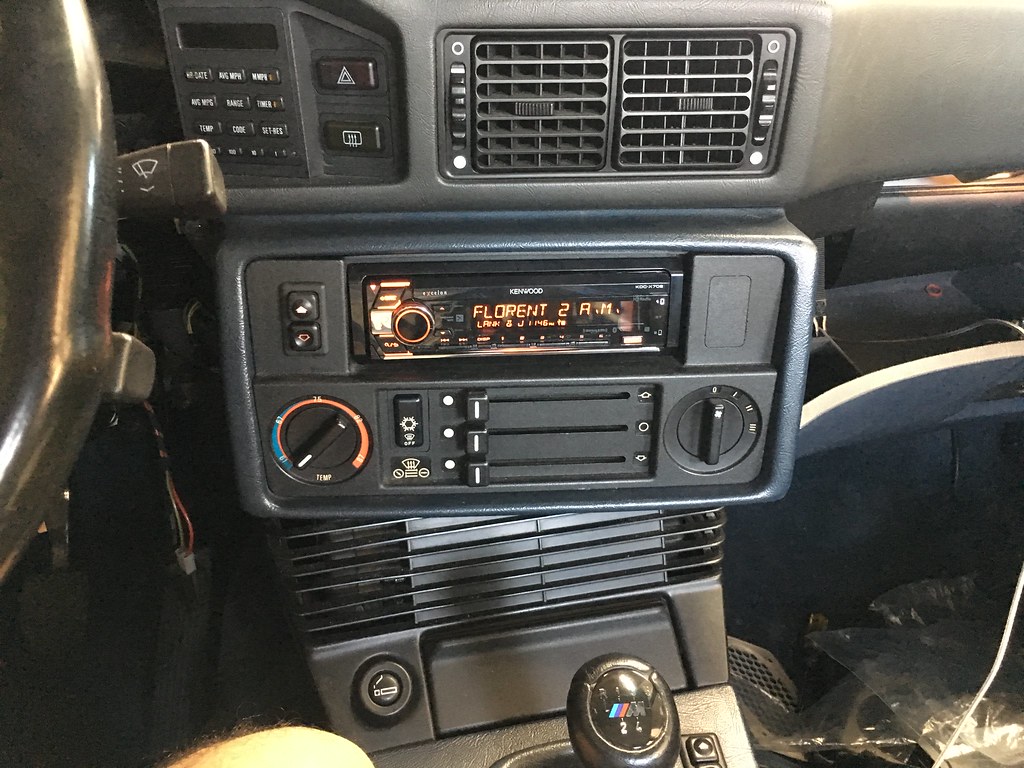
At this juncture, I began to plan what my new audio would encompass. I had never really been into car audio, and found it to be a bit intimidating at first. I knew I wanted it to be loud enough, clear with some bass. The set-up I had at this point was a mishmash of items the PO left, and replacement pieces I installed. The car was running a Dual XPA4100 4 channel amp, rated at 50 RMS per channel at 4 ohm. I had a single 5 1/4 inch Infinity Kappa in one of the rear housings (the other was in a box), a stock speaker and tweeter in the other rear housing, a 4x6 inch coaxial Infinity Kappa in the driver footwell, and a custom enclosed 6 inch speaker in the passenger footwell installed by the PO. The front tweeters weren’t working at all. I had a 6.5 200 watt self amplified bazooka tube under the right rear passenger seat. My head unit was a 2005 year Clarion DXZ745, that had a separate interface box to allow for limited use of an iPod.
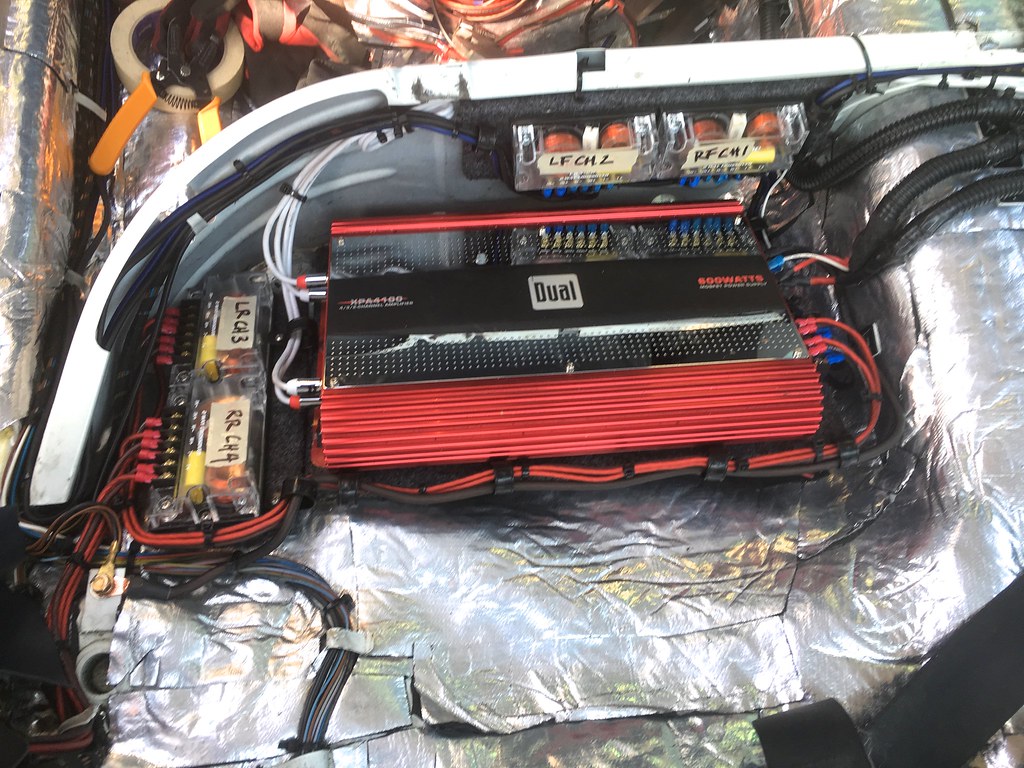
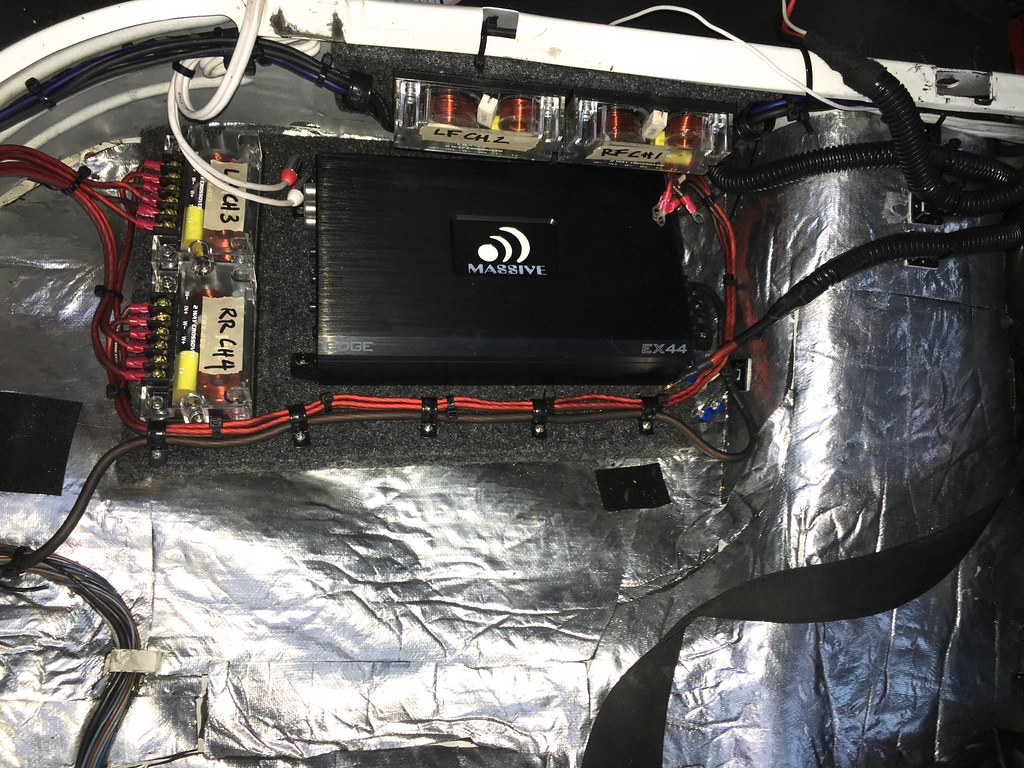
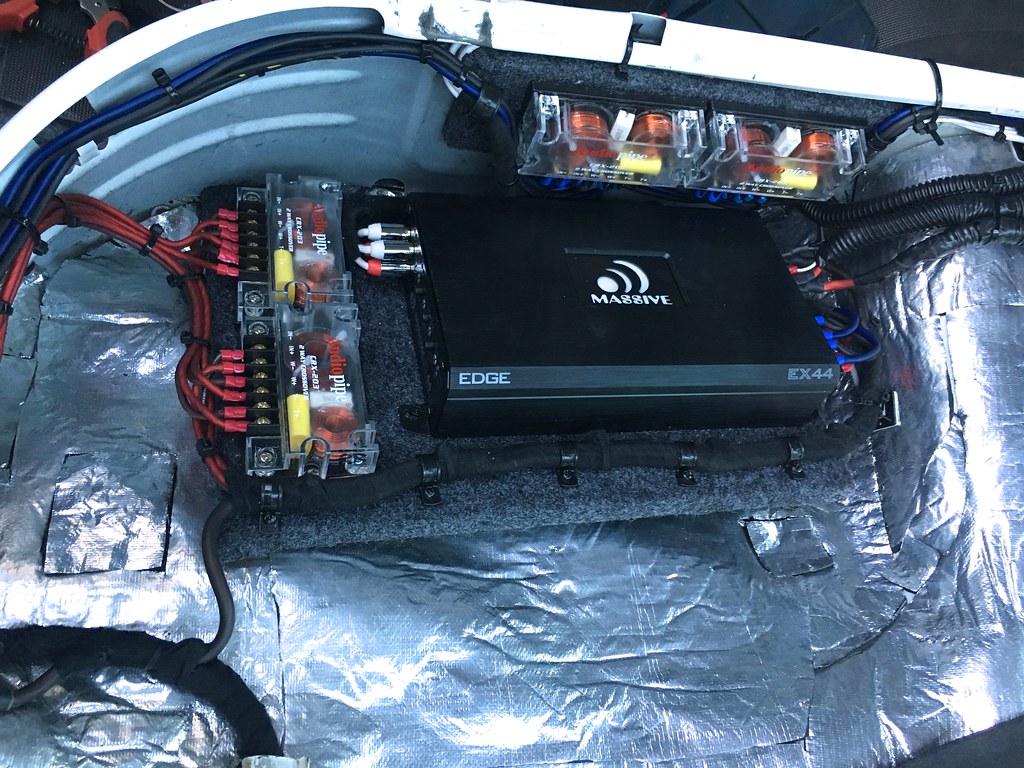
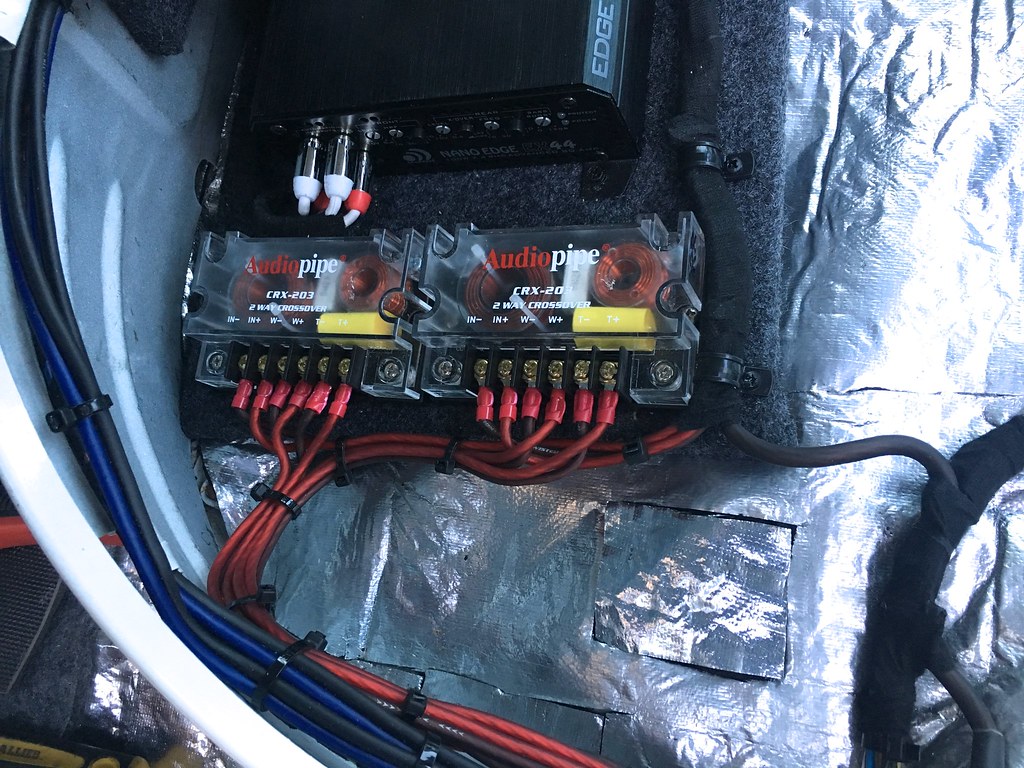
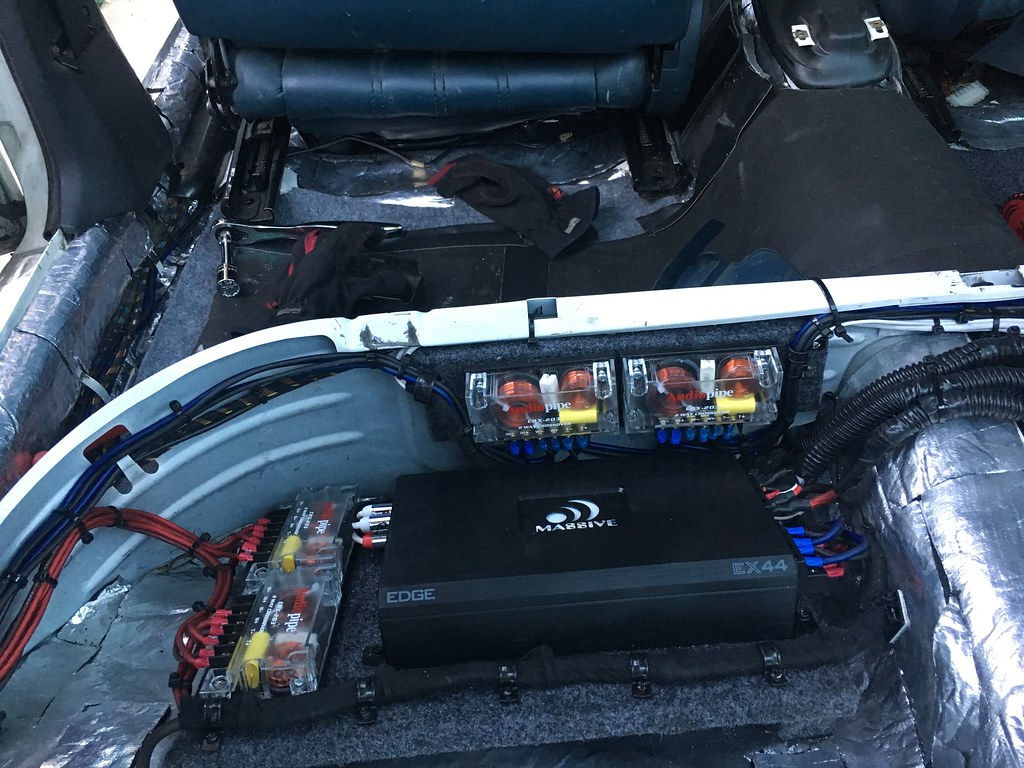
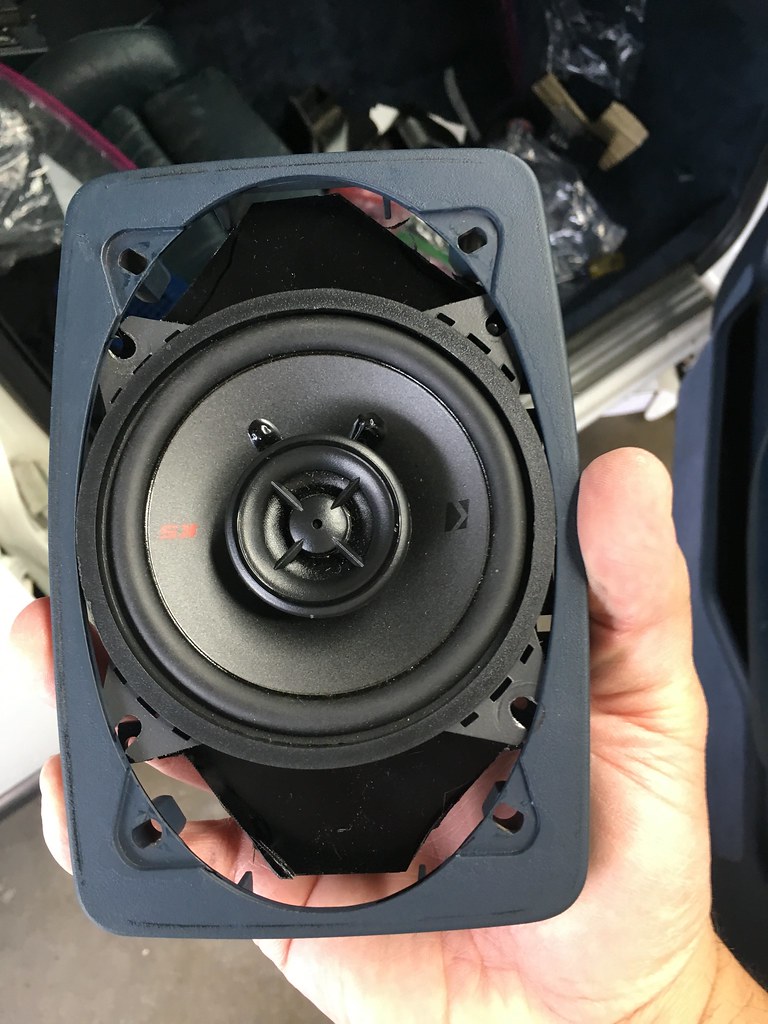
My plan was to re-use my Dual amp, as I thought it sounded decent, and mount it under the left rear passenger seat along with a passive crossover network. As far as the speakers and crossovers, I had to educate myself on exactly what I should get, as I really had no clue. I wasn’t going to break the bank on some competition style audio set up. Again I just wanted clarity and some bass. After reading up, I settled on Audiopipe CRX-203 Passive 2 way crossovers. I purchased Pioneer TS-T15 3/4 inch tweeters for the rear, rated at 40 RMS watts at 4 Ohm. I planeed to put both Infinity Kappa 5020cs 5 1/4 inch speakers in the rear speaker housings, each rated at 75 RMS watts at 2 Ohm. For the front speakers, I purchased Kicker KSC40 4 inch two-way speakers, rated at 75 RMS watts at 4 Ohm. Finally, for the front tweeters I bought Focal TWU1.5, 1 1/2 inch rated at 15 RMS watts at 4 Ohm. I also bought all new speaker wire and terminals, as the current setup used the original speaker wire harness.
Once I actually laid out my amp and crossover setup on cardboard, I found my initial plan wouldn’t fit under the rear seat. I decided to mount a set of crossovers to the rear bench support, and then place the second group of crossovers next to the amp. These items would be mounted on a 3/4 inch board. Covering them with speaker cabinet fabric was pretty straightforward after learning how to do it from the car audio forums.
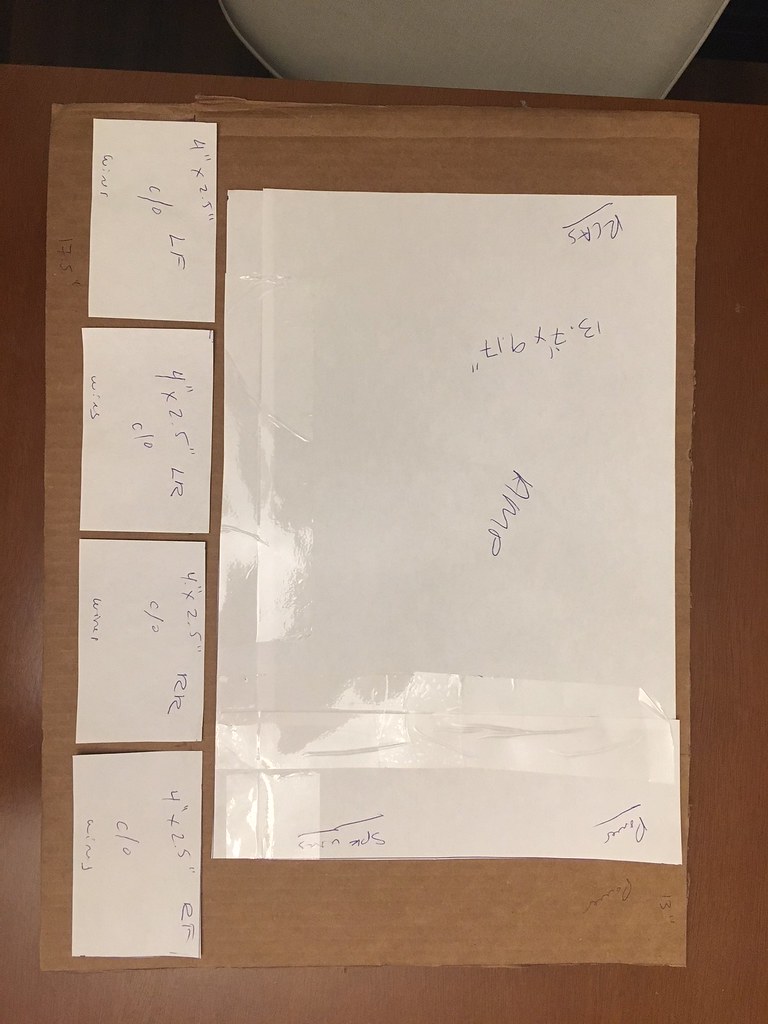
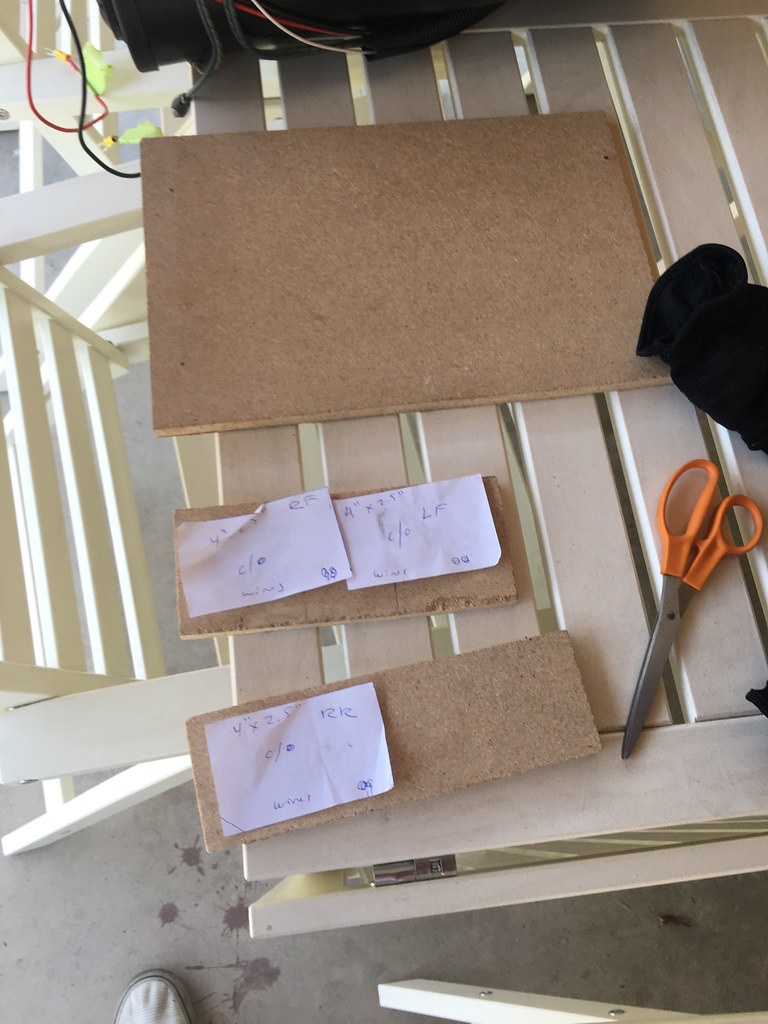
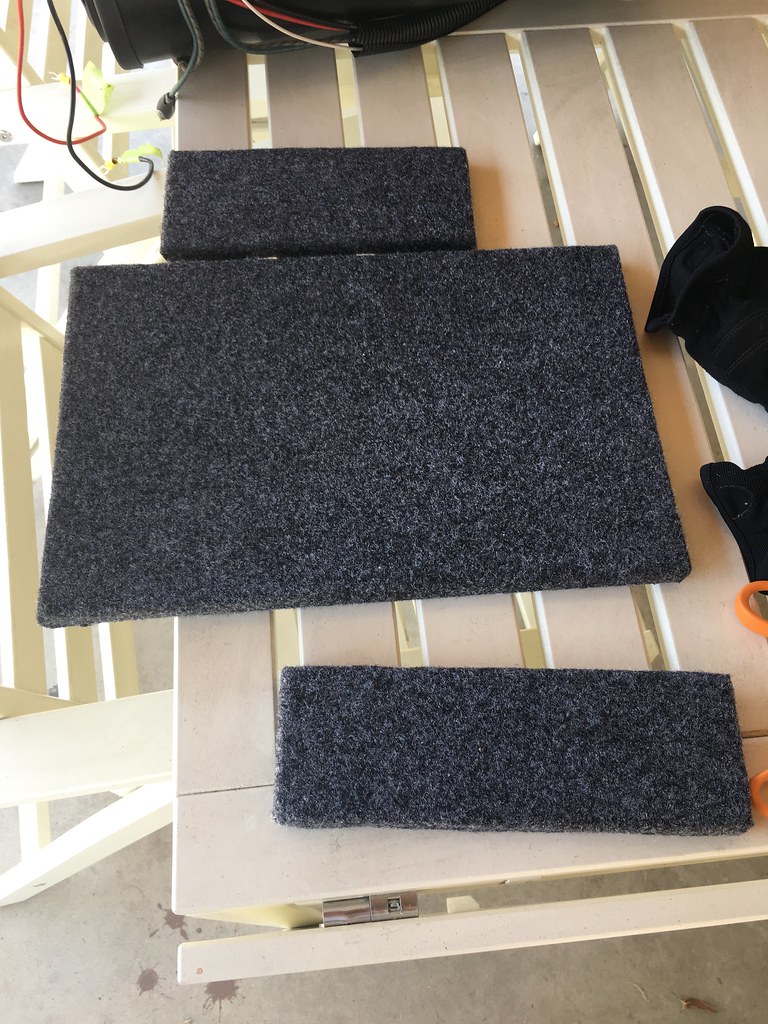
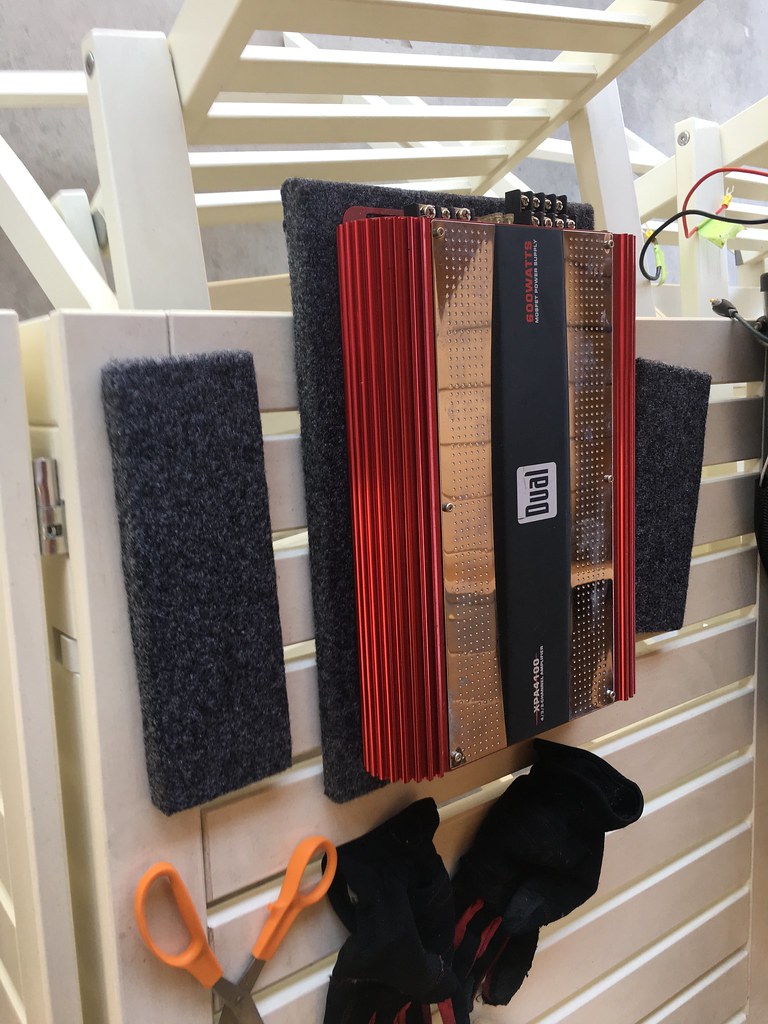
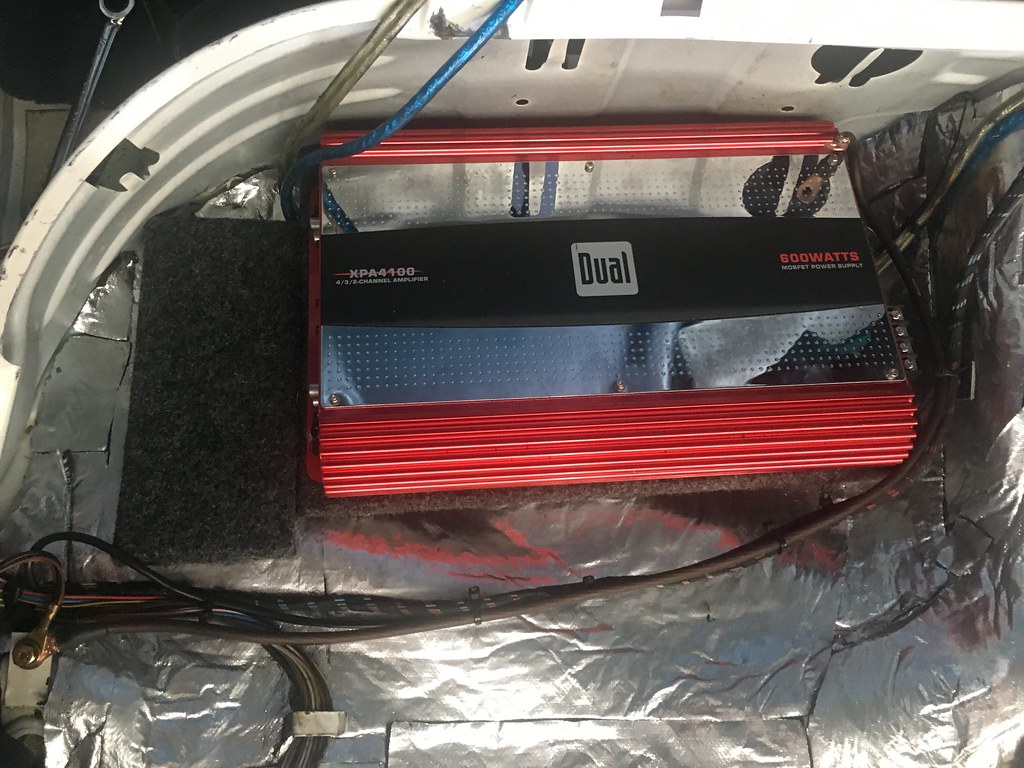
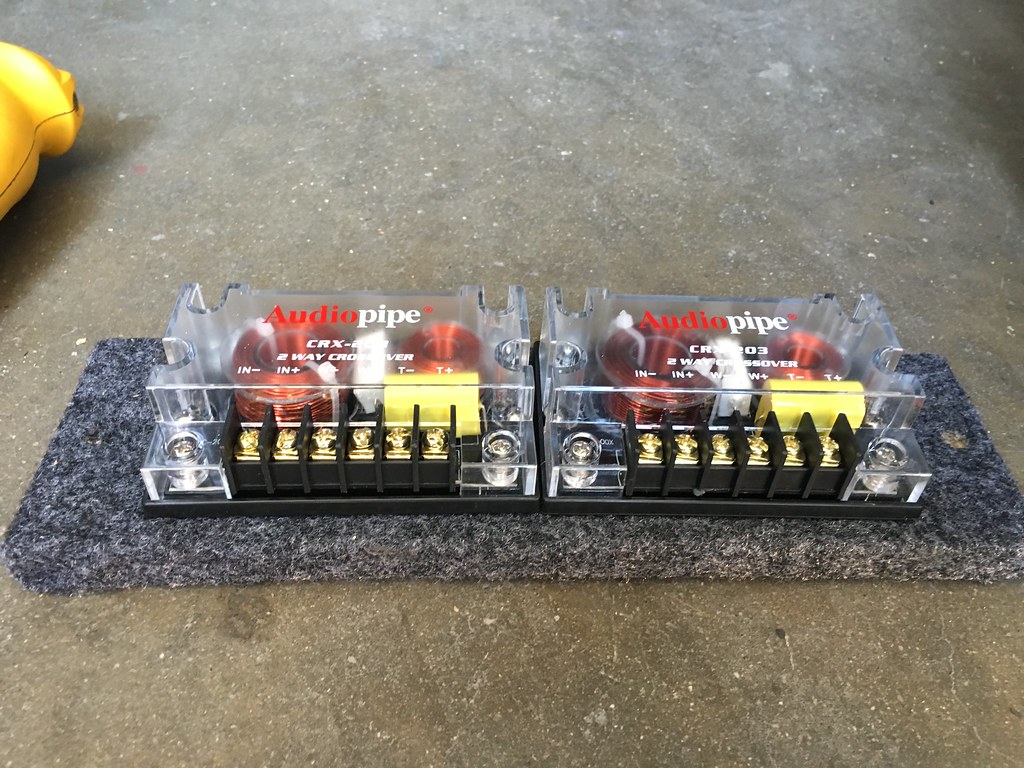
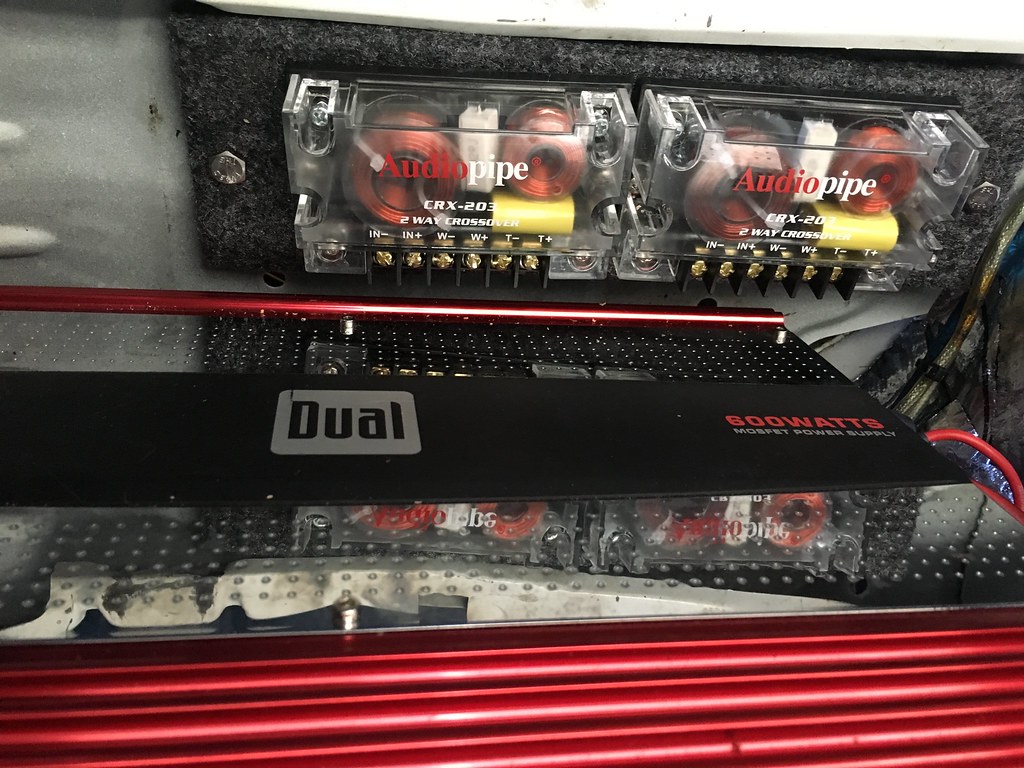
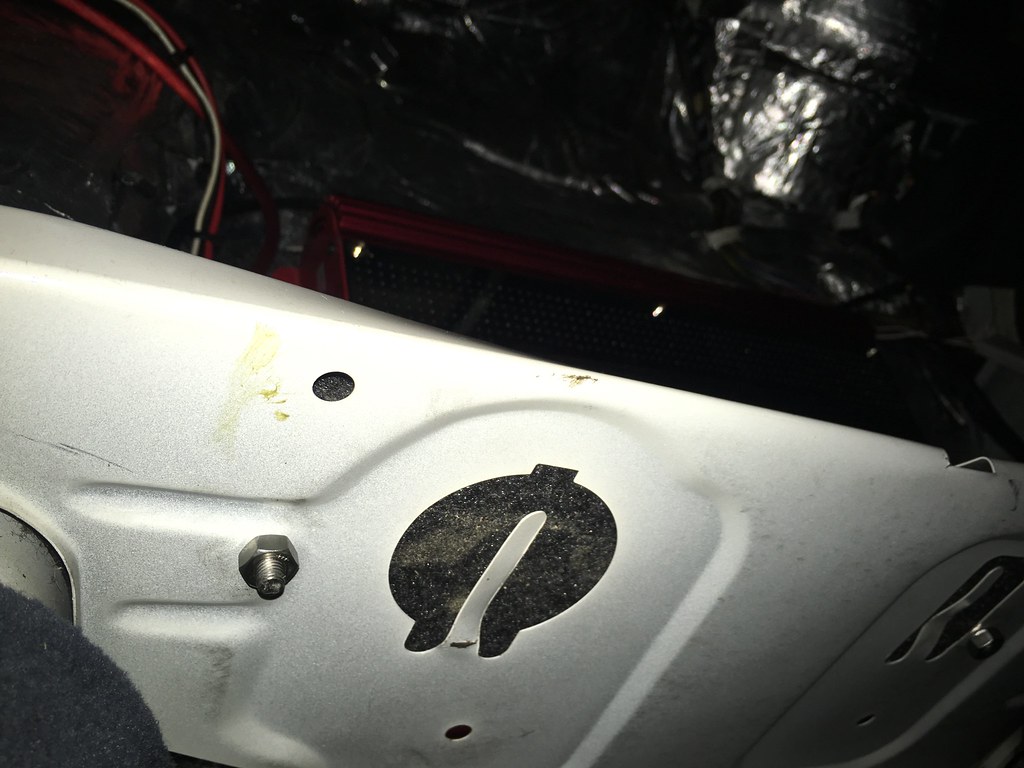
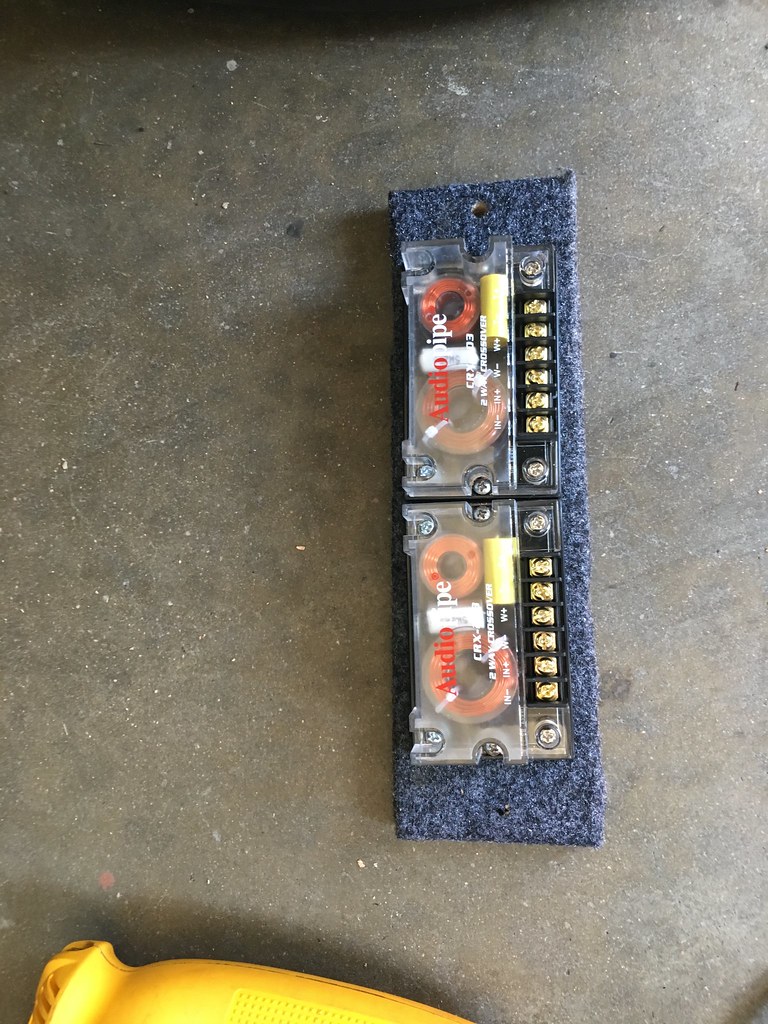
The audio portion of this project required me to learn the appropriate gauge of power wire to use, how to crimp and properly strip wire, as well as heatshrink. I invested in some additional tools from Amazon, including a heat gun, wire strippers for larger gauge wire, and a handheld hydraulic crimper for the larger gauge wire. I also bought a heavy duty wire crimping tool from Harbor Freight.
I did some preliminary placement of the amp, crossovers, and sub.
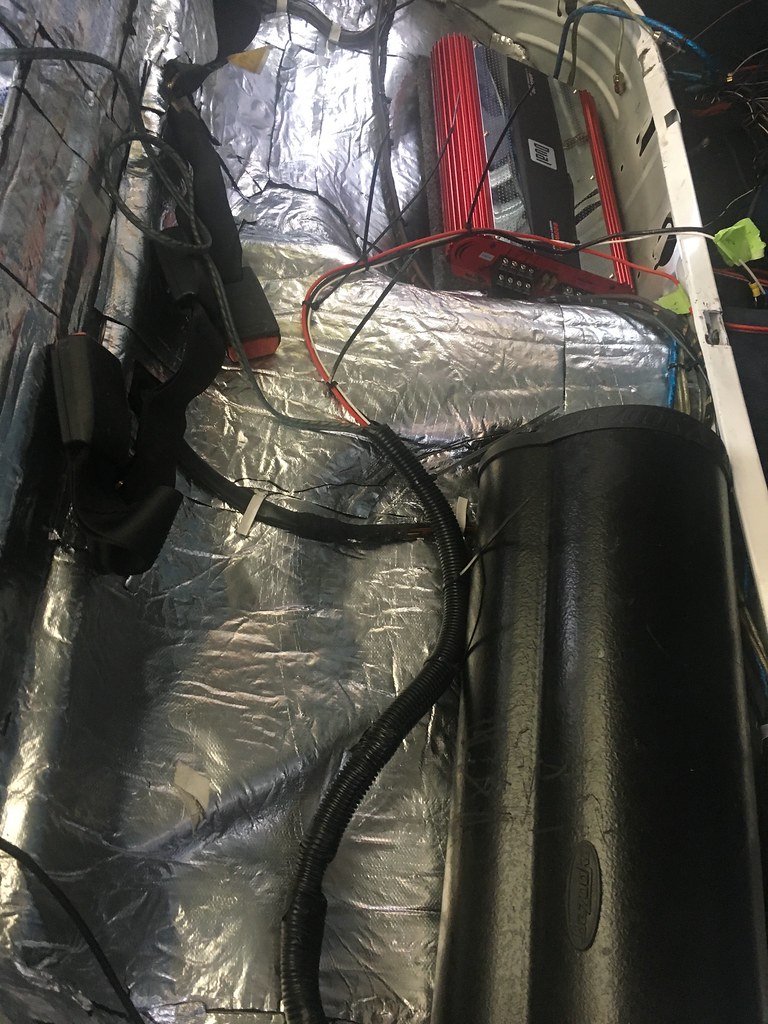
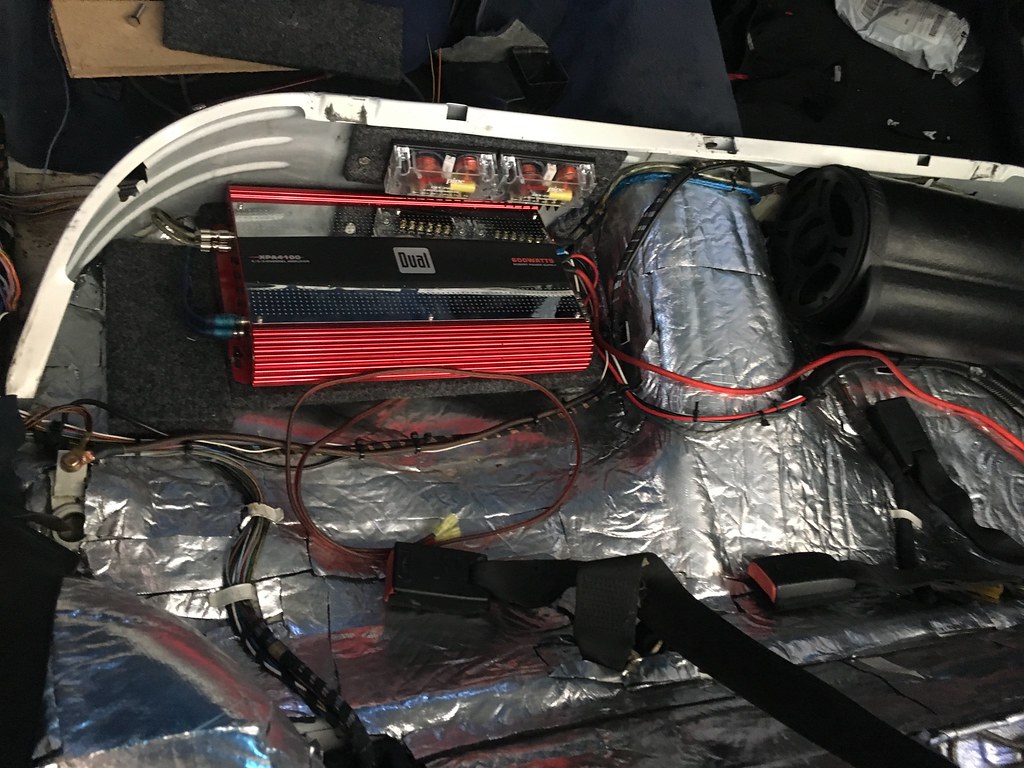
I also determined where my ground point would be for the amp. I used the factory ground location under the left rear seat.
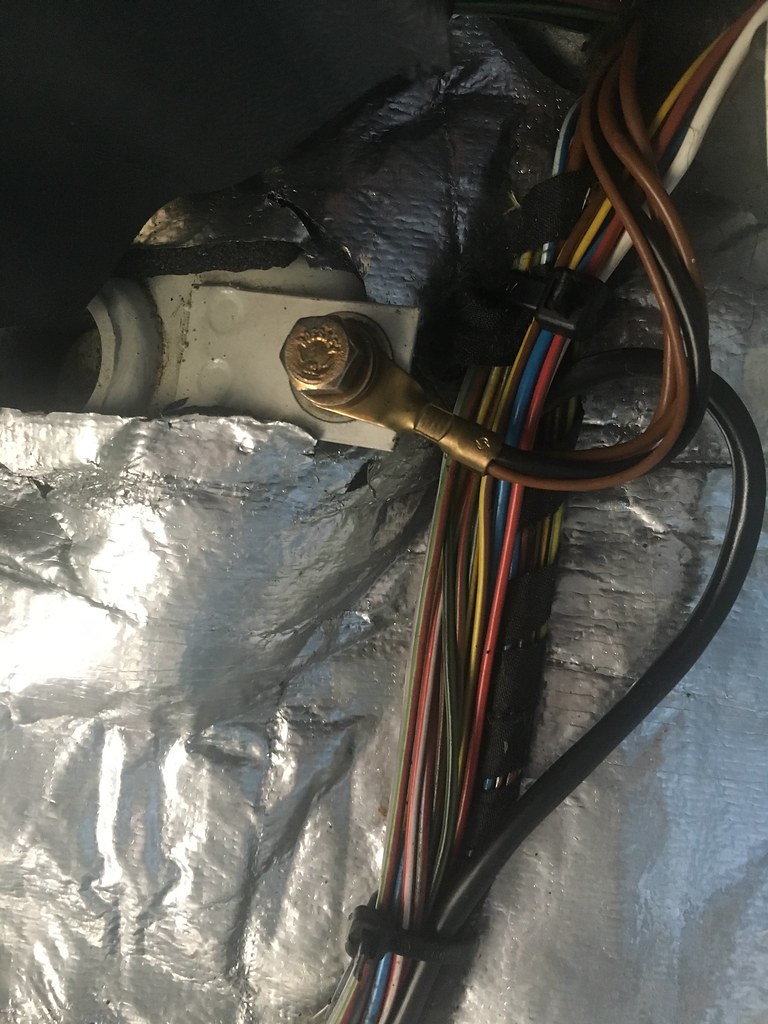
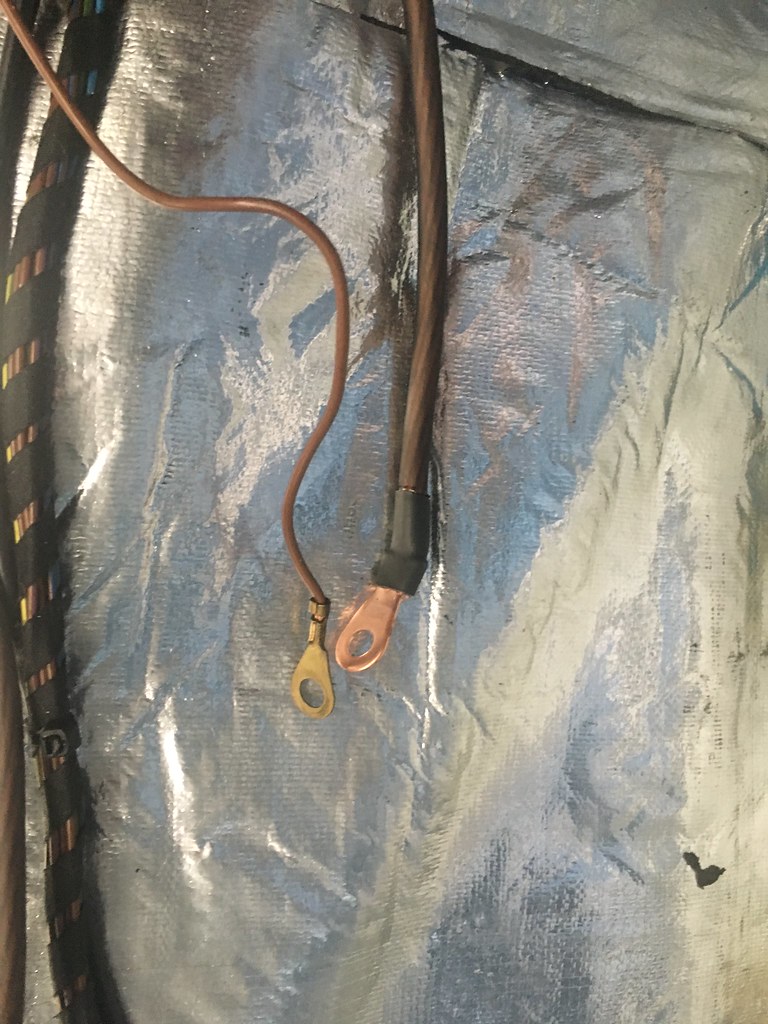
New 8 AWG compared to the original amp ground.
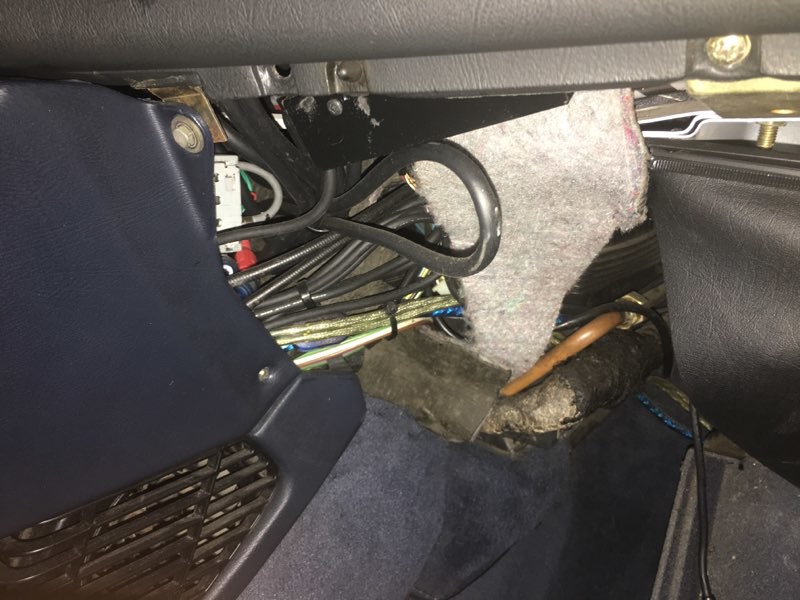
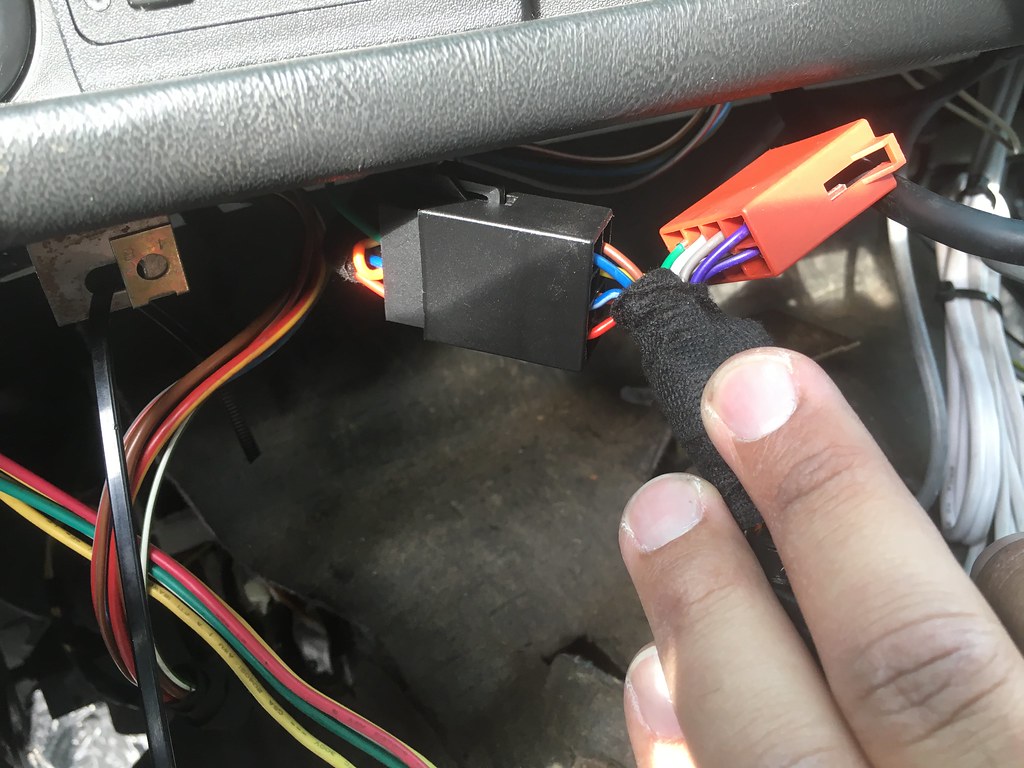
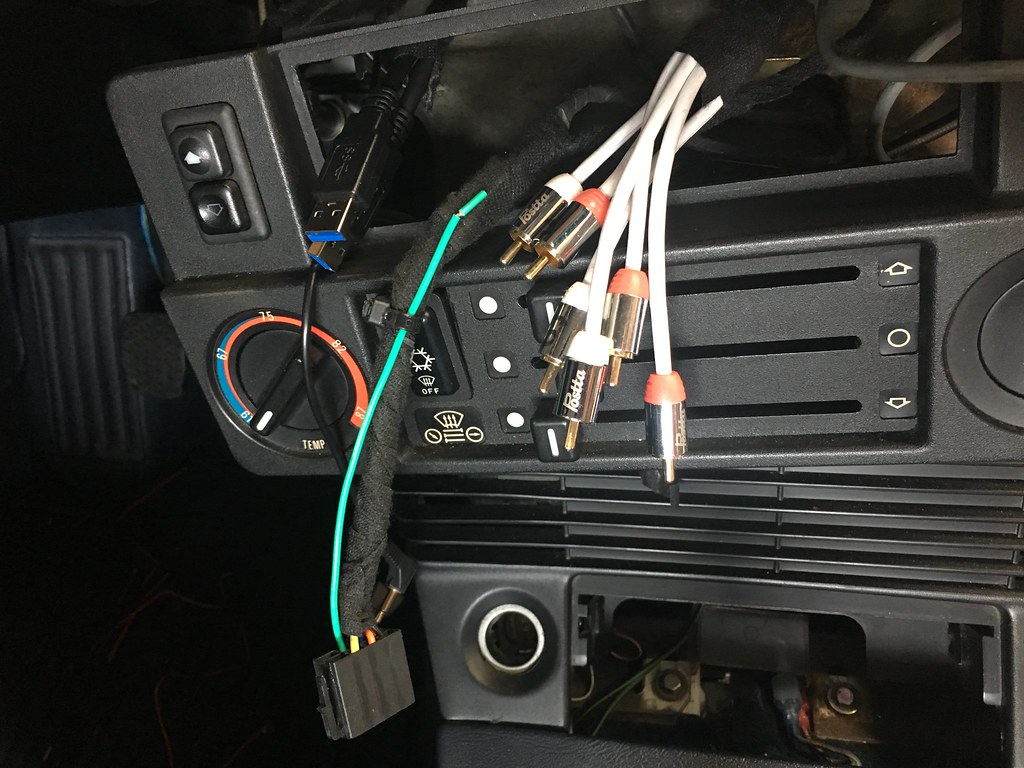
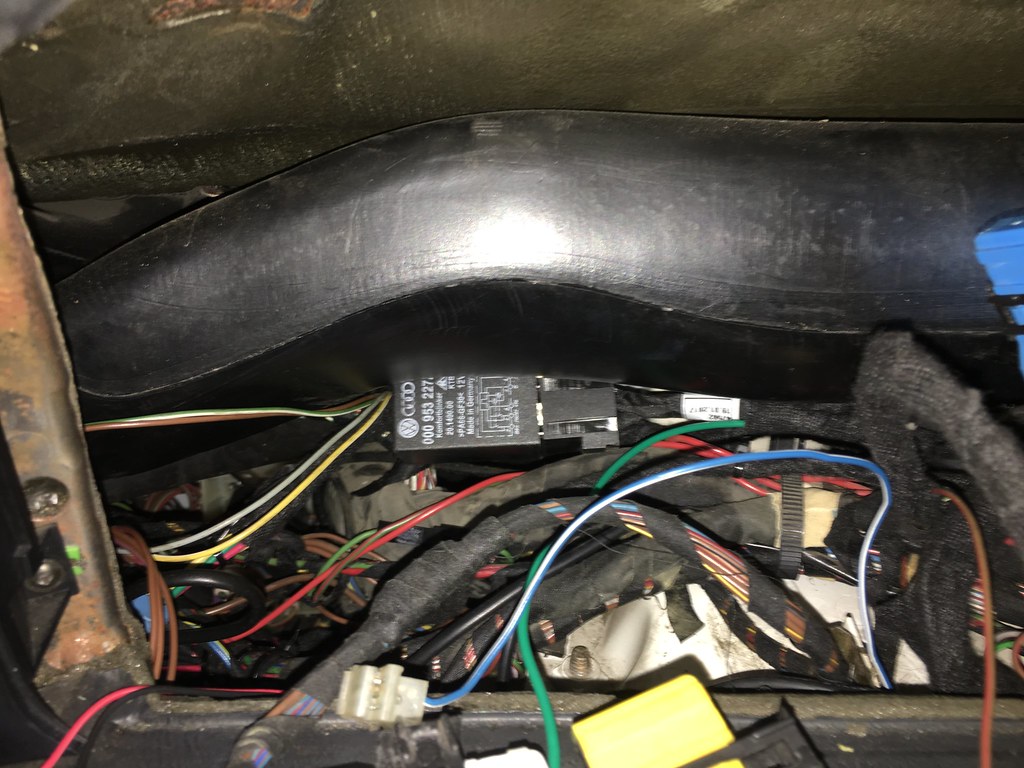
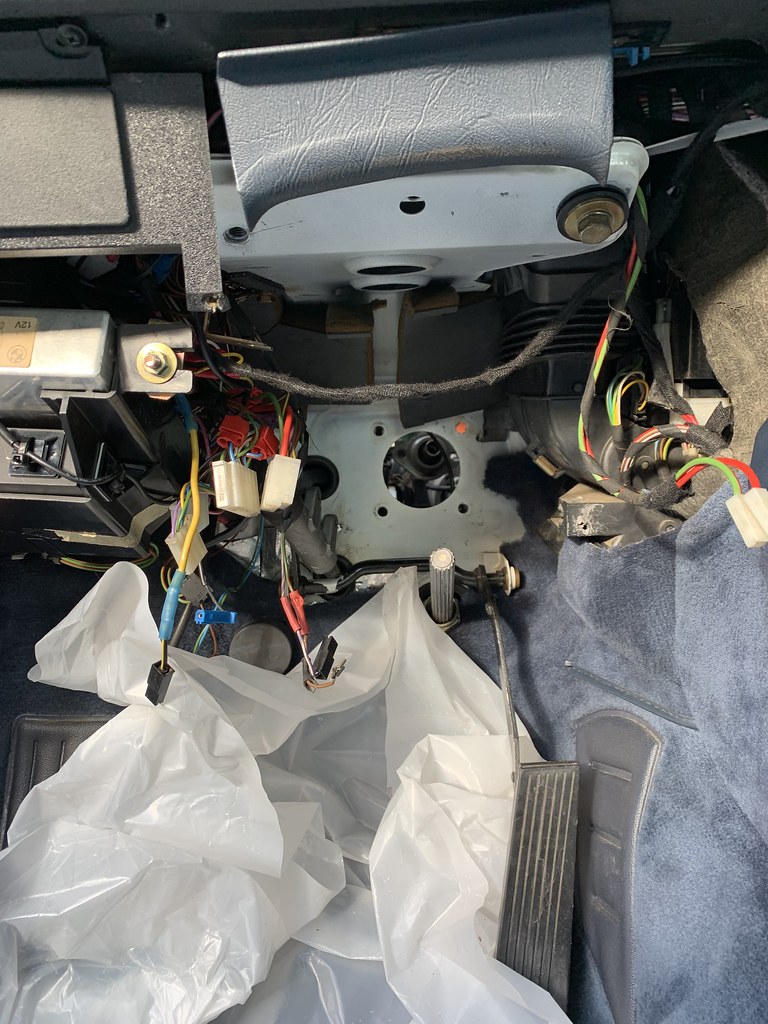
Now it was time to do the real heavy lifting and pull the carpet. I started by disassembling the driver side kick panel, glove box, and center console. In doing so, I saw the rats nest of after market stereo wiring and RCAs. There is really a lot of space if the wiring is done more efficiently.
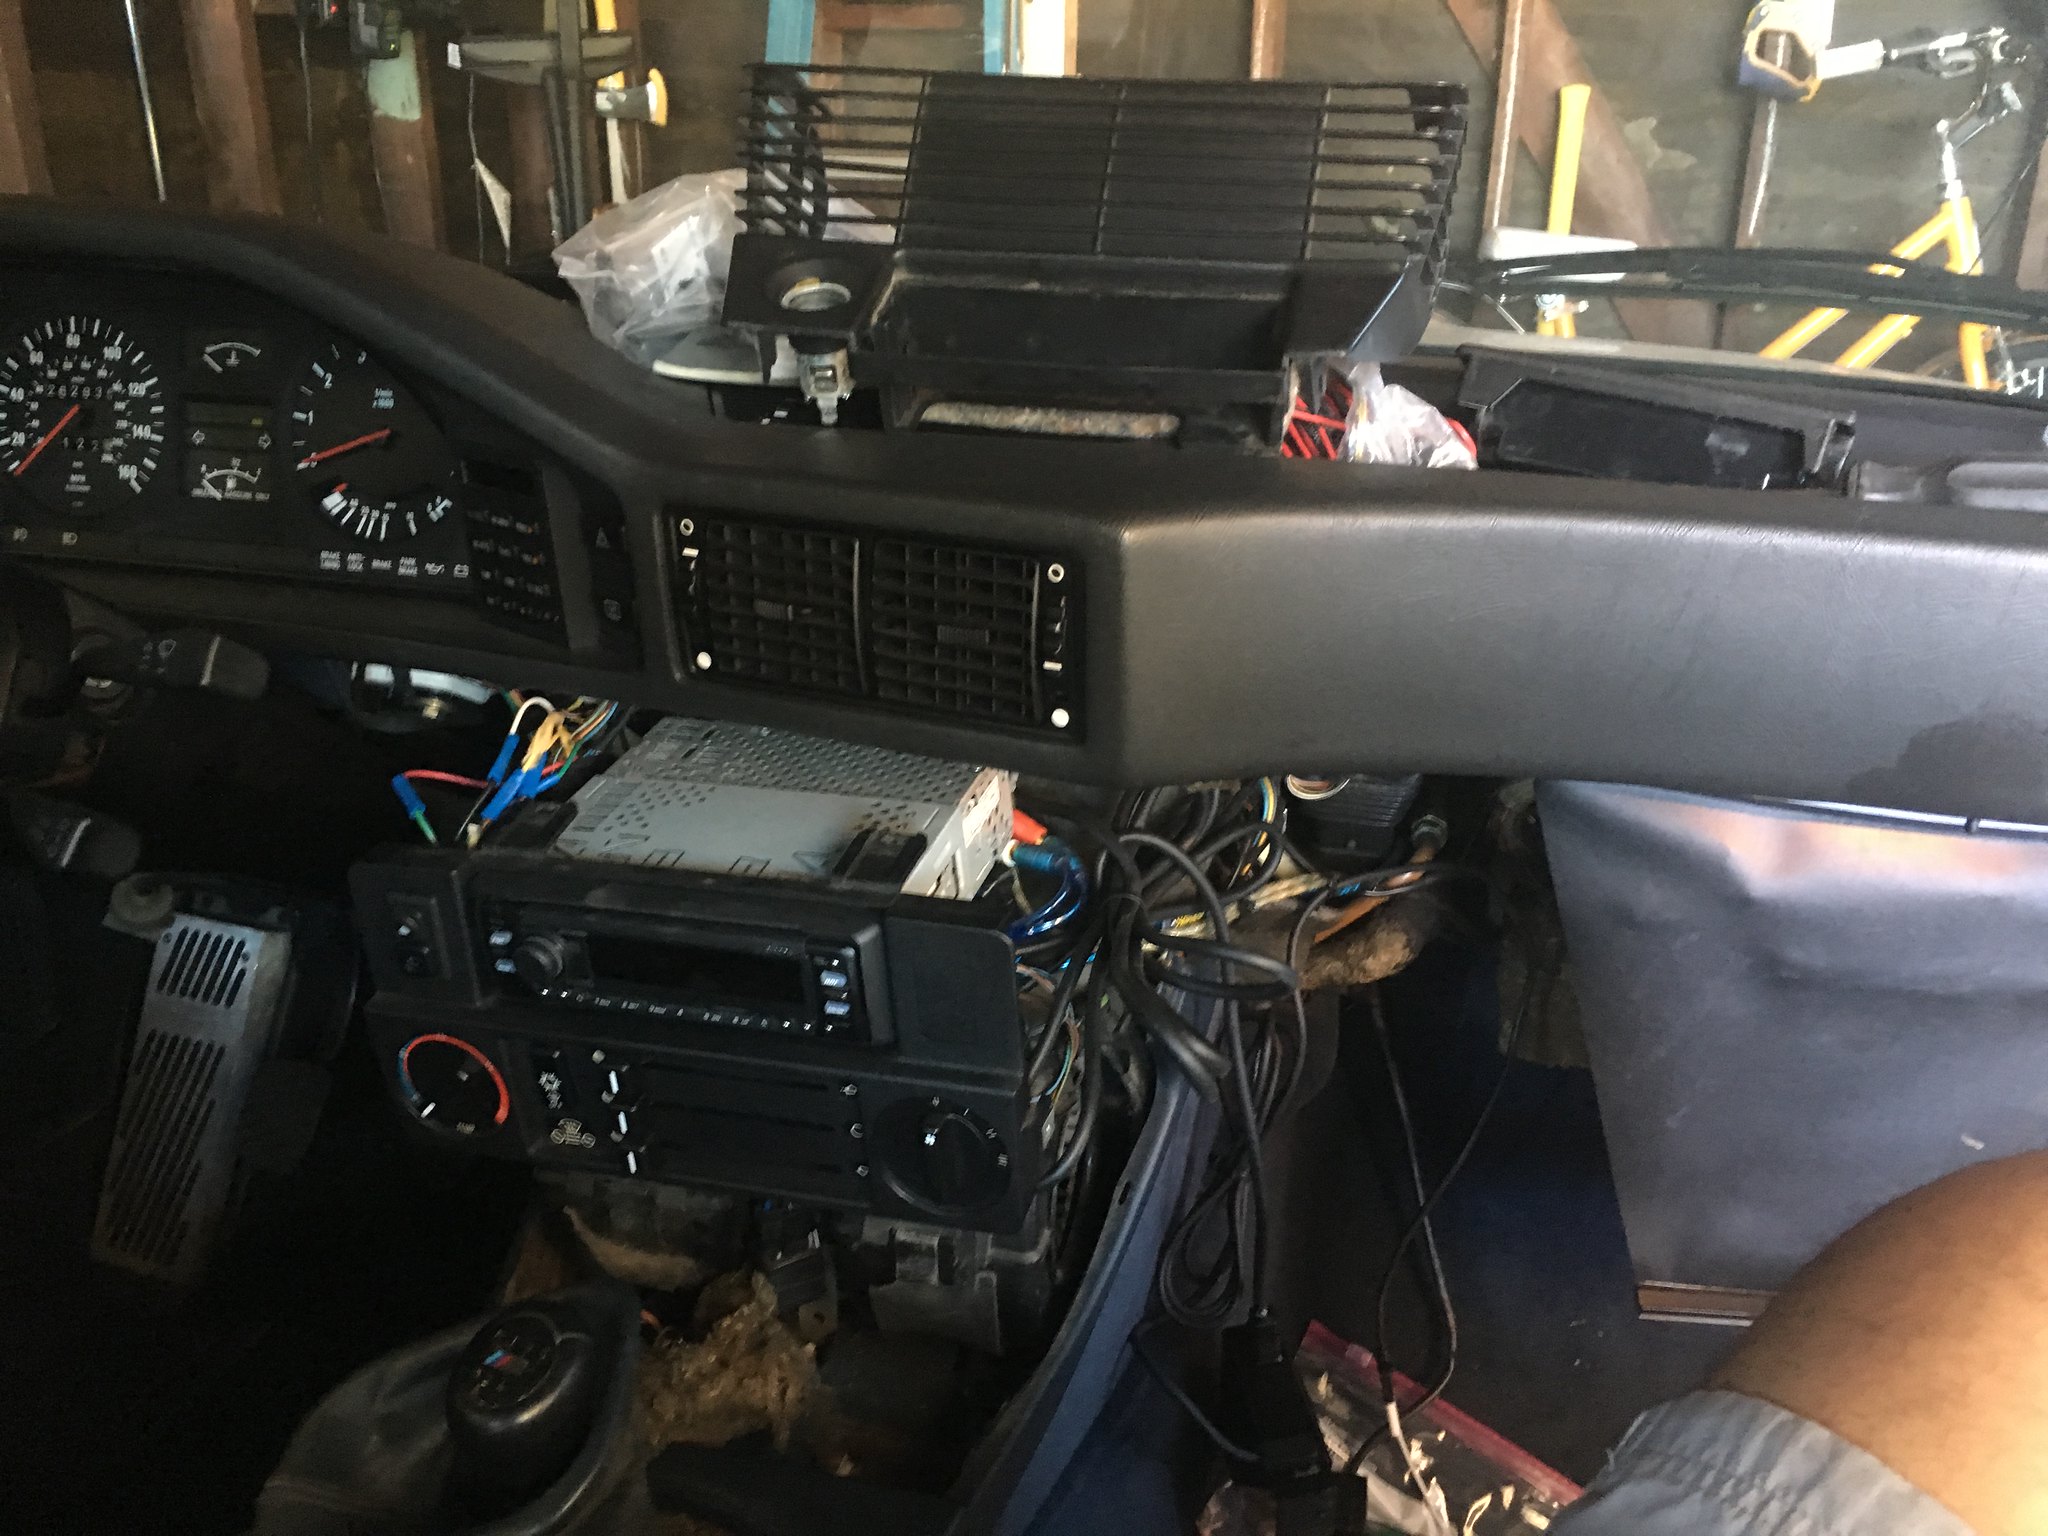
Then everything started to come out. A lot of cutting and pulling was required to pull the carpet under the HVAC box and between the firewall, but I got it out.
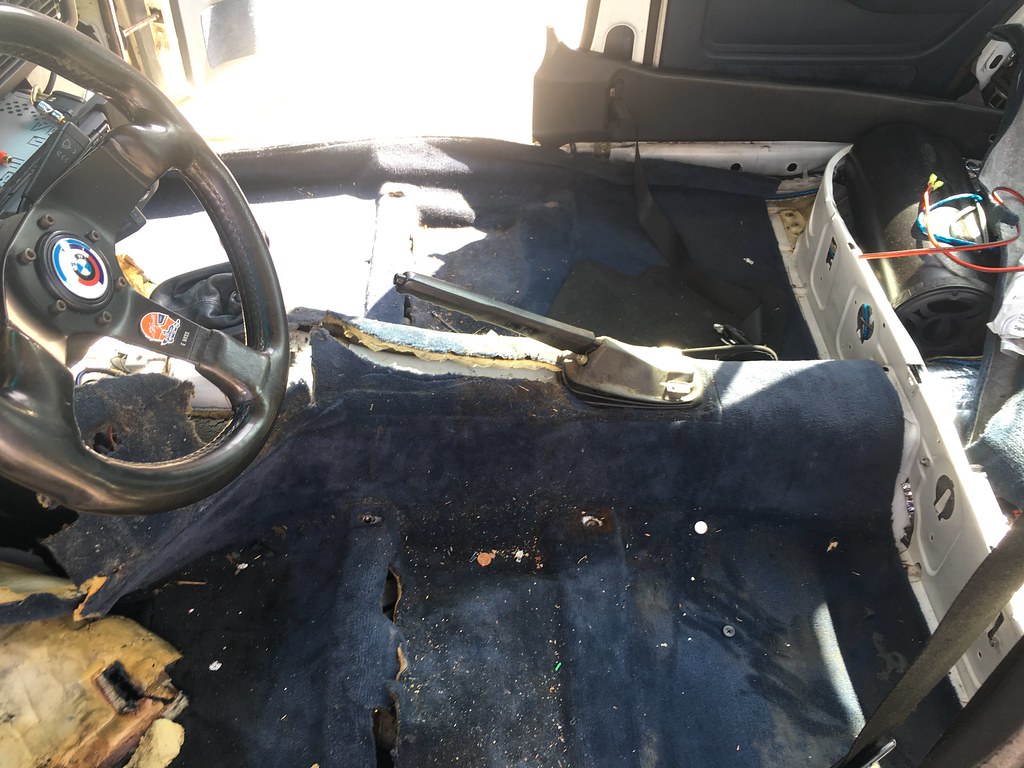
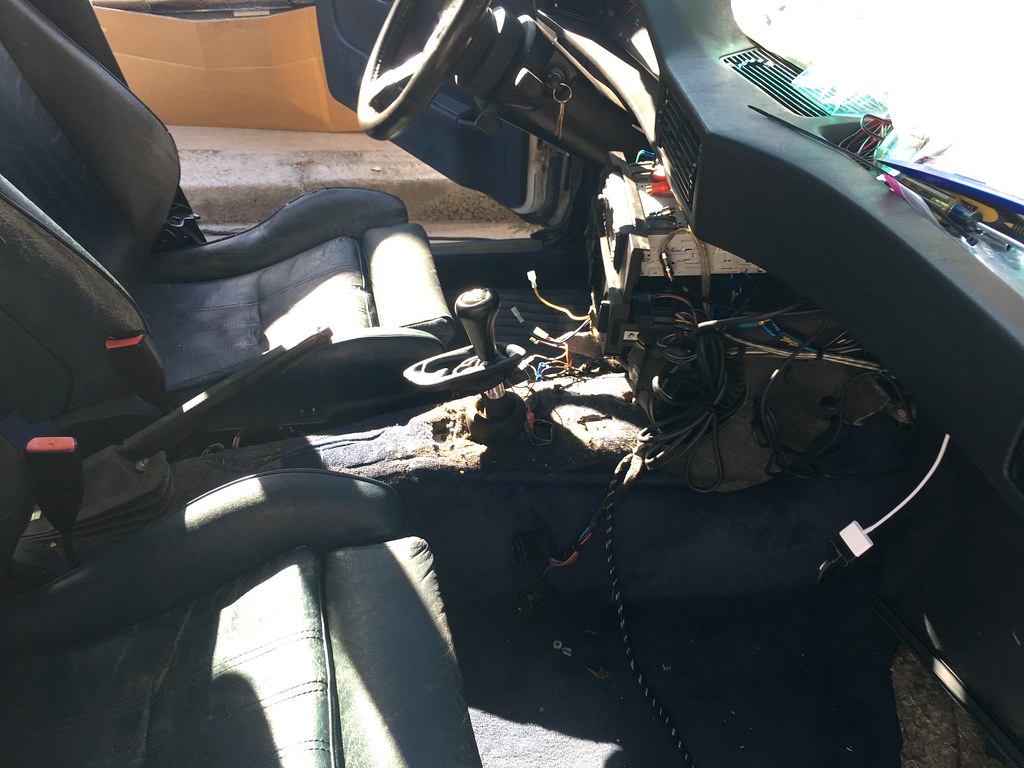
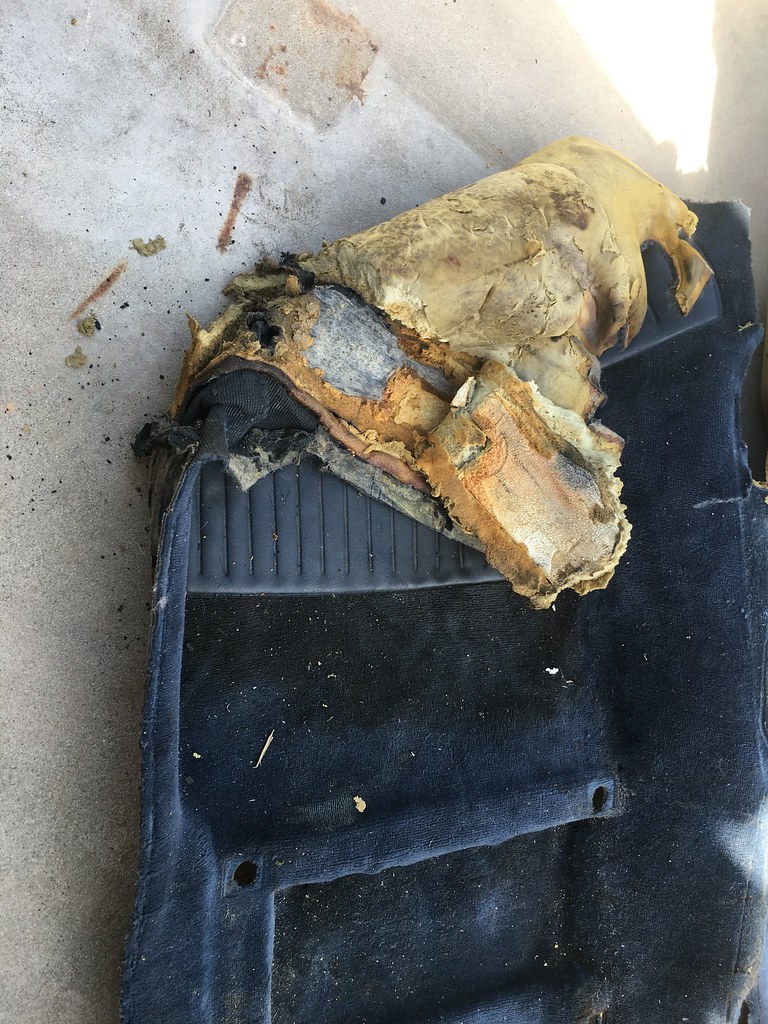
As you can see, the original carpet was pretty well damaged. All the brake fluid had eaten up the foam, as well as the material for the dead pedal.
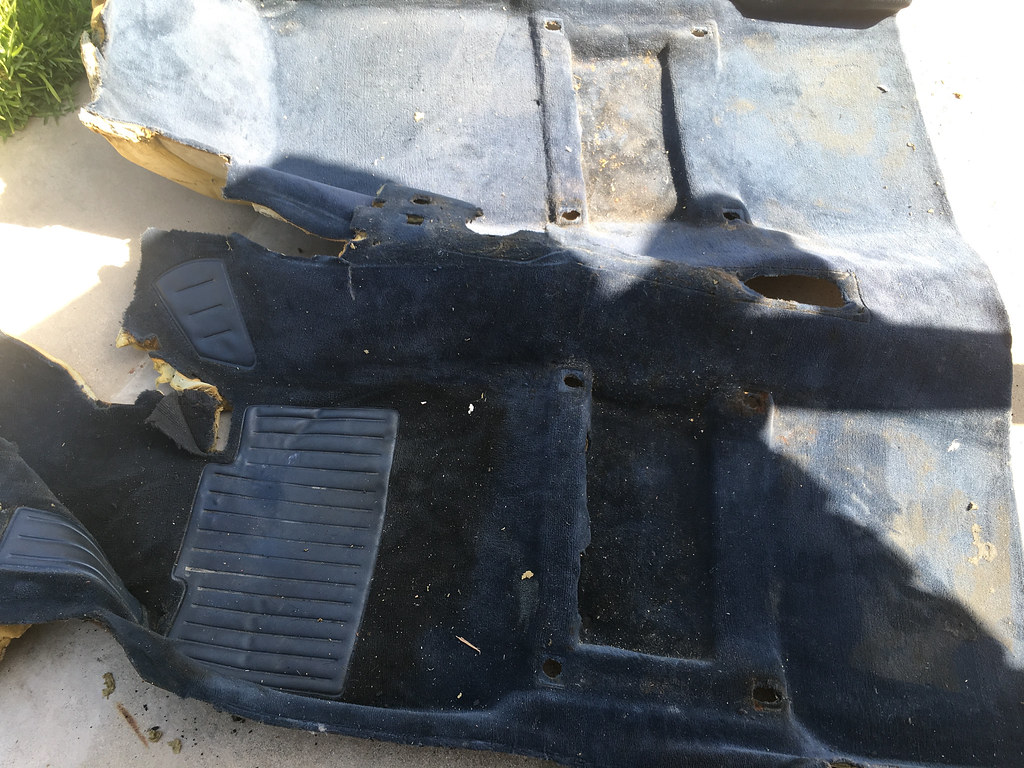
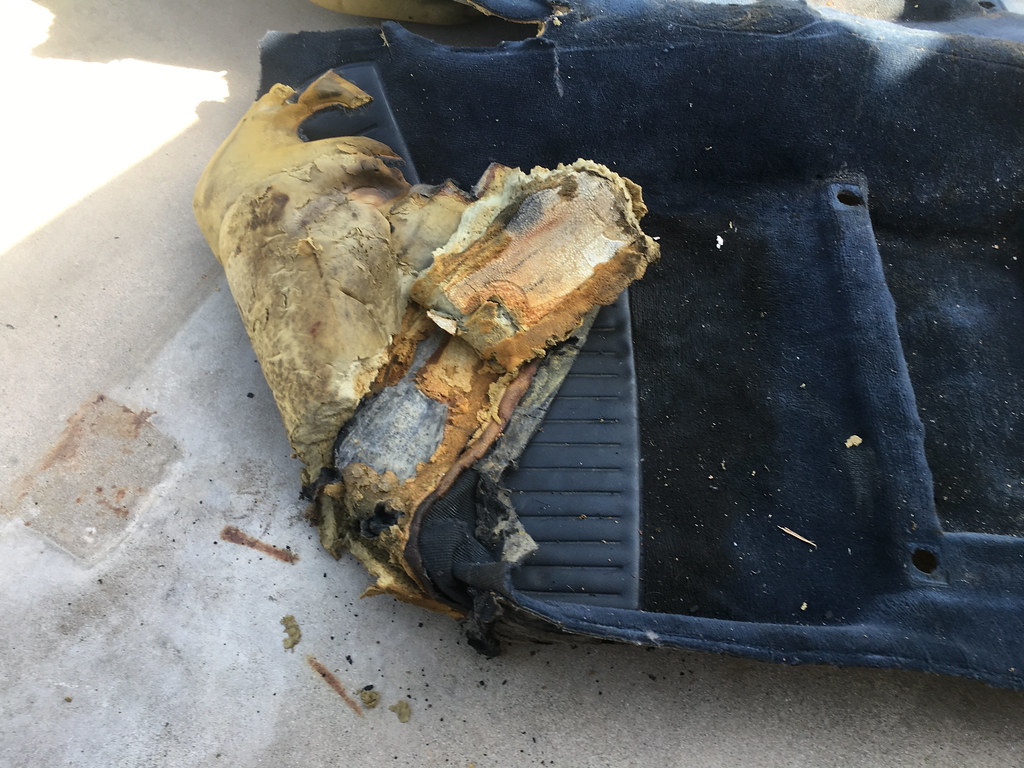
Otherwise, the sheet metal underneath the carpet was in great shape. I was really worried there’d be a massive hole or something. Even where the brake fluid pooled, there was no real damage to the sheet metal. Only the paint and tar material were unsettled.
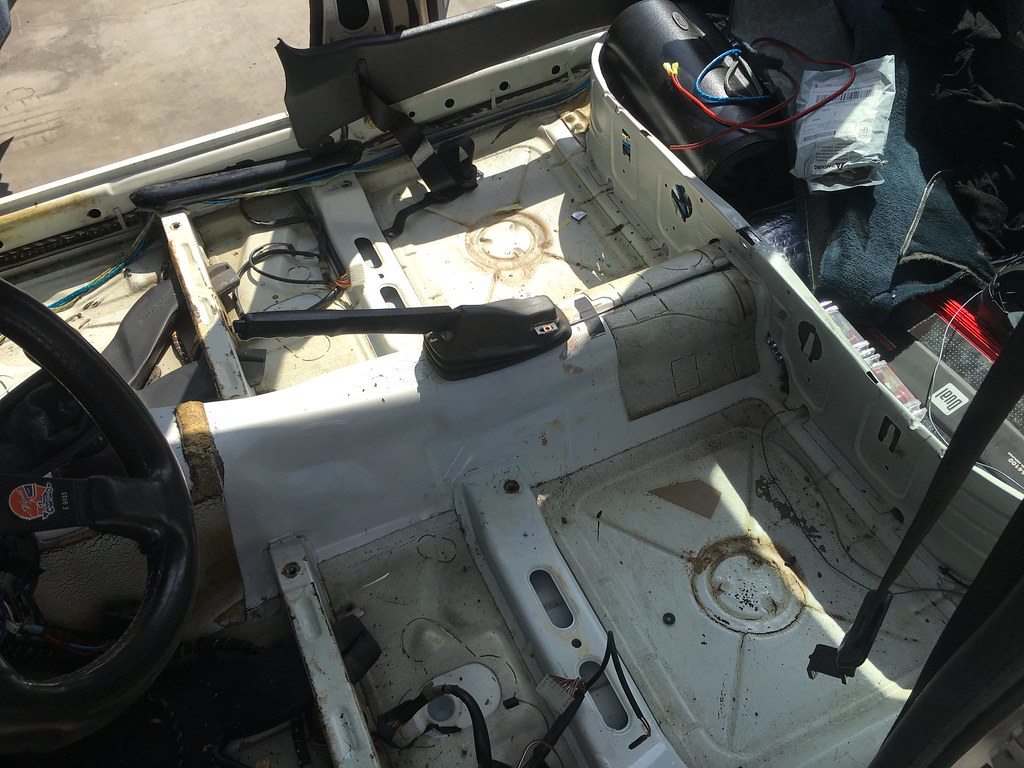
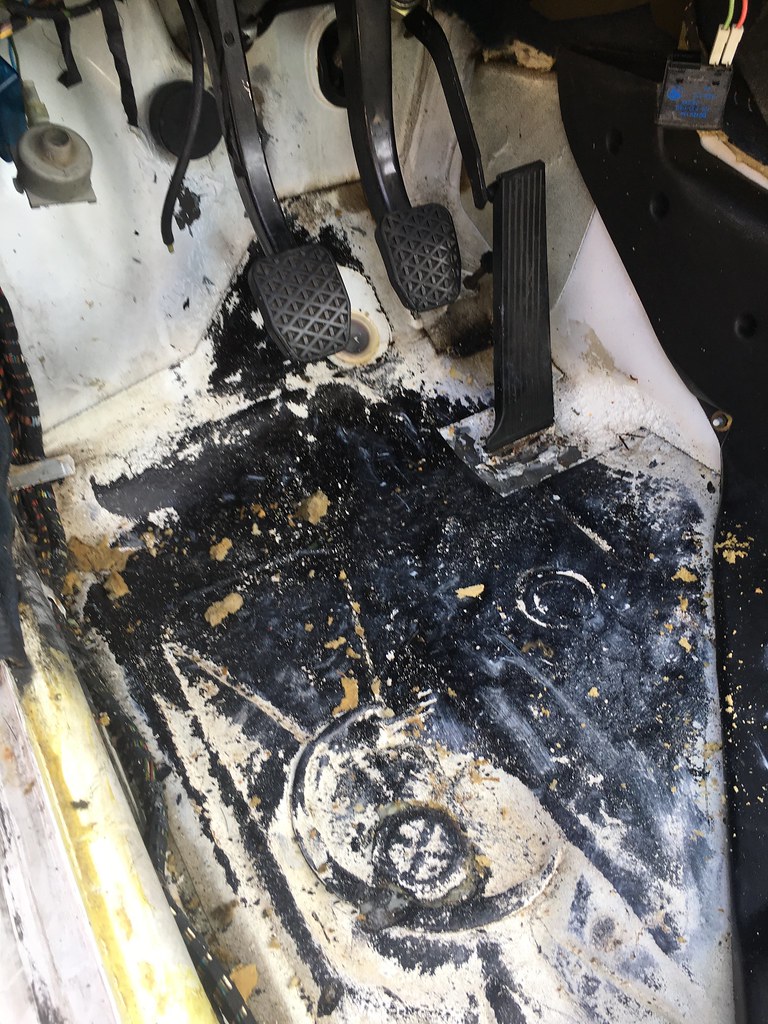
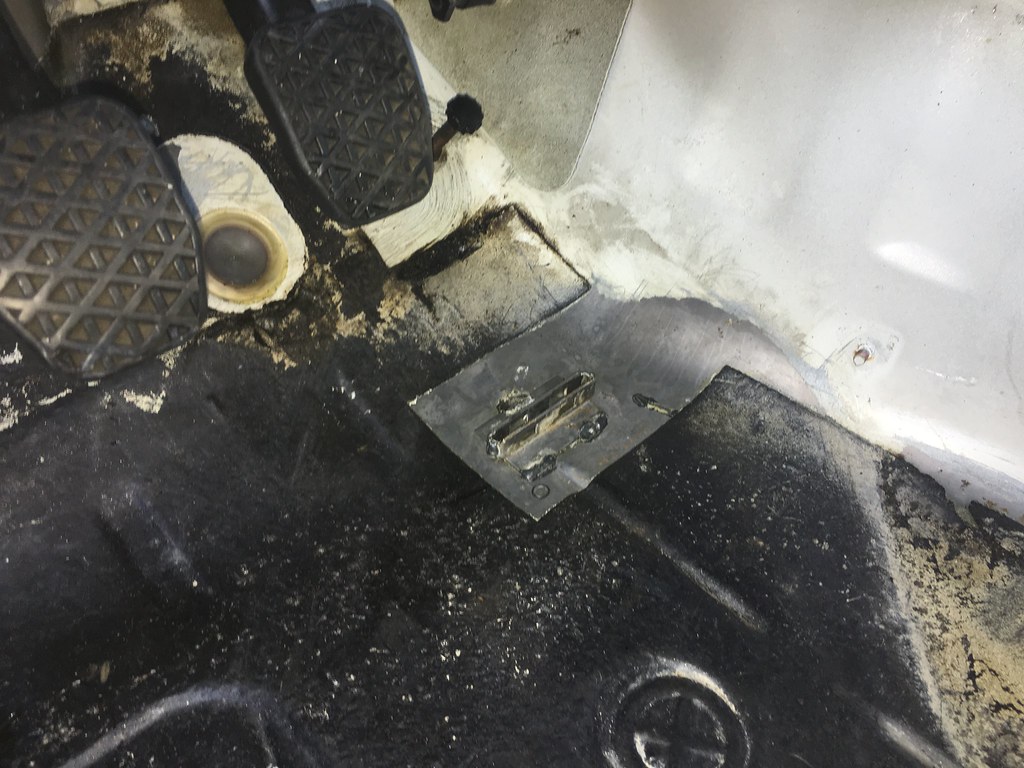
I cleaned up the flooring, removed the floor vent ducting, and applied some paint by hand on the driver side. I figured since I’d place the sound material above on top, it didn’t matter how pretty the paint was.
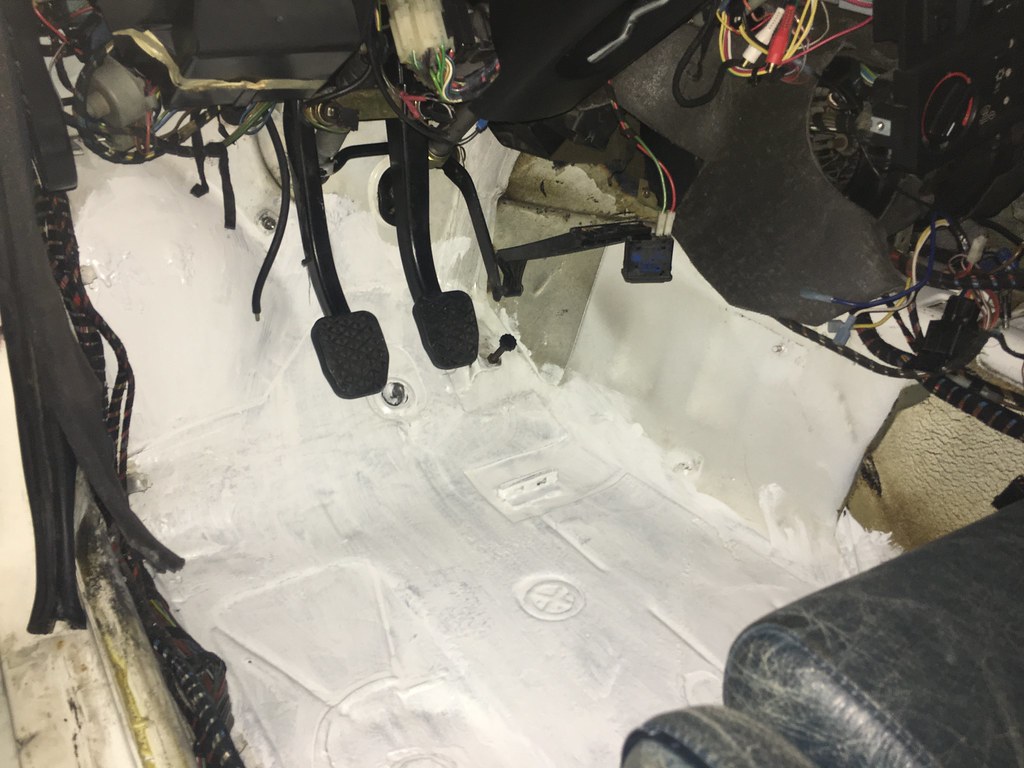
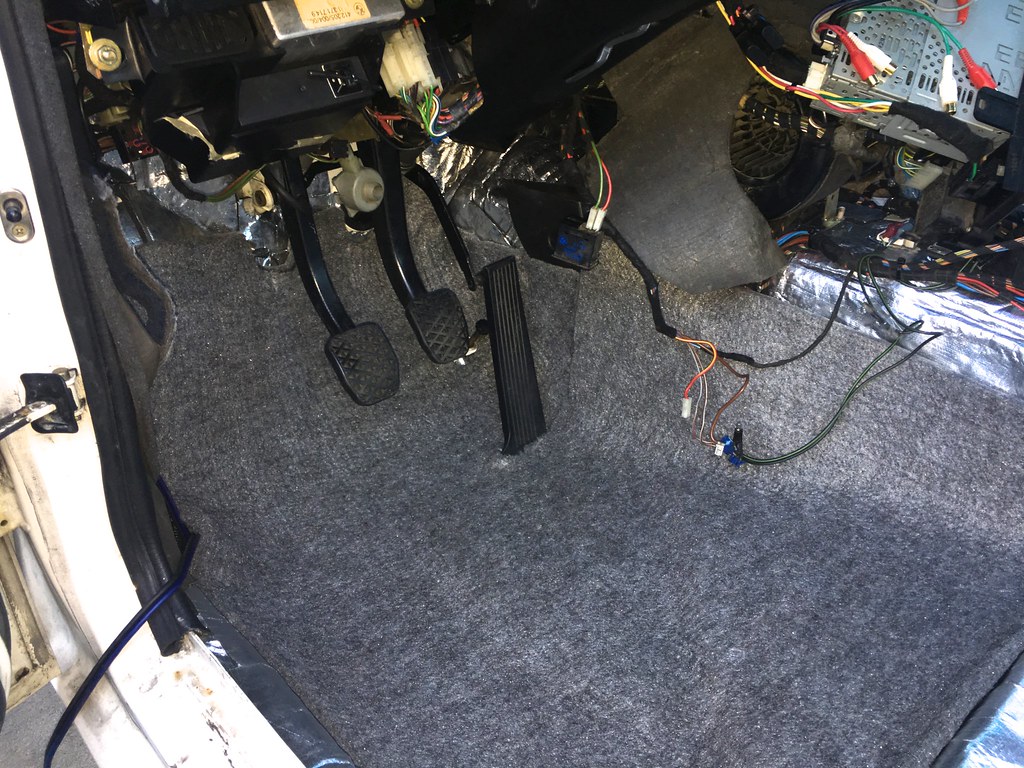
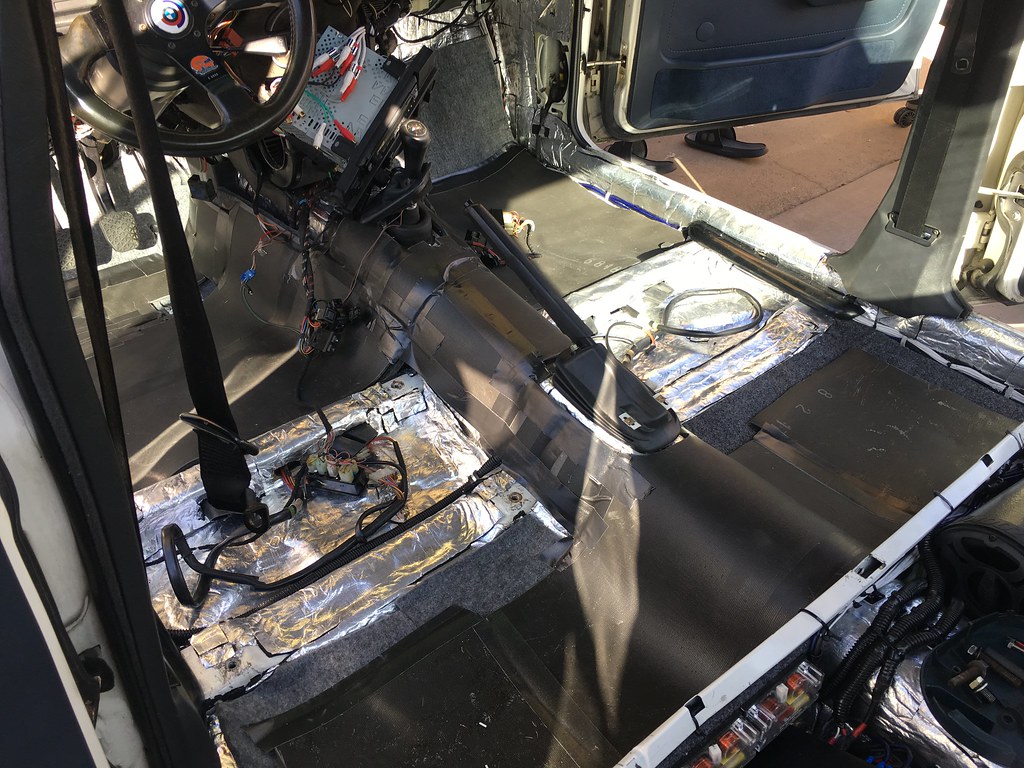
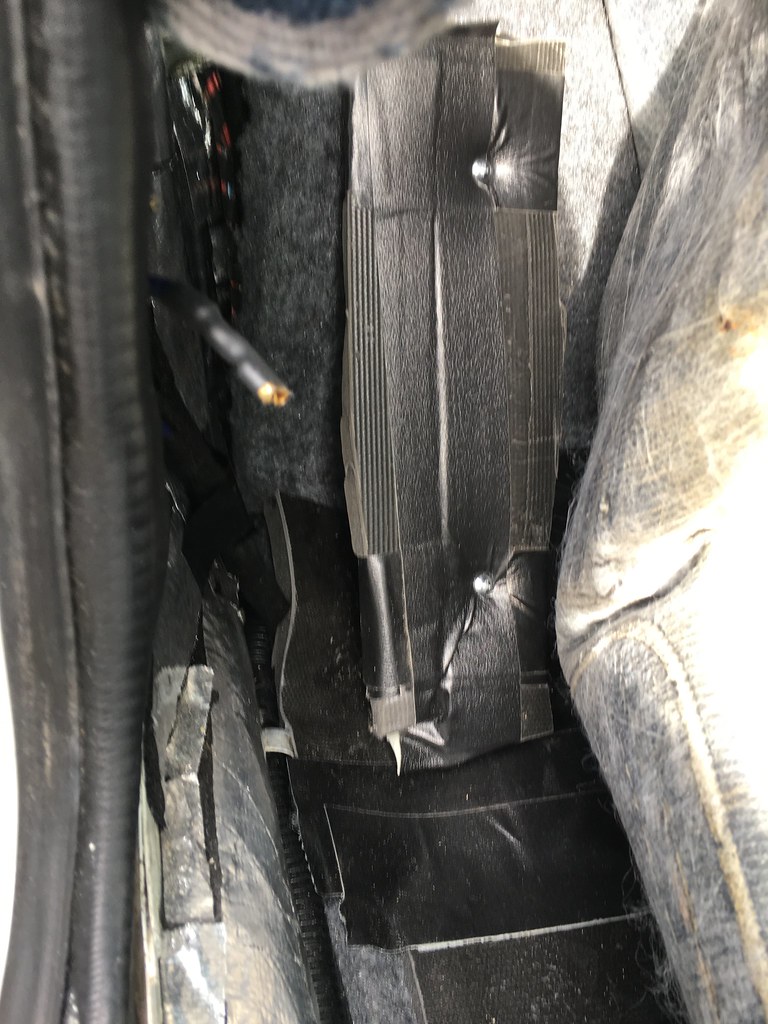
I then laid down the sound deadening material extensively.
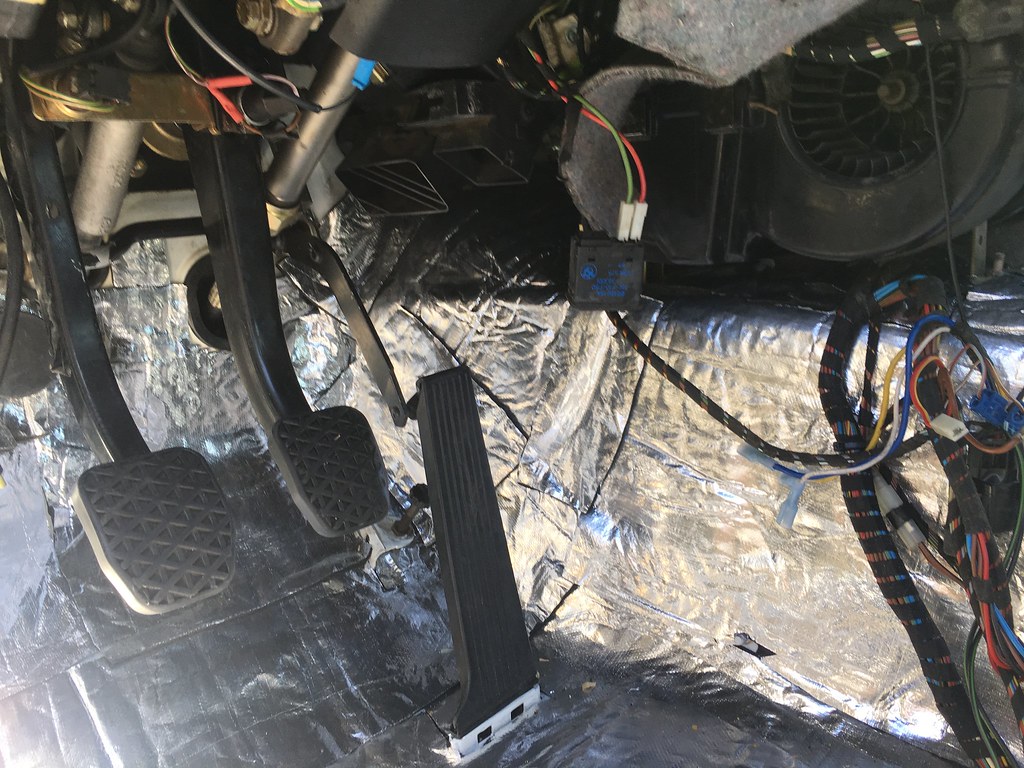
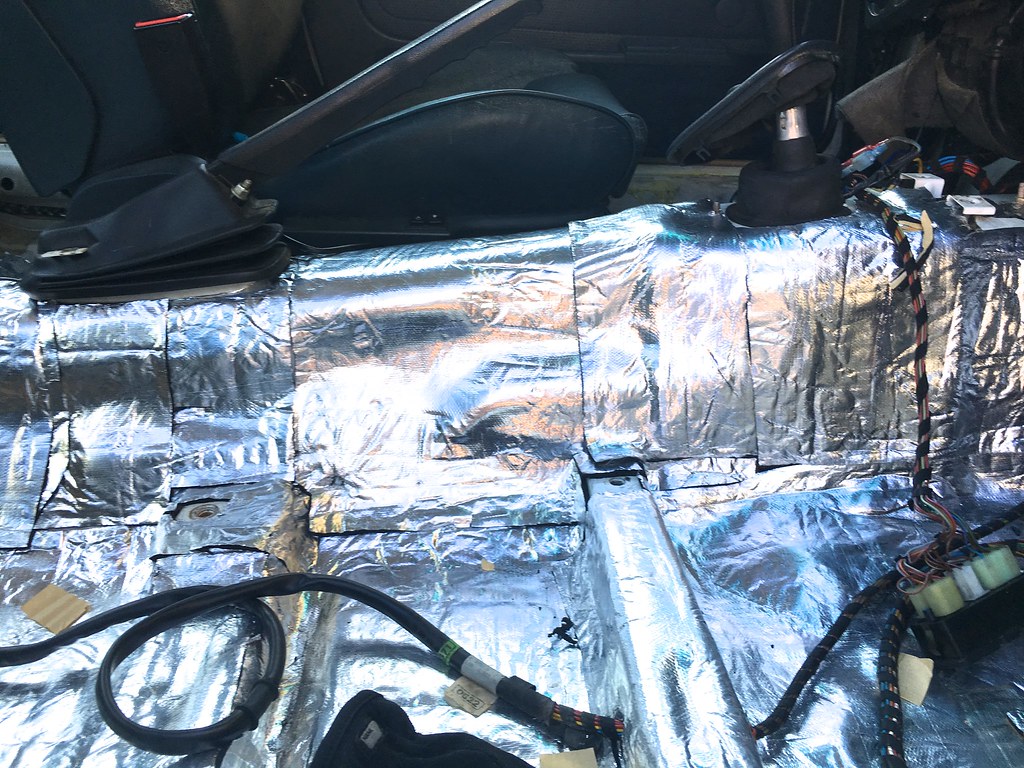
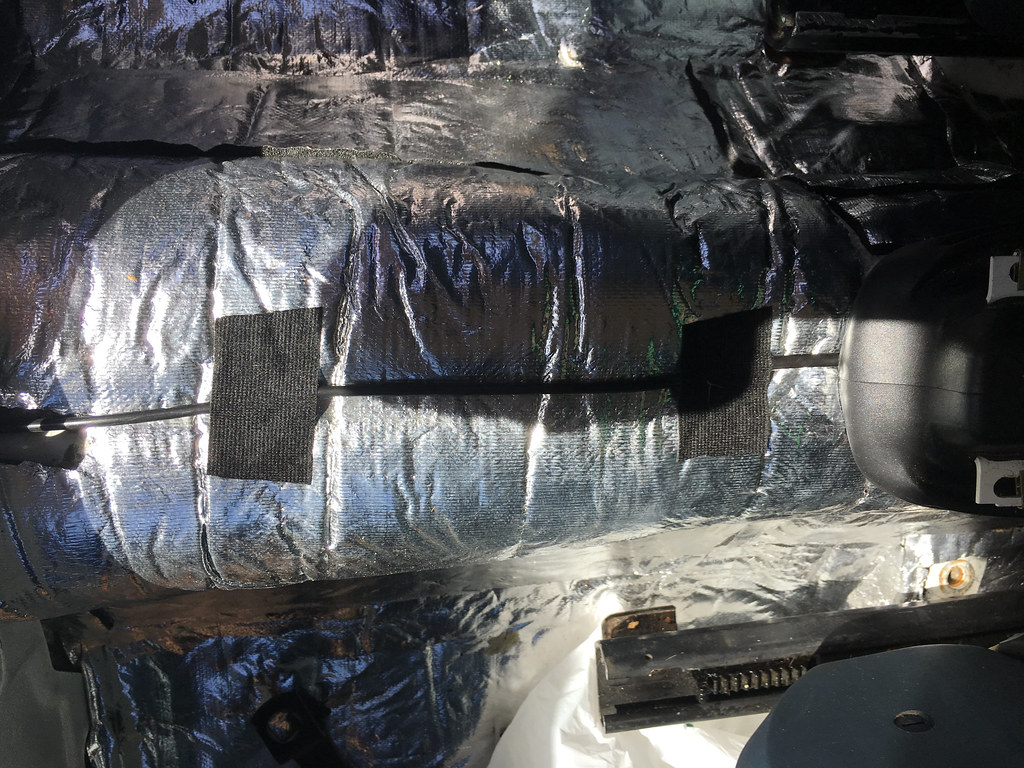
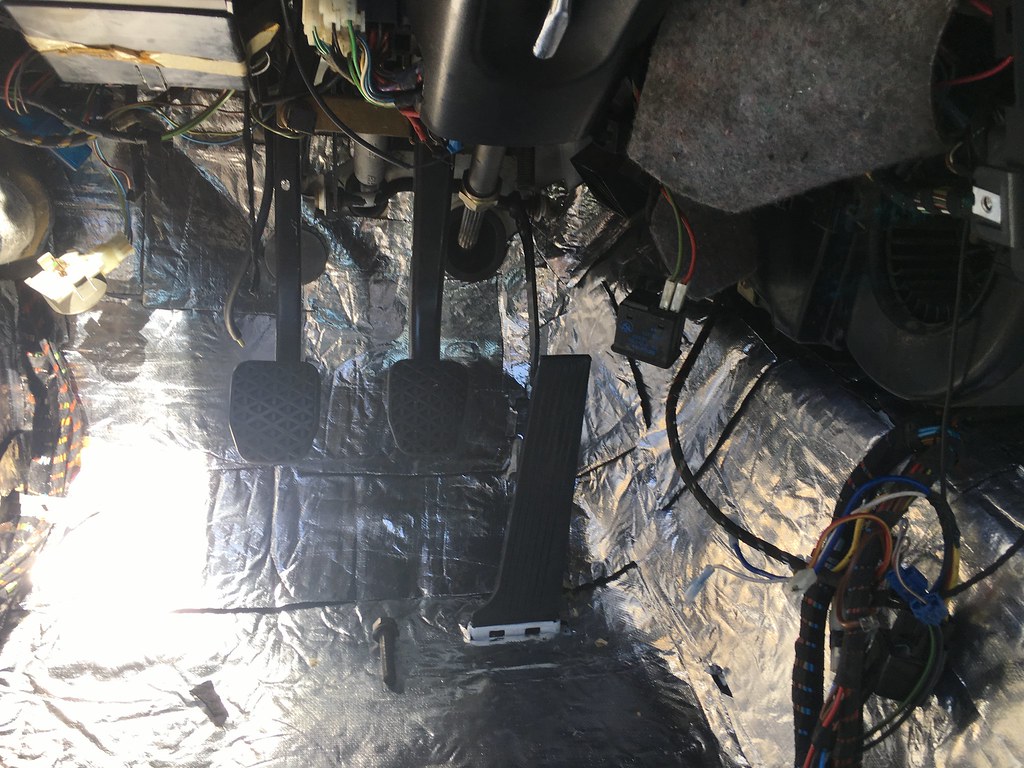
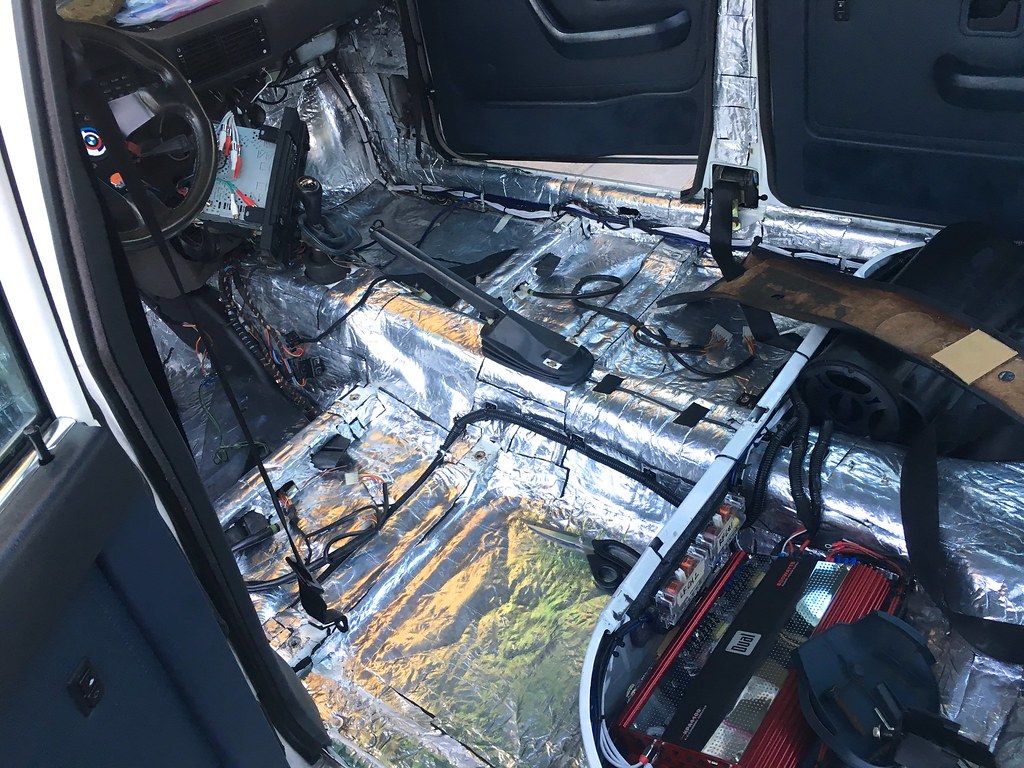
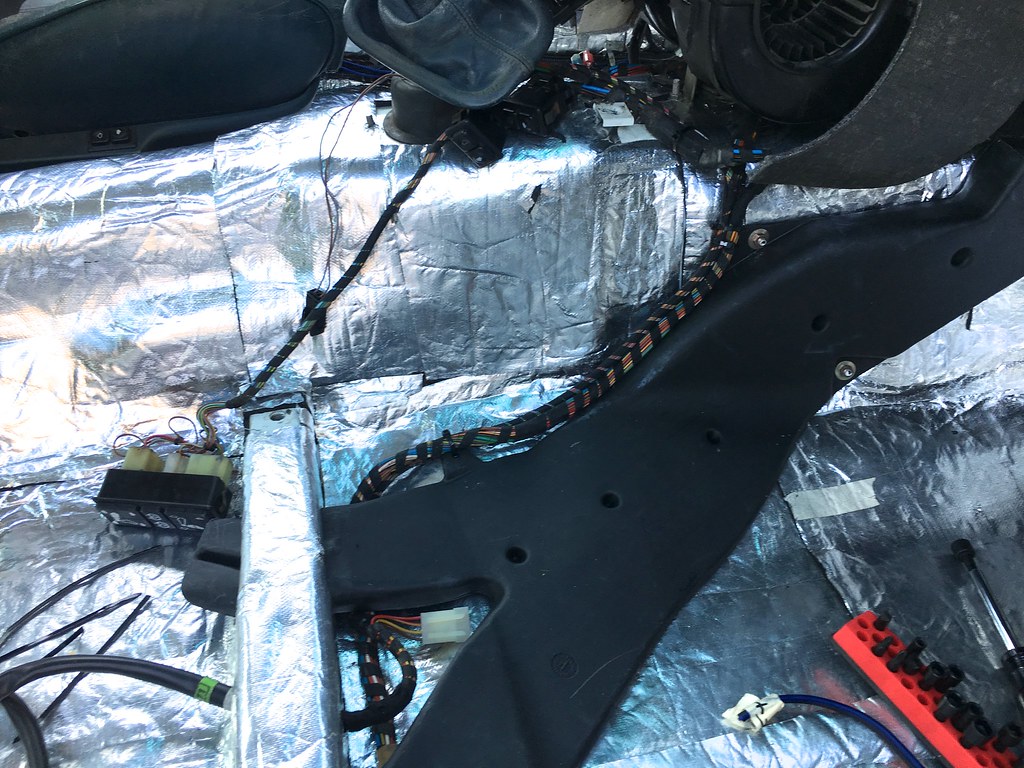
I also did the doors.
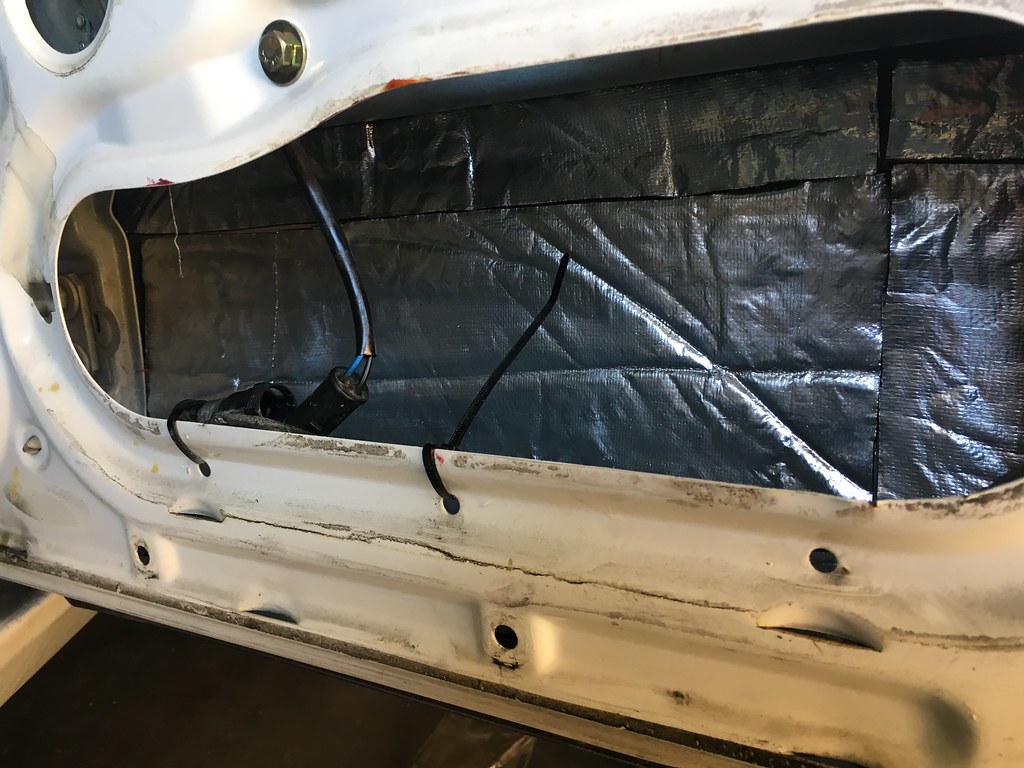
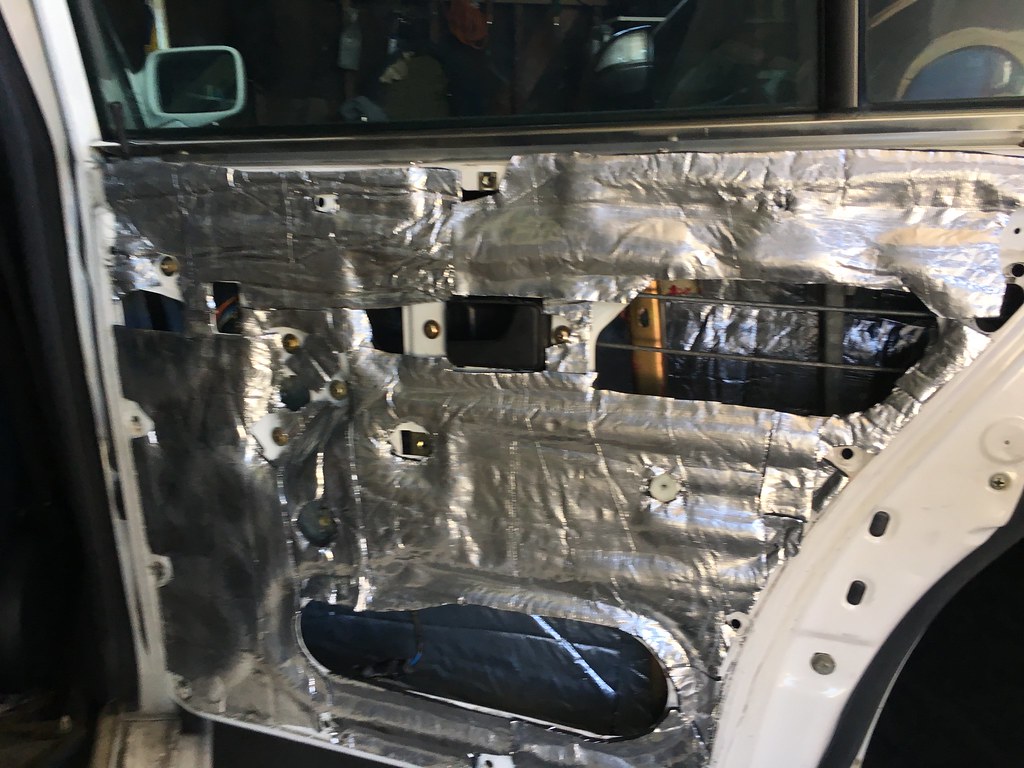
I added new water barriers to all the doors later.
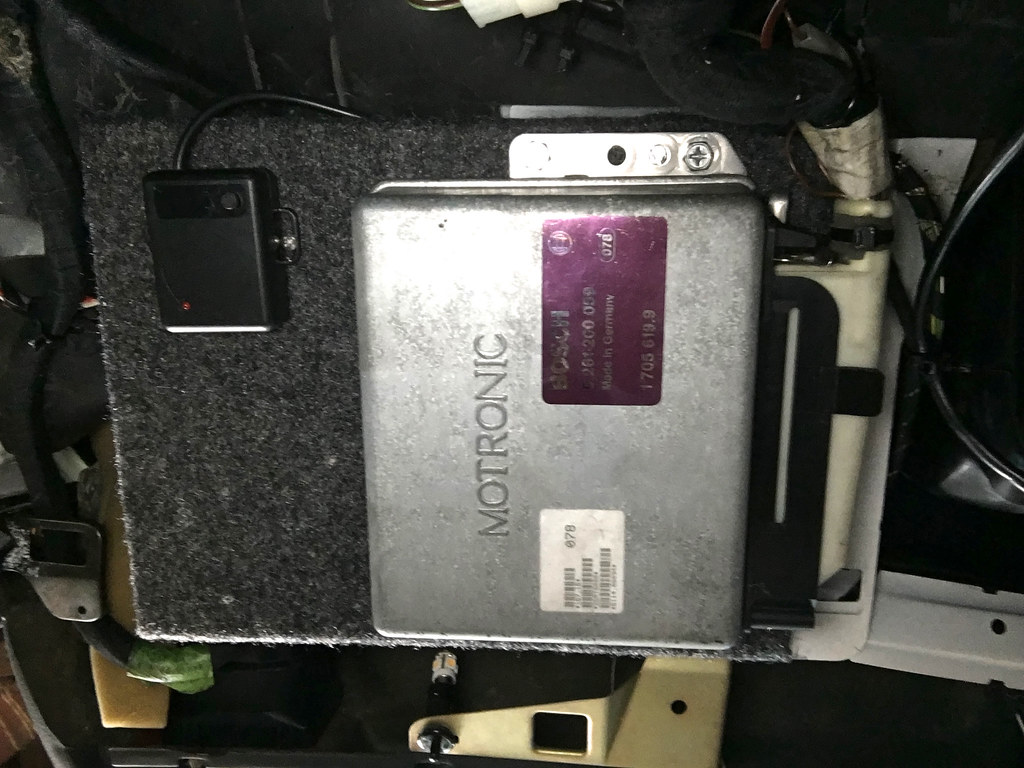
My ECU was precariously hanging under the dash by a single screw. Not really sure how that happened. I cut another 3/4 inch piece of board so I could secure the ECU as well as the iPod interface.
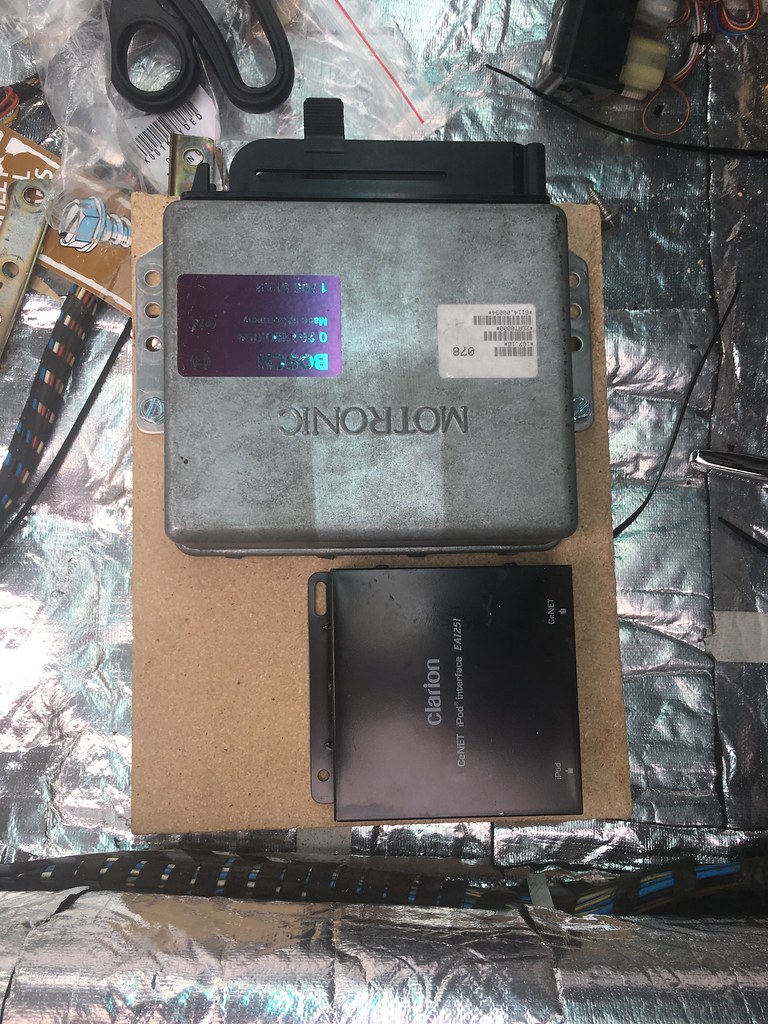
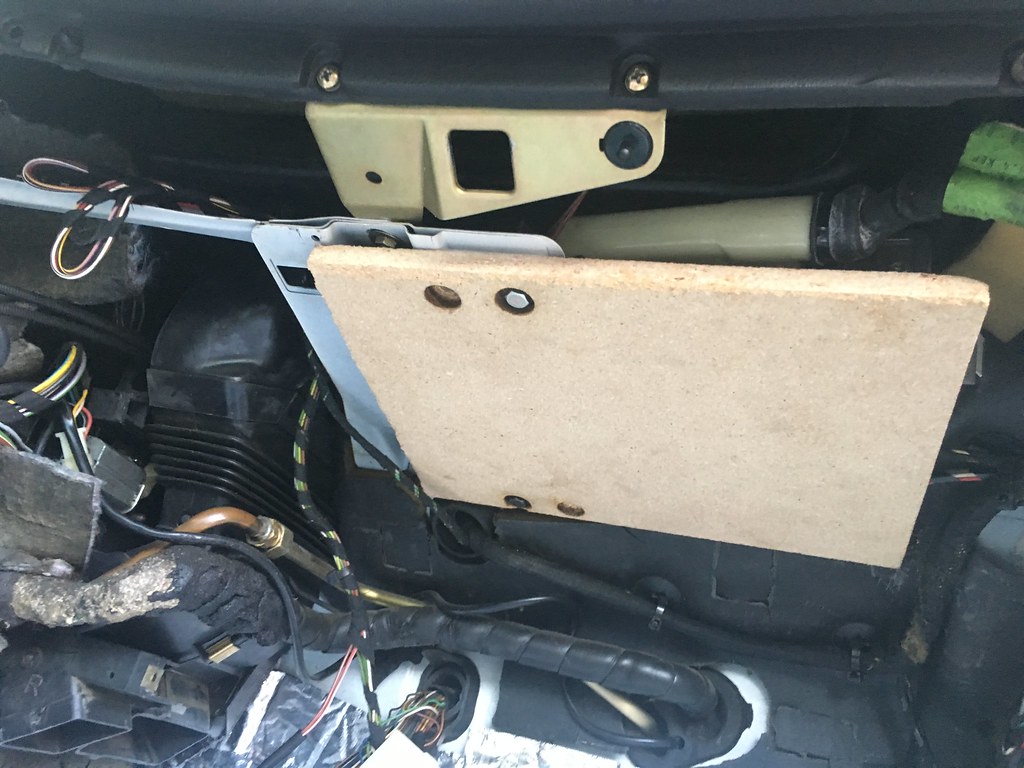
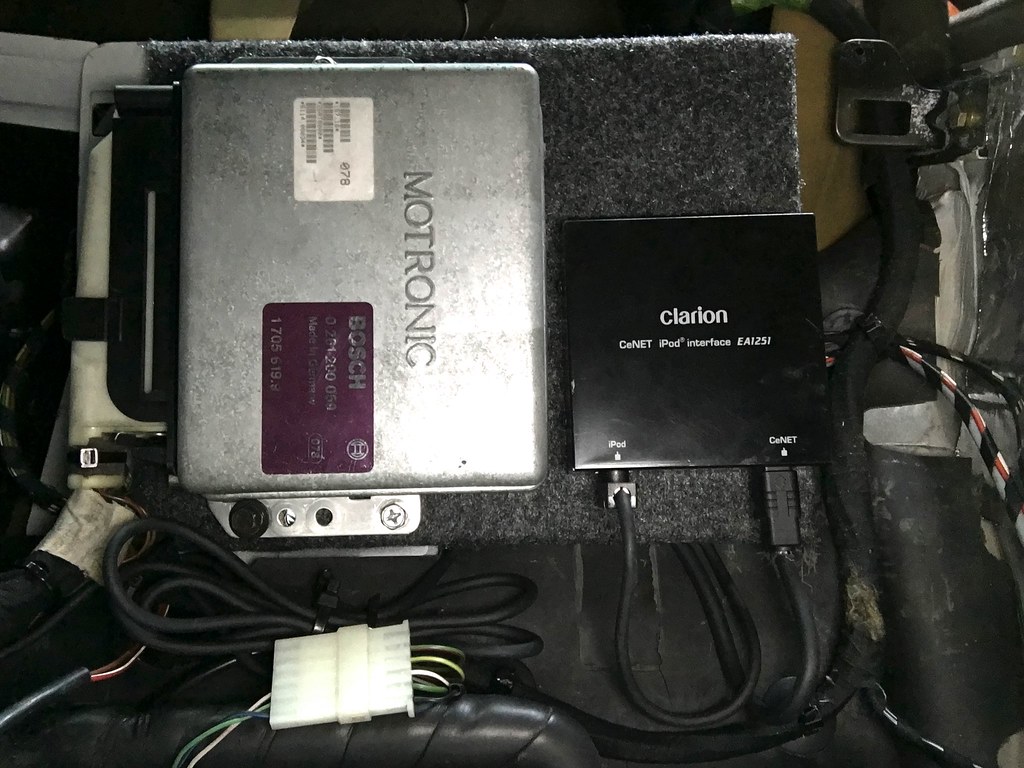
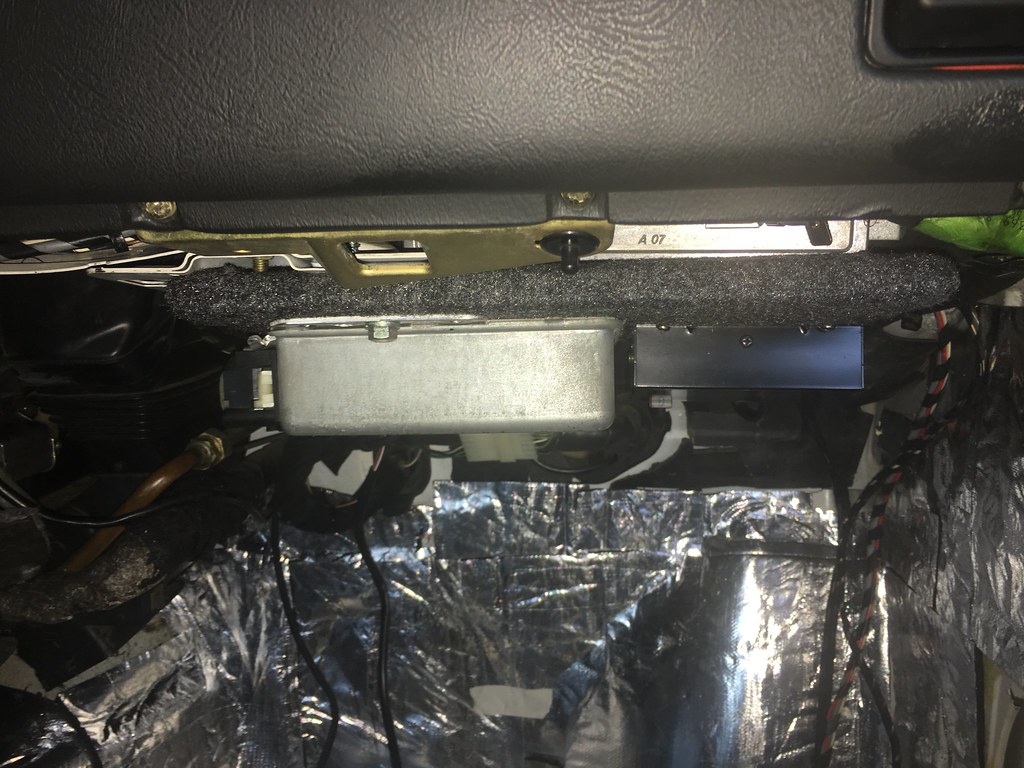
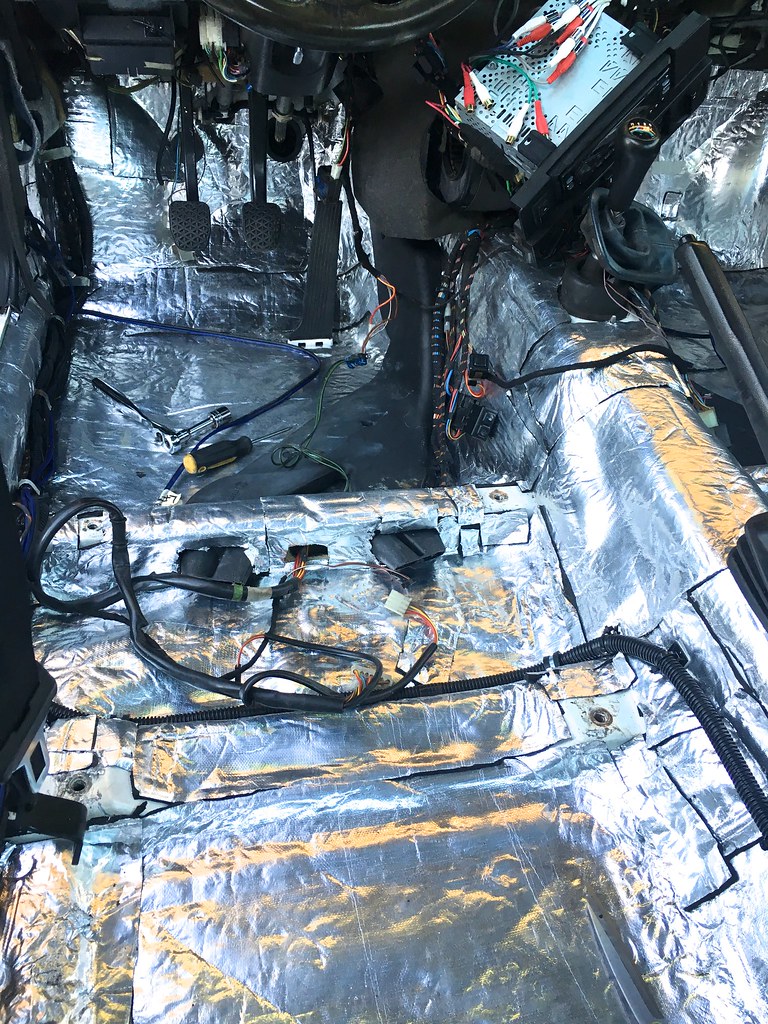
With the interior coming along, I ran the RCAs along the right side of the car. These were 17-foot generic cables off Amazon that received decent reviews.
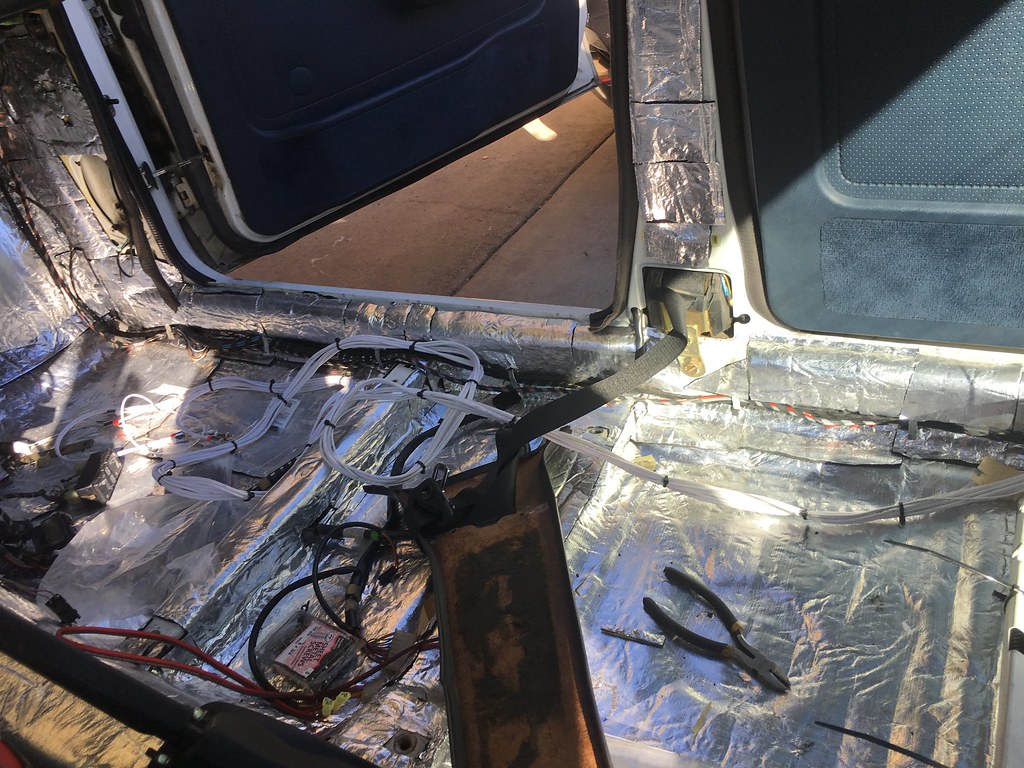
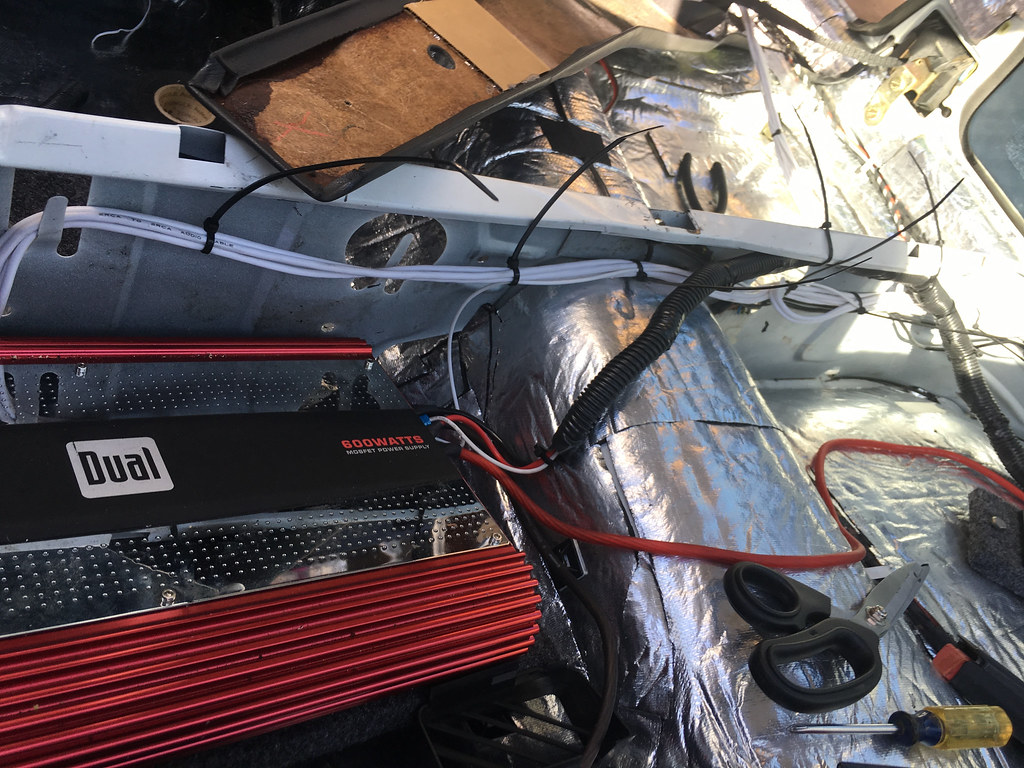
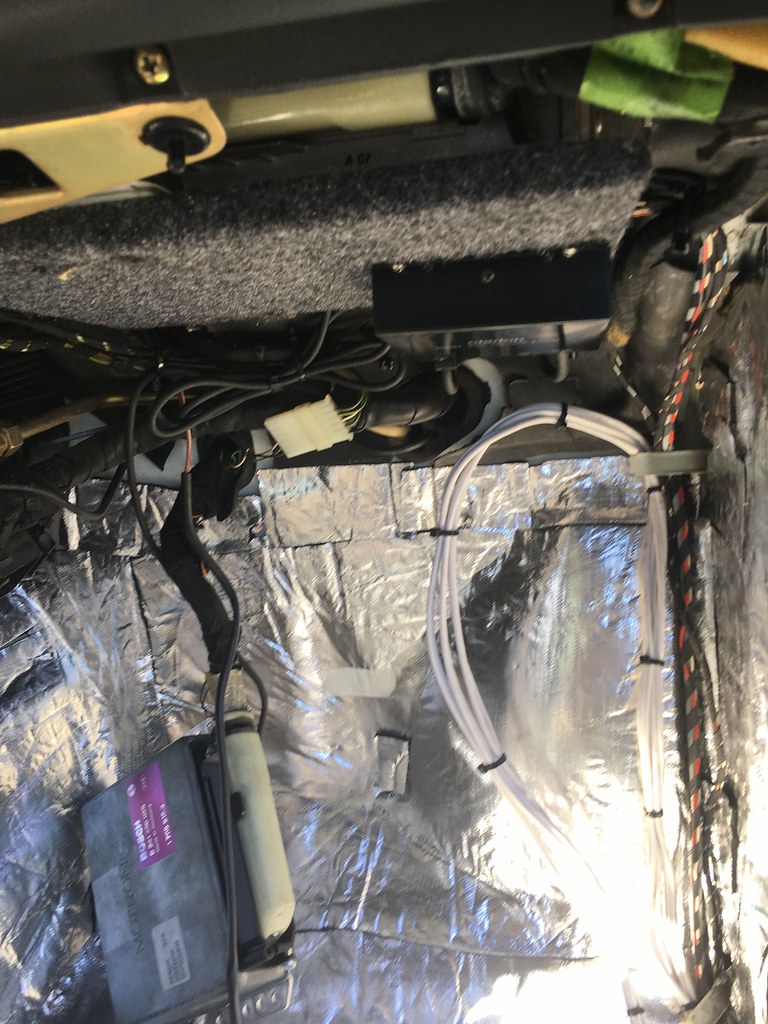
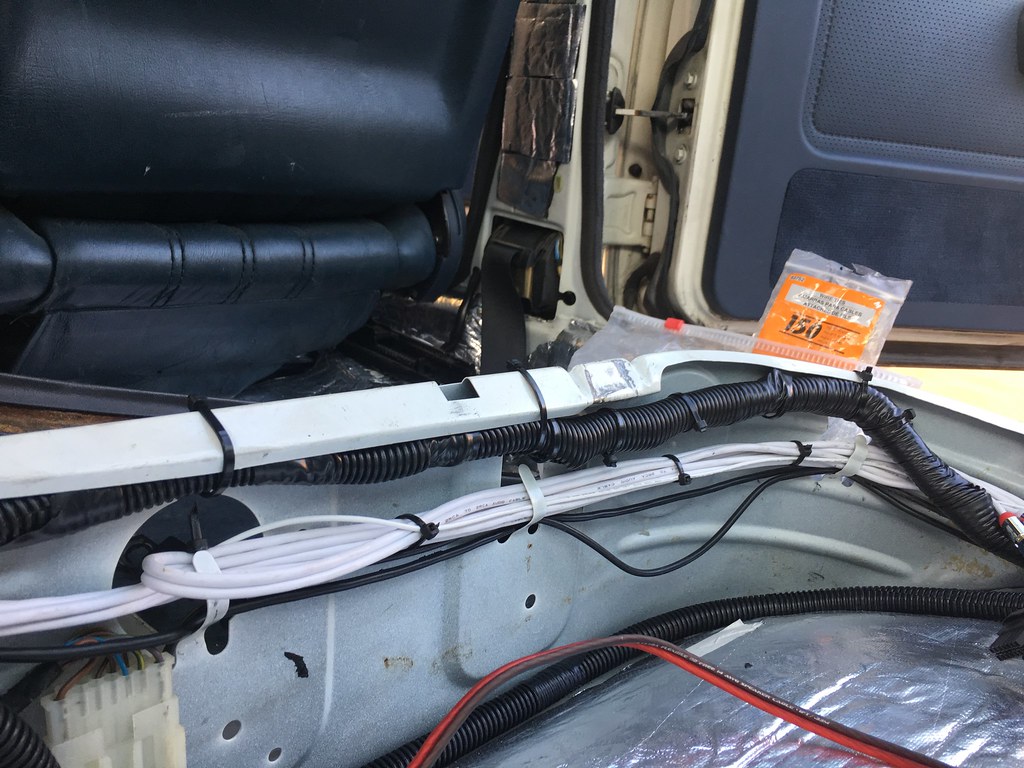
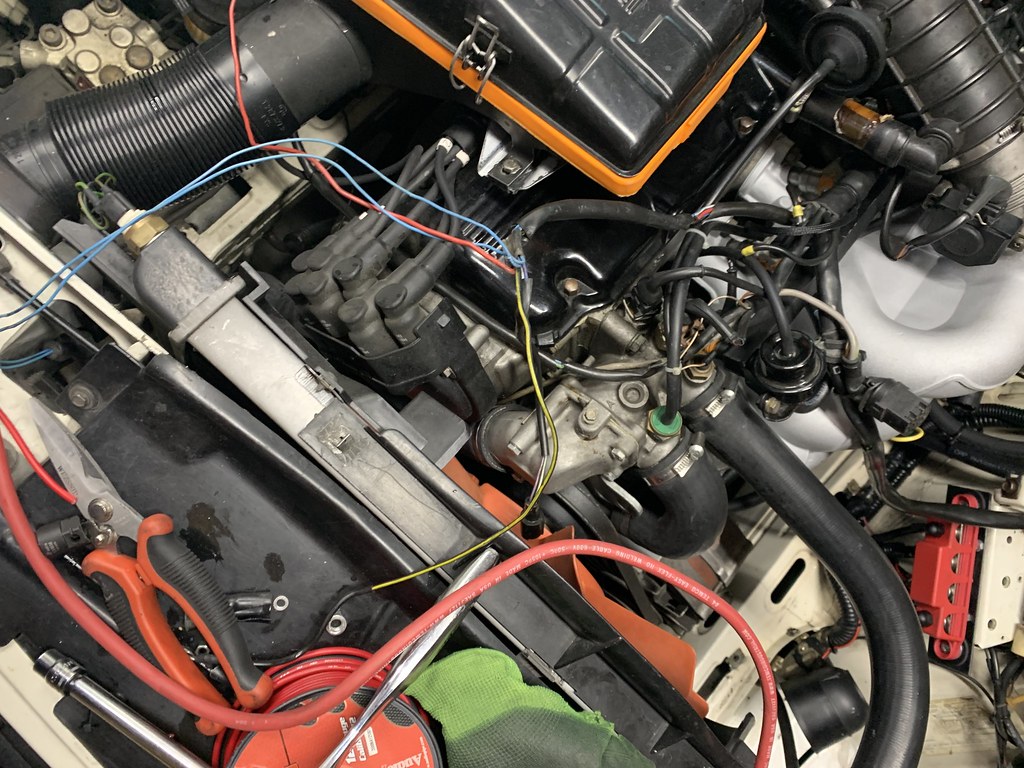
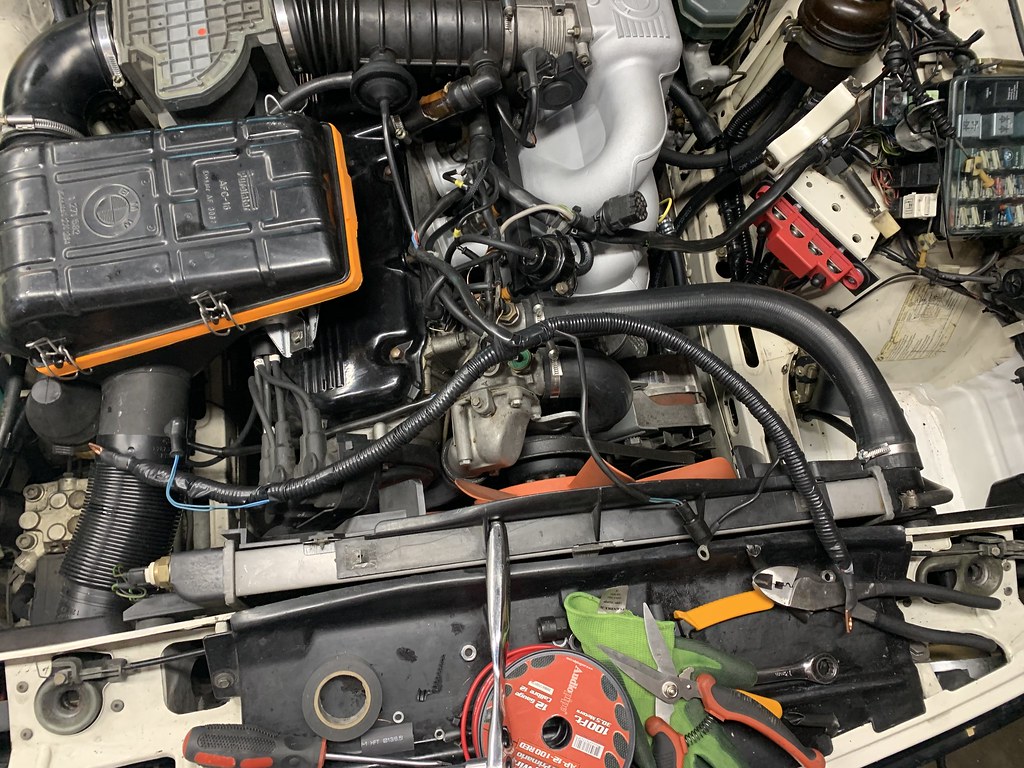
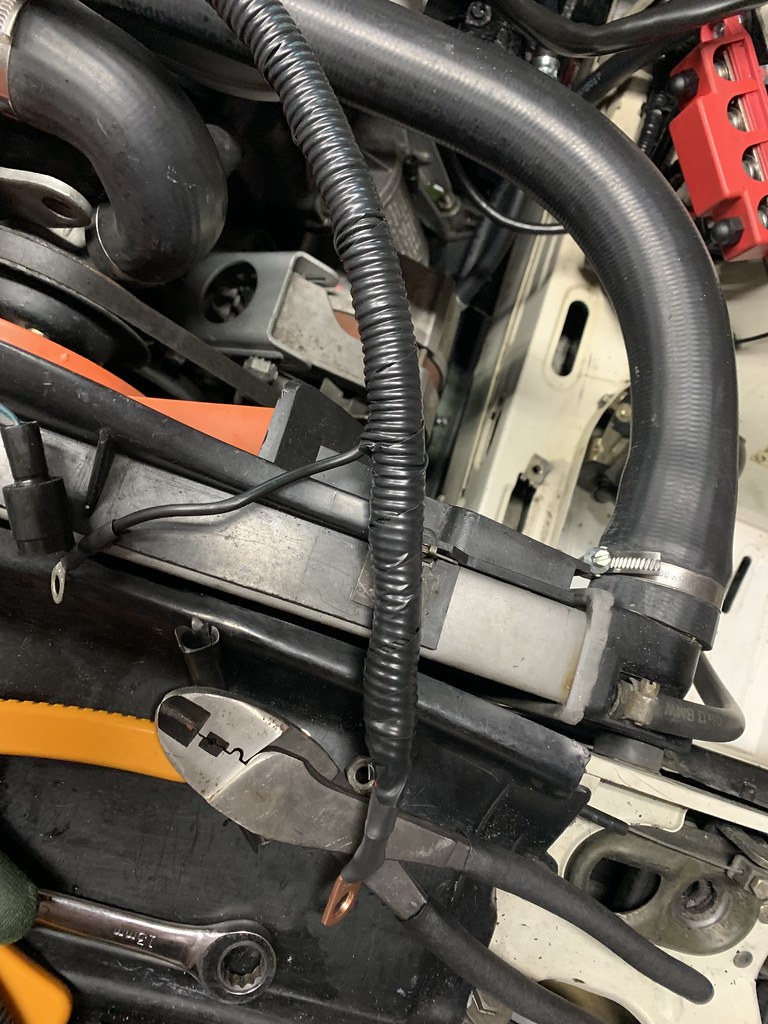
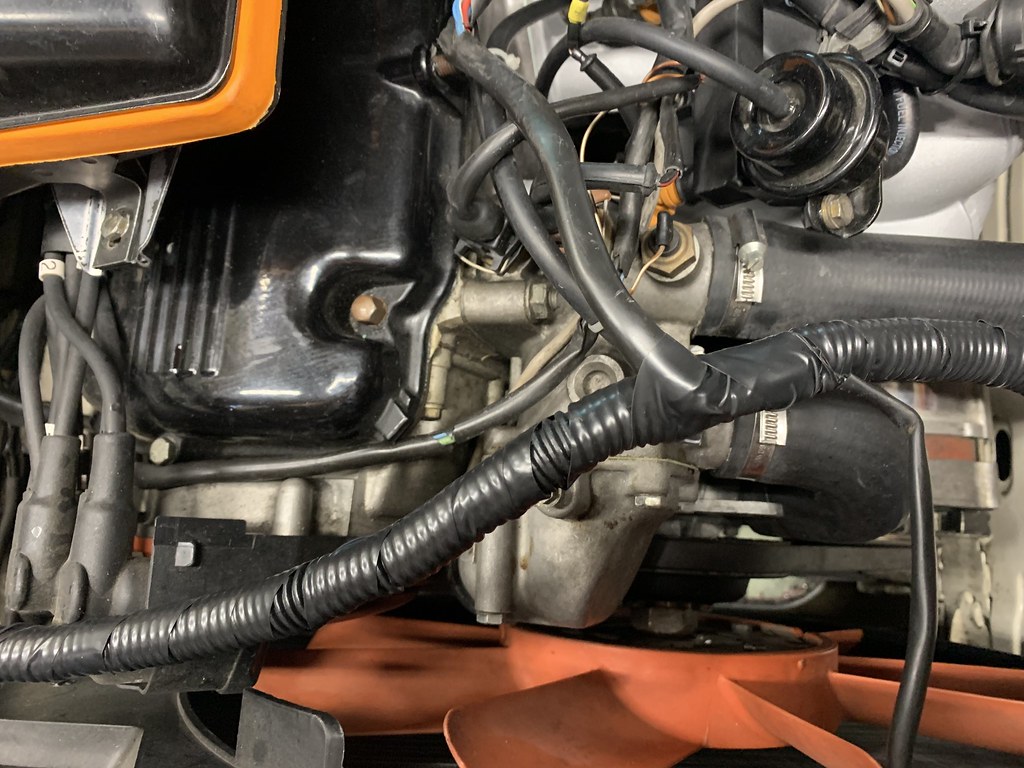
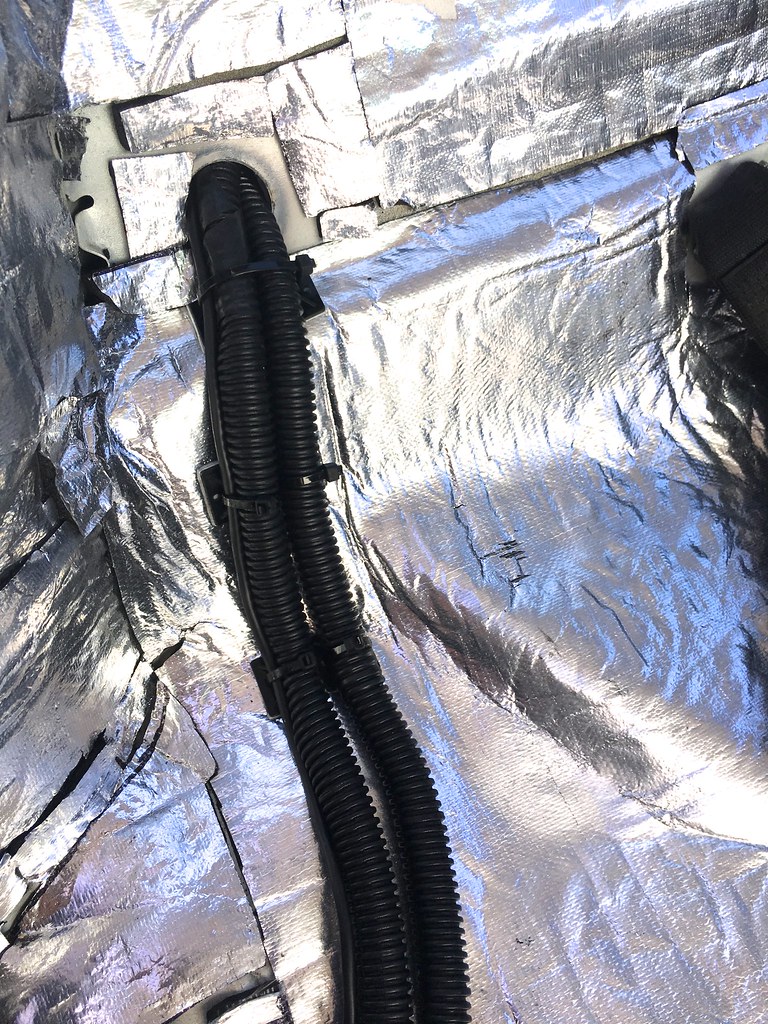
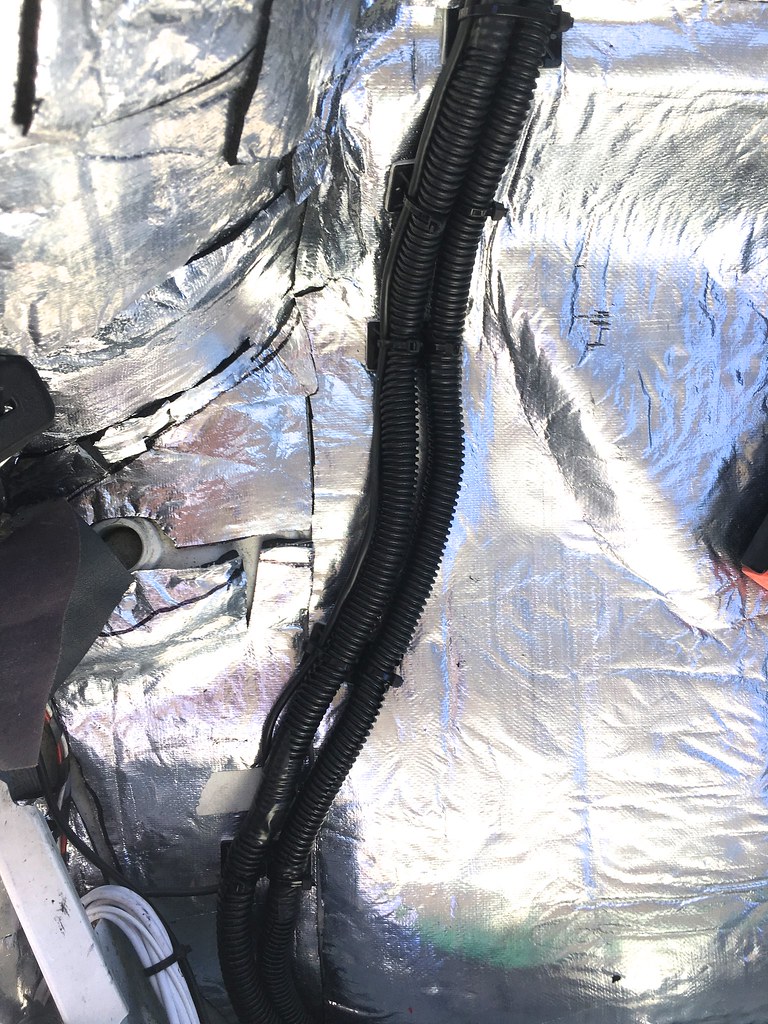
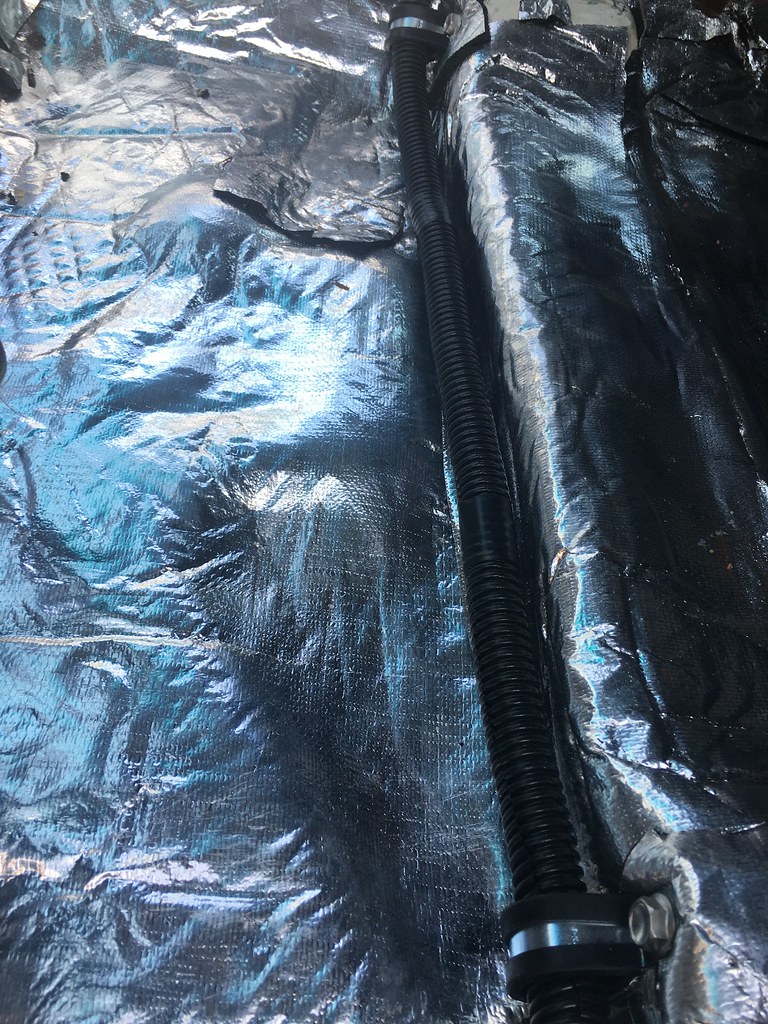
The battery cables were next. For the car battery, I purchased 4 AWG from Temco off Amazon. I essentially mirrored the M5 cable routing, with the exception that instead of exiting the interior under the driver seat, I continued to route it under the driver seat, and bolted it to the rear most seat support. I then continued the cable along the left side and up through the firewall, exiting where the brake bomb wiring entered the engine compartment. I wrapped the cable in 1/2 inch split wire loom tubing.
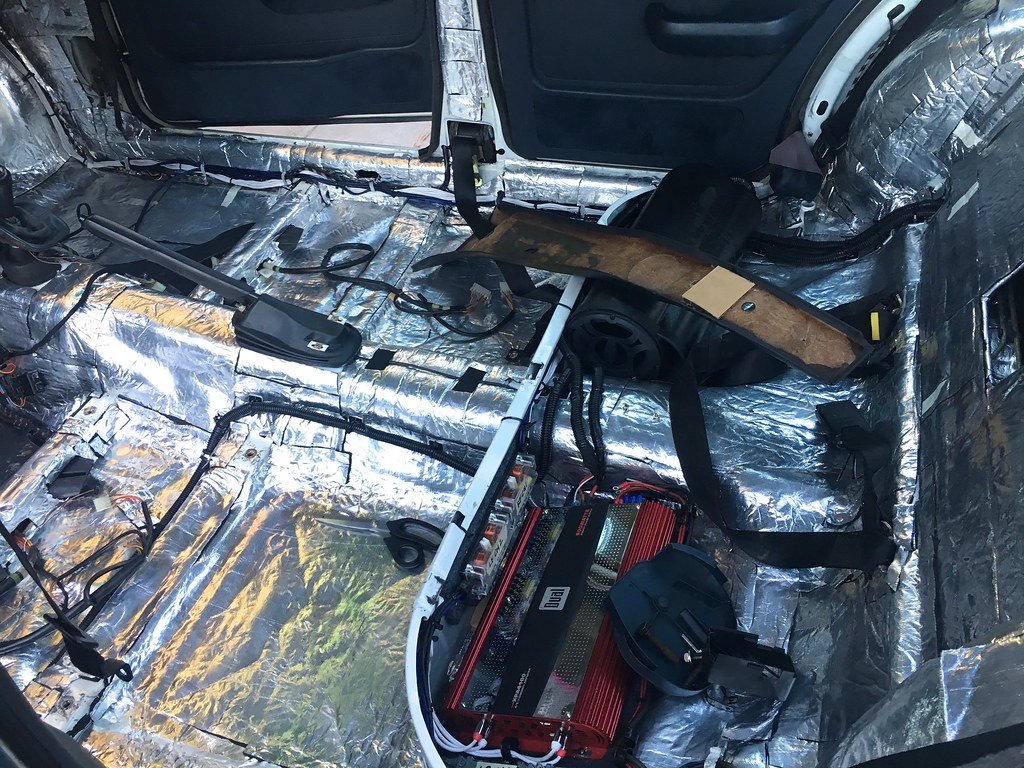
I also ran the car audio power cable parallel to the car battery cable with the exception that it stopped over the driveshaft tunnel near the amp. The amp specs called for 8 AWG.
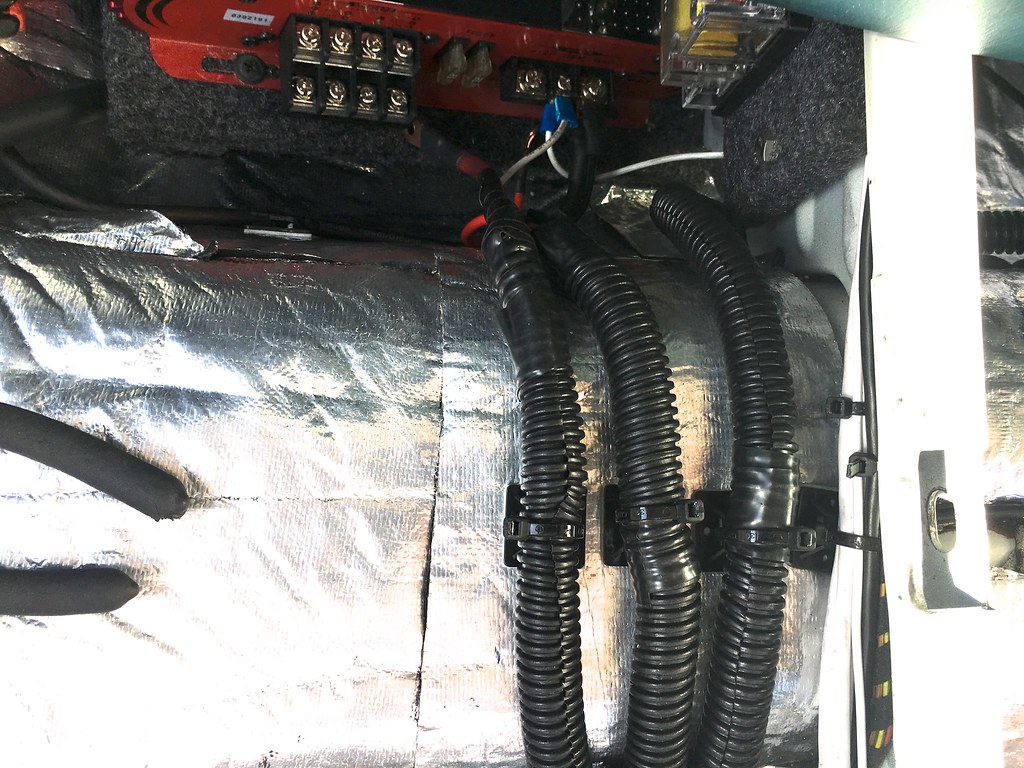

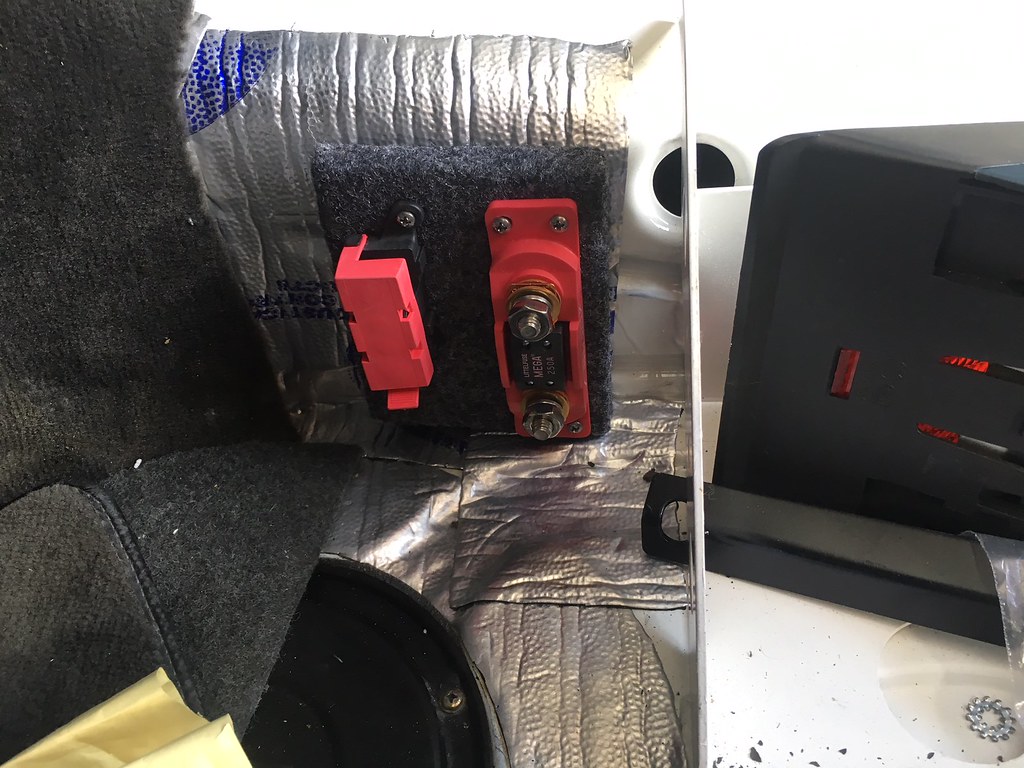
In the trunk, I placed two fuse blocks that would connect to the battery. The larger one is for the car and is made by Fastronix. The smaller is a generic fuse for the car audio.
I bought an acid mat the for the battery tray, and made all my terminal connections for the trunk
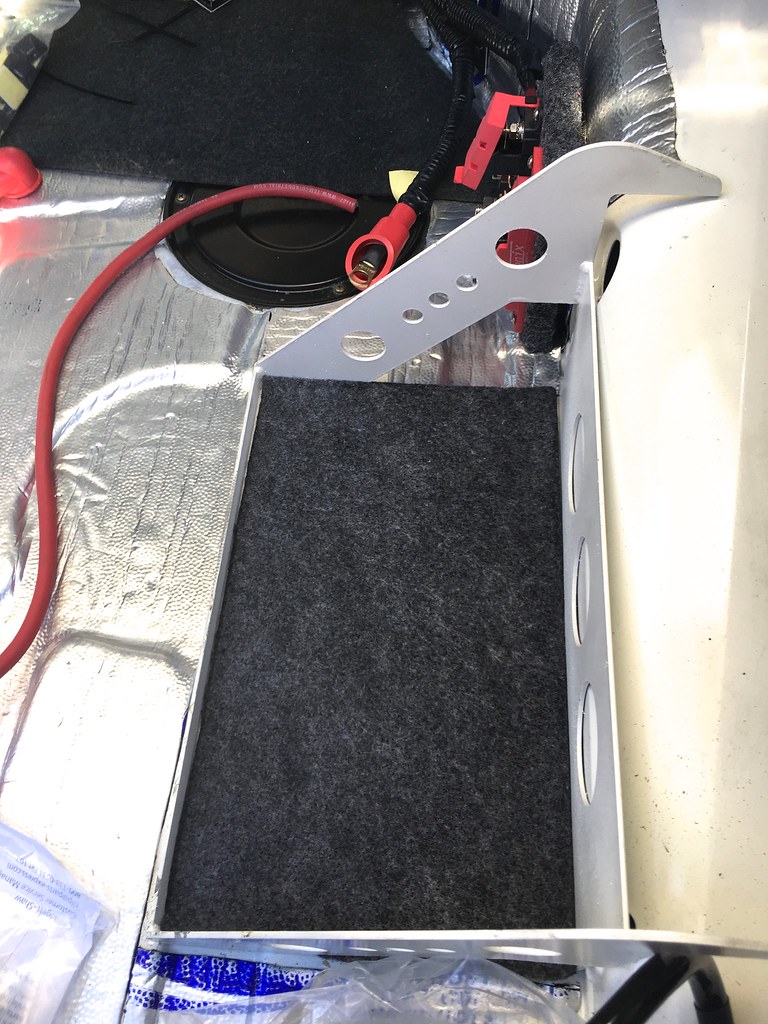
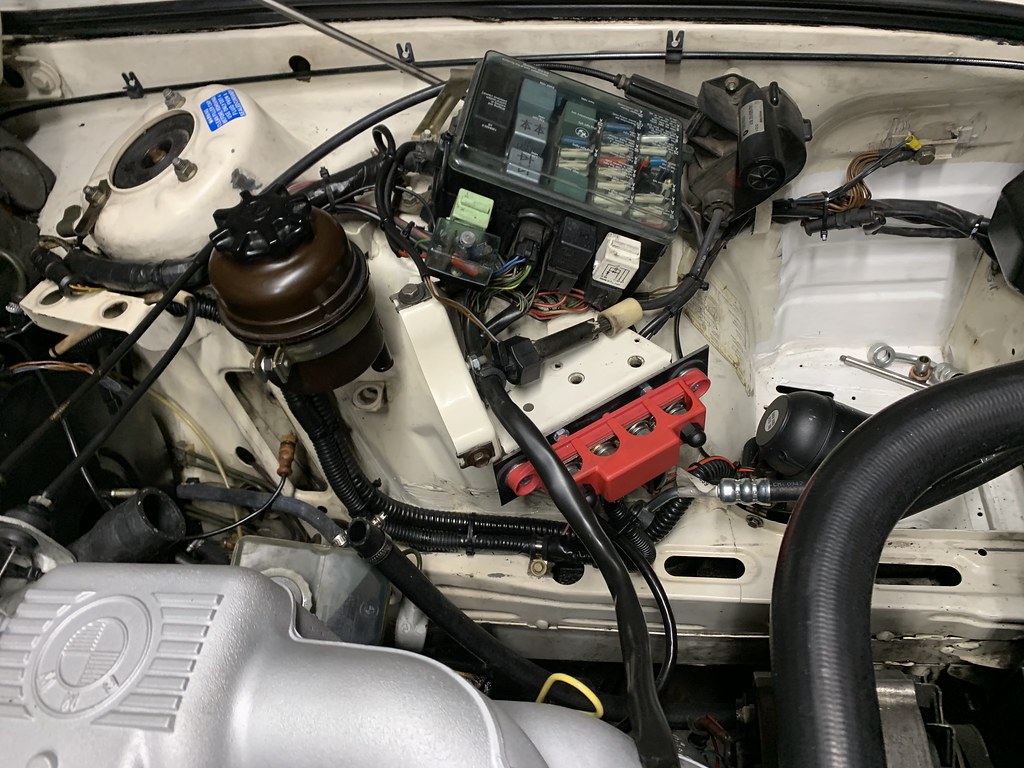
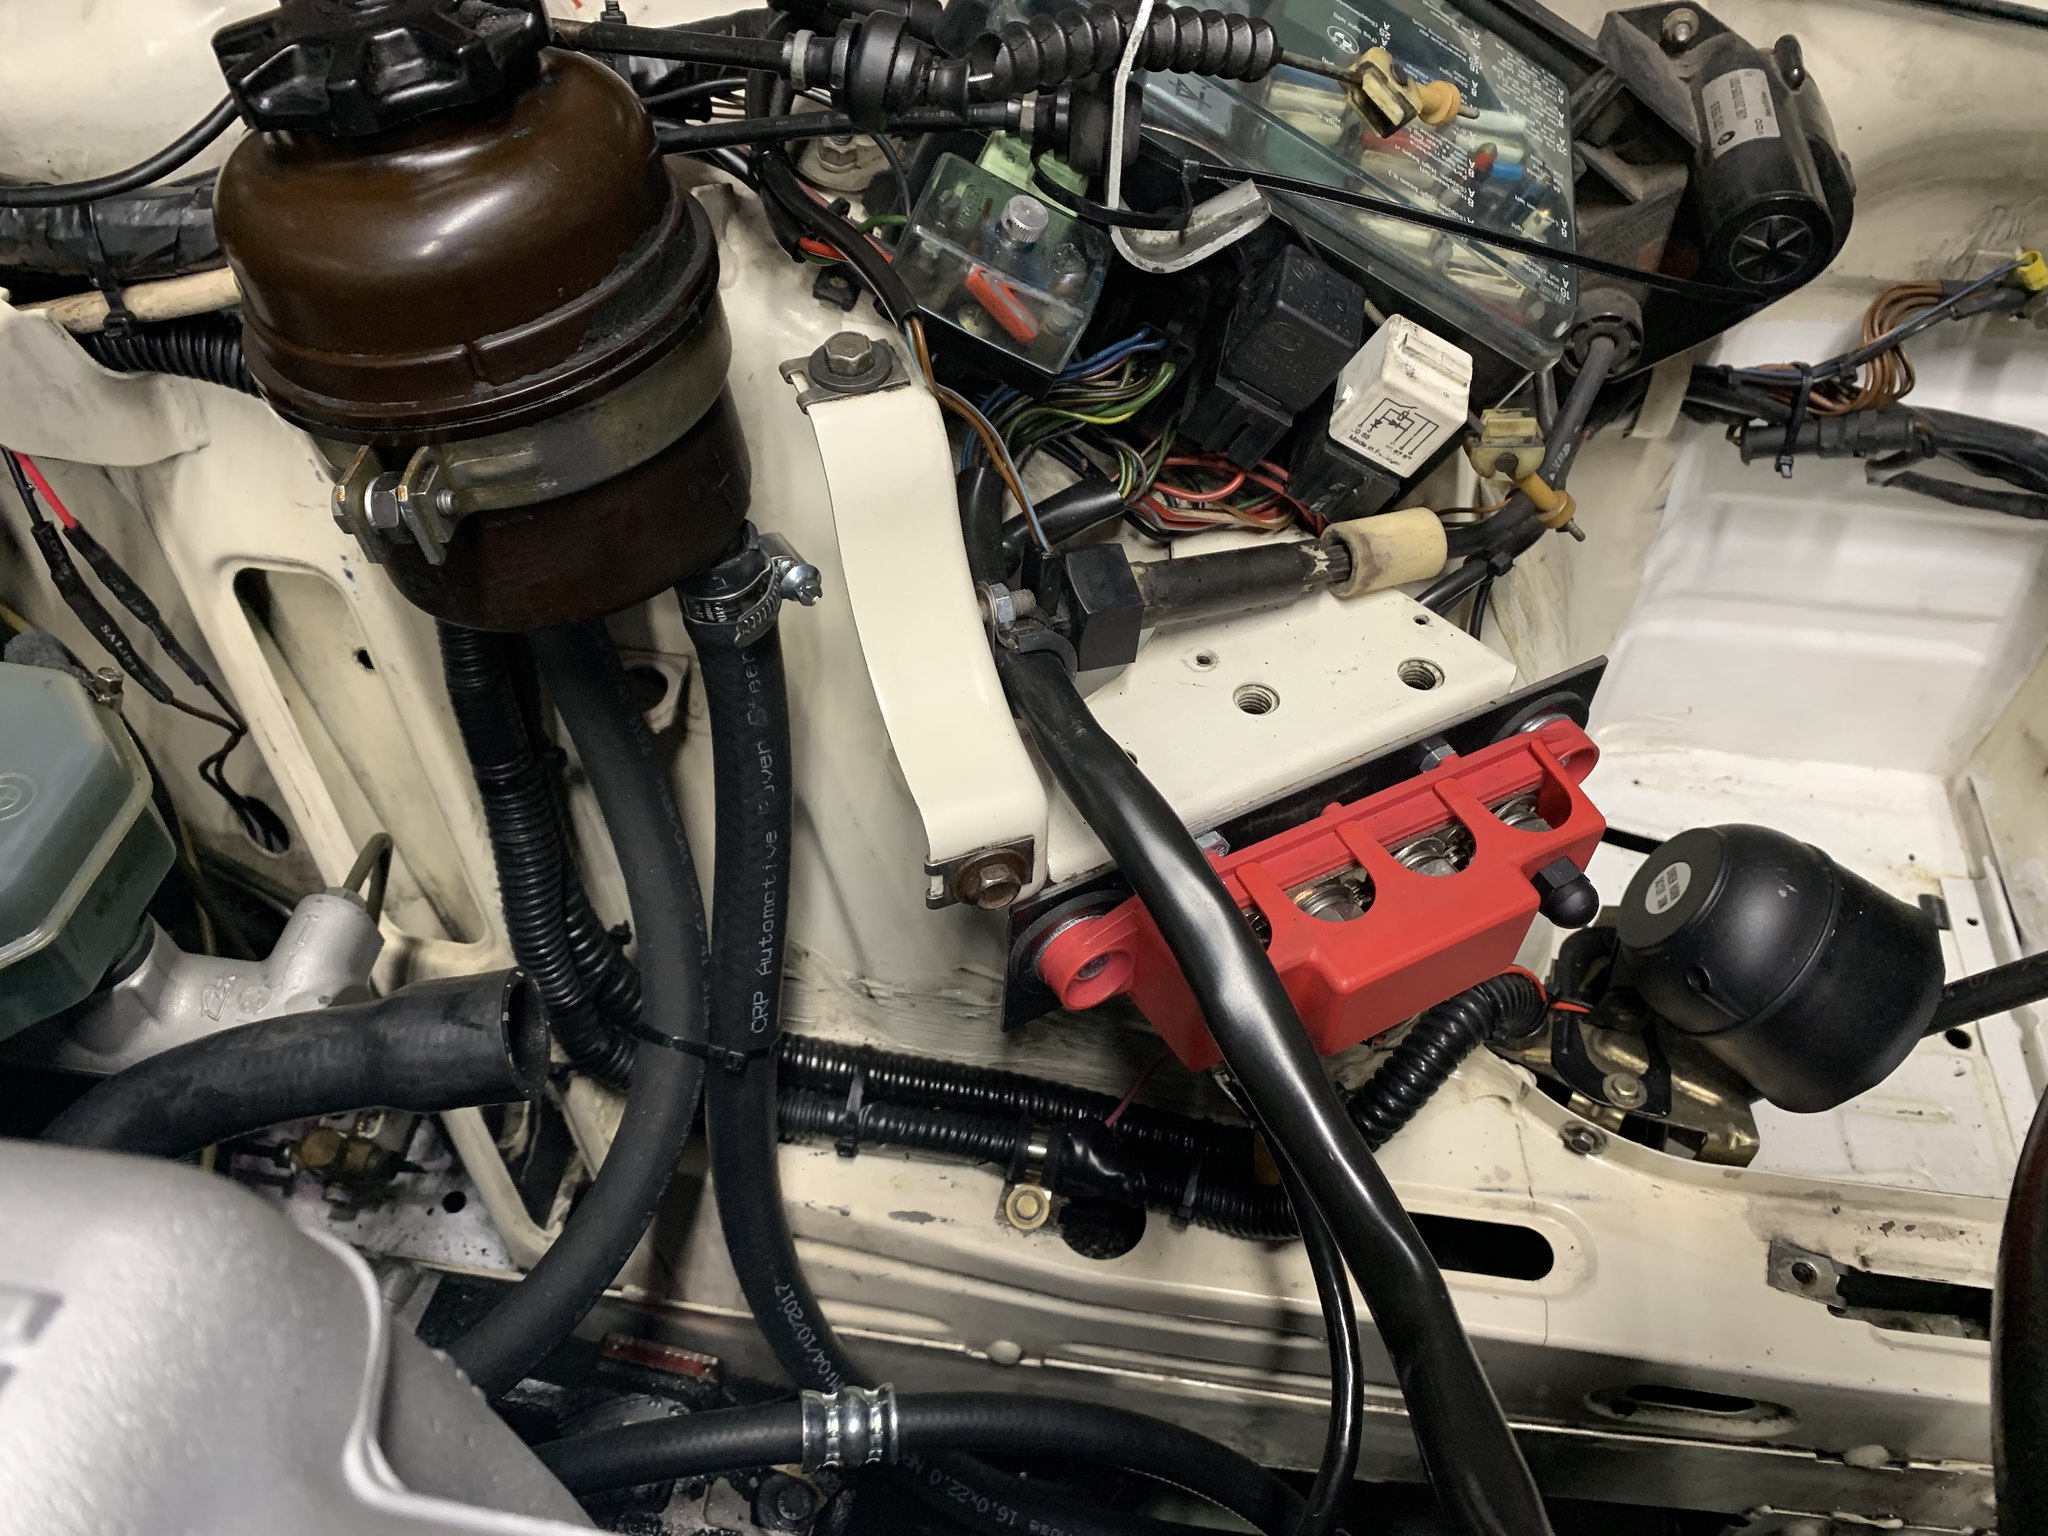
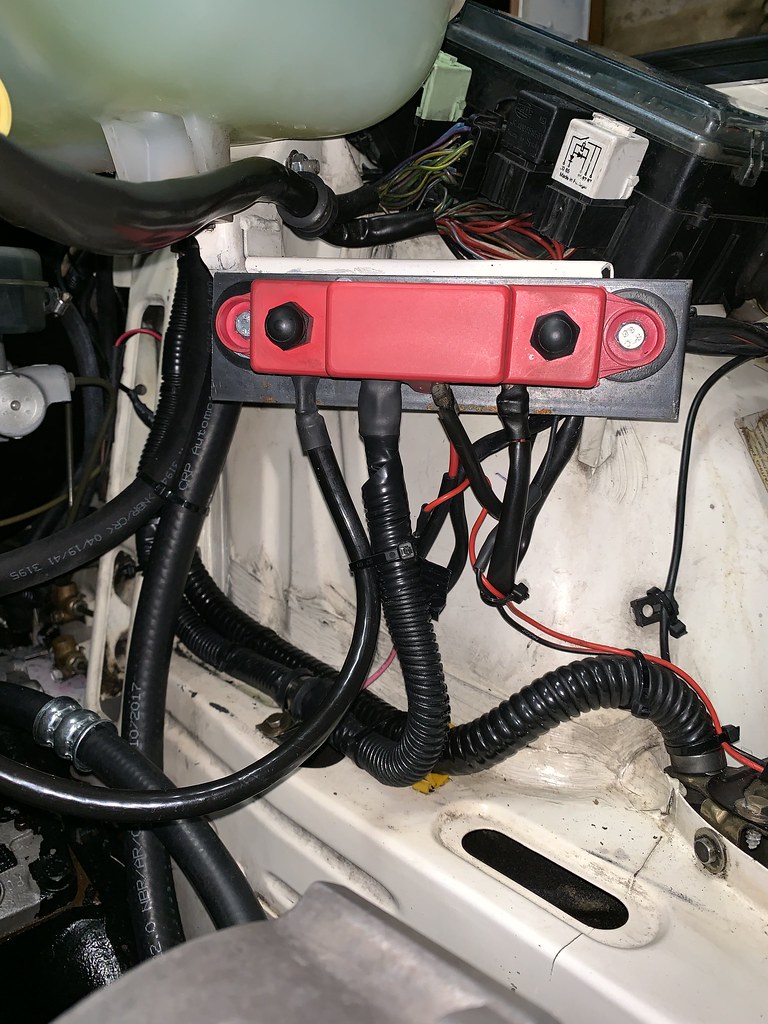
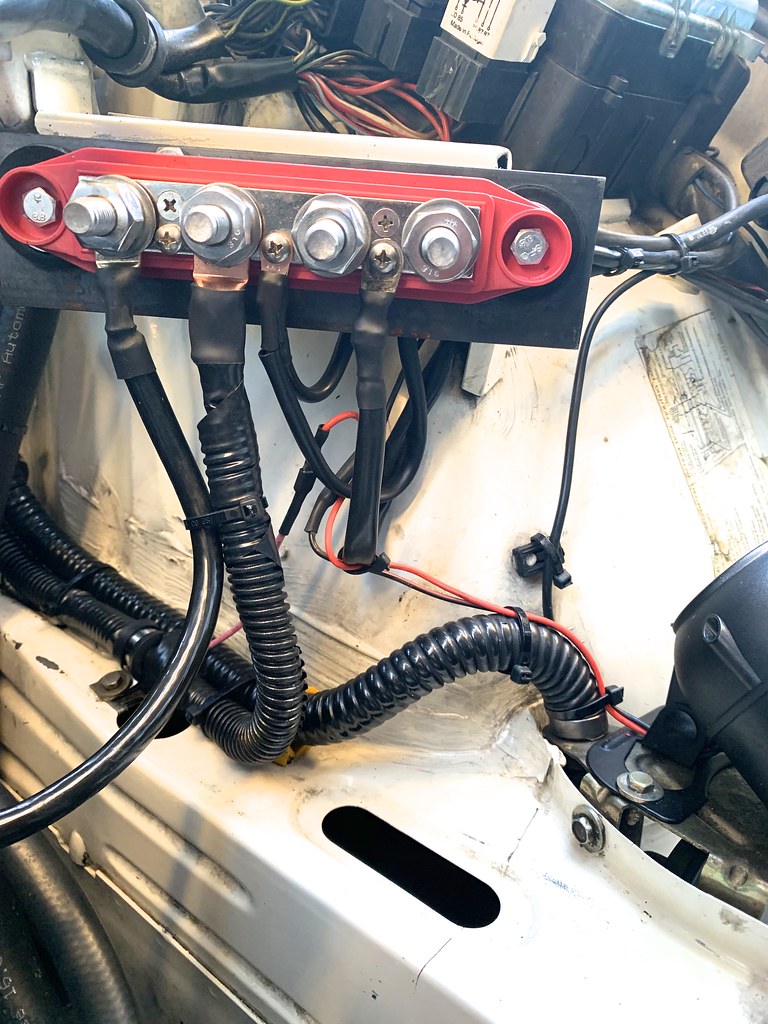
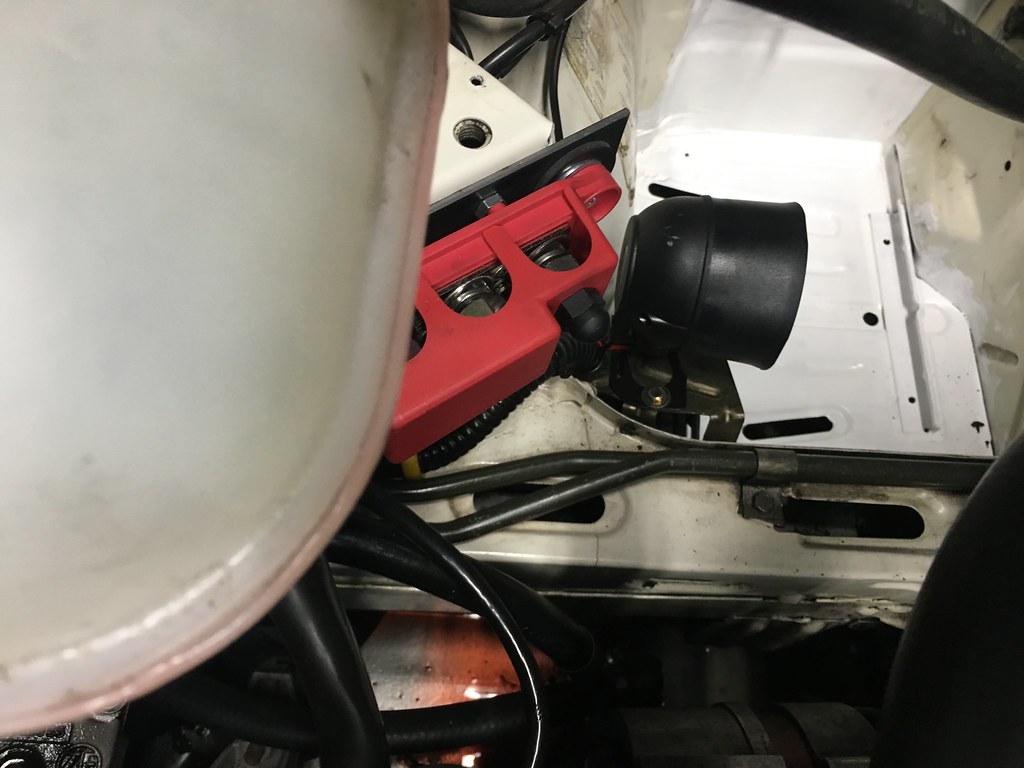
I purchased a power bus bar also from Fastronix to place in the engine bay. I attached it to a 1/4 inch piece of Home Depot brand steel, and secured that to the sheet metal just under the expansion tank. I used various rubber pads and bolts I purchased from OSH.
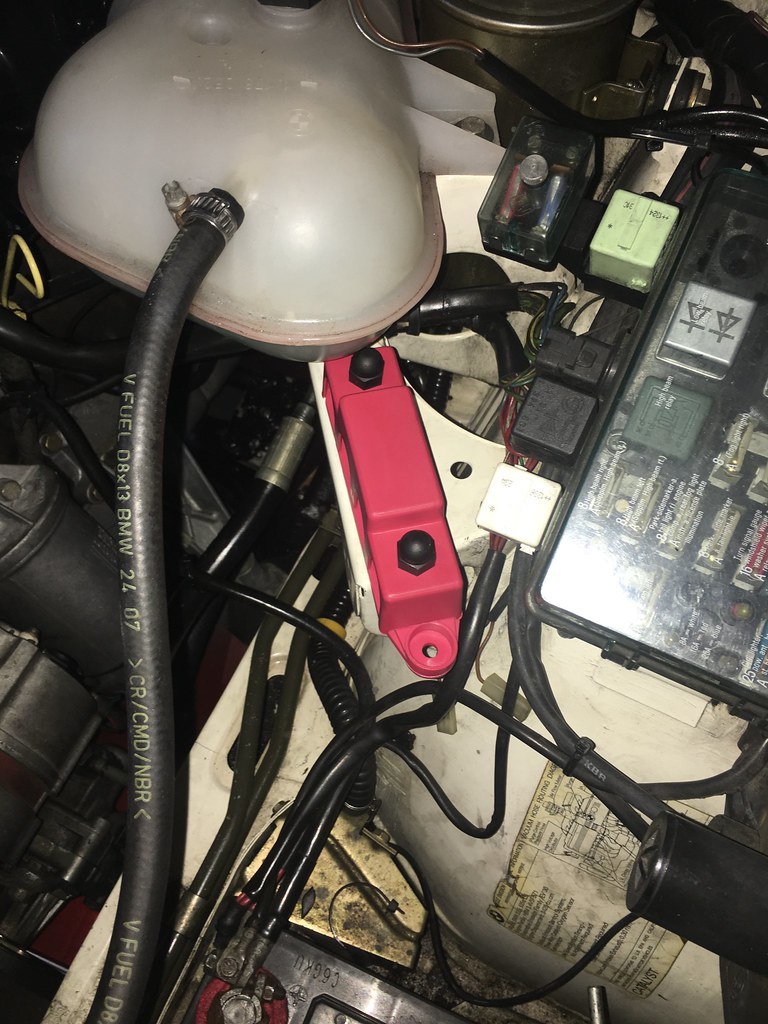
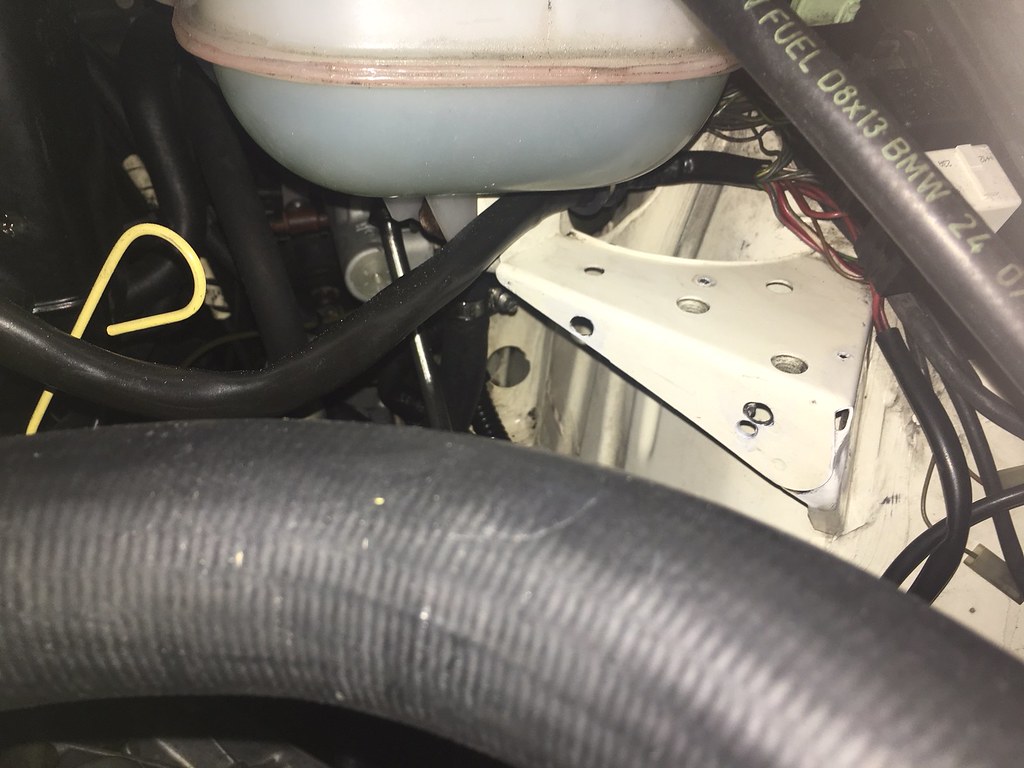
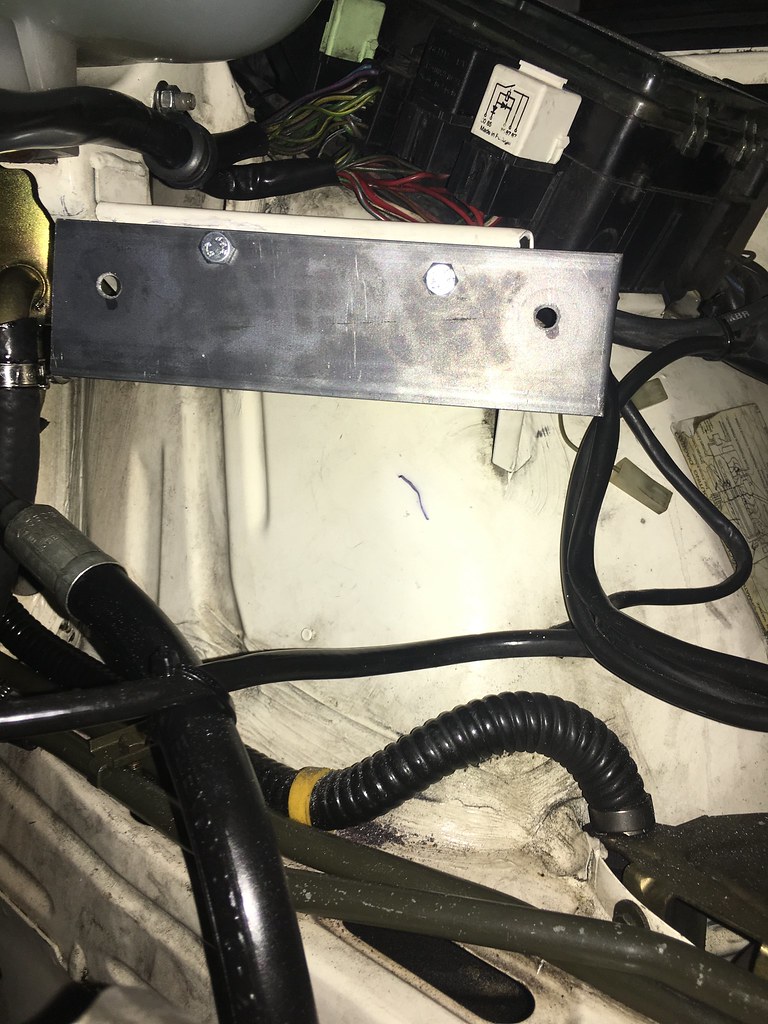
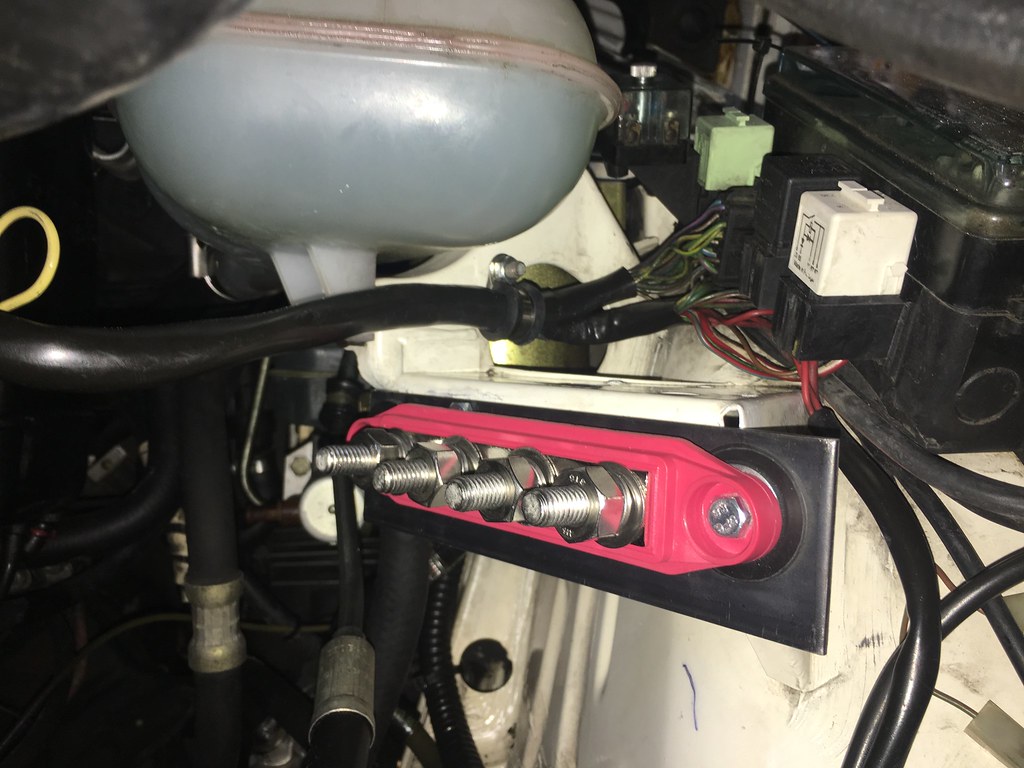
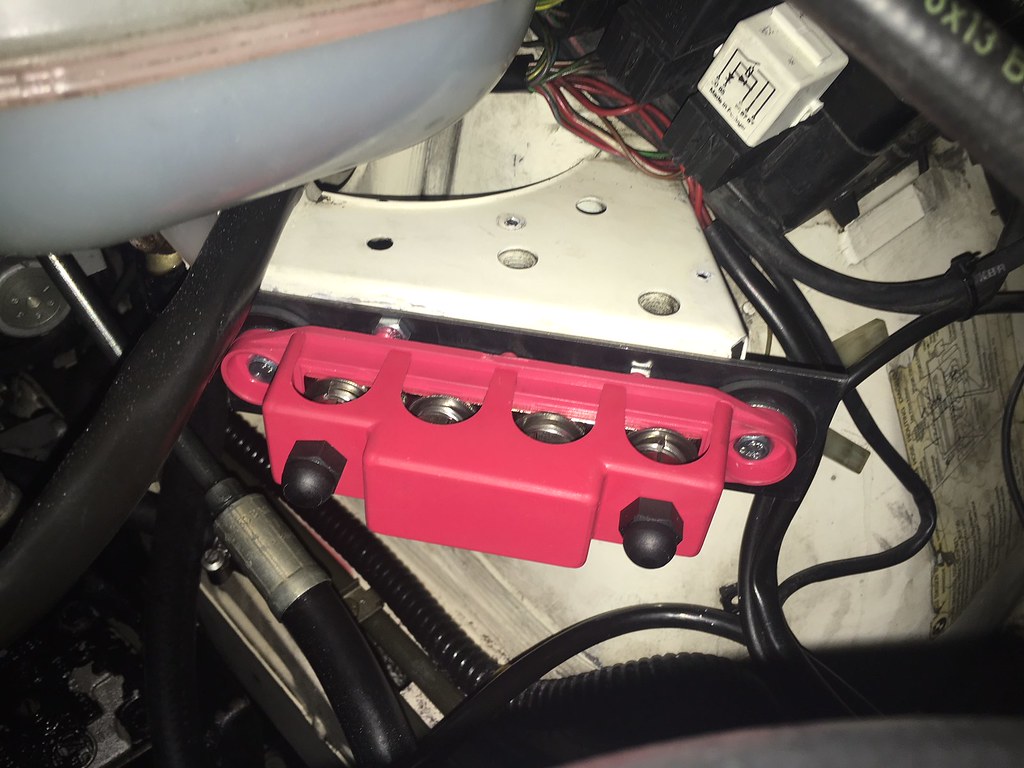
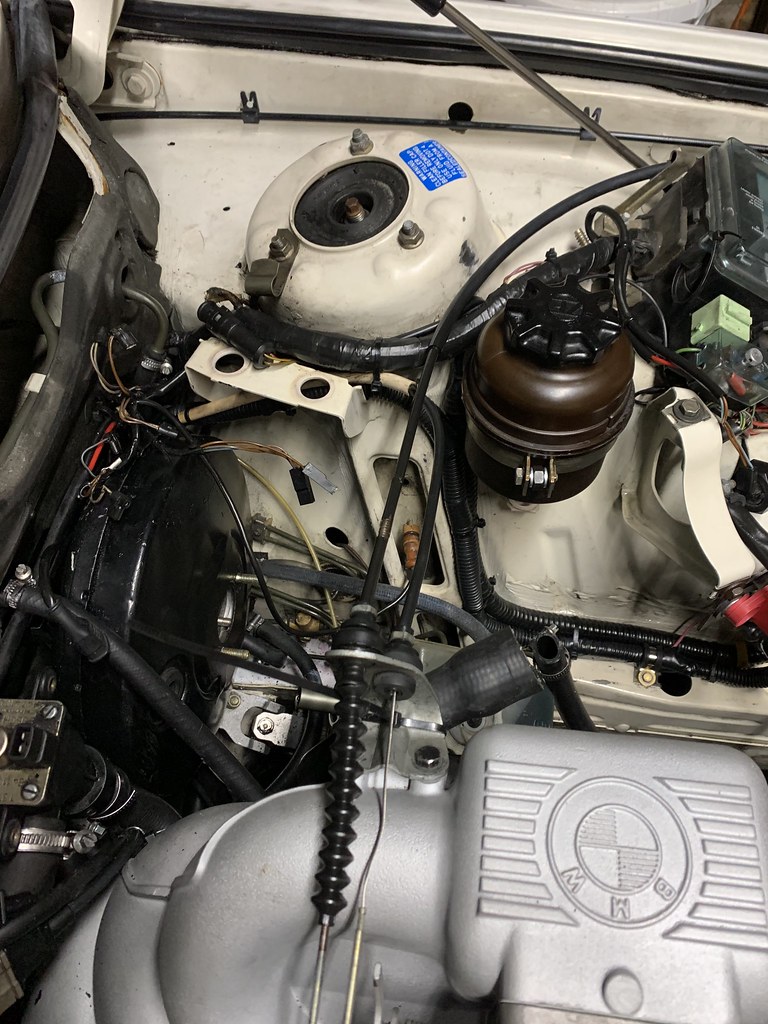
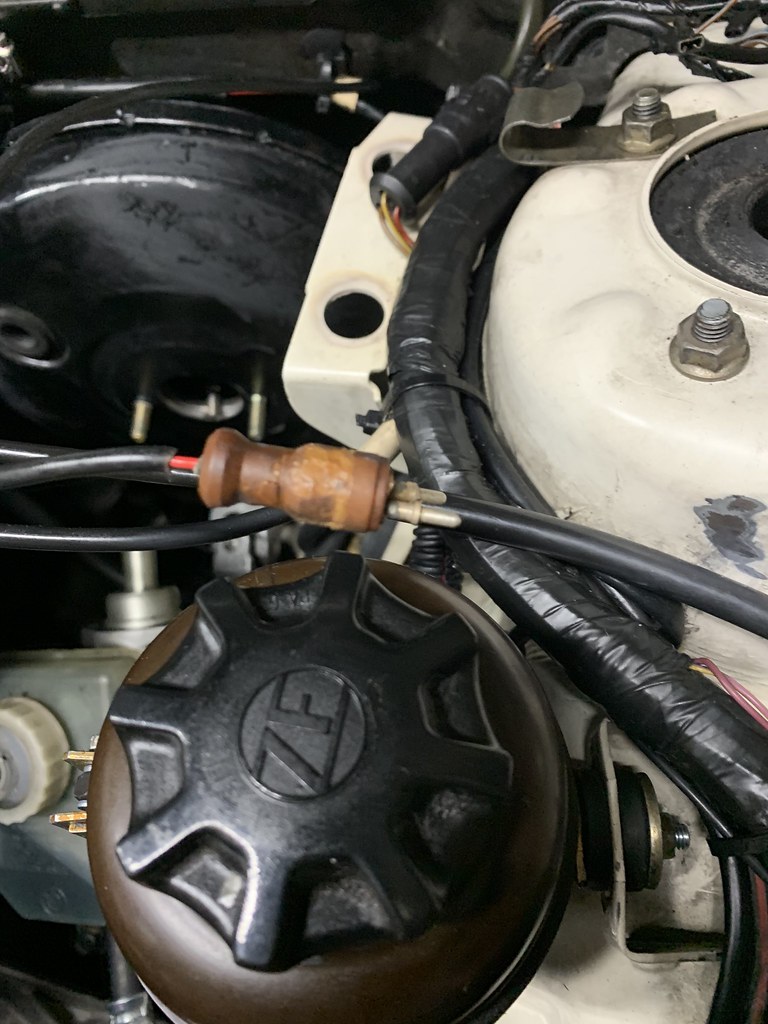
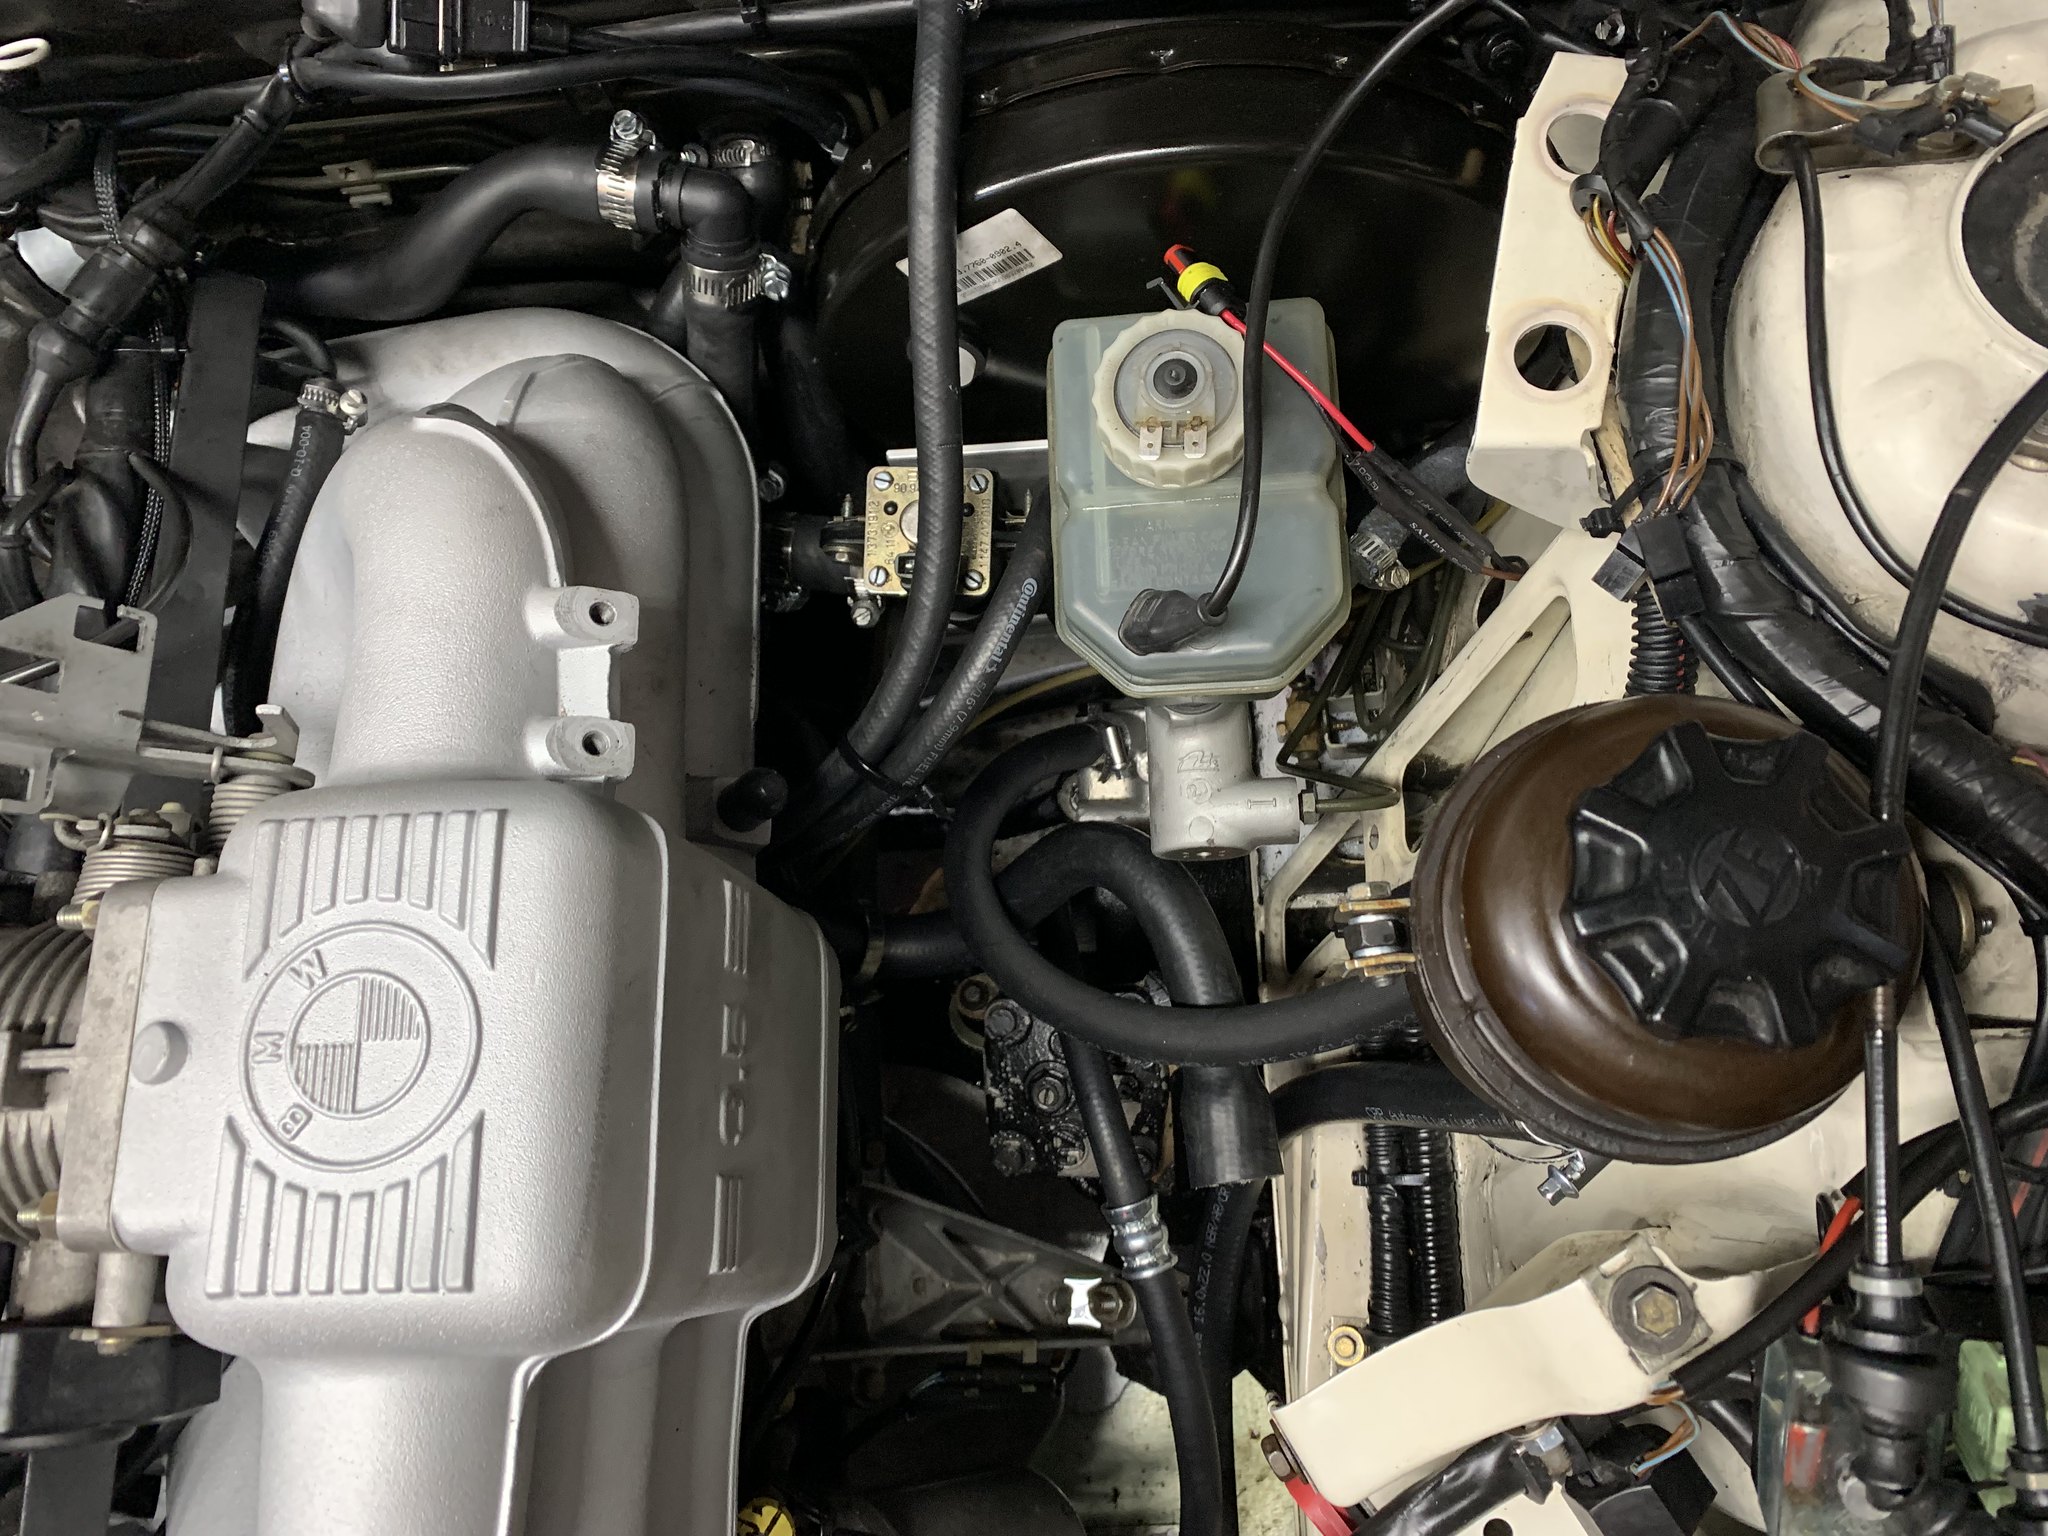
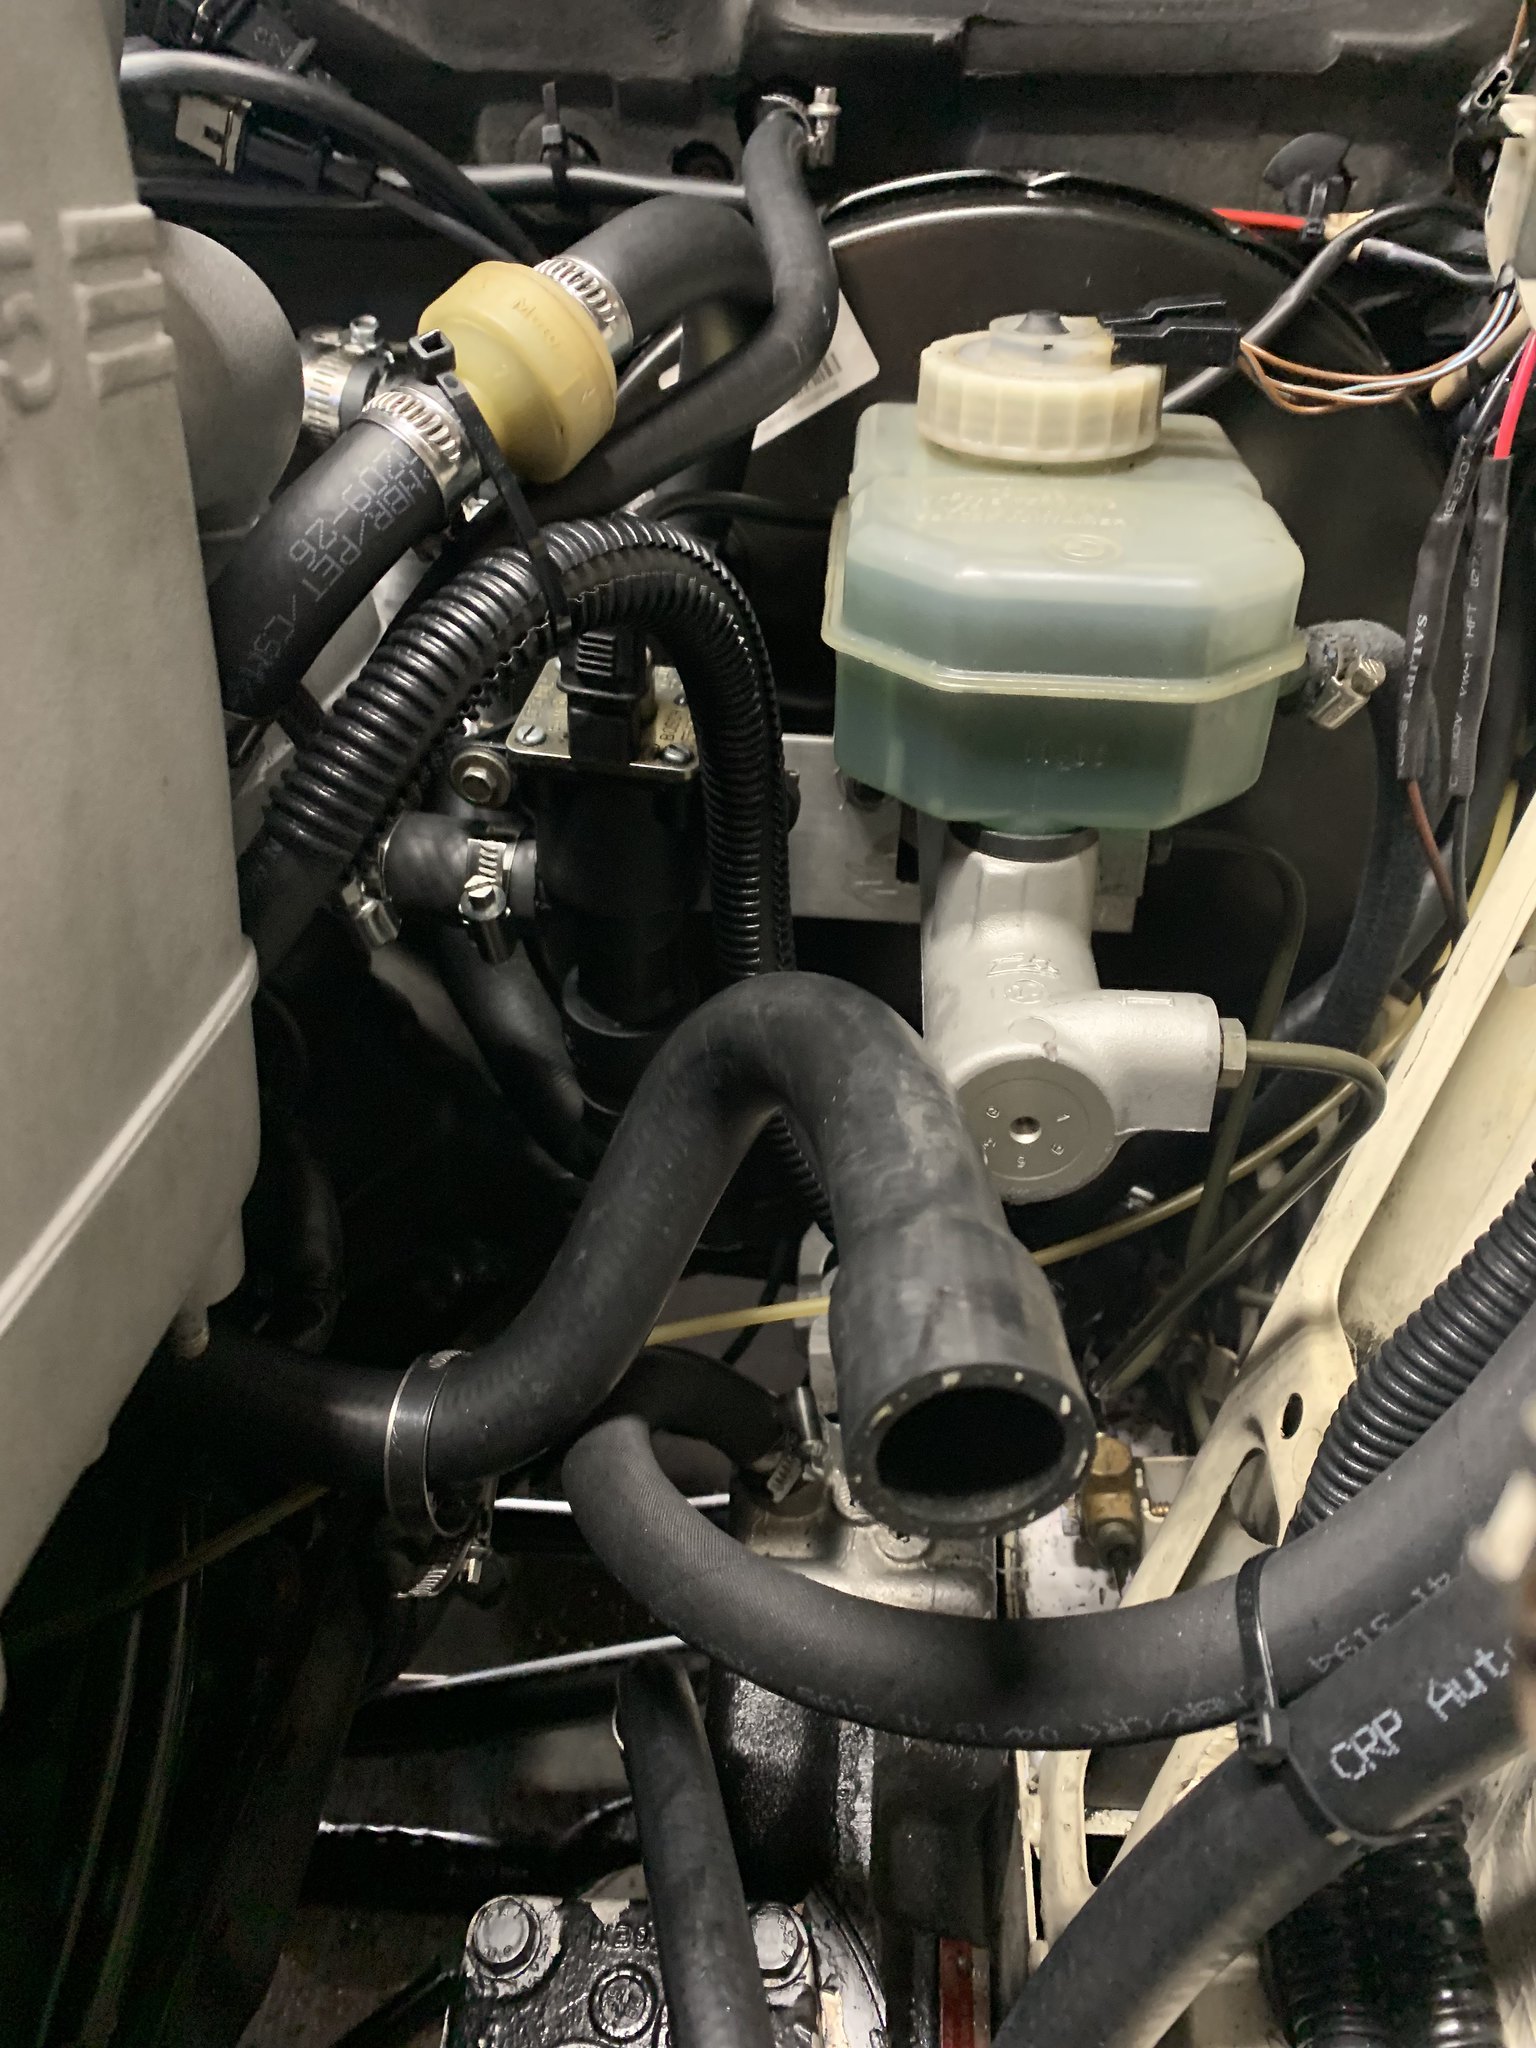
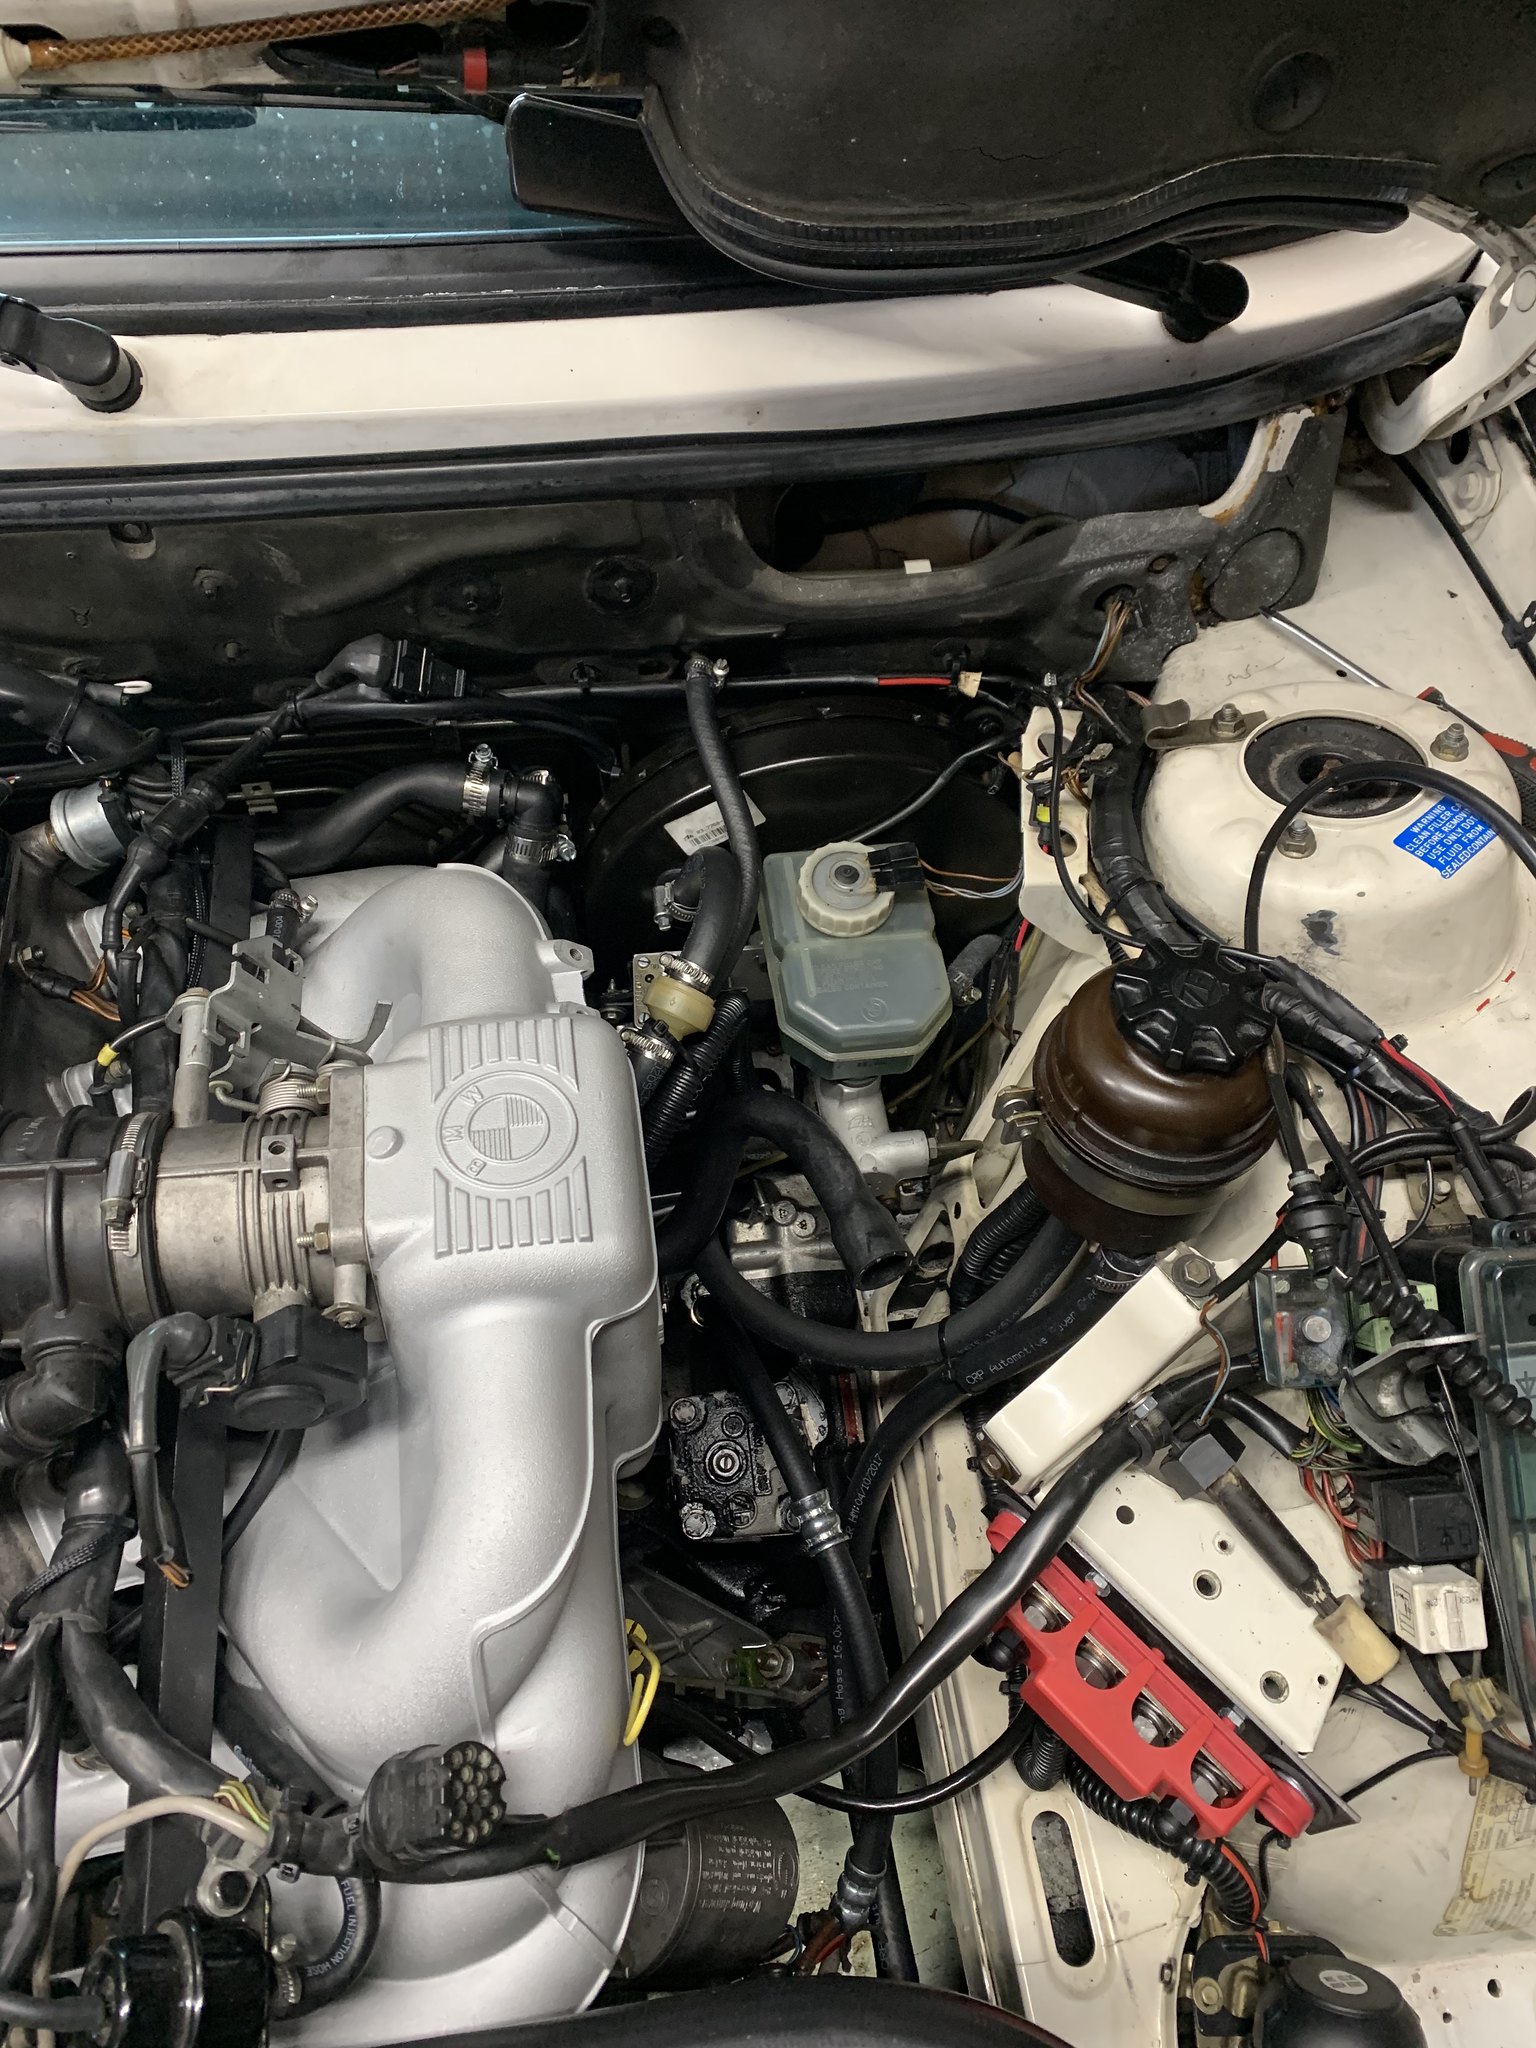
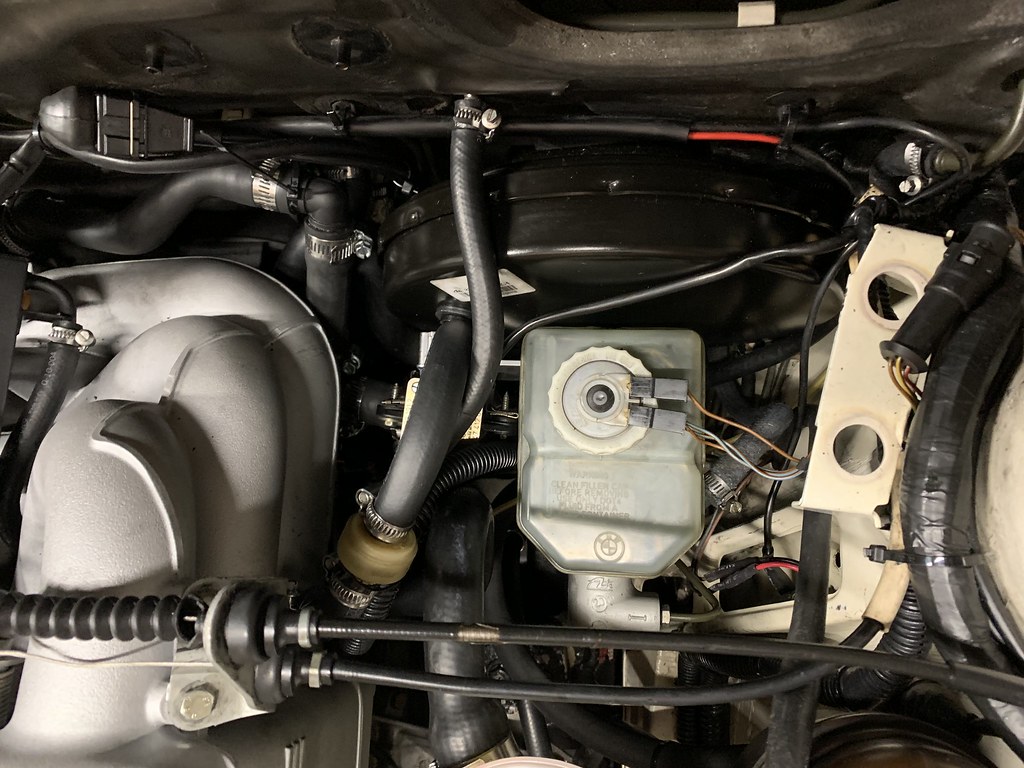
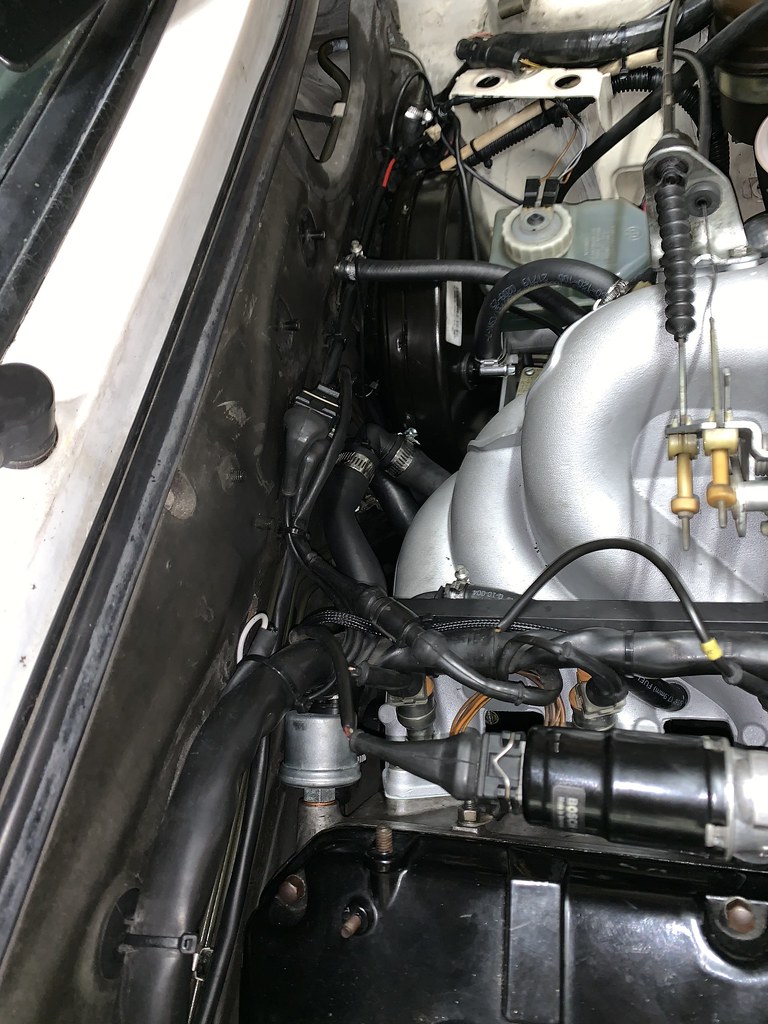
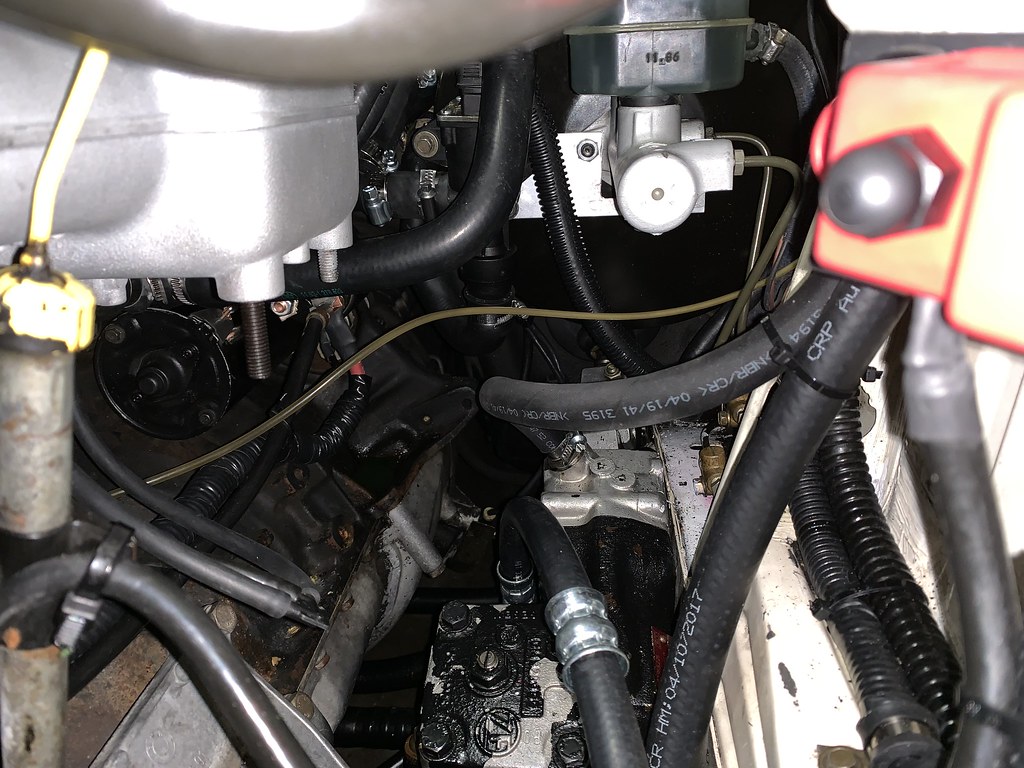
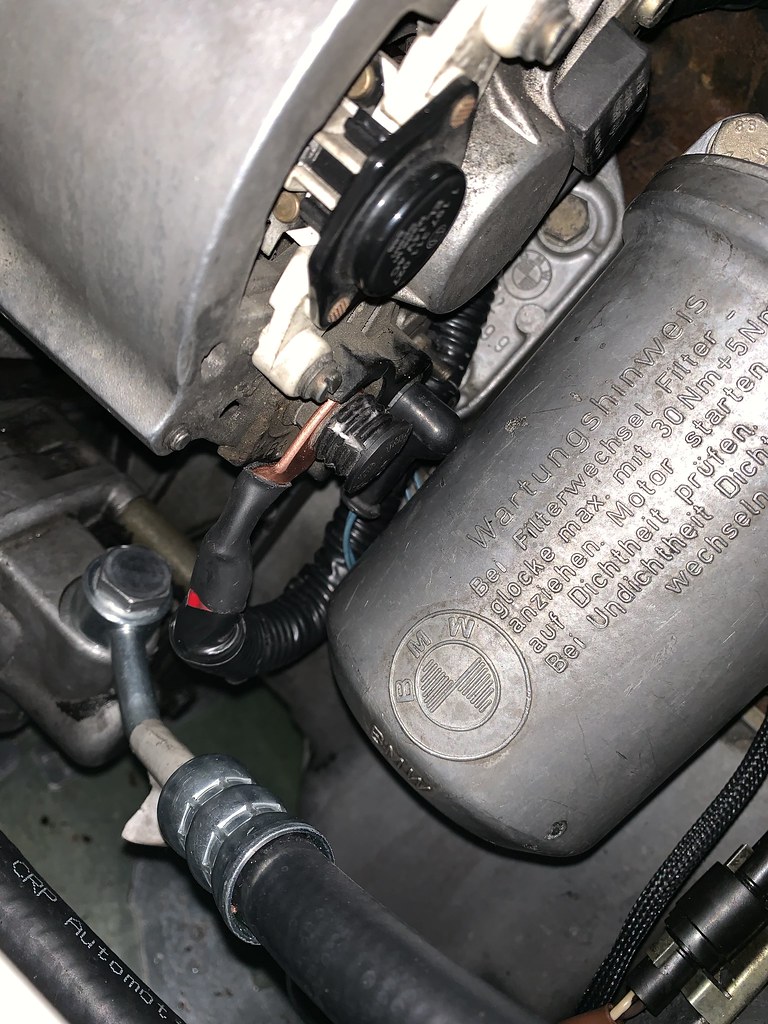
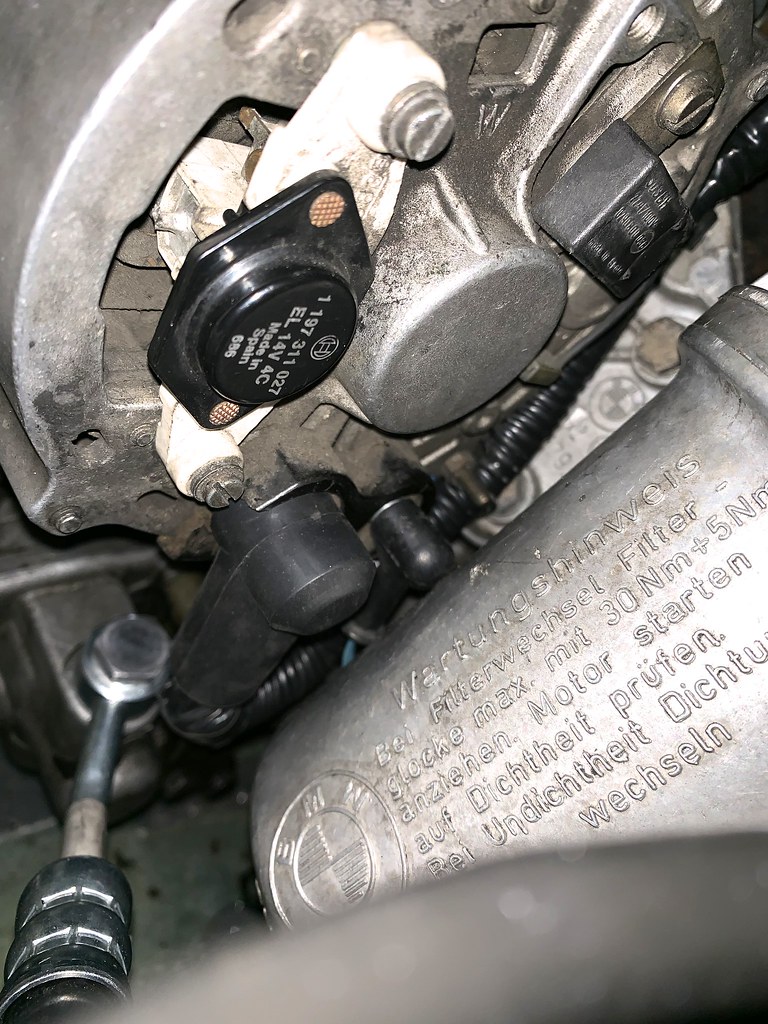
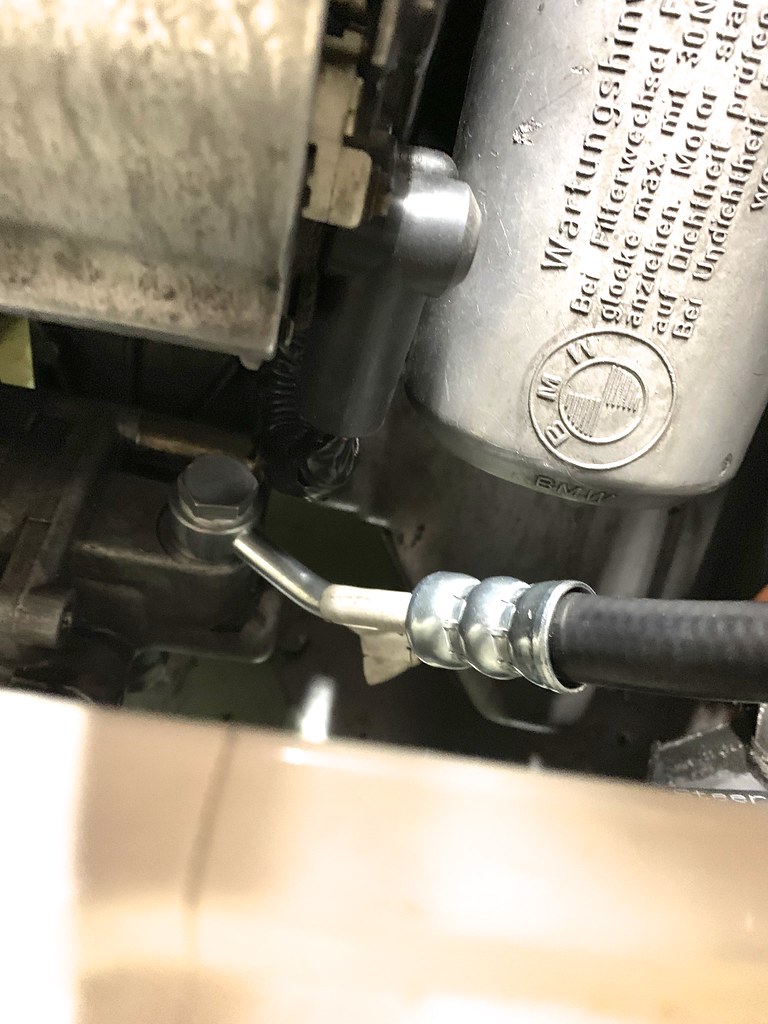
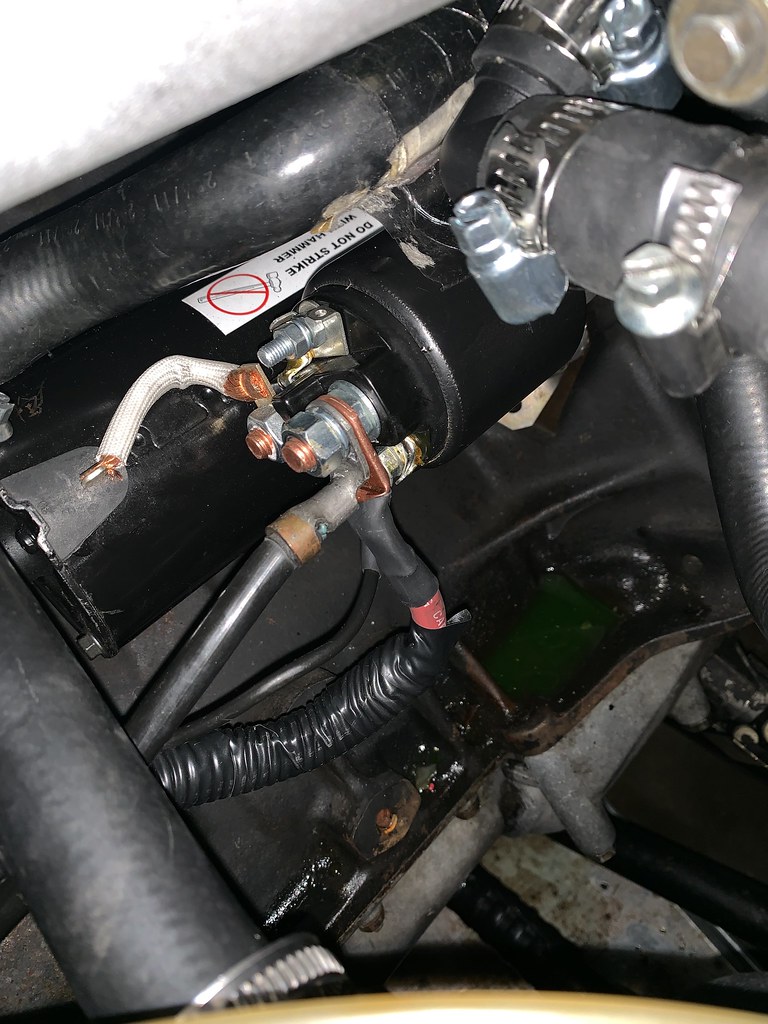
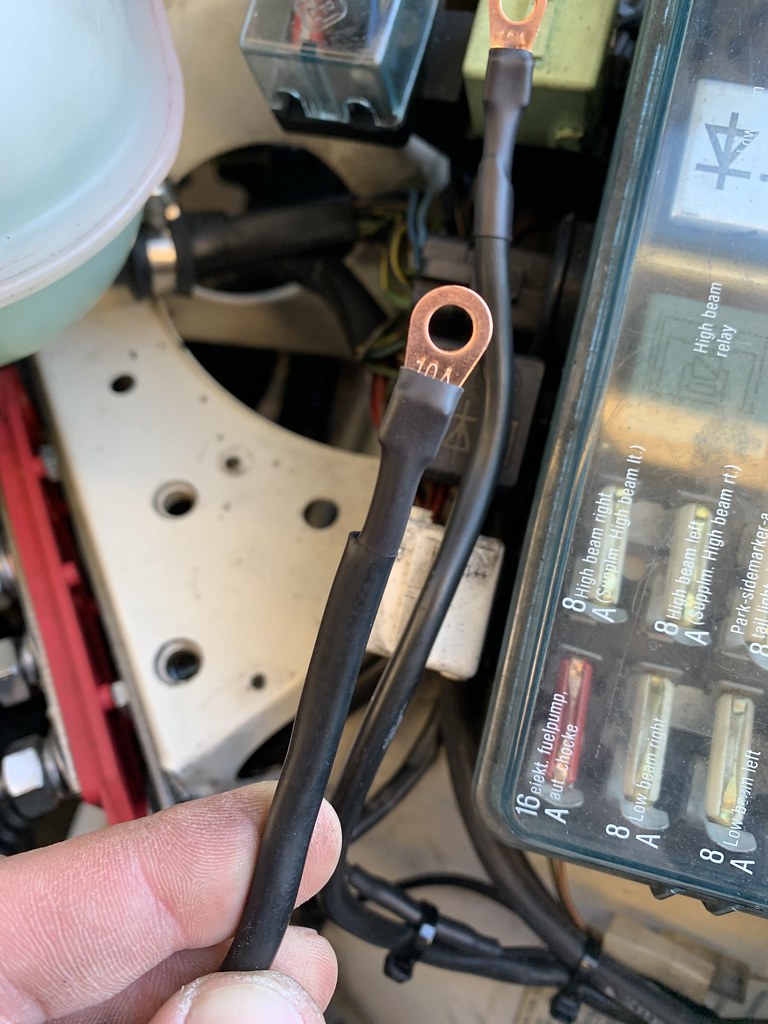
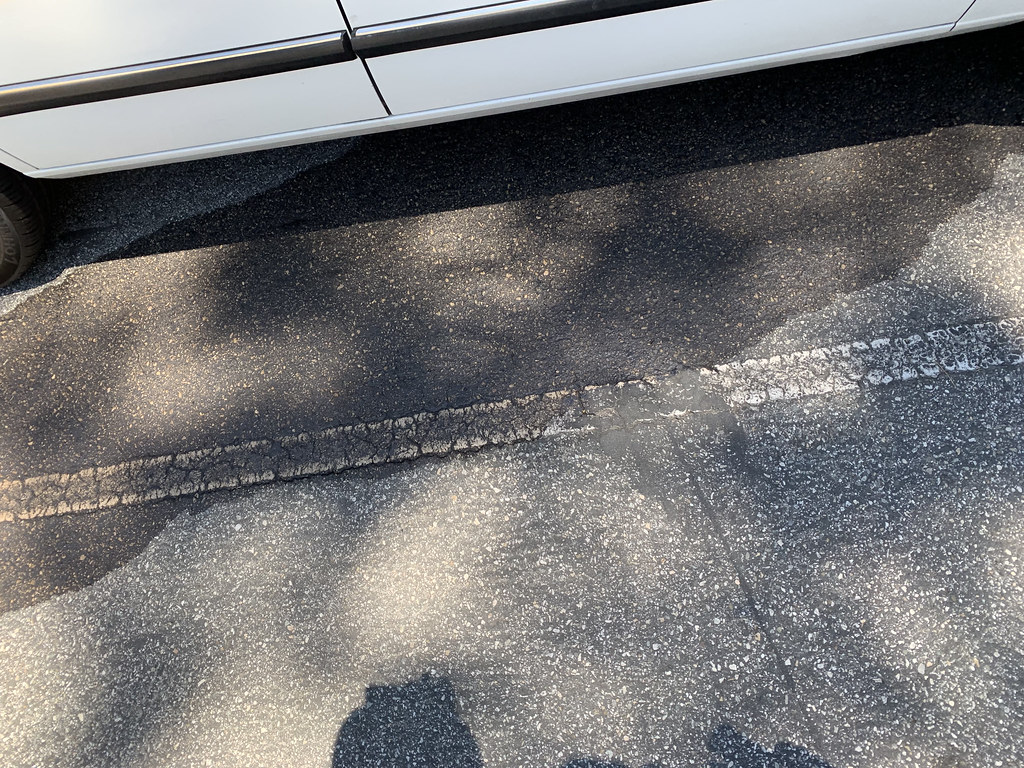
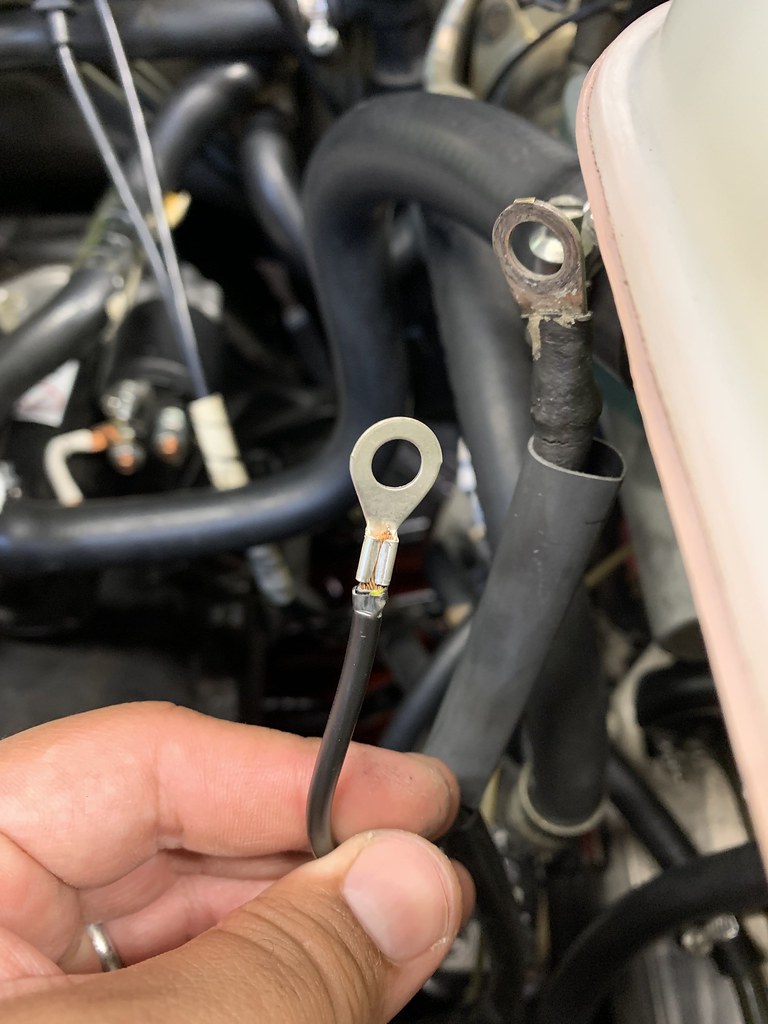
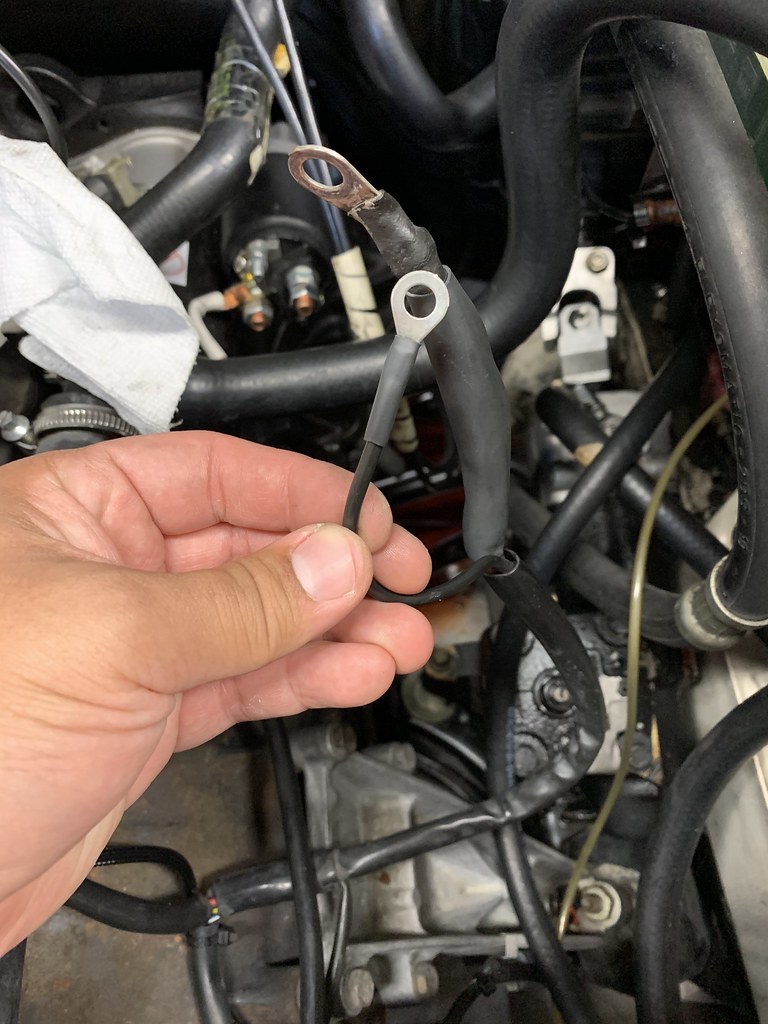
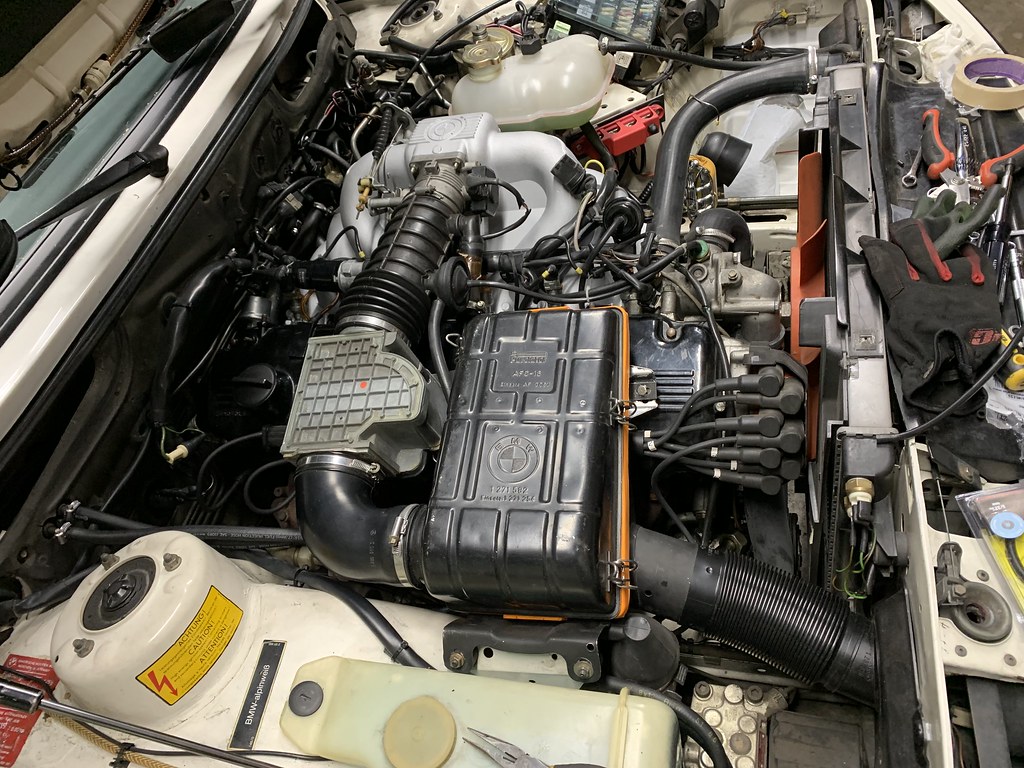
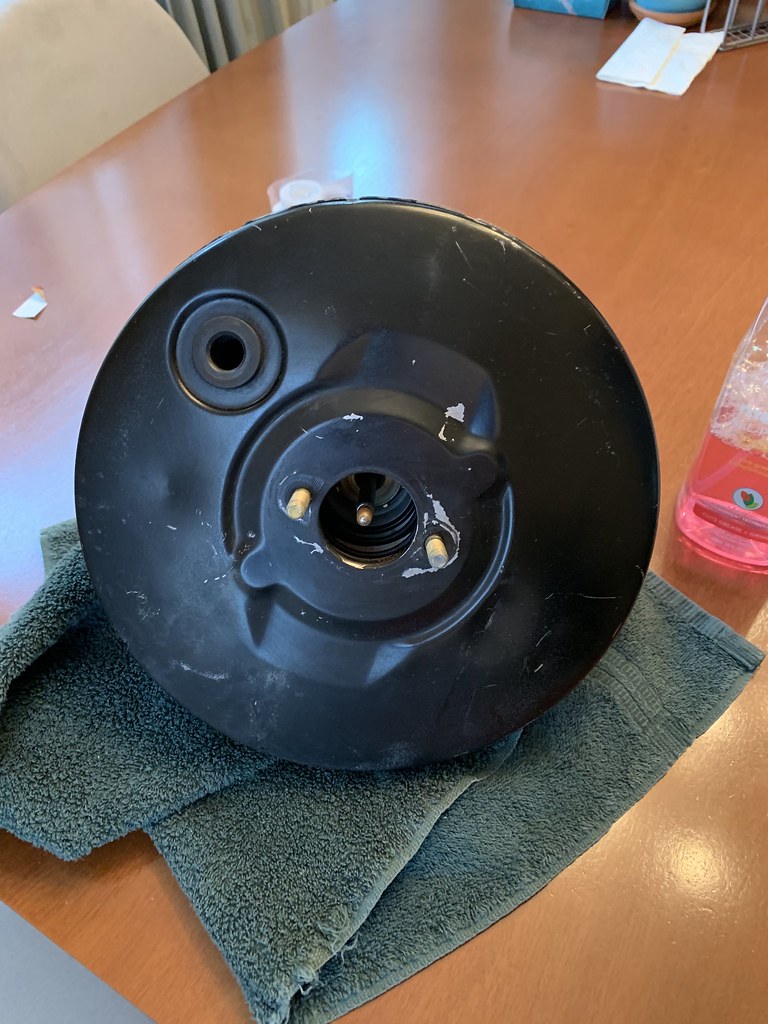
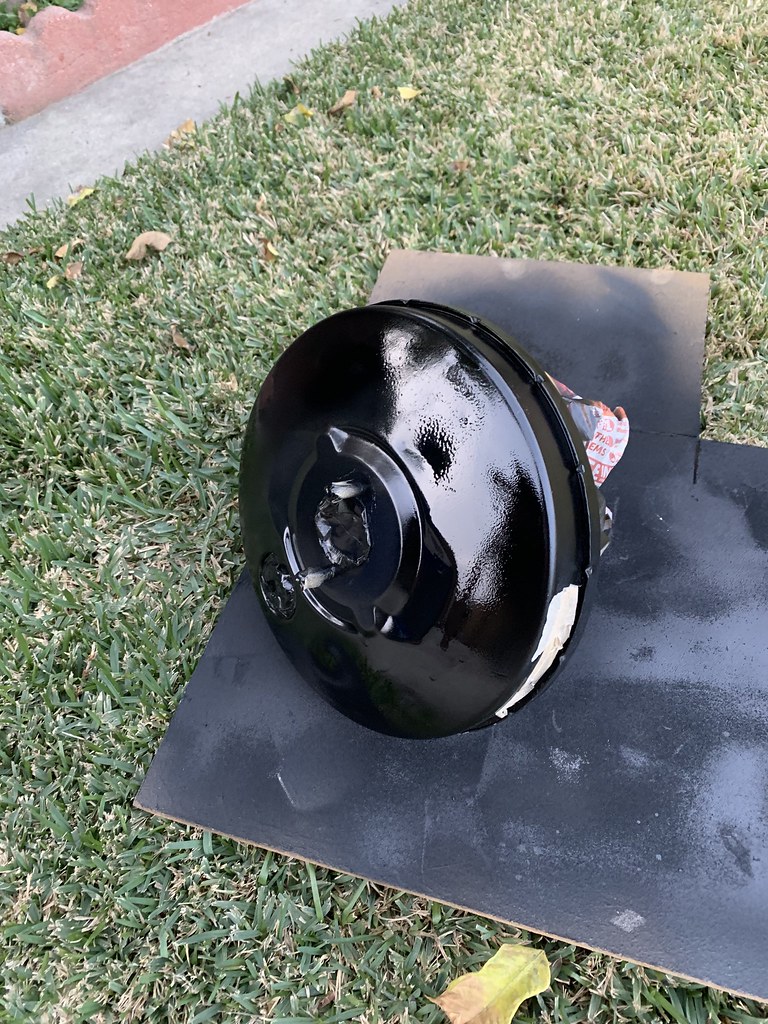
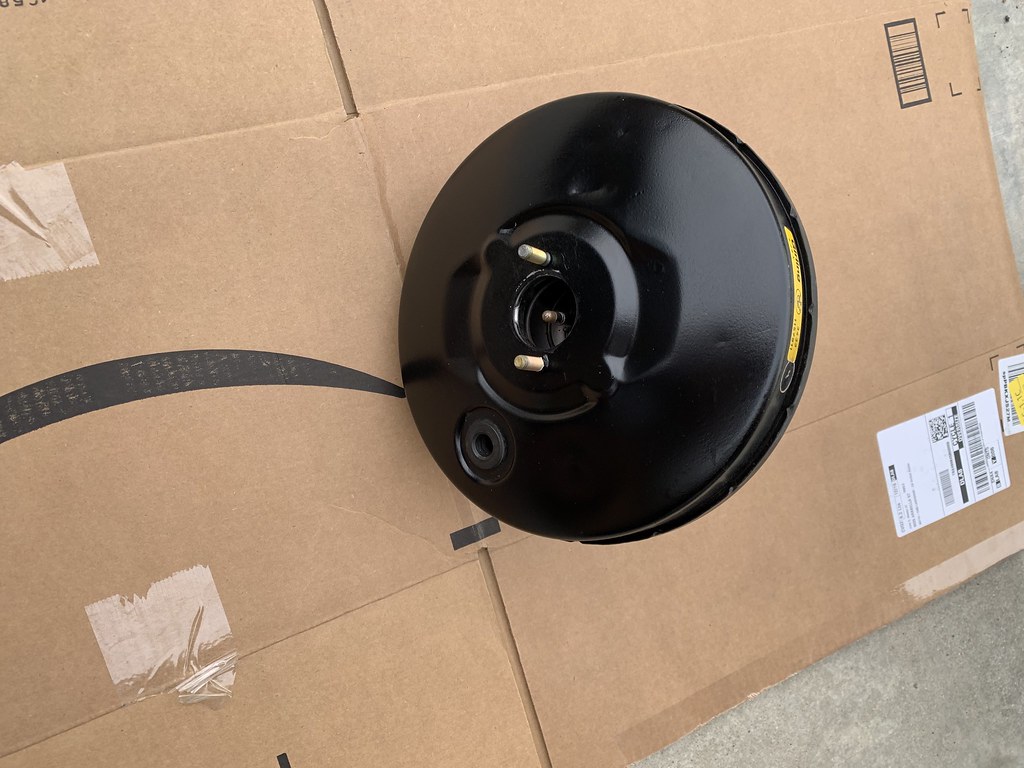
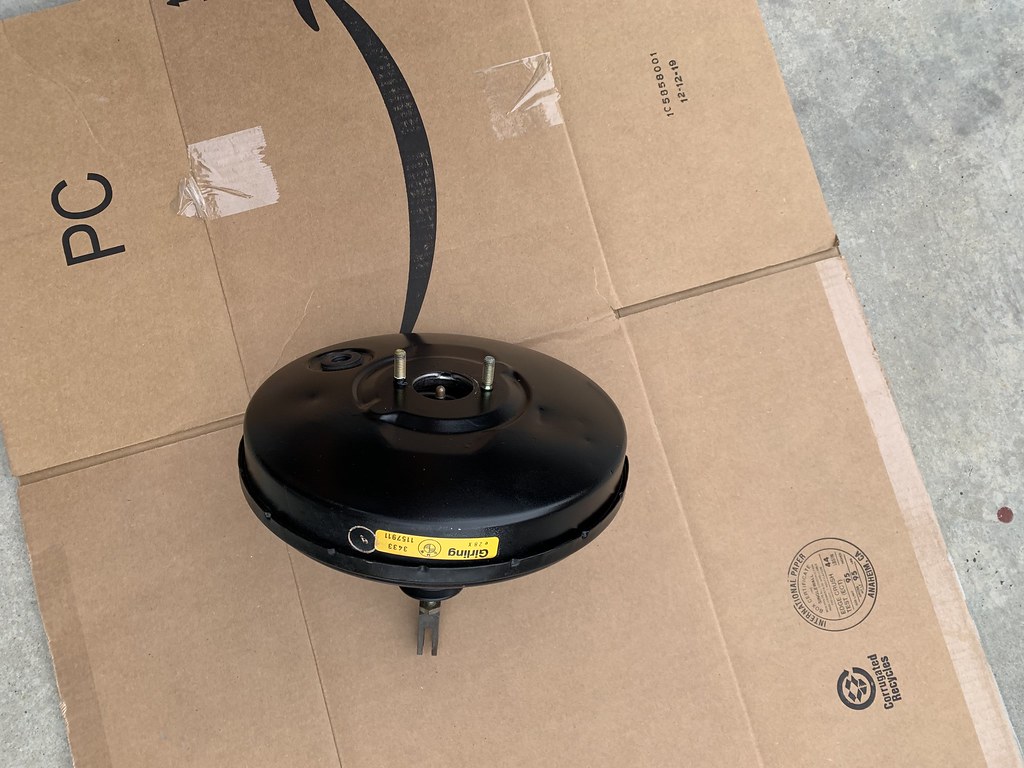
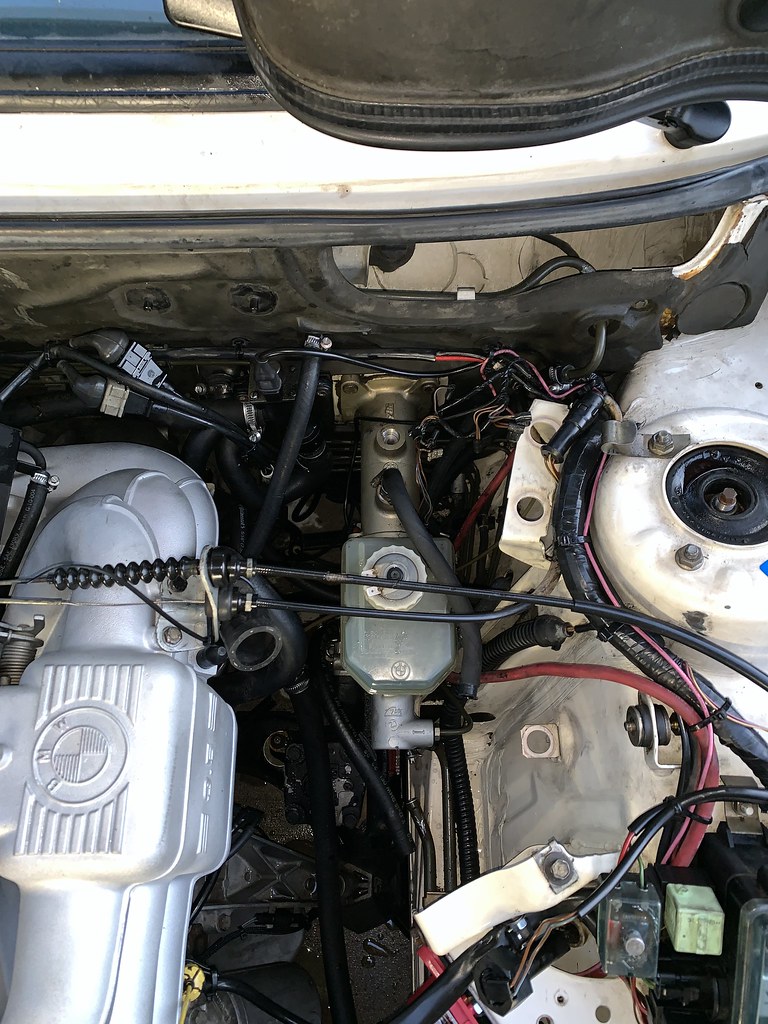
Routing the battery cable through the engine bay was a messy affair, as my brake booster leaked like crazy. I’ll discuss my remedy of that later. With the cable in the engine bay and the power bus bar mounted, I made the new terminal connections for the cable. I also made a new terminal connection for the power cable that runs to the starter. I also pulled off all the wiring for the fuse box. The original ring terminals for those wires easily screwed into the provided connections on the power bus bar.
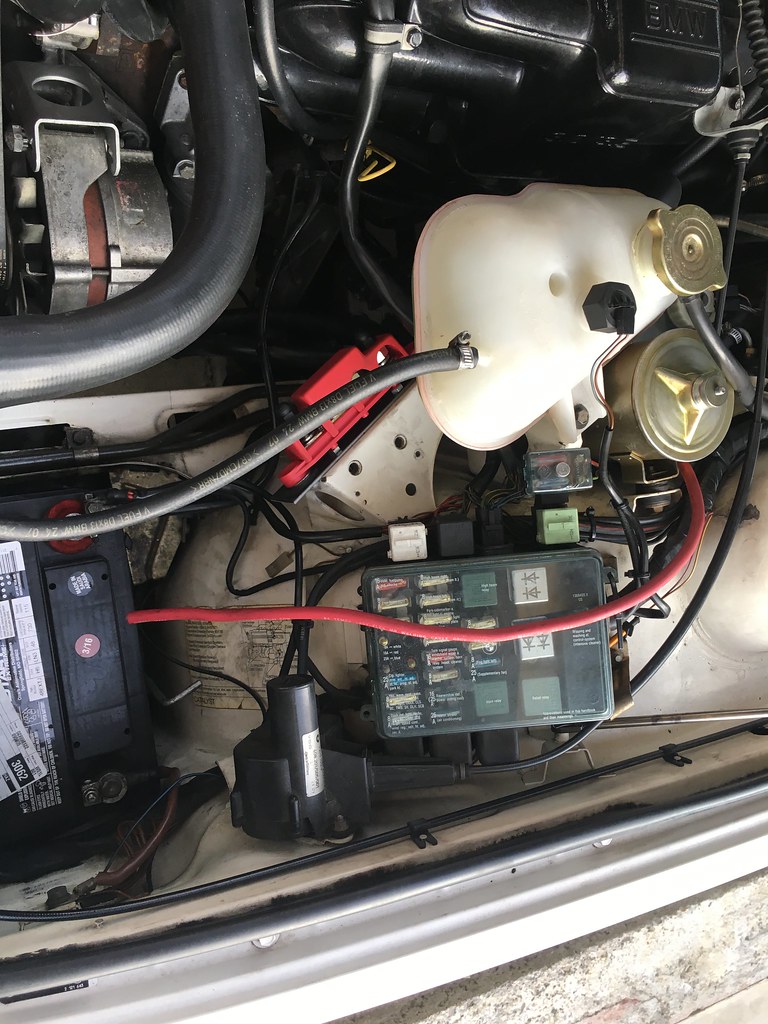
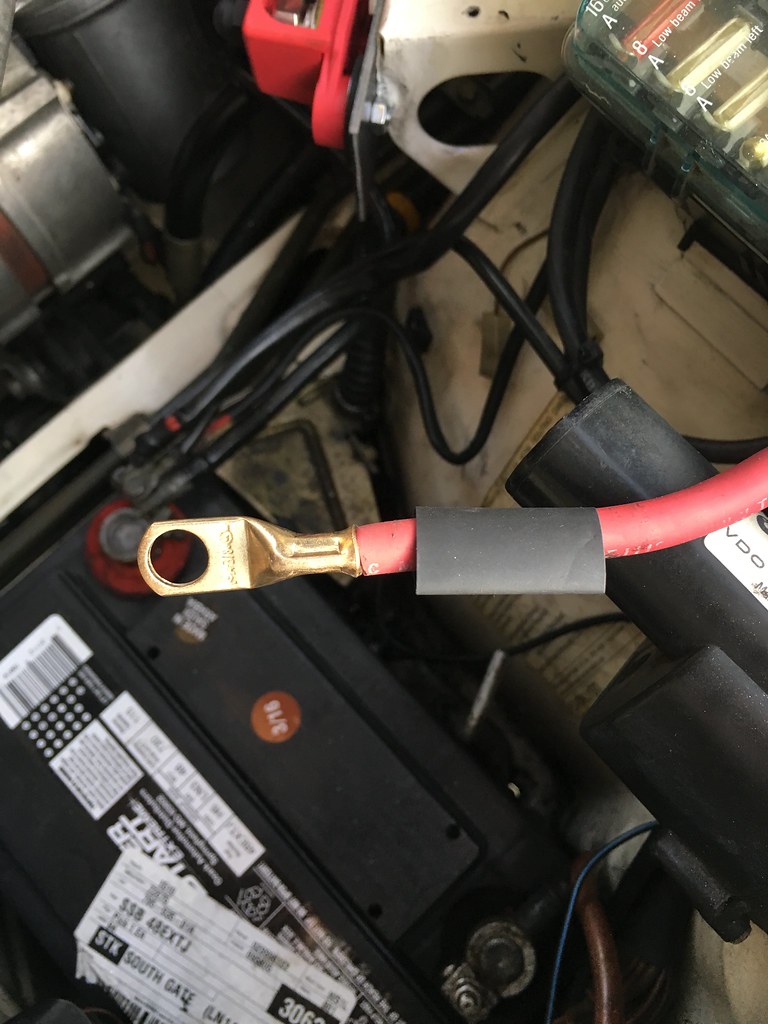
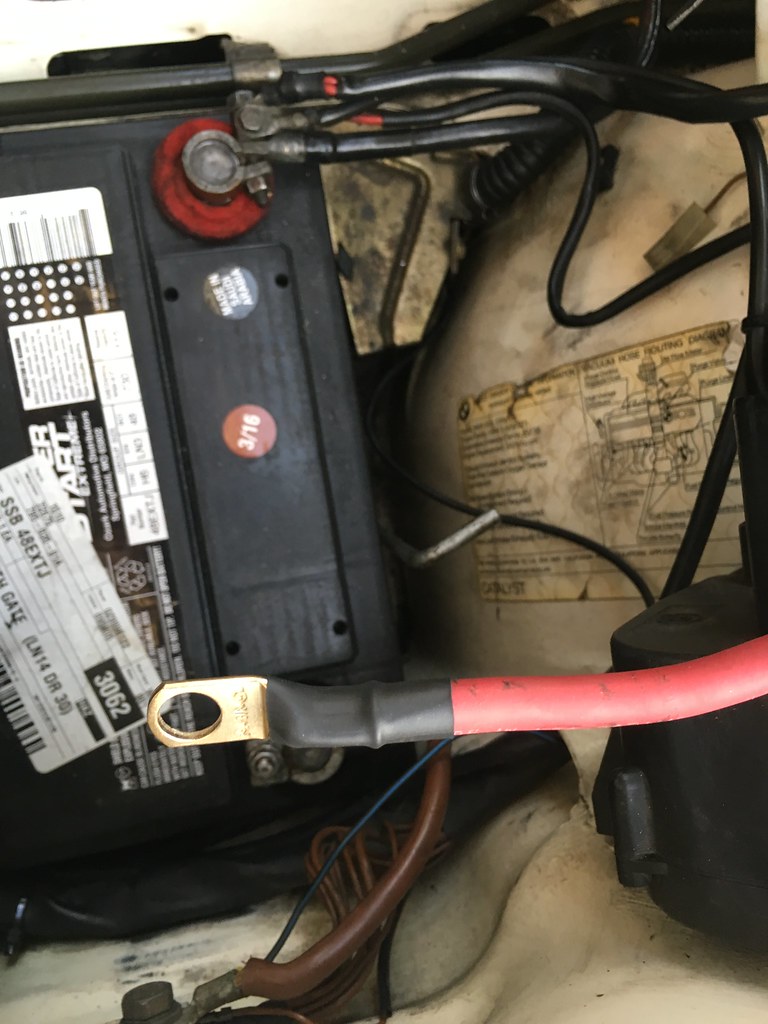
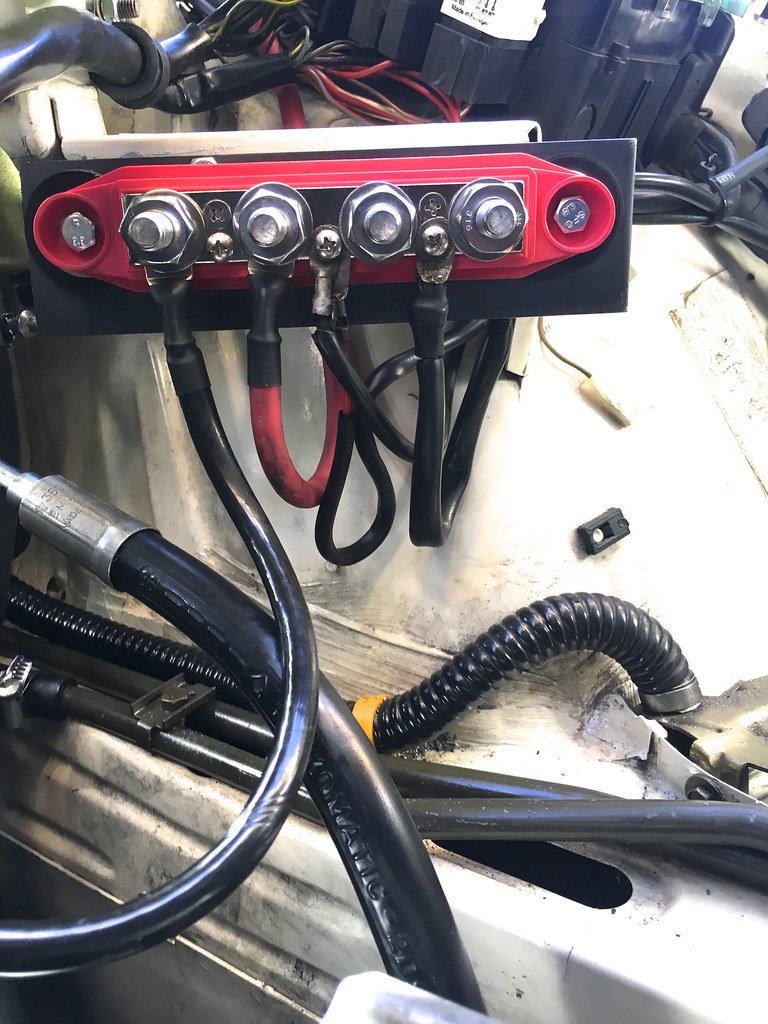
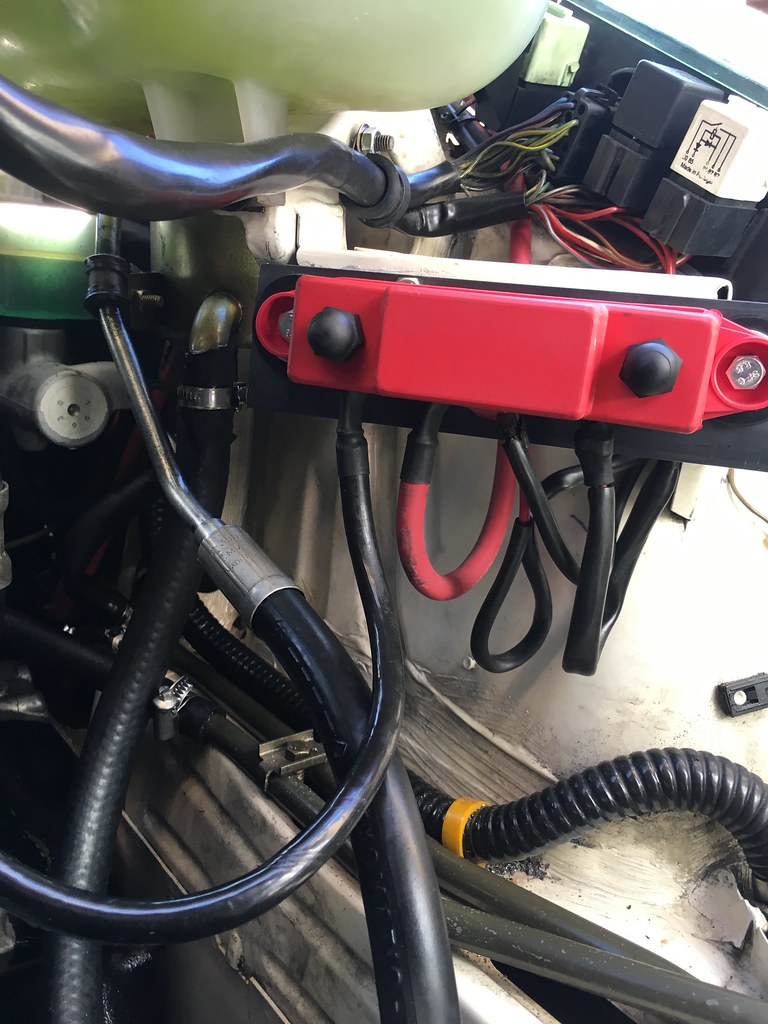
Now the battery was placed in the trunk. After a test start, the car fired right up with no problems, fires, or explosions.
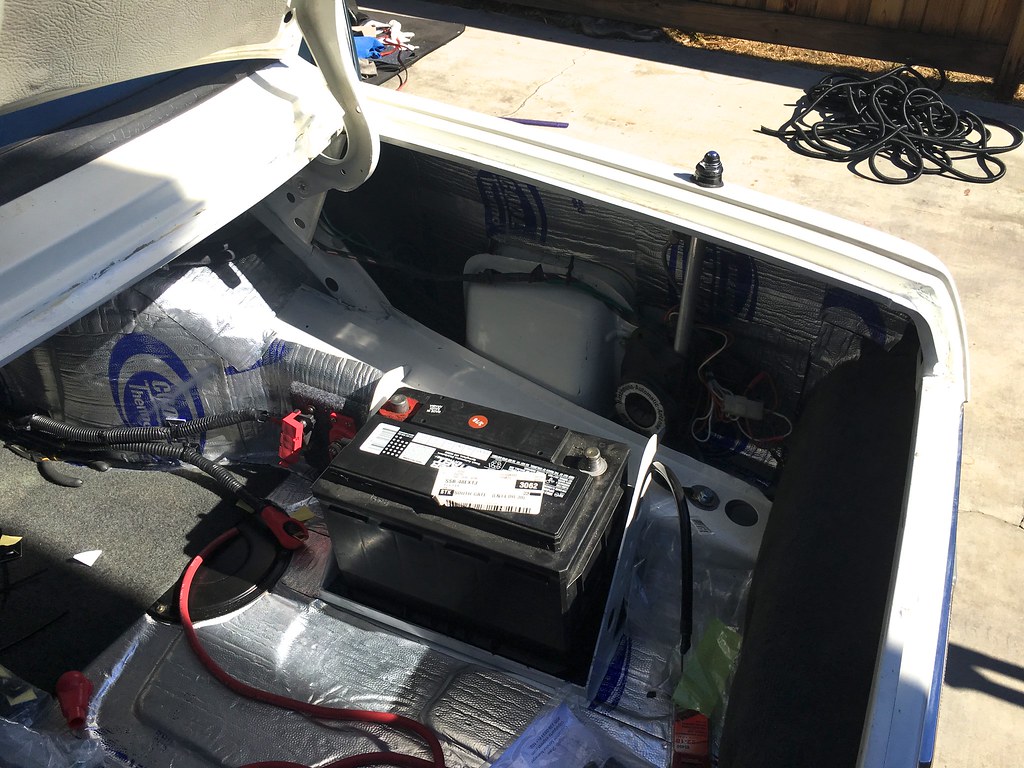
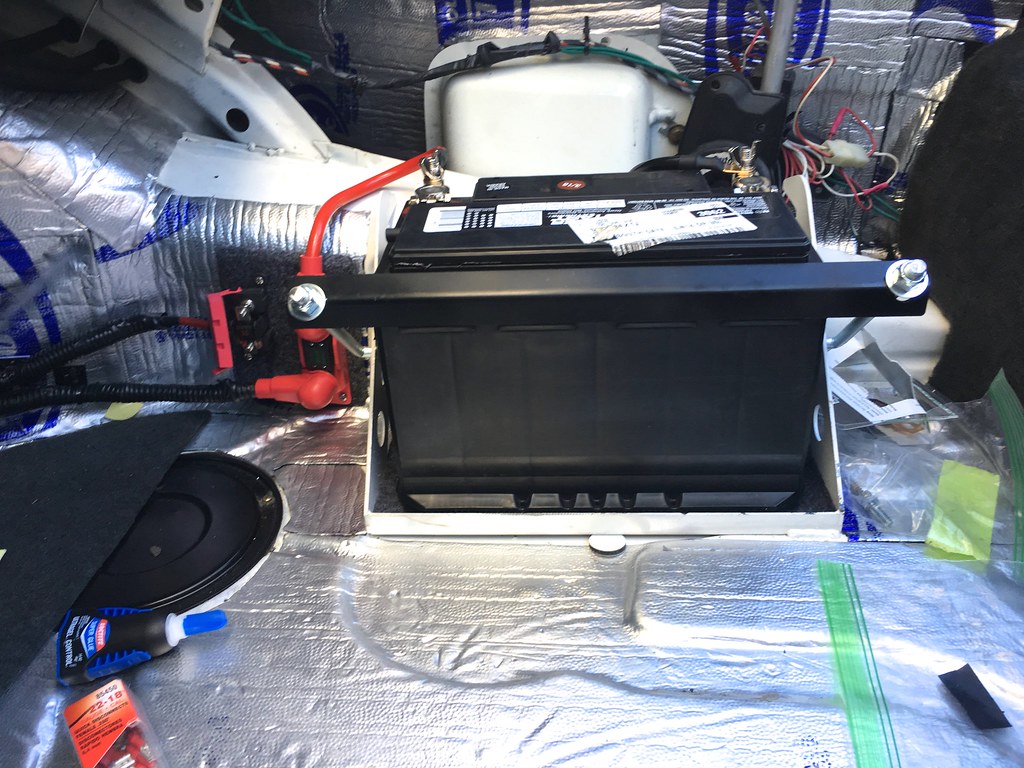
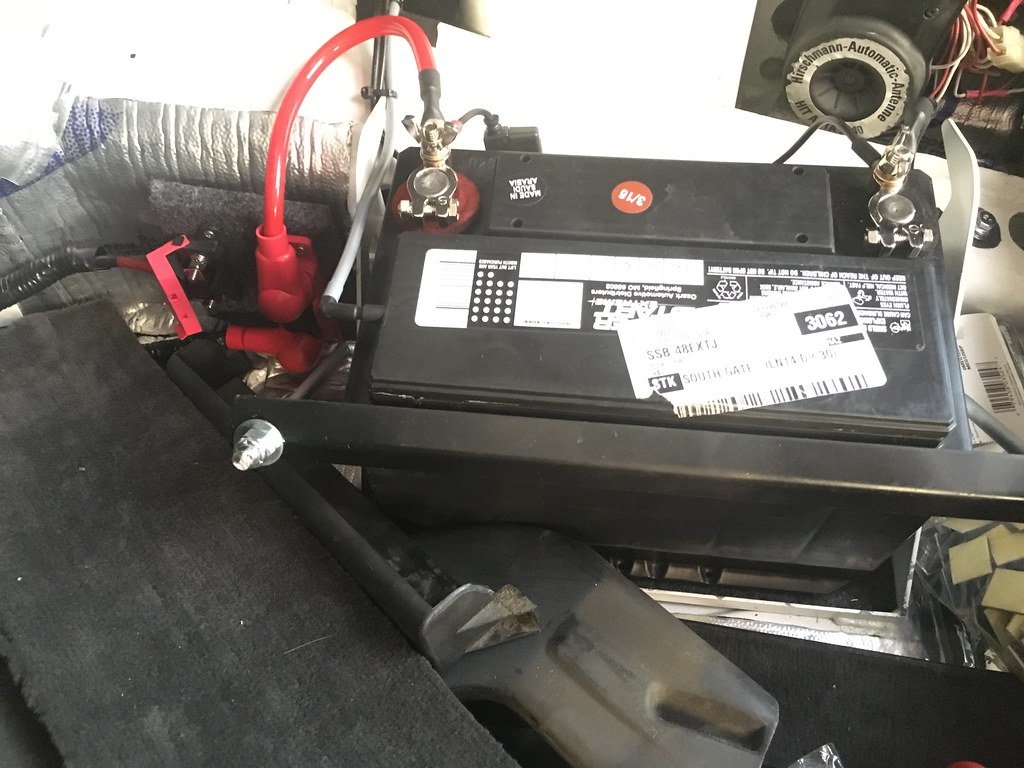
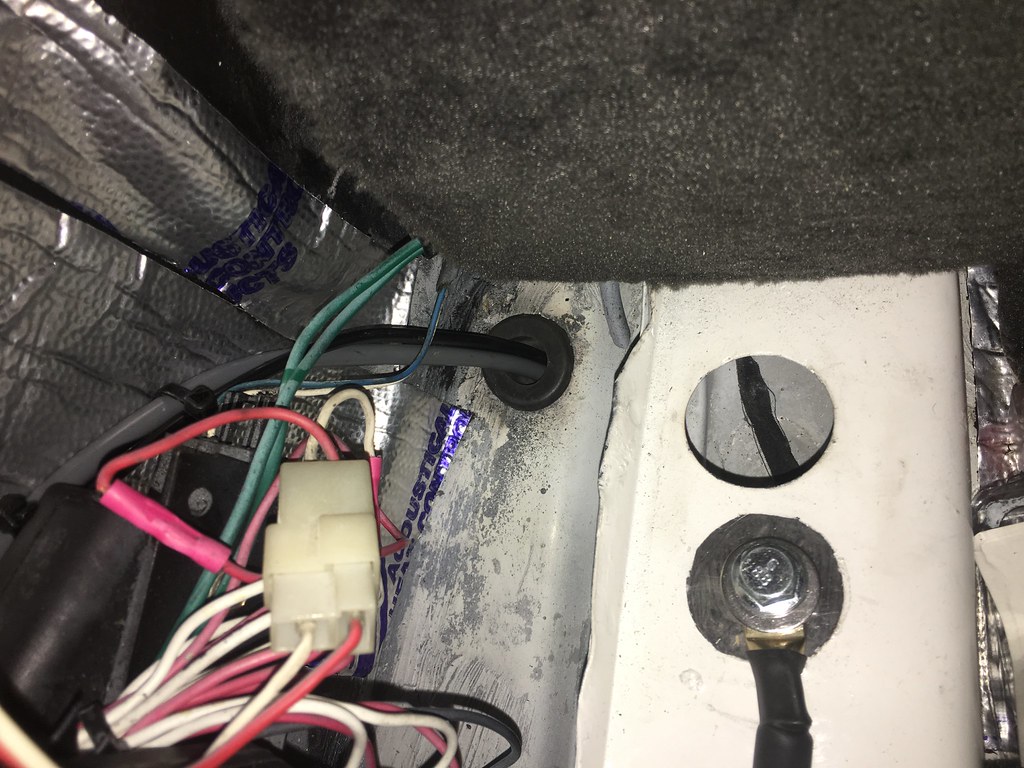
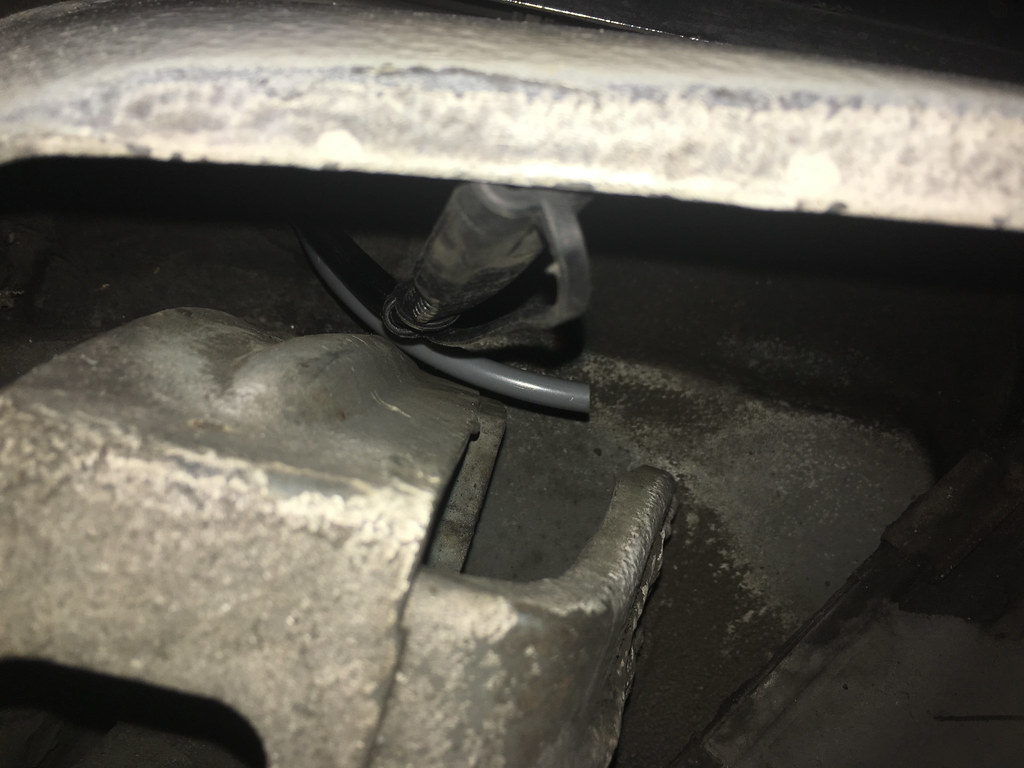
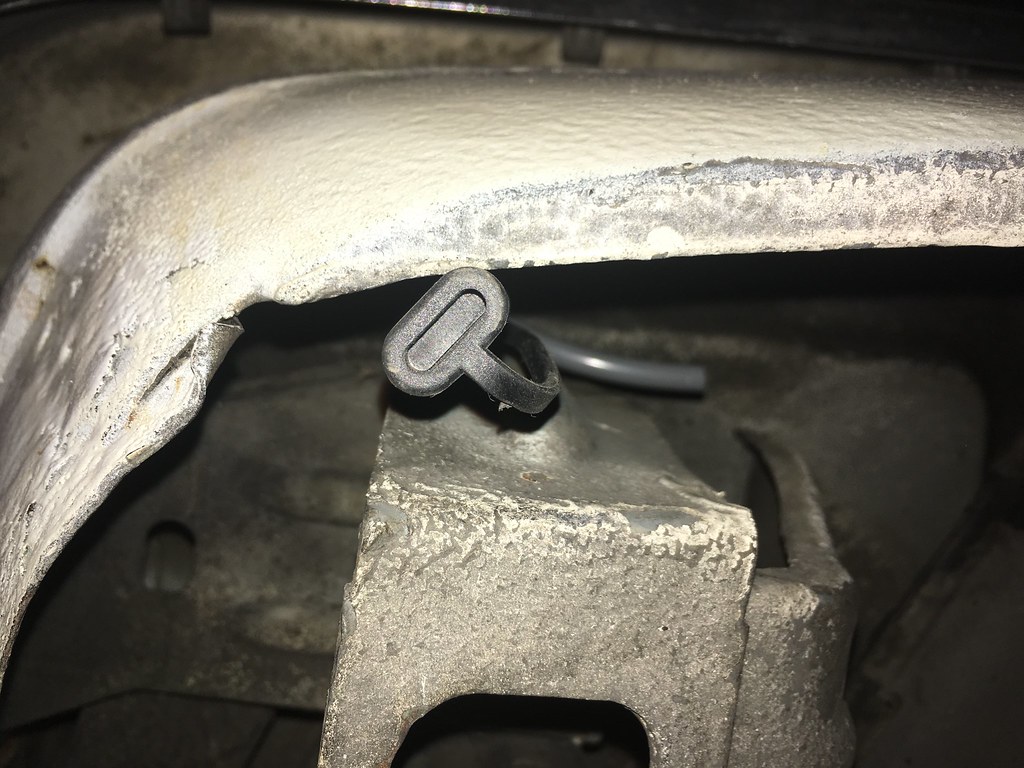
I made some adjustments as far as the ground cable length in the trunk. I also had a trickle charger that I hardwired to the battery terminals. I bought a generic battery vent tube from O’Riellys. I ran both the vent tube and charger wire out the trunk through the grommet leftover for the right rear parking light for the US bumpers. Both exited out the bottom of the trunk flooring. Now when the car is parked, I can plug the trickle charger underneath the car. When not used, the charging wire can discreetly be pushed out of sight.
Mission creep again. I purchased a United Auto Security keyless entry system almost a decade ago but didn’t install it. As the interior was apart, it was time to install it. The system adds keyless entry, auto locking after the car has started, basic alarm function, in addition to some other features. All the features can be enabled or disabled depending on what you want. I only made one modification. The factory wiring diagram has the keyless entry flashing the parking lights instead of the turn signals. I wired it to turn the signals when locking and unlocking.
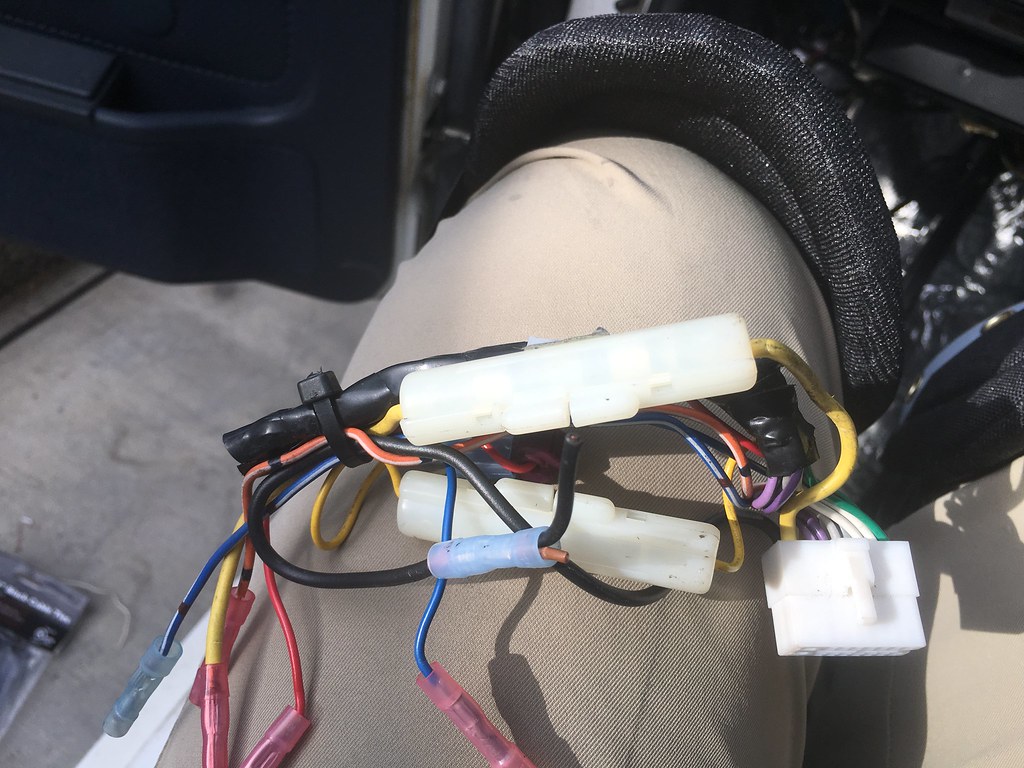
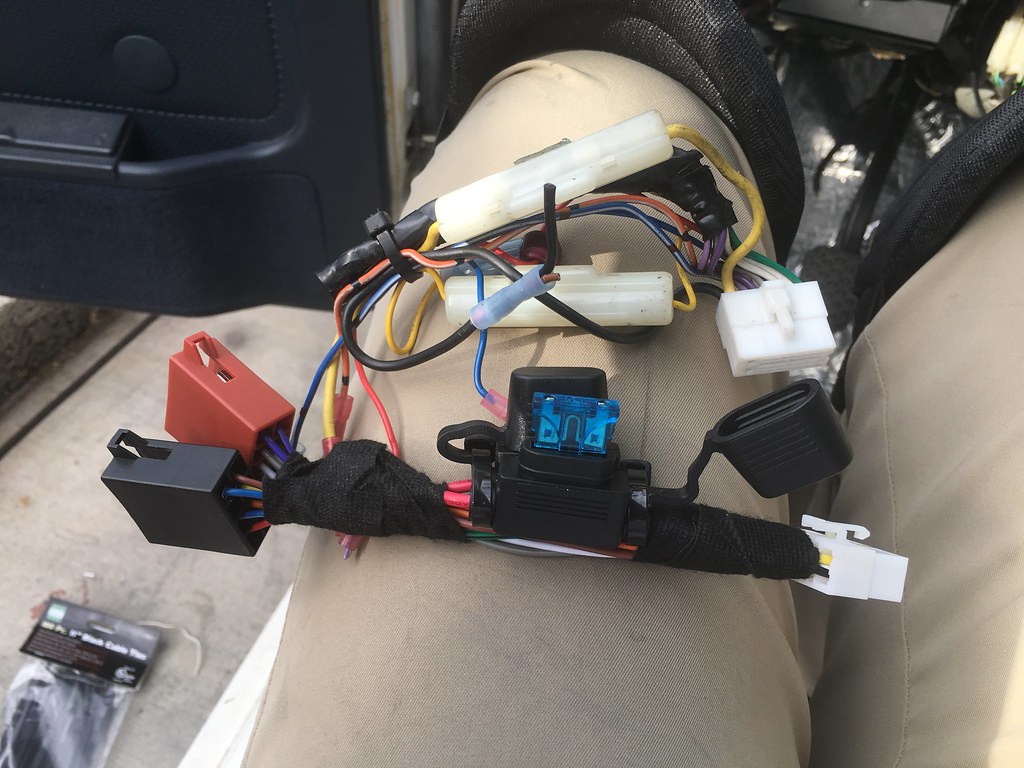
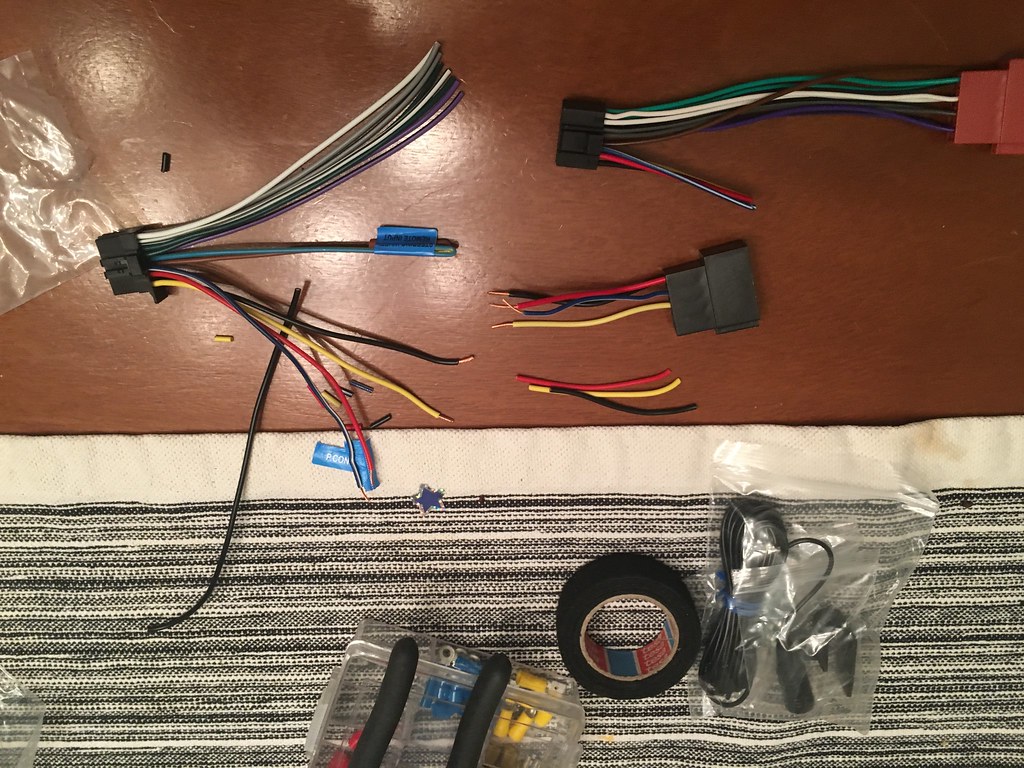
I started with a gang of wires.
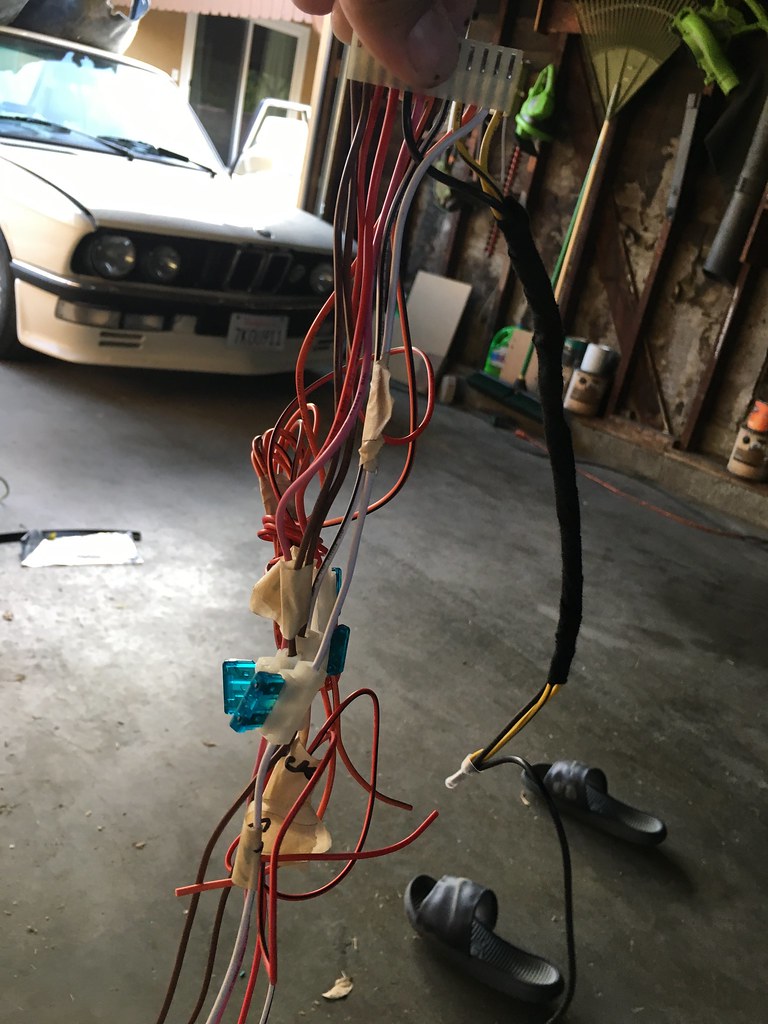
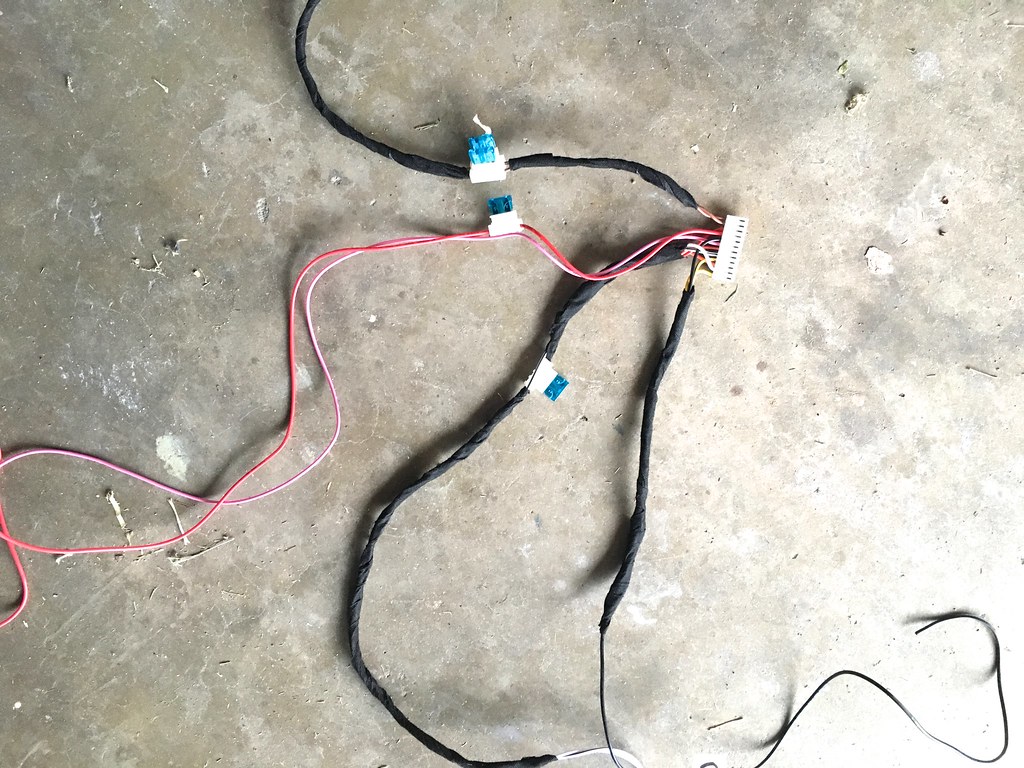
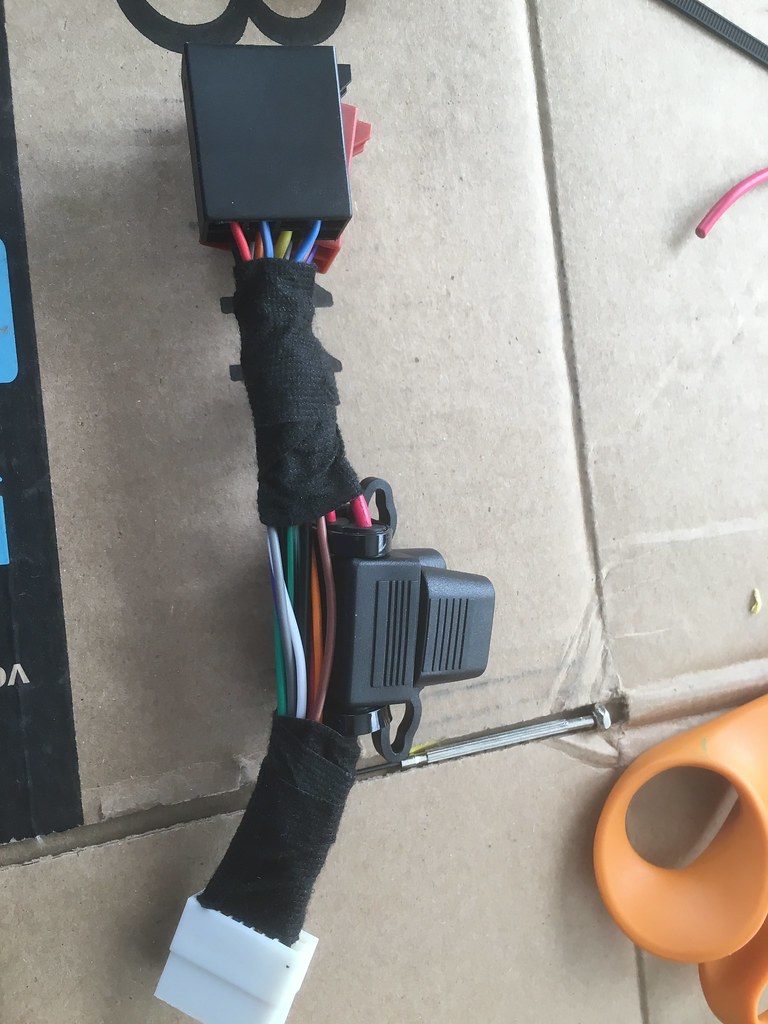
But I pared it down to what was needed to operate the computer for the keyless entry.
Then it went in with little fuss.
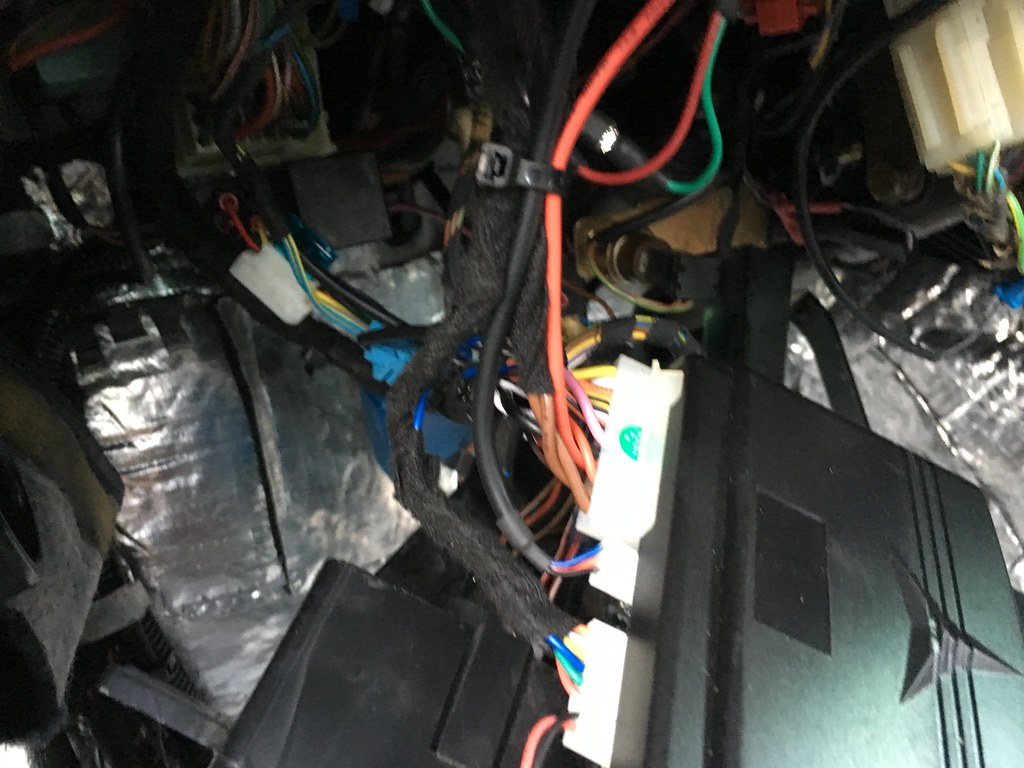
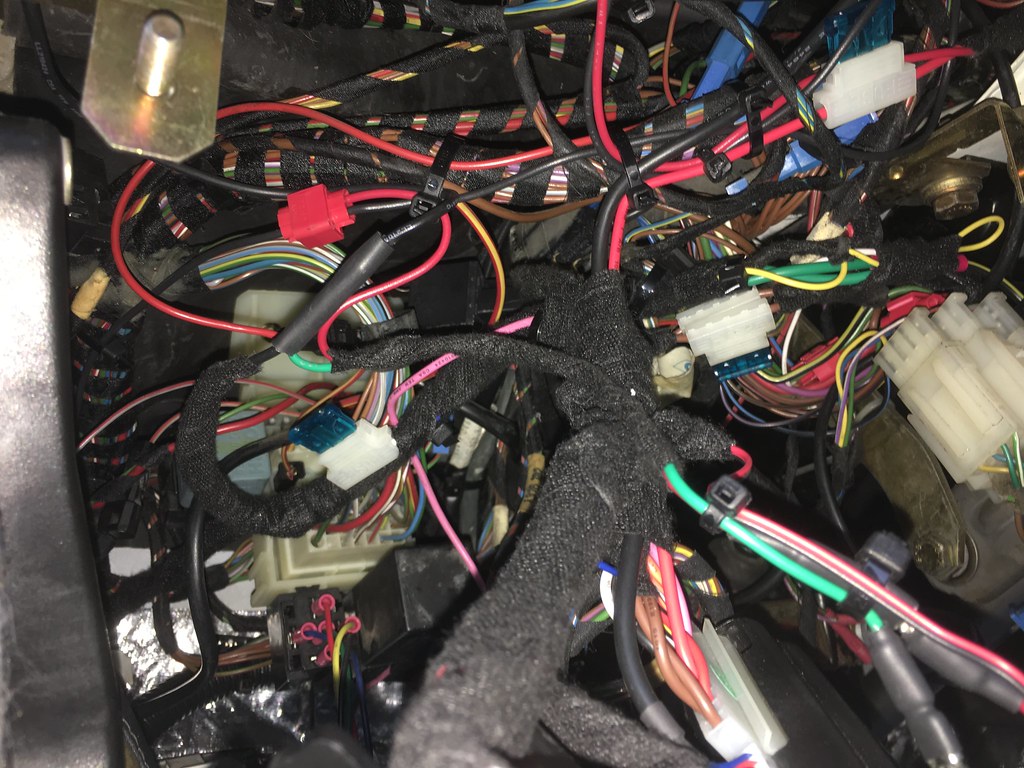
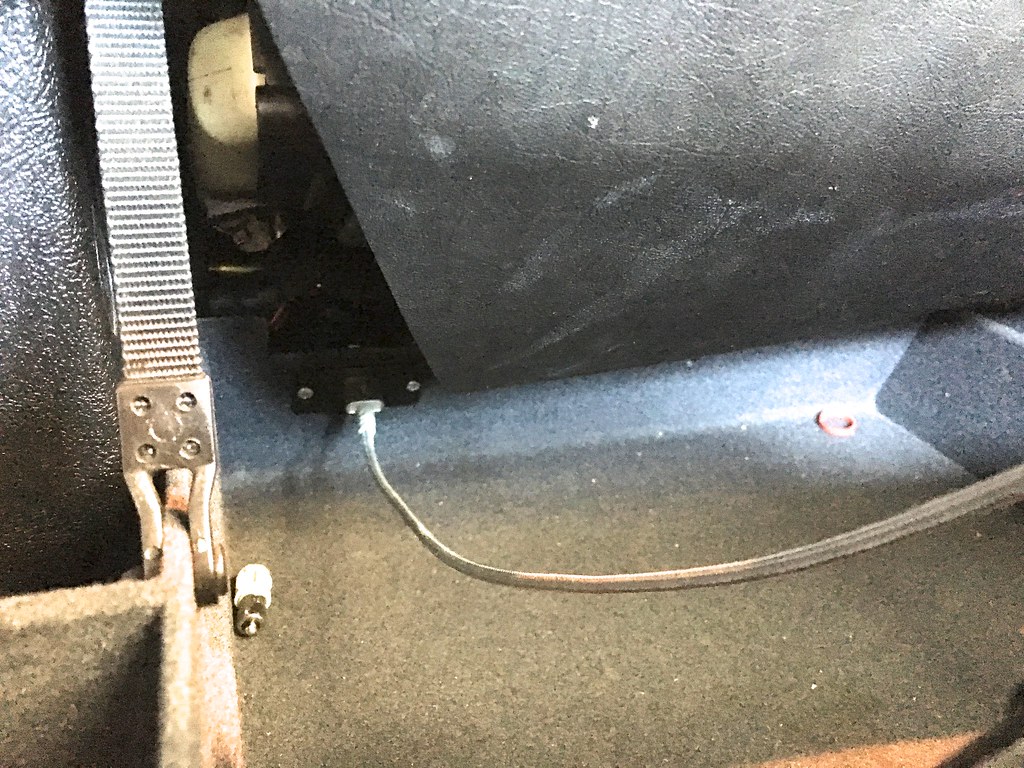
I stealthily connected and hid the wiring harness.
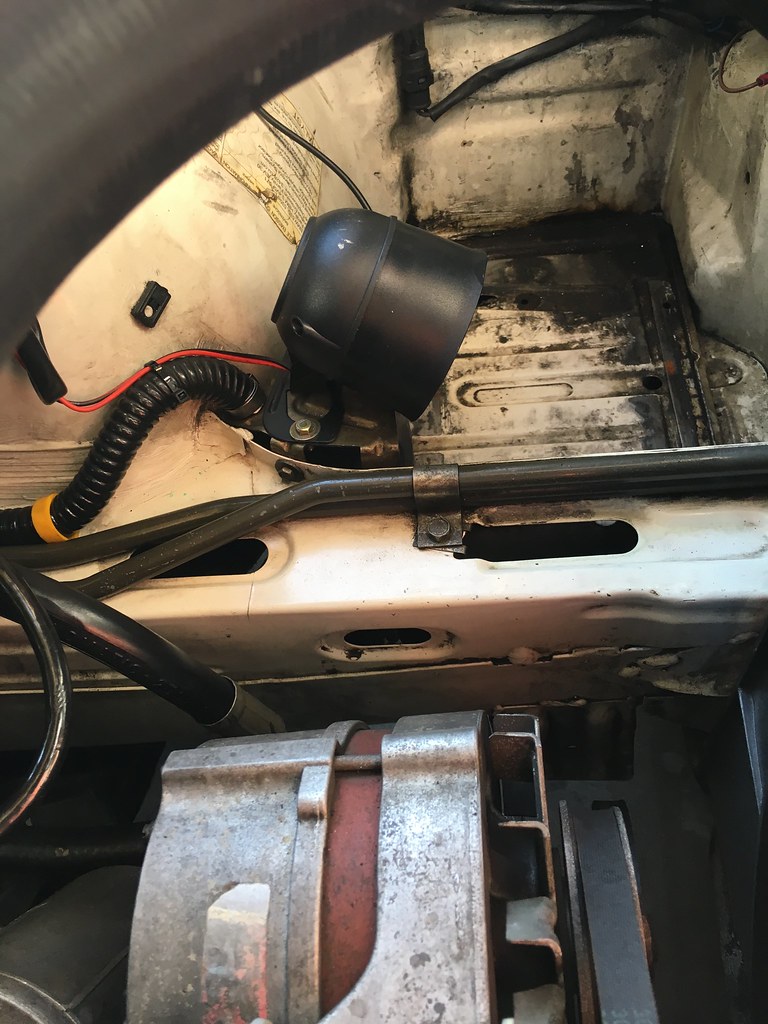
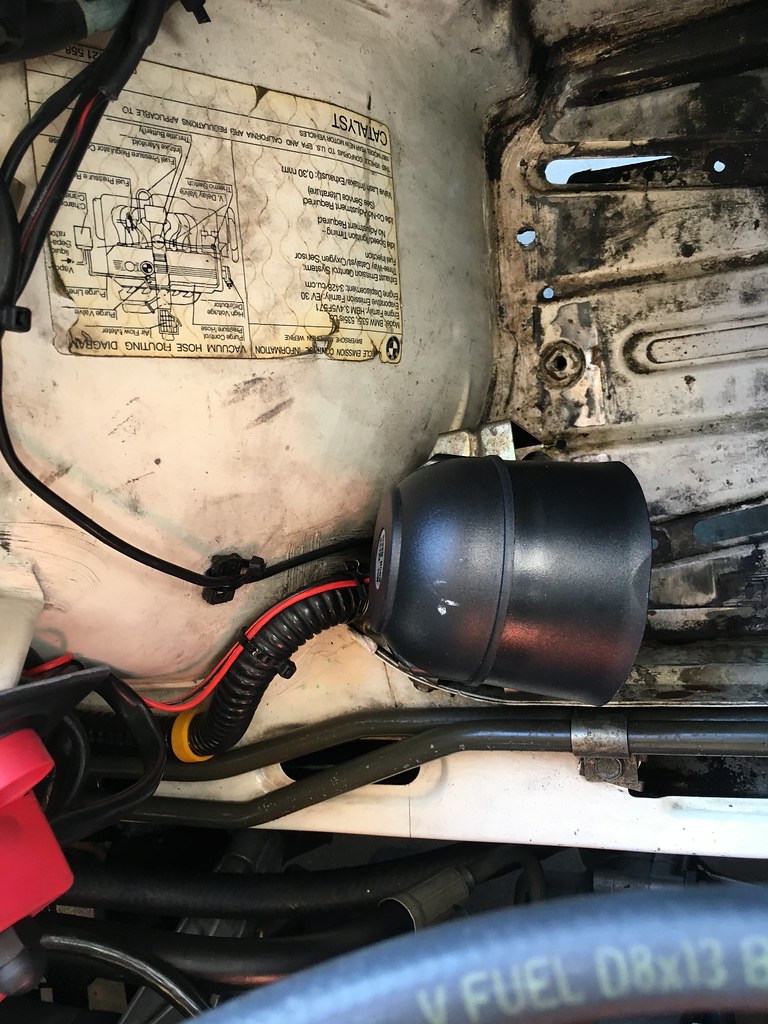
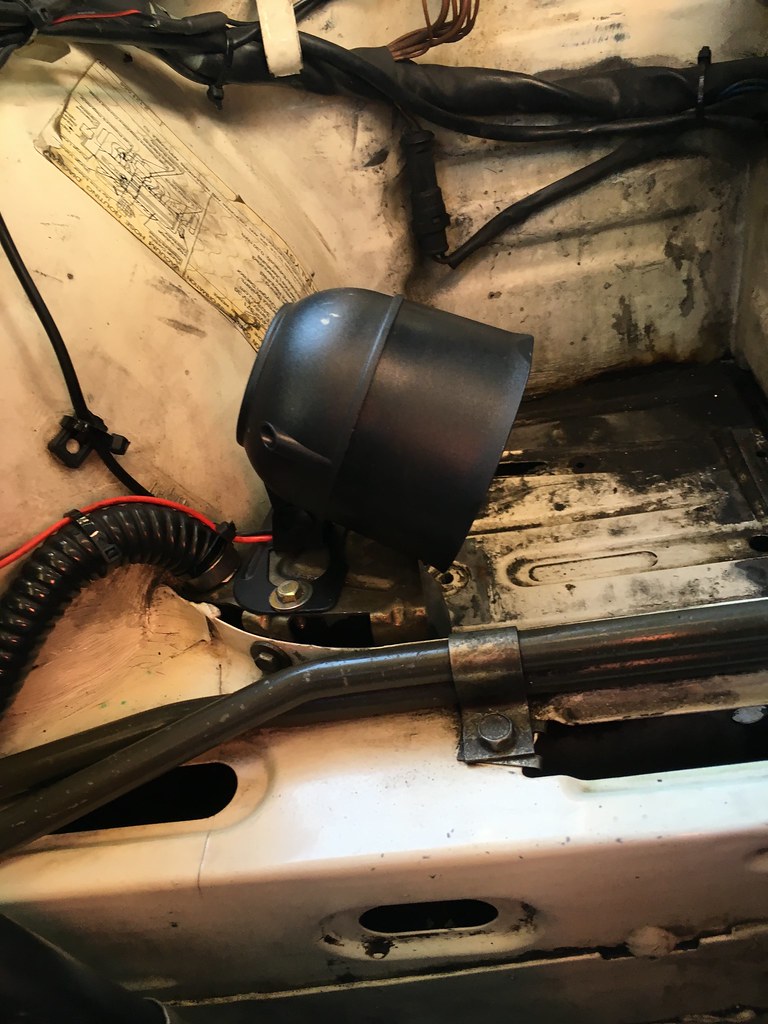
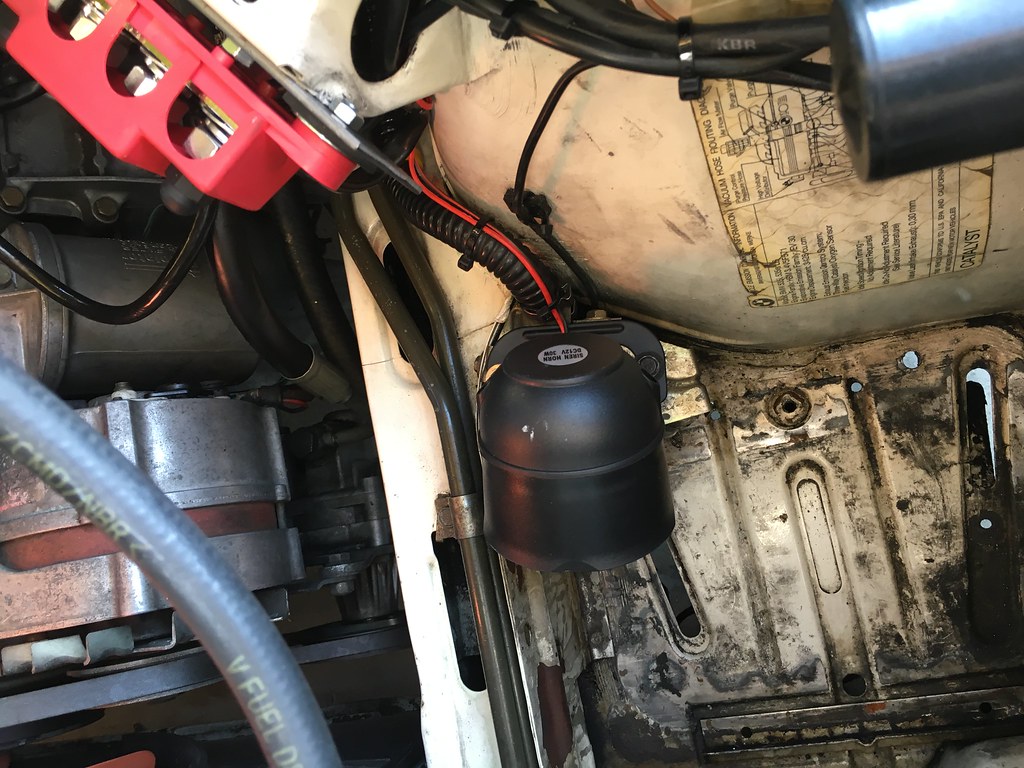
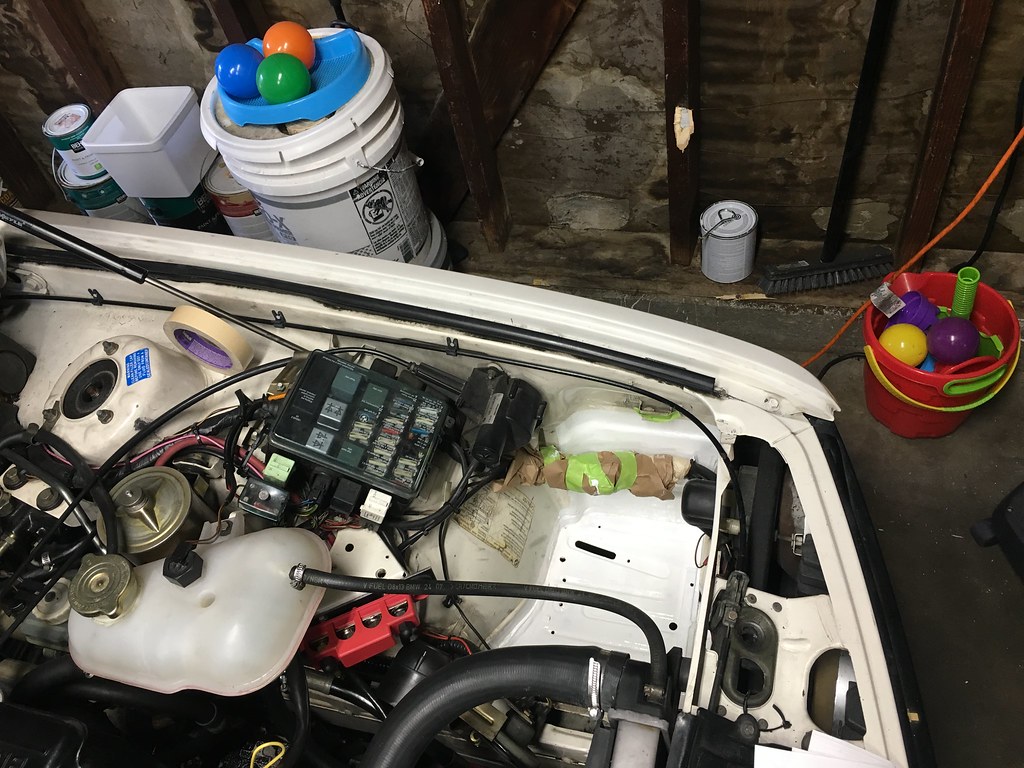
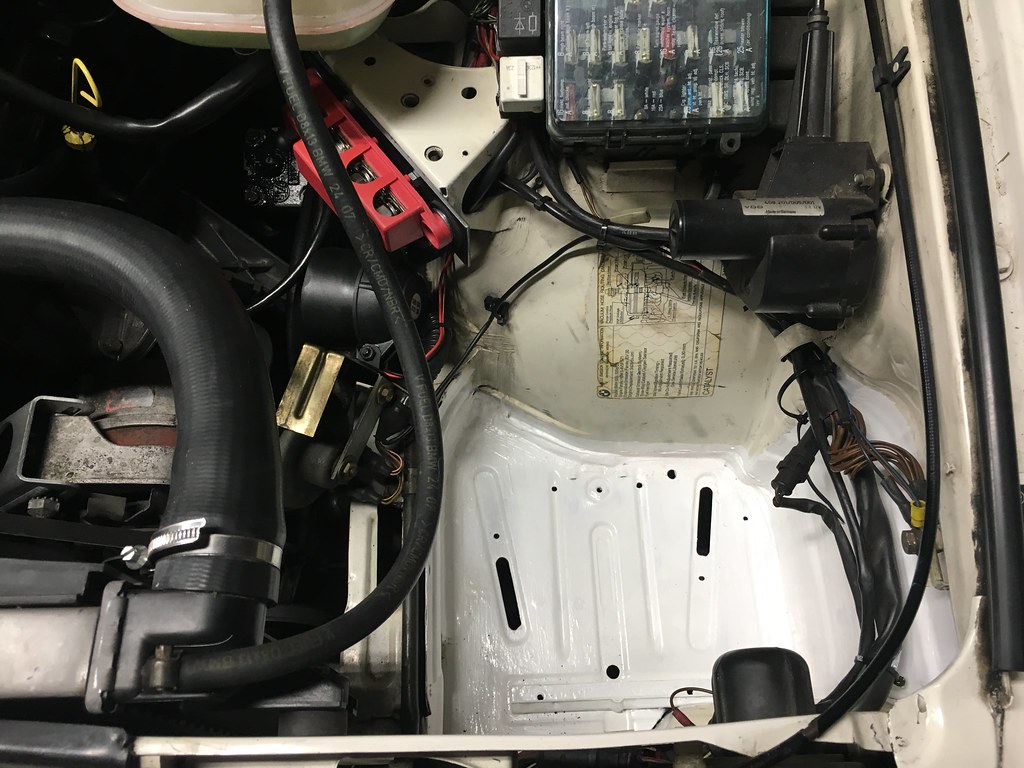
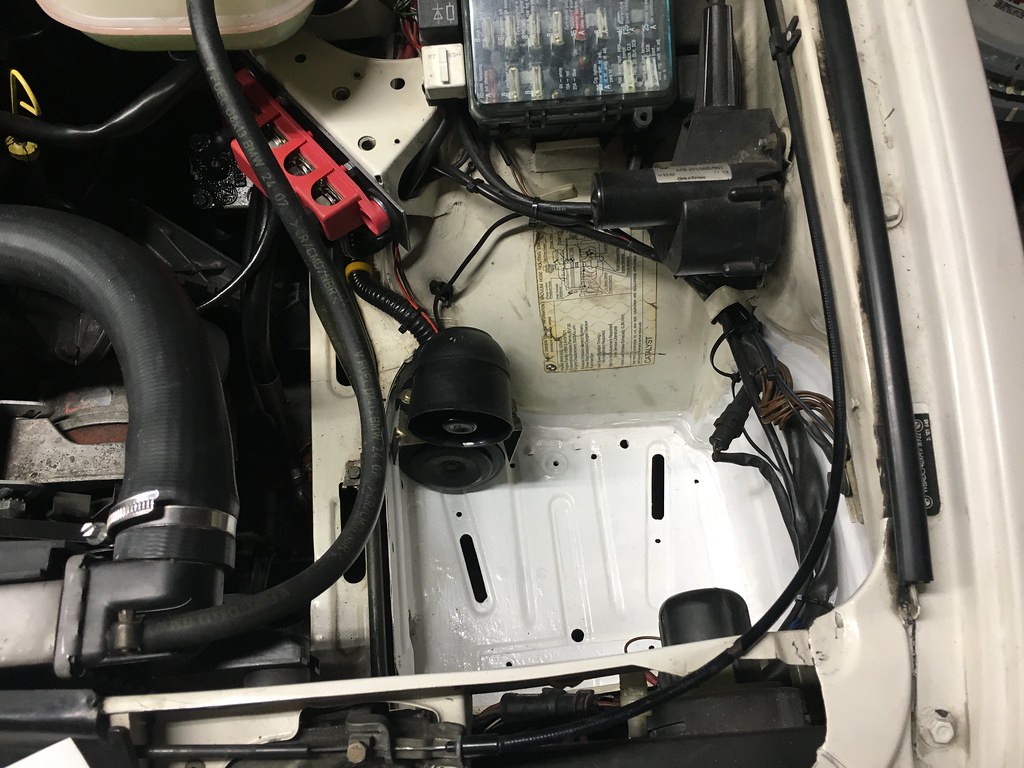
The siren was installed just above the car horn.
More mission creep. My instrument cluster has always been unreliable. I replaced the cluster circuit board twice during my ownership. That would always fix issues temporarily until they returned. My car was currently suffering from an inoperative tach and temp gauge. I planned to remedy this finally without buying another circuit board. But if I was dissembling the cluster, I thought I’d better do those other mods I wanted.
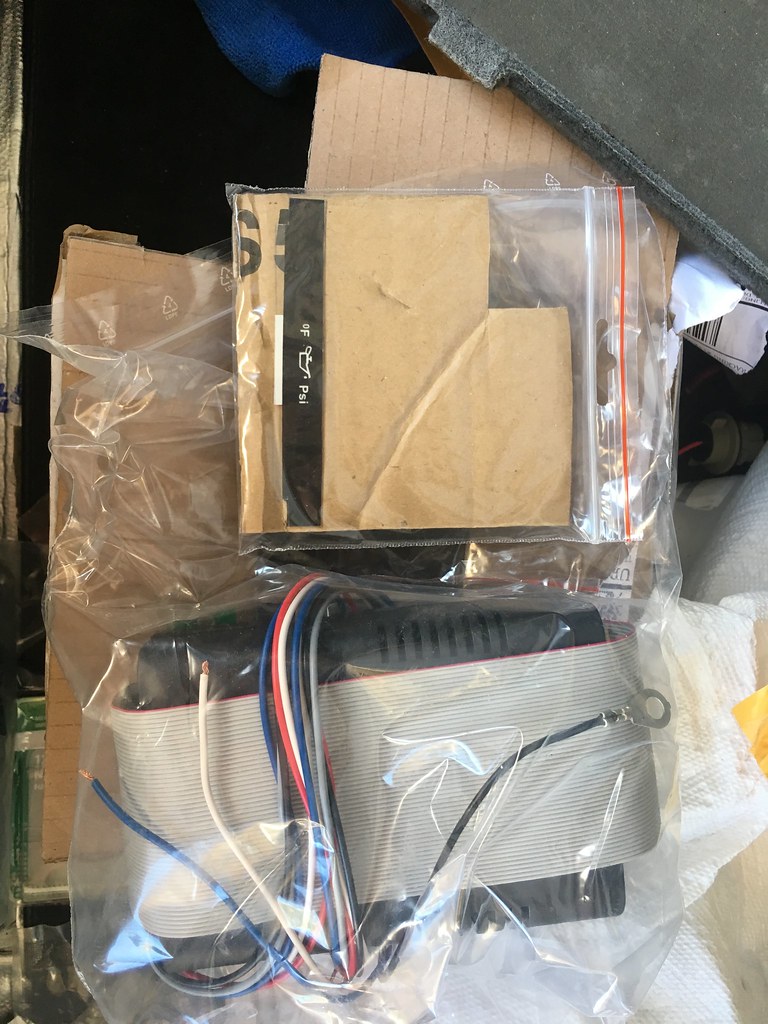
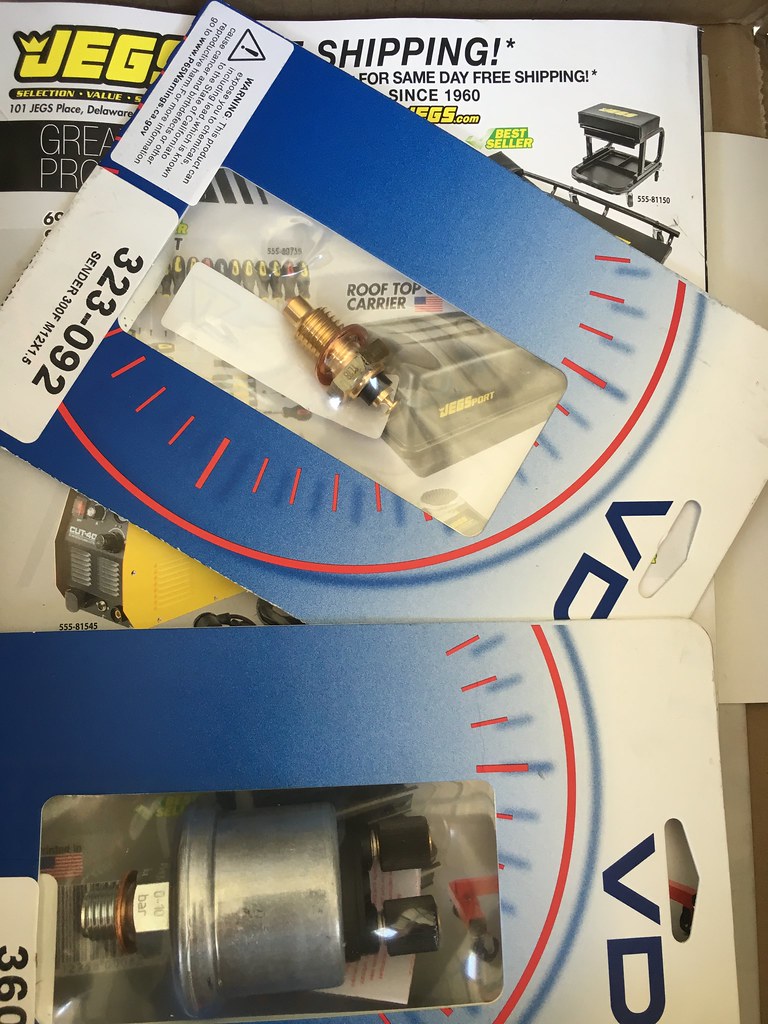
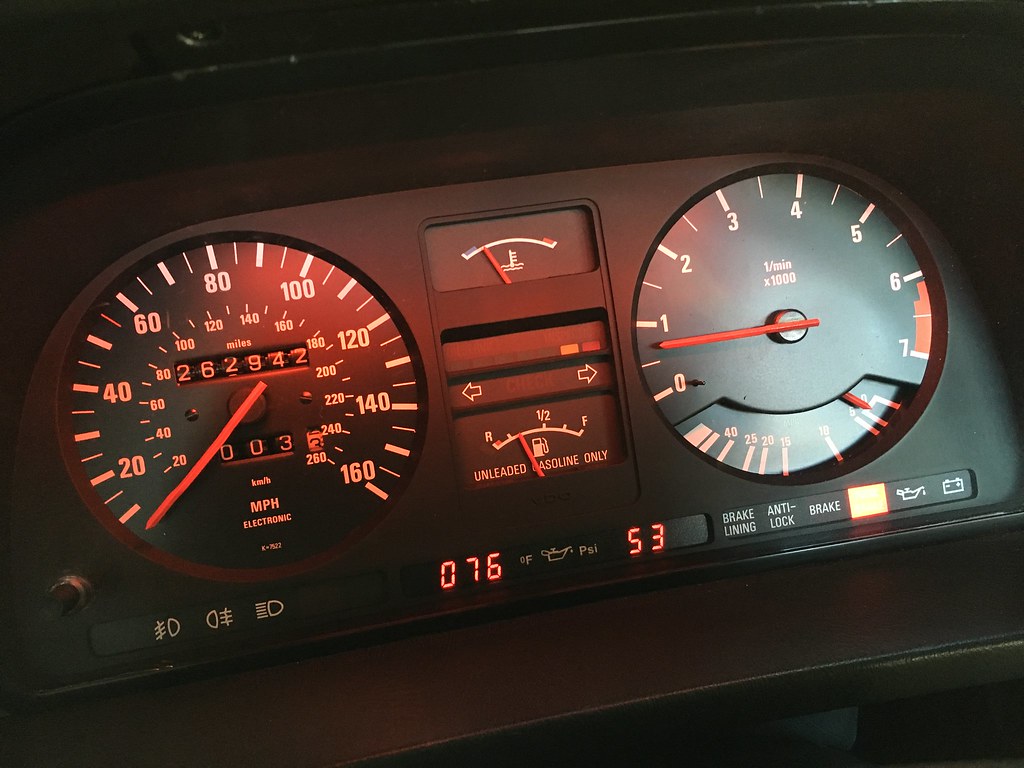
There was a group buy for the digital oil temp and pressure gauge for the instrument cluster here on mye28. I missed that but directly contacted Ronald who makes the kit. He still had them in Psi/°F, and he shipped one over with no issue.
I also decided to add the rear foglight, and wanted the appropriate cluster indicator. I found a euro spec indicator in Greece on eBay.
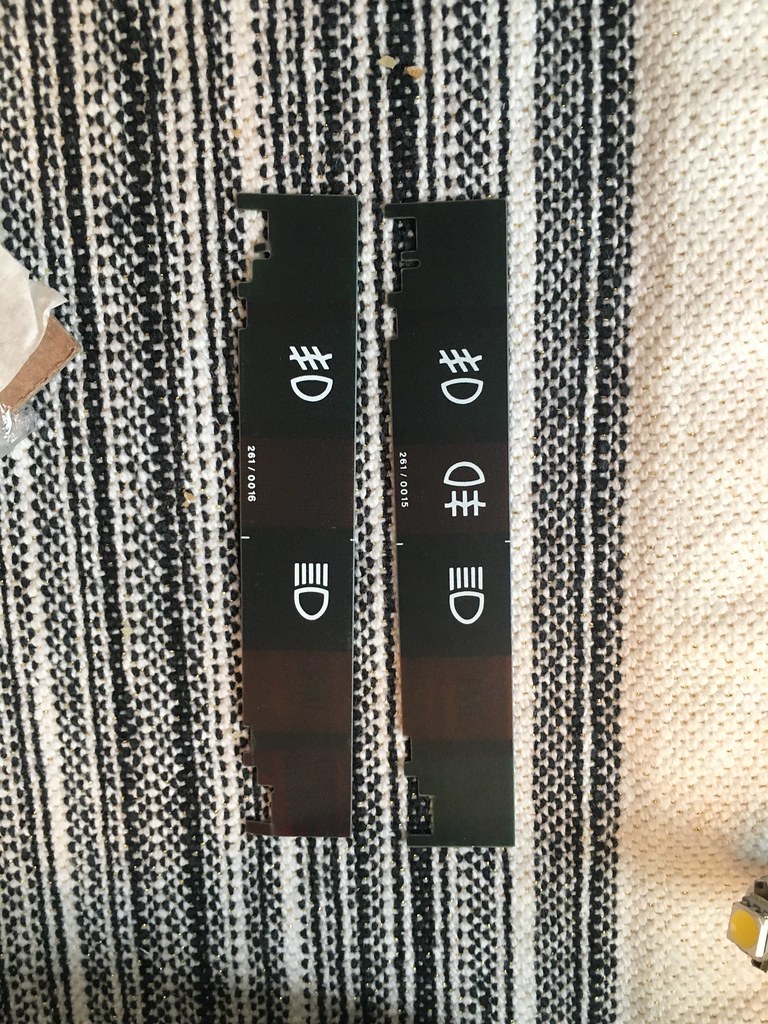
As for the tach and temp gauge issue, my best educated guess after reading posts here and elsewhere was that the batteries were dead. I wanted a more permanent solution than batteries that would keep dying out. The cluster requires 3 volts to operate correctly. After more internet research and browsing I found a 12 volt to 3 volt converter for about $5.00 on Amazon. I figured it was worth a shot, not much more than batteries, and far less than buying a new circuit board at $250 or so.
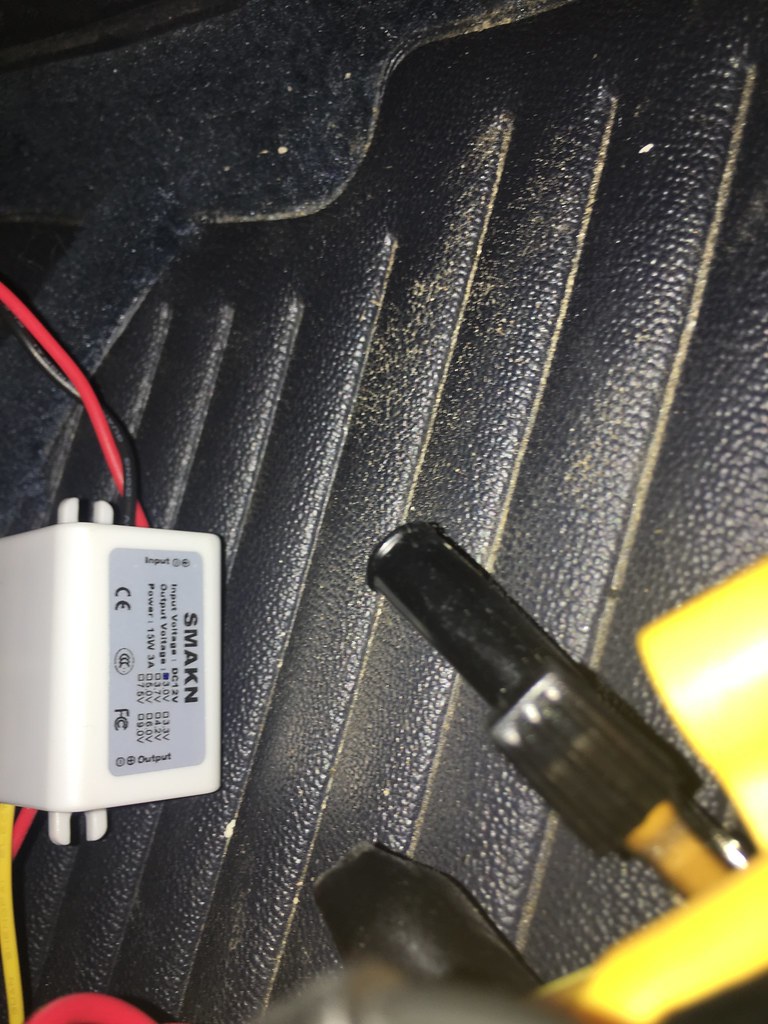
With everything purchased for the cluster, I disassembled it, and soldered the wiring for the step down converter. I drilled a hole in the back of the cluster housing to allow for a connection to the converter, which would sit in the dash behind the cluster.
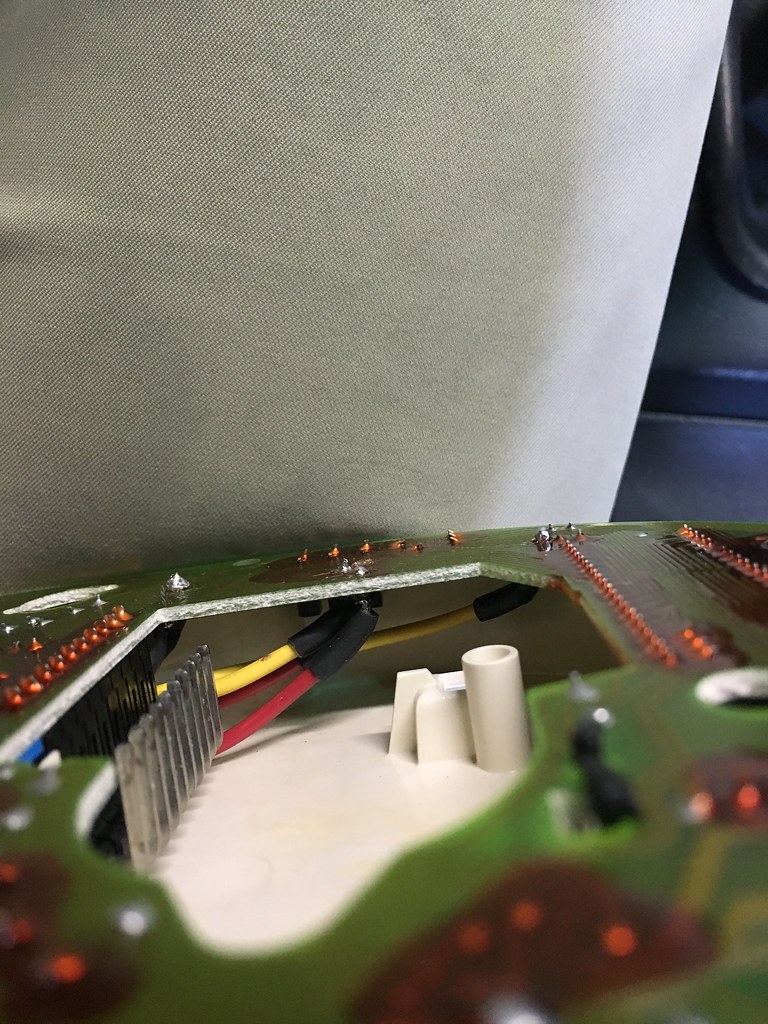
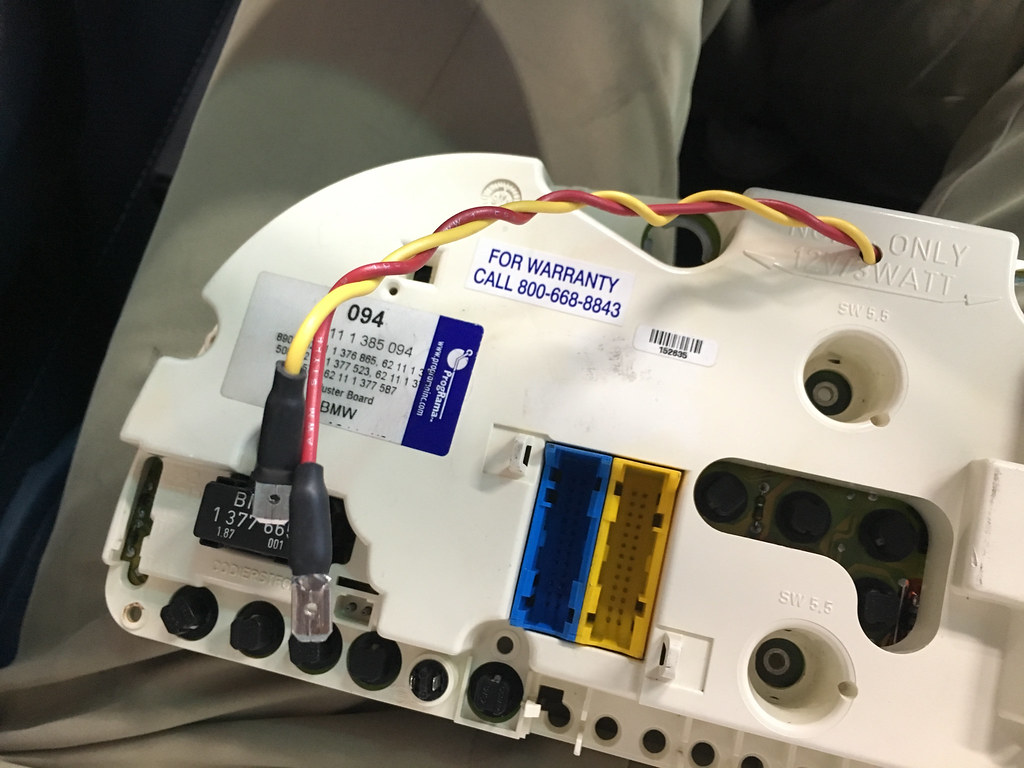
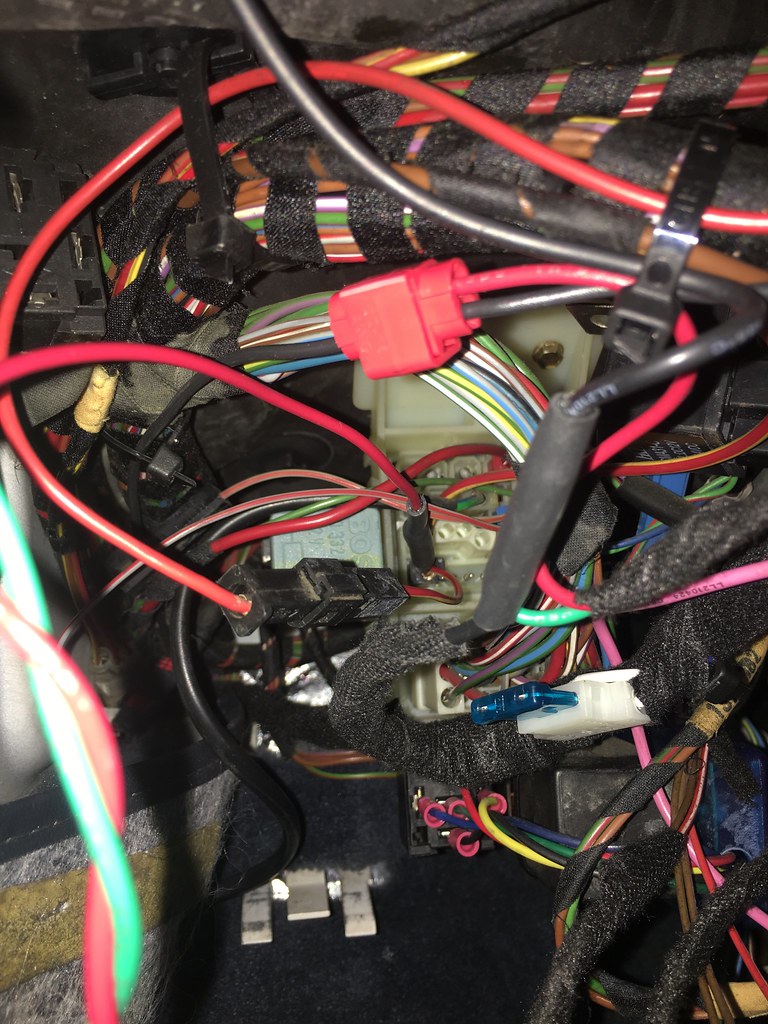
I tapped into an unused constant 12 volt connection at, I believe, C302 per the ETM.
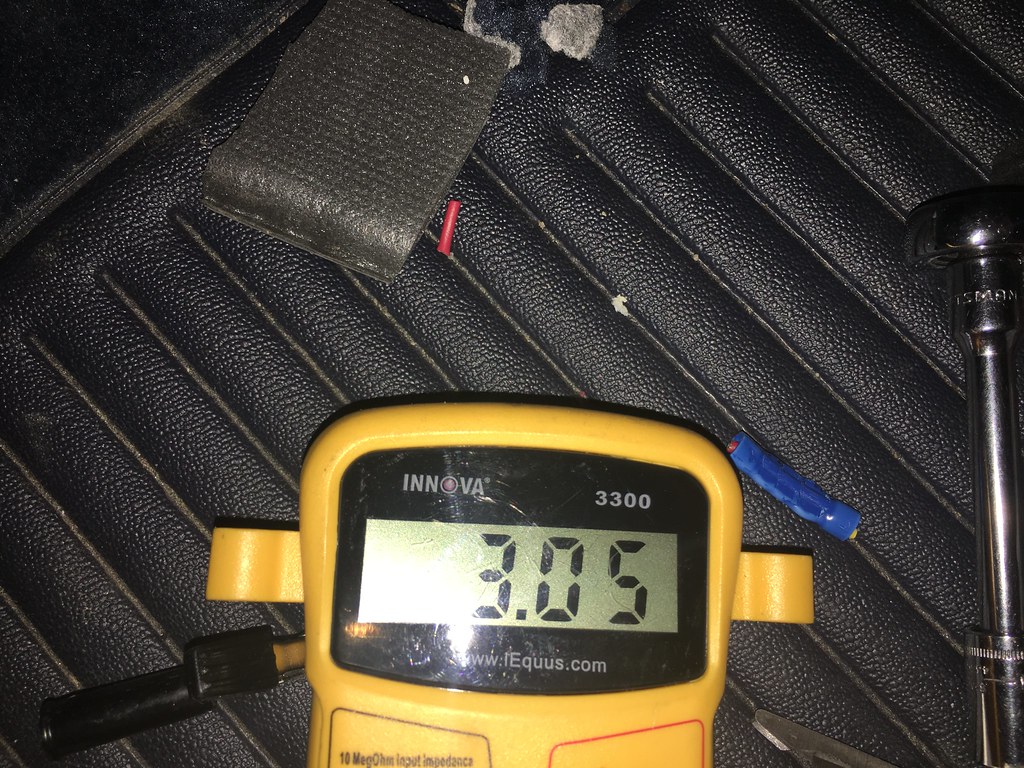
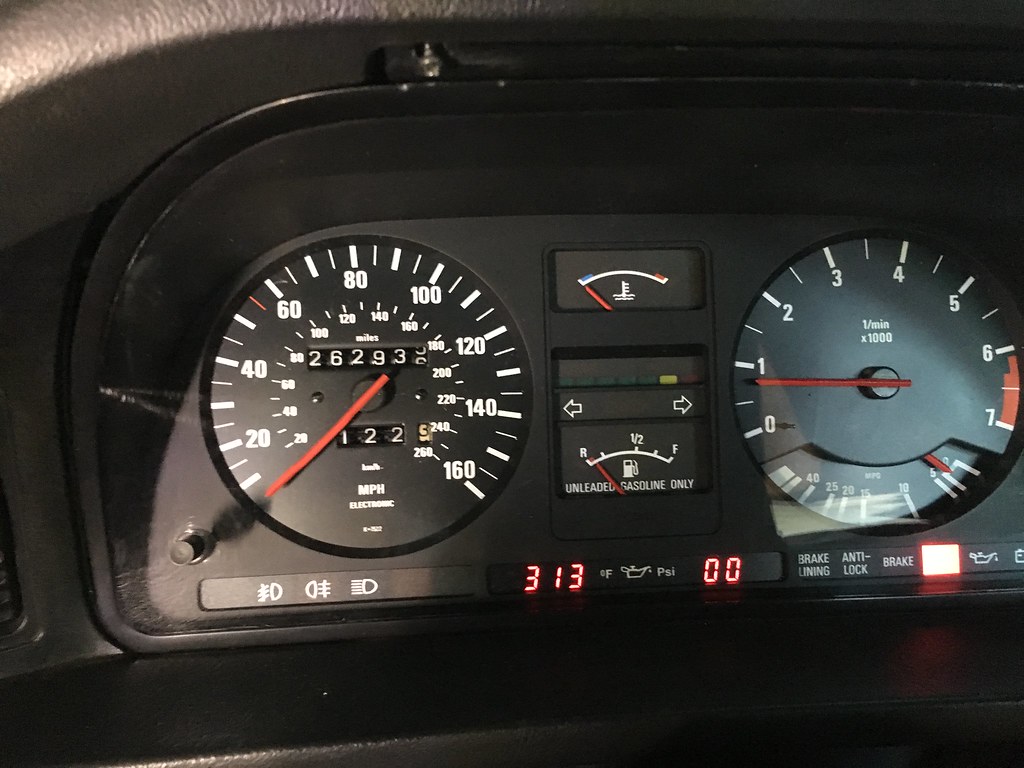
The step down converter was wired and showed 3.05 volts, which should work for the cluster voltage.
I reassembled the rest of the cluster and installed the oil/temp gauge. I also put in new bulbs and bought a new coding plug.
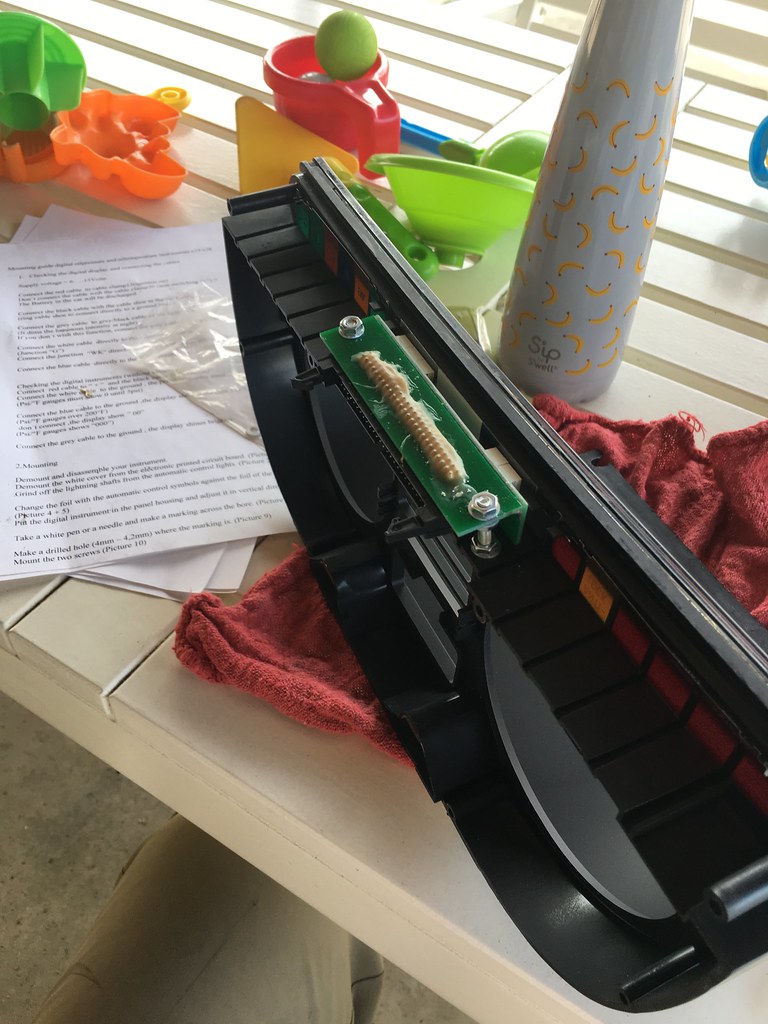
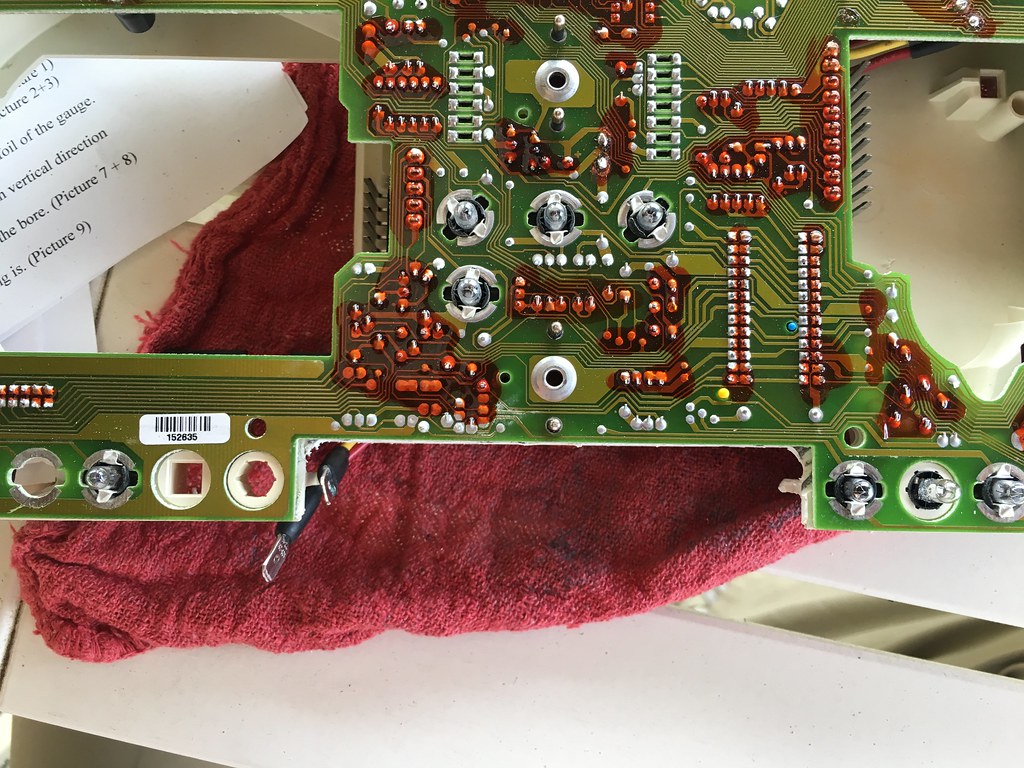
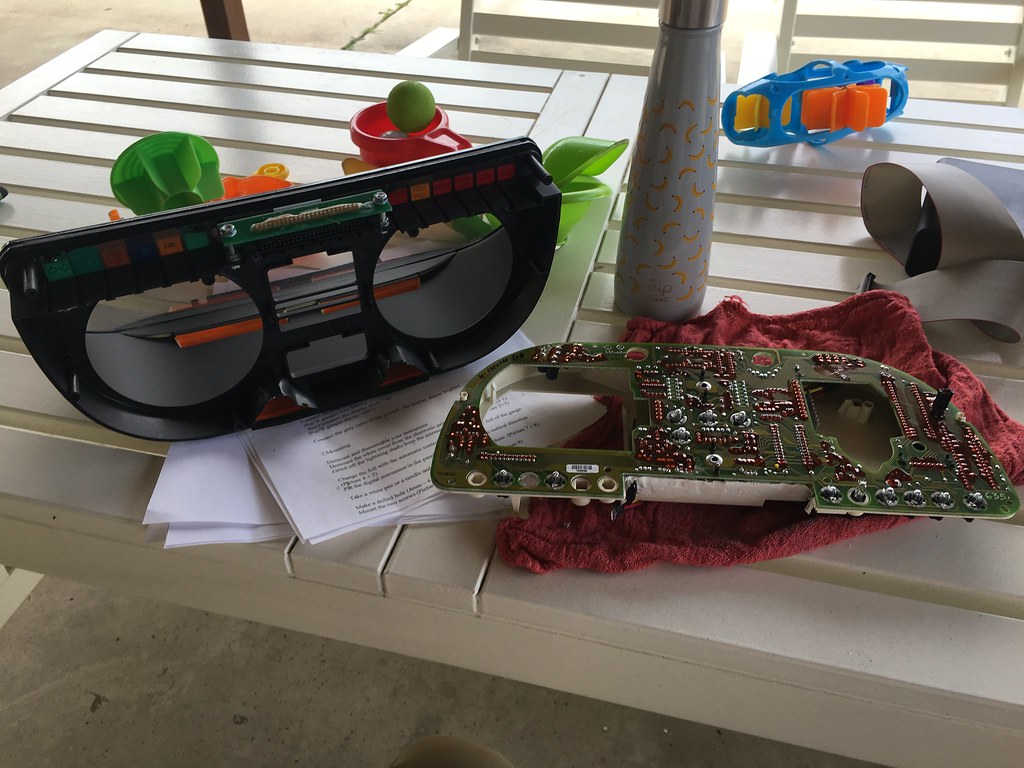
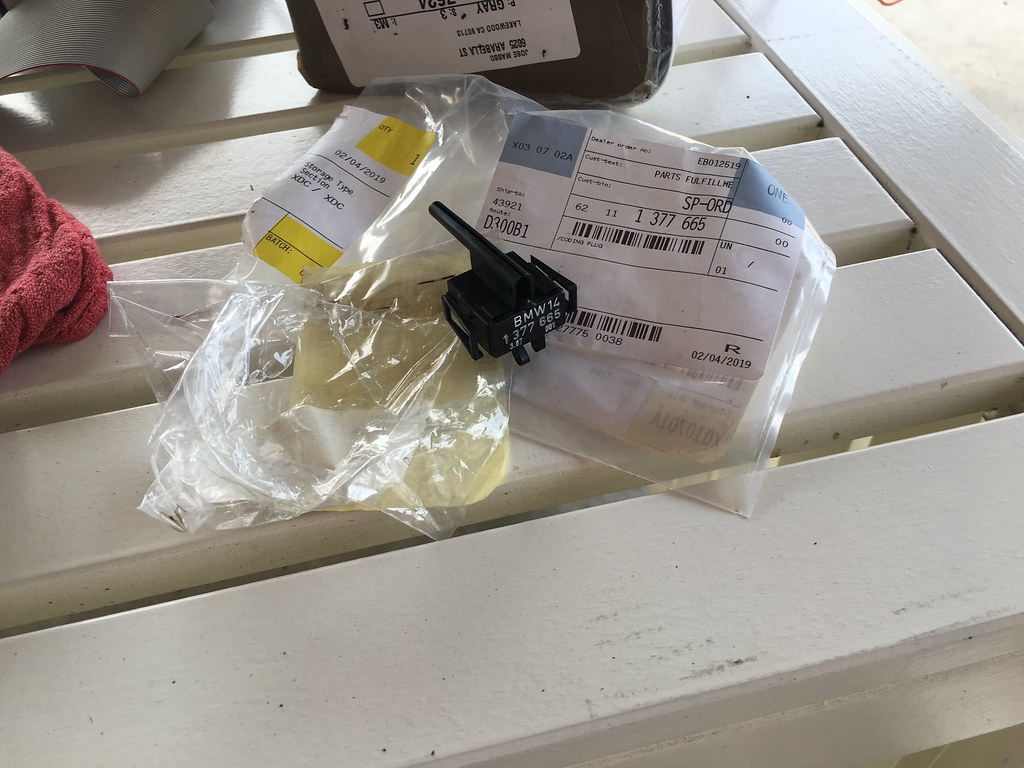
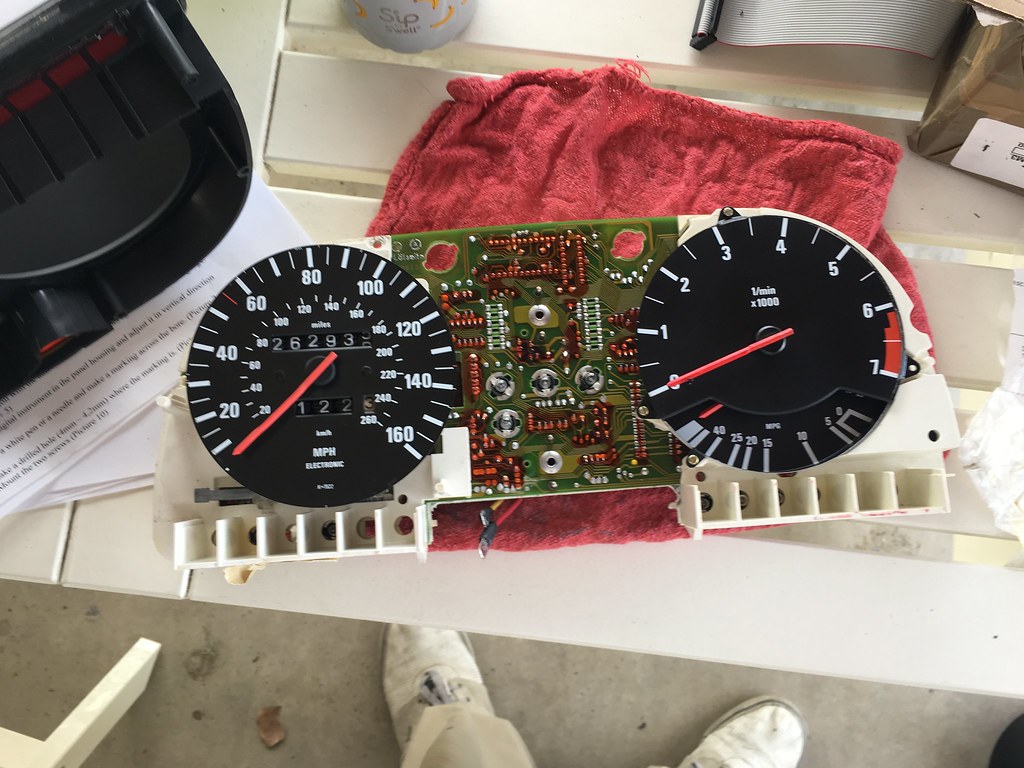
All closed up and ready to go back in. Bulb for the rear fog light is at the bottom right of the cluster. I also polished the front of the cluster to reduce the 30 plus years of scratches and marks.
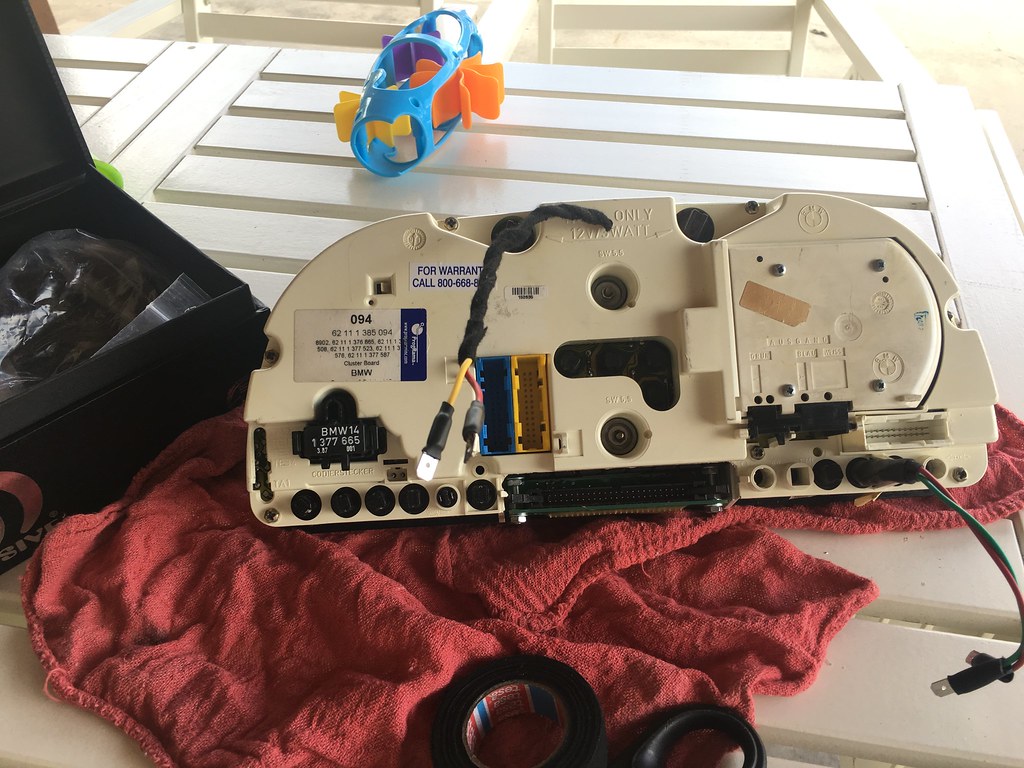
I tidied up some of the wiring with Tesa tape. The connection for the step down converter is the red and yellow wiring.
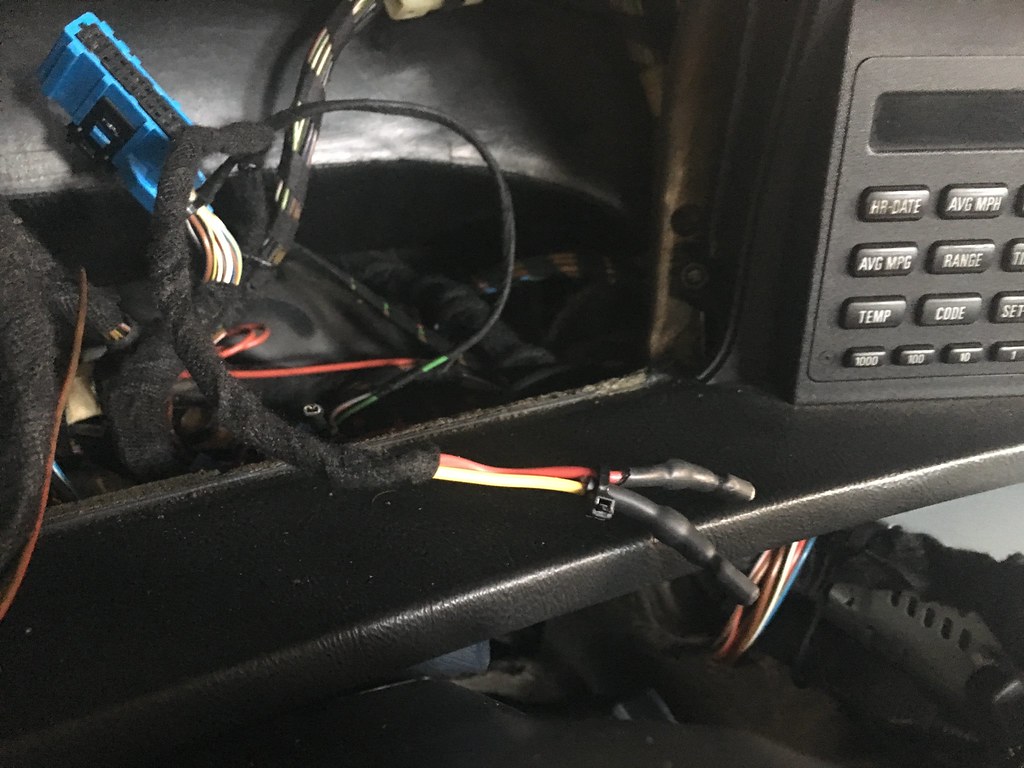
Testing showed step down converter worked and everything was running properly.
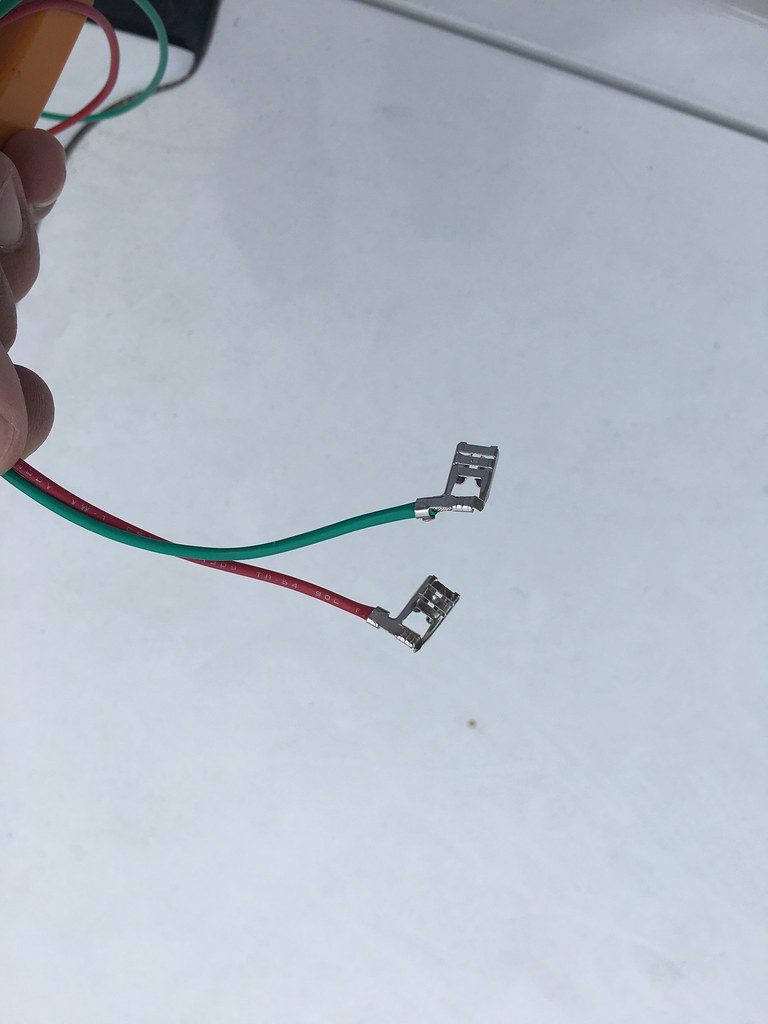
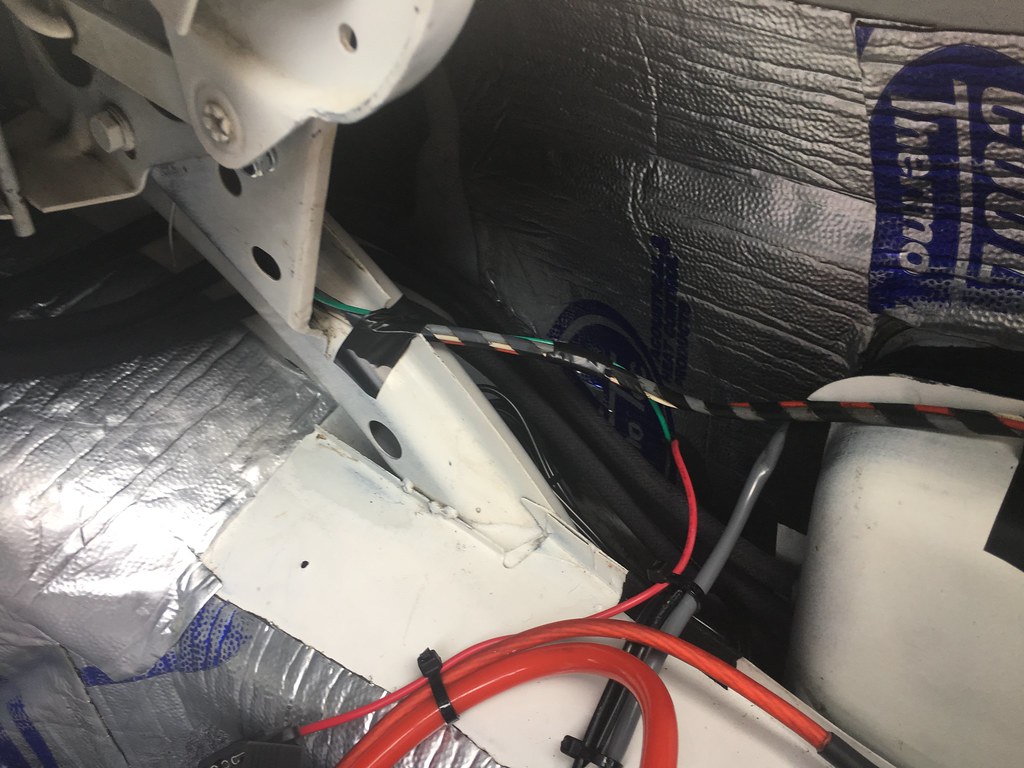
For the rear foglight, I looked at a wiring diagram from m42club.com for an e30. (http://m42club.com/writeups/lighting/re ... 051109.pdf) The basic principles applied here with a trunk mounted battery. I bought some cheap relays from Amazon, and some mounting brackets that could be formed and cut. The car already had a euro foglight switch. I tapped into the cigarette lighter 12 volt for the switch, used some flag terminals to fit in the foglight plug. I then ran the wire all the way to the trunk for the relay. I spliced into the wire heading into the trunk for the dashboard light indicator.
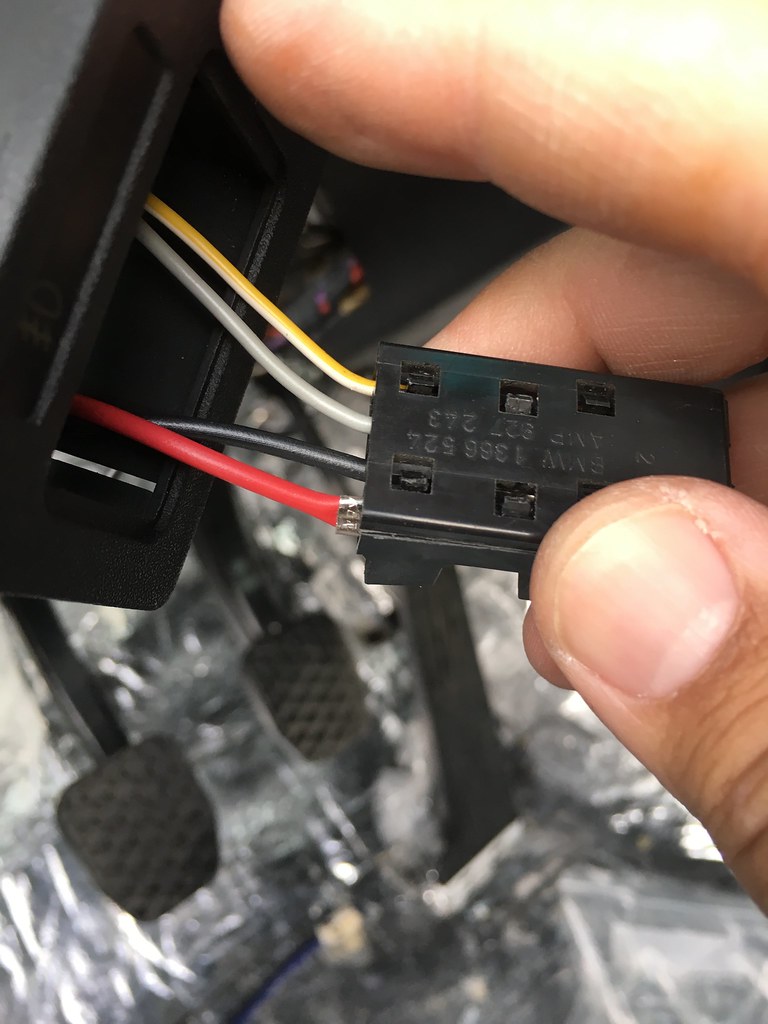
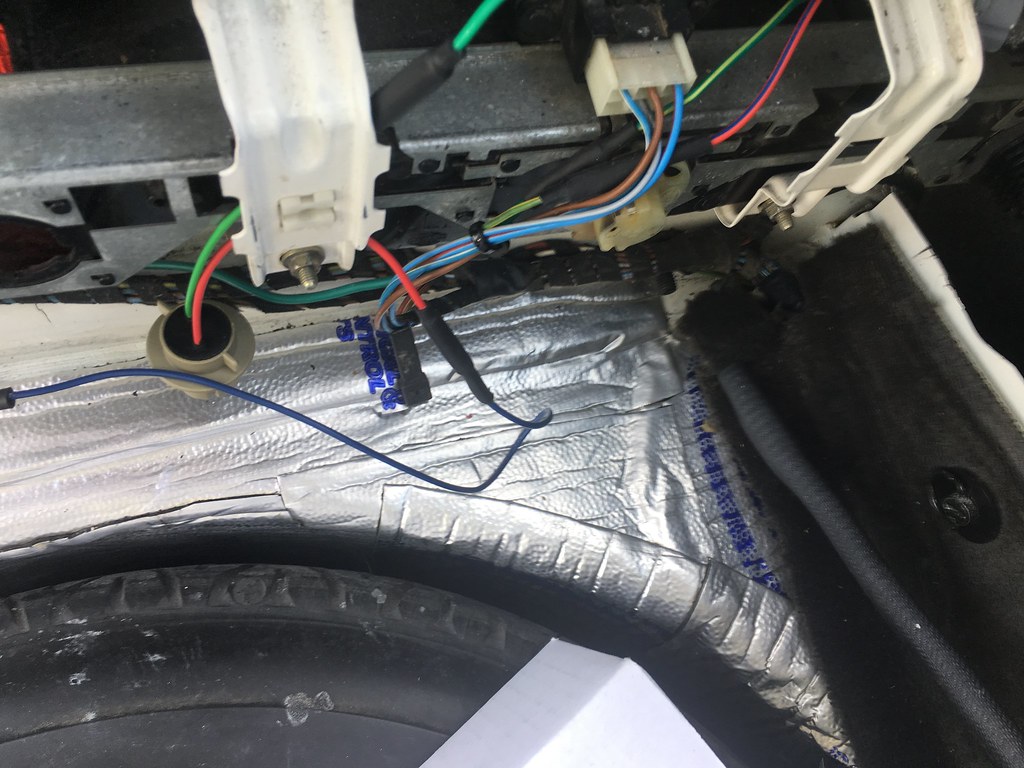
I used a fused line running from the fuse block for the car audio. I then made a new single connection for all the grounds for the LED brake lights, relay, and new fog light.
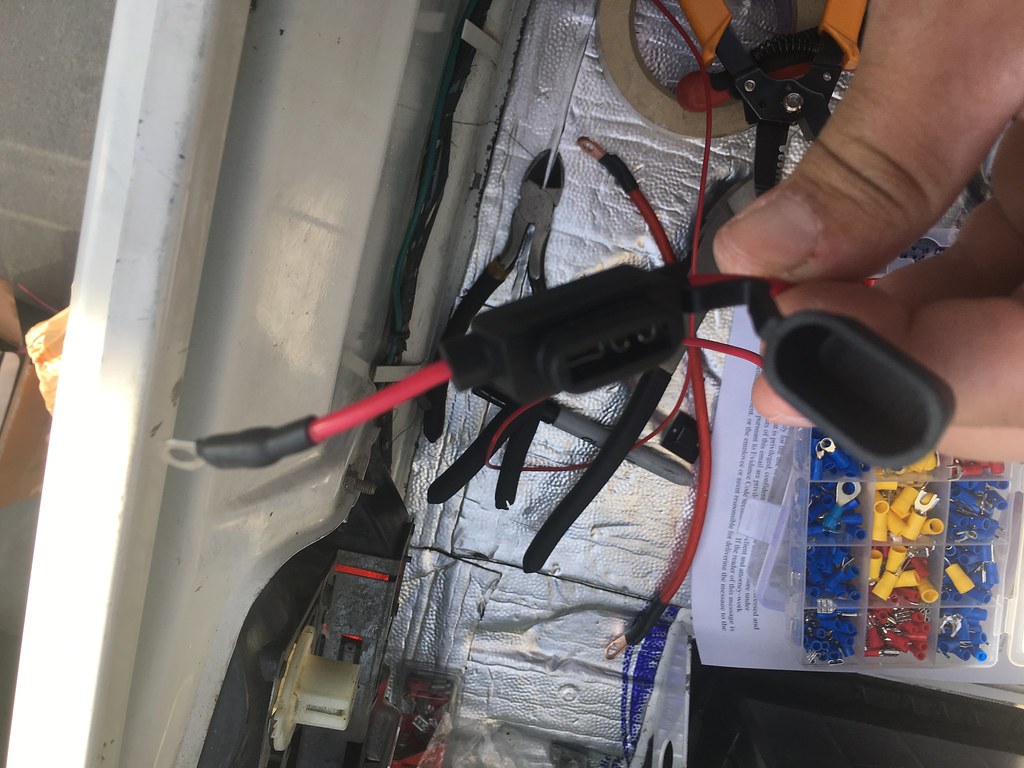
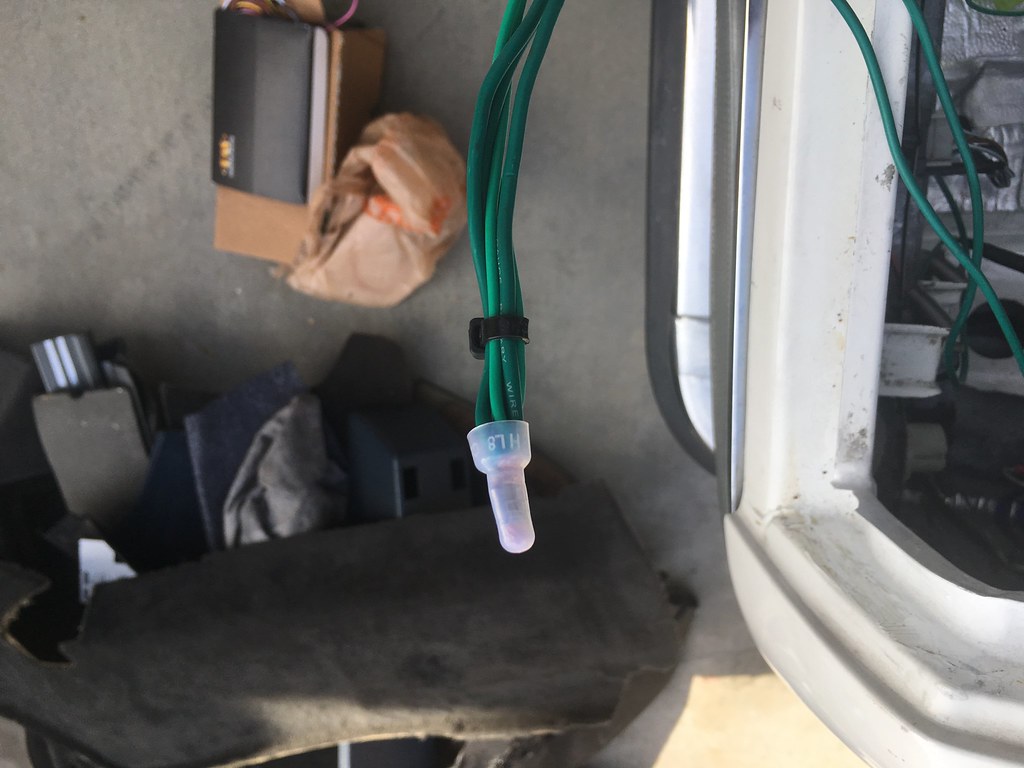
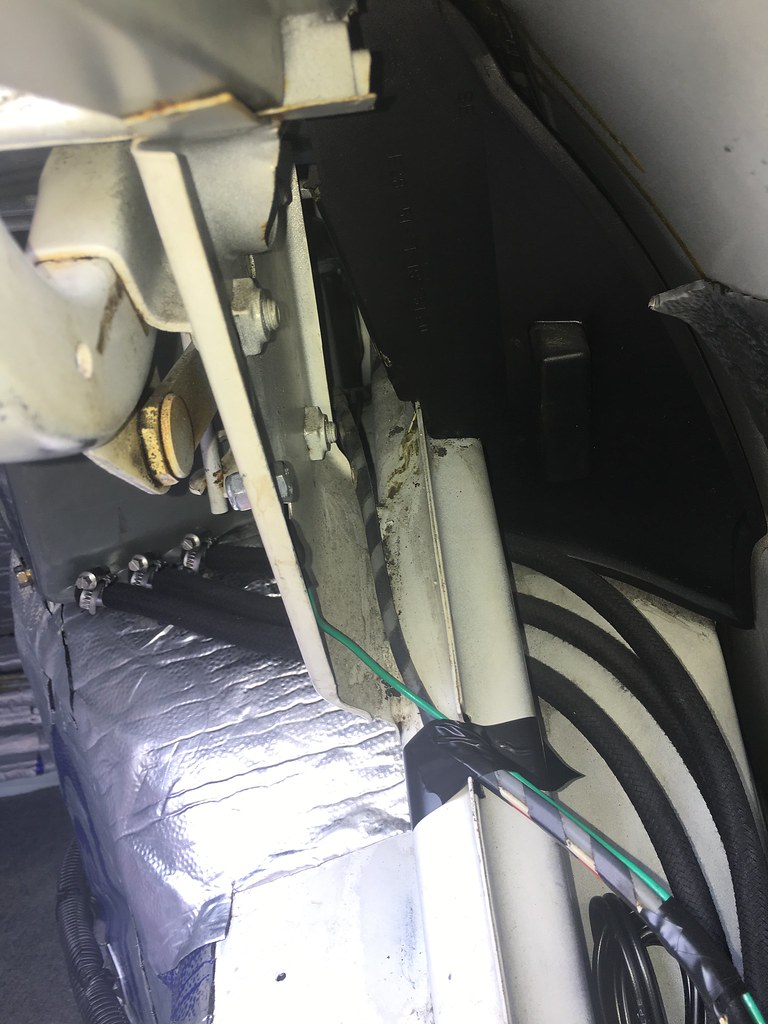
I then bought another pigtail for a 7440 bulb to connect another VLEDS V6 extreme red bulb. I also replaced the reverse light bulbs with some OXILAM white 1156 bulbs.
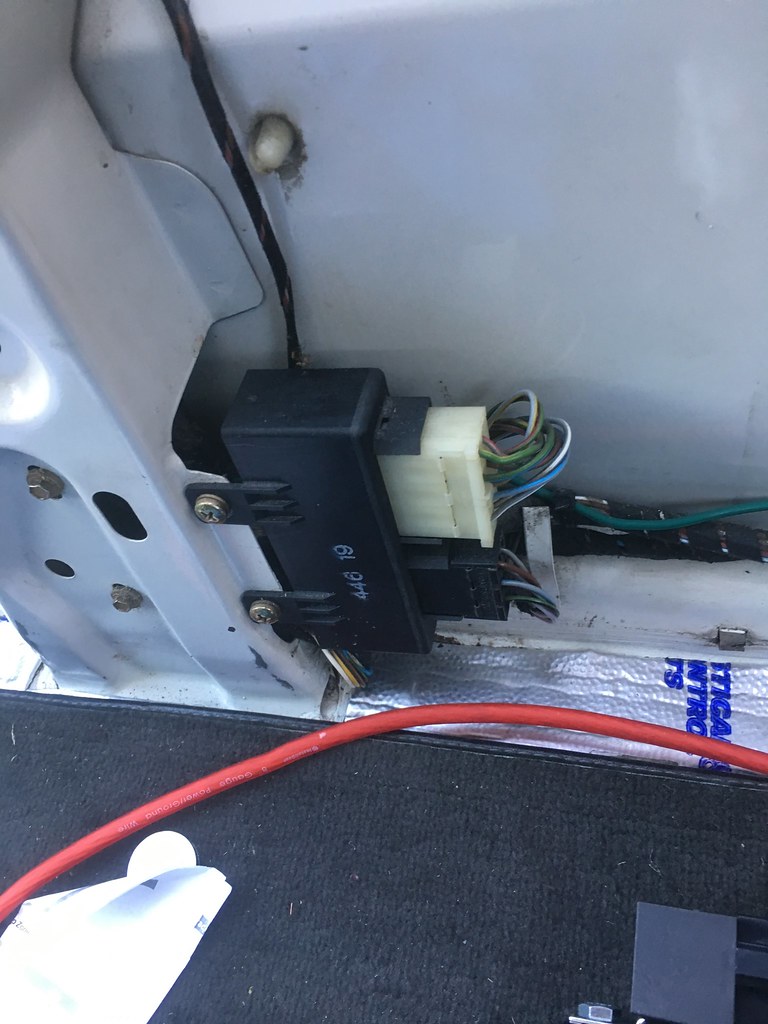
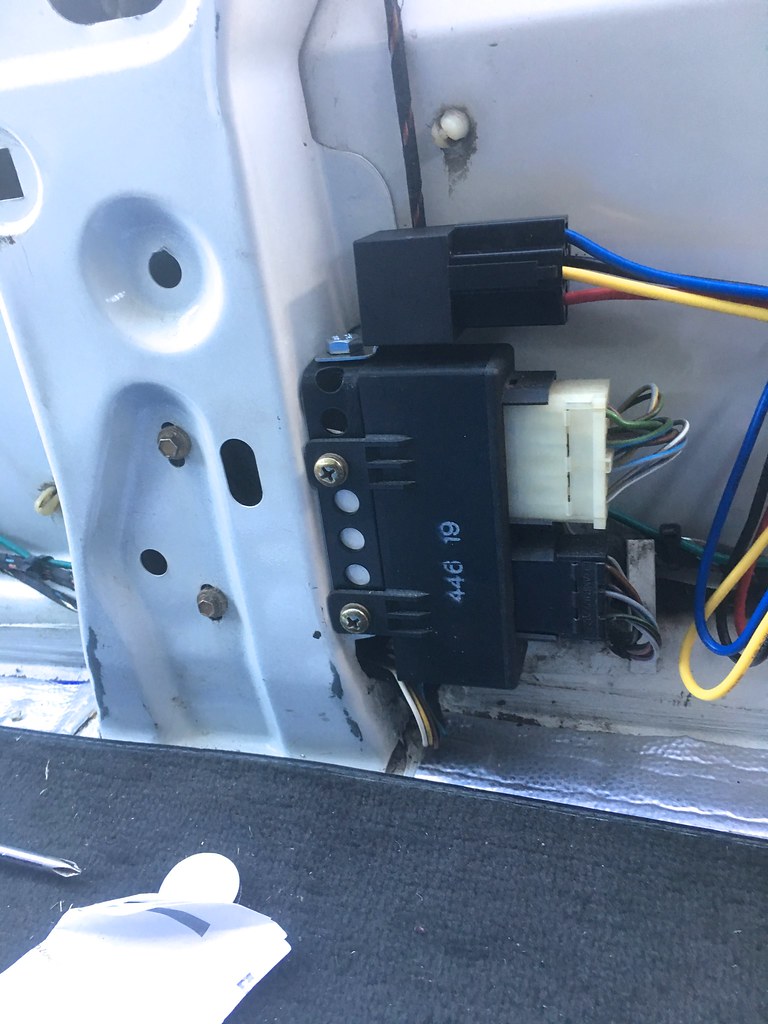
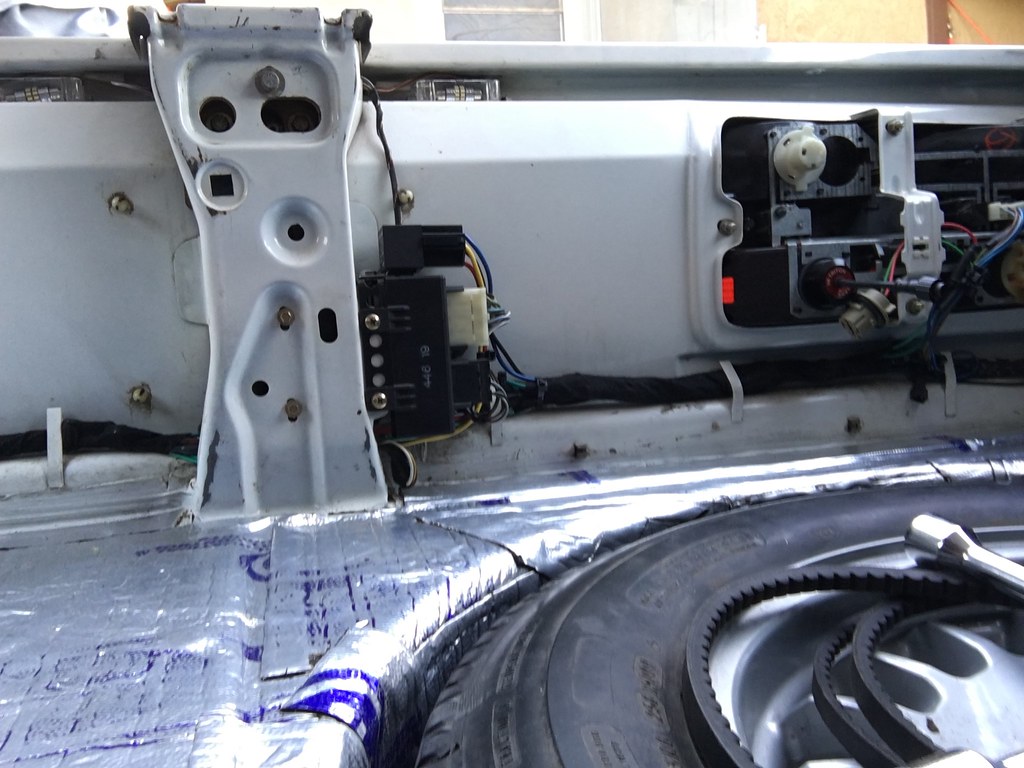
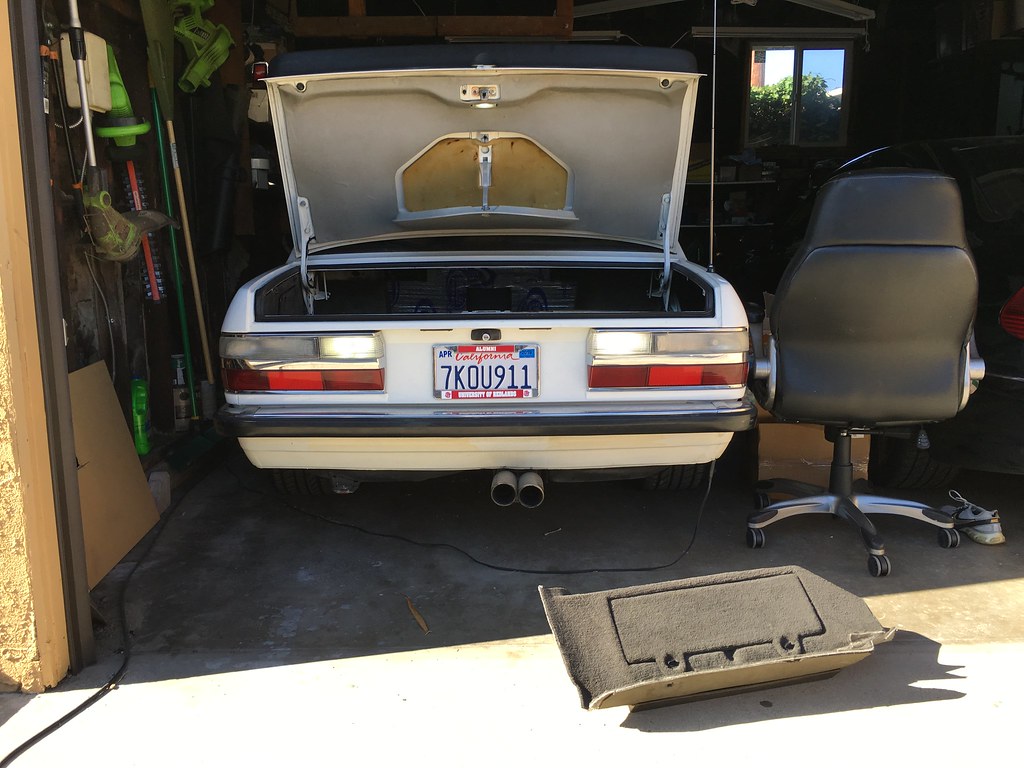
I continued progressing with the car audio, including finalizing the placement of the amp and crossover network.
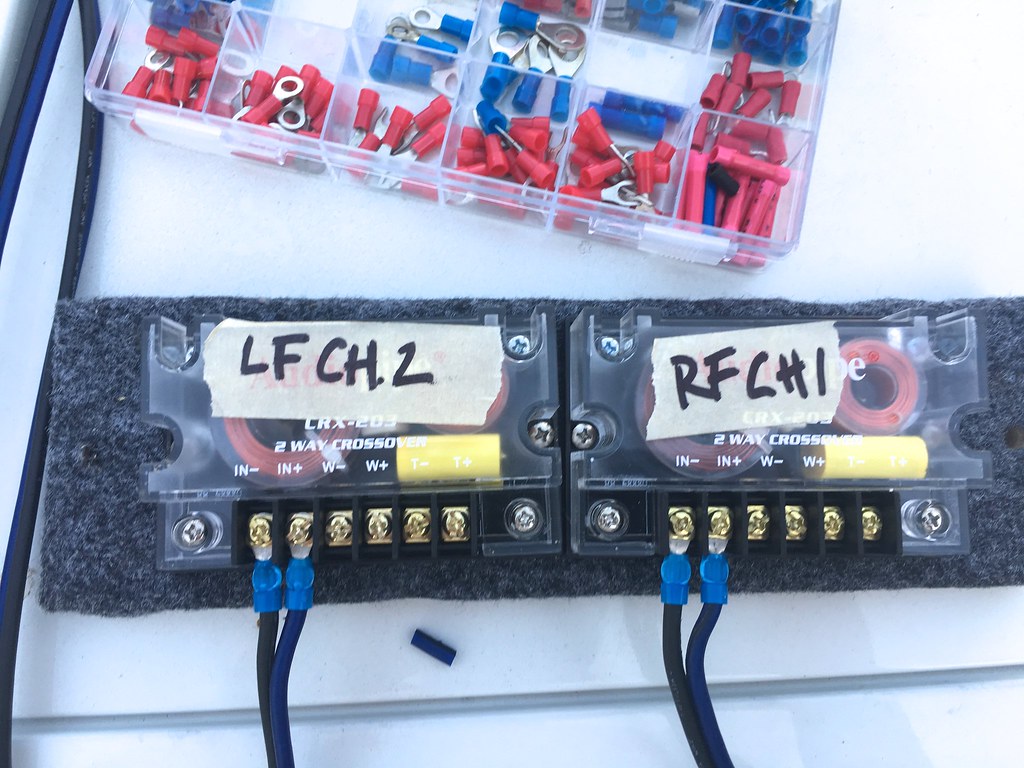
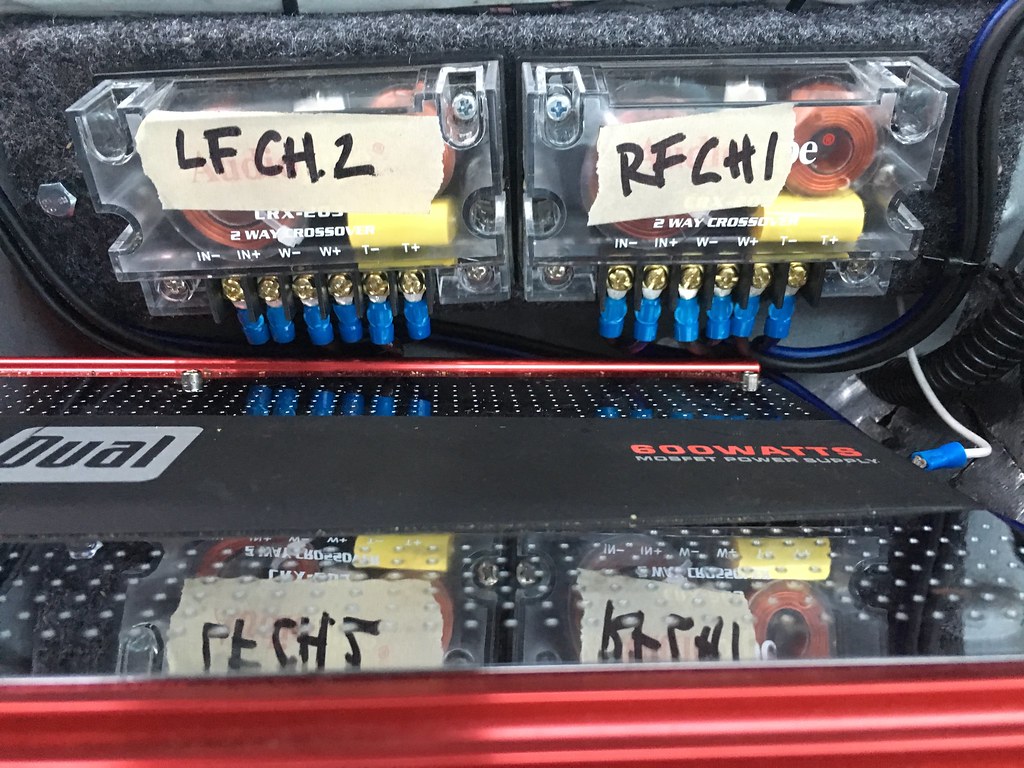
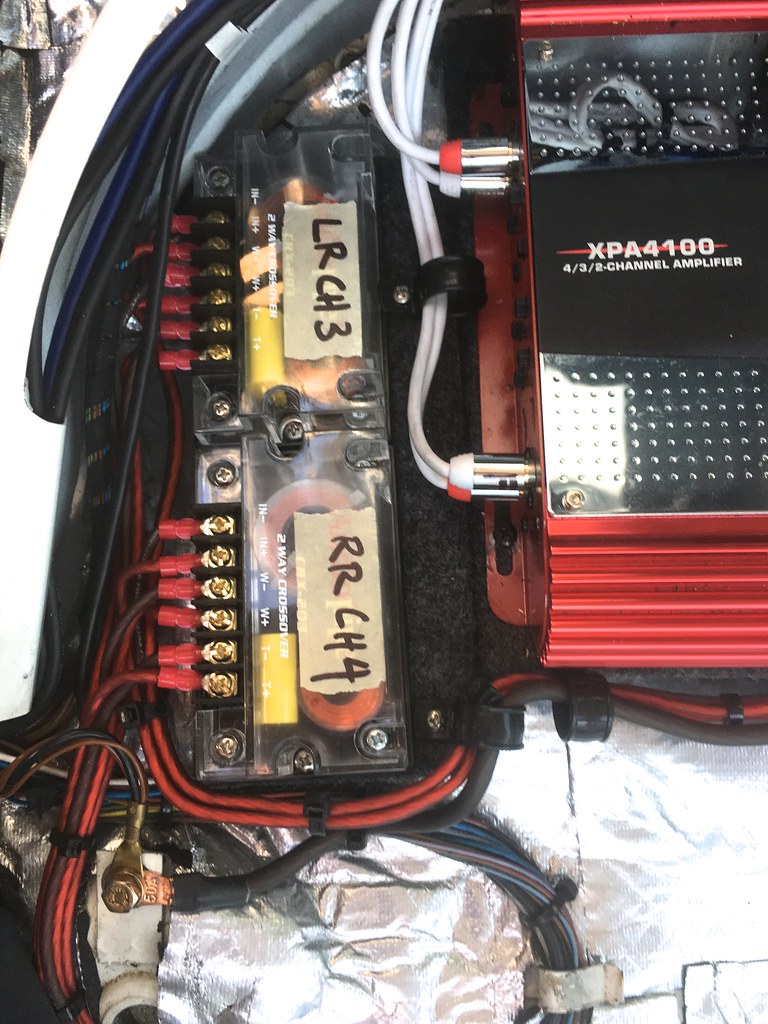
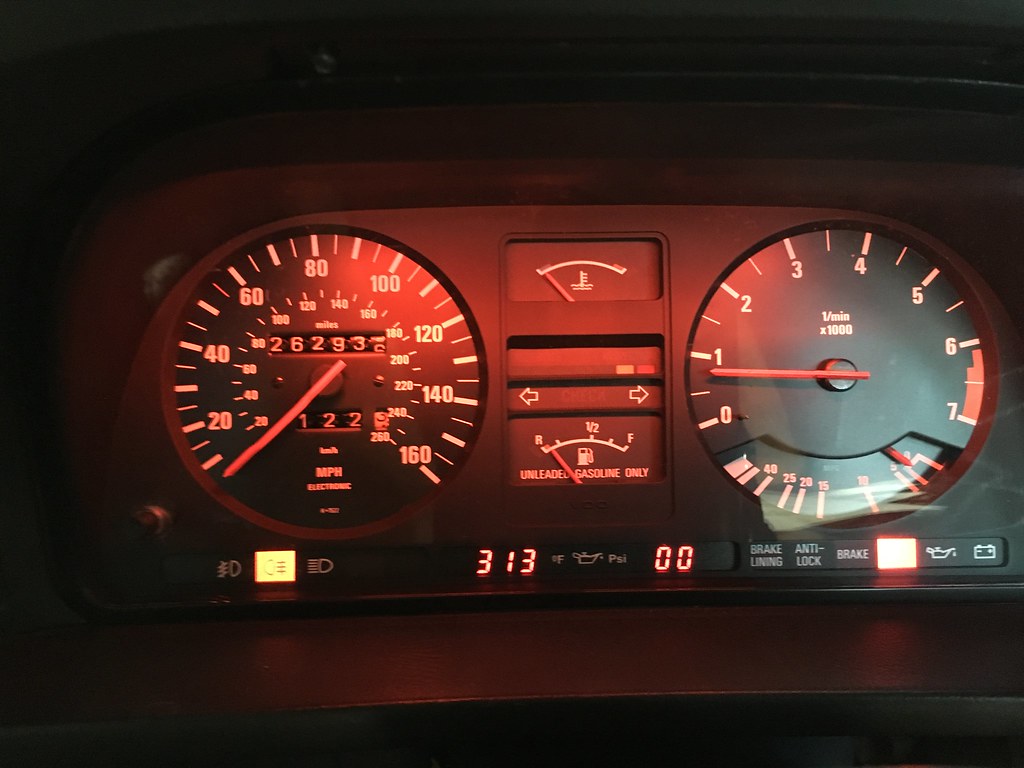
The rear fog light indicator is on in this picture.
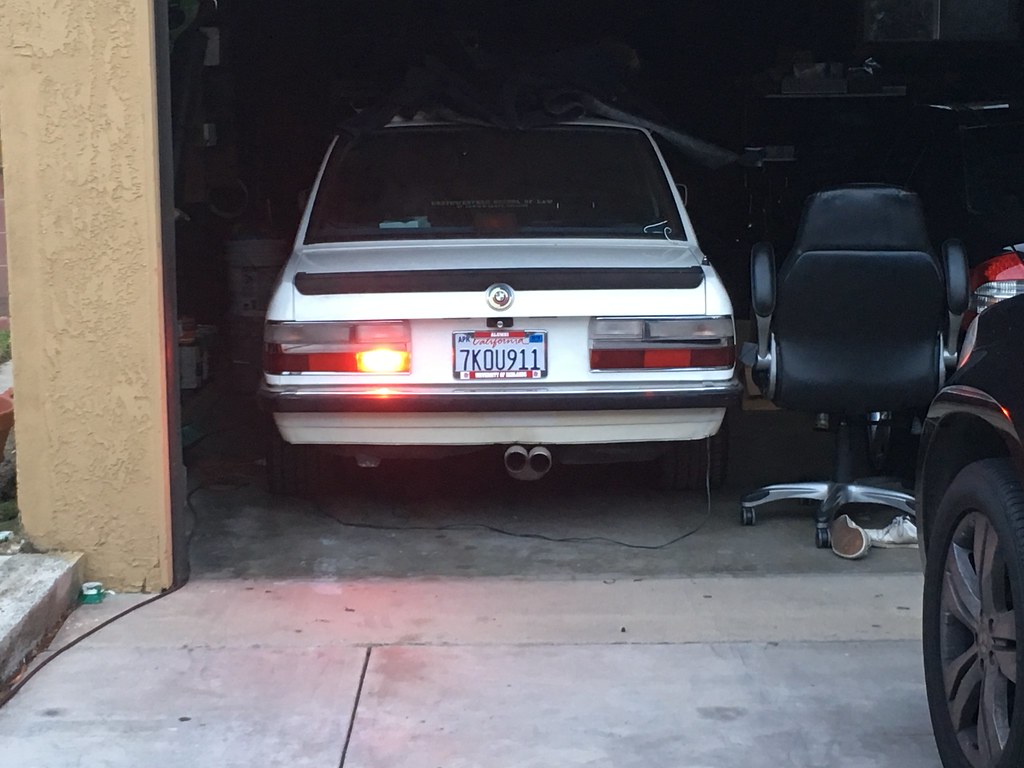
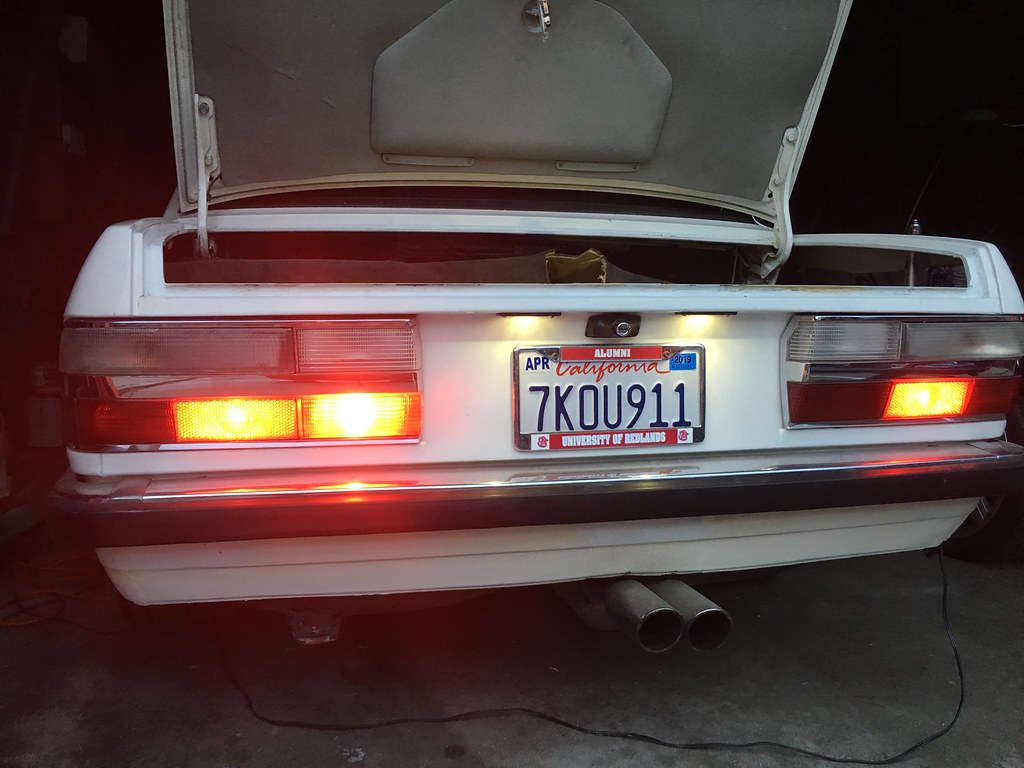
The rear fog light is on.
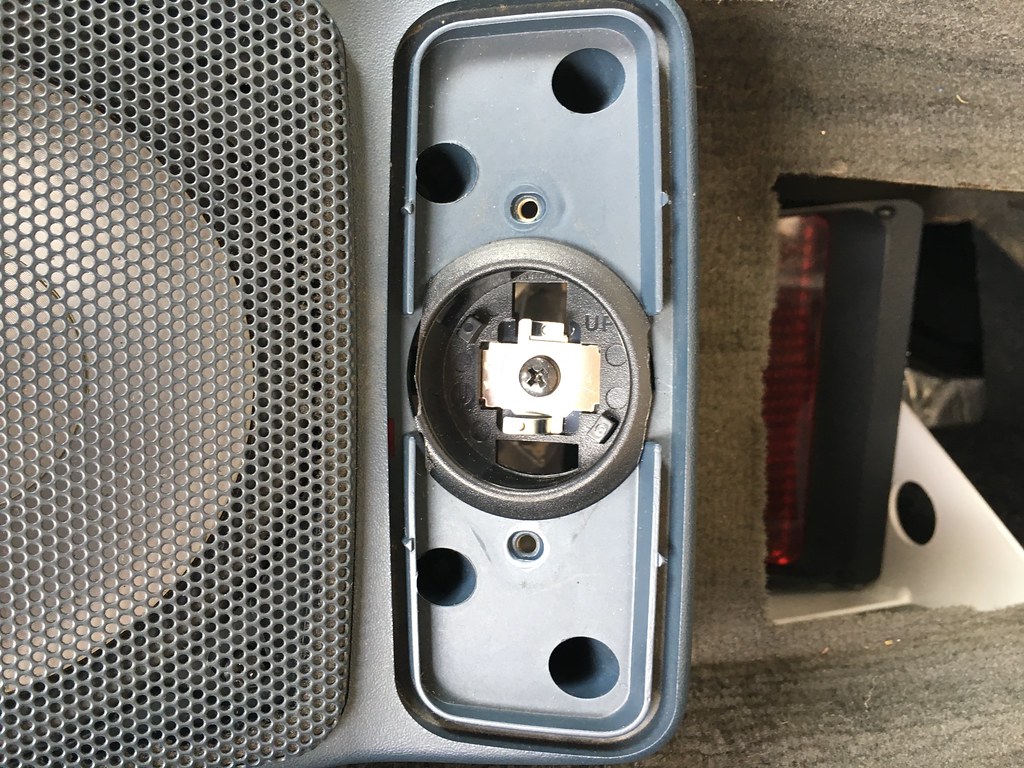
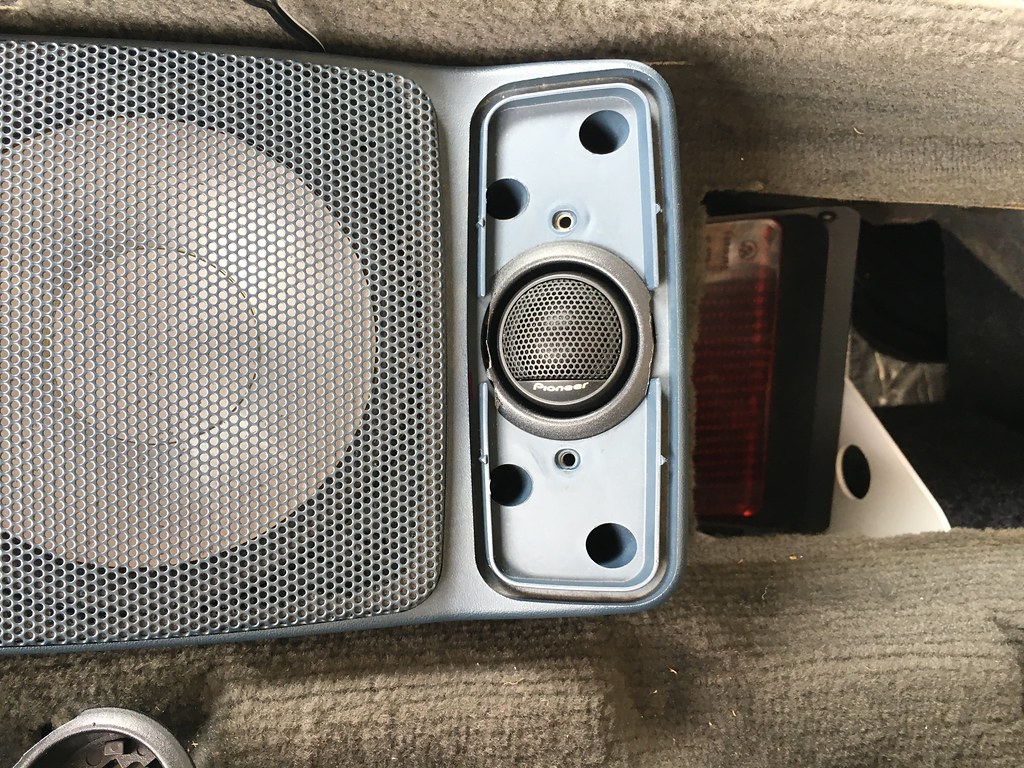
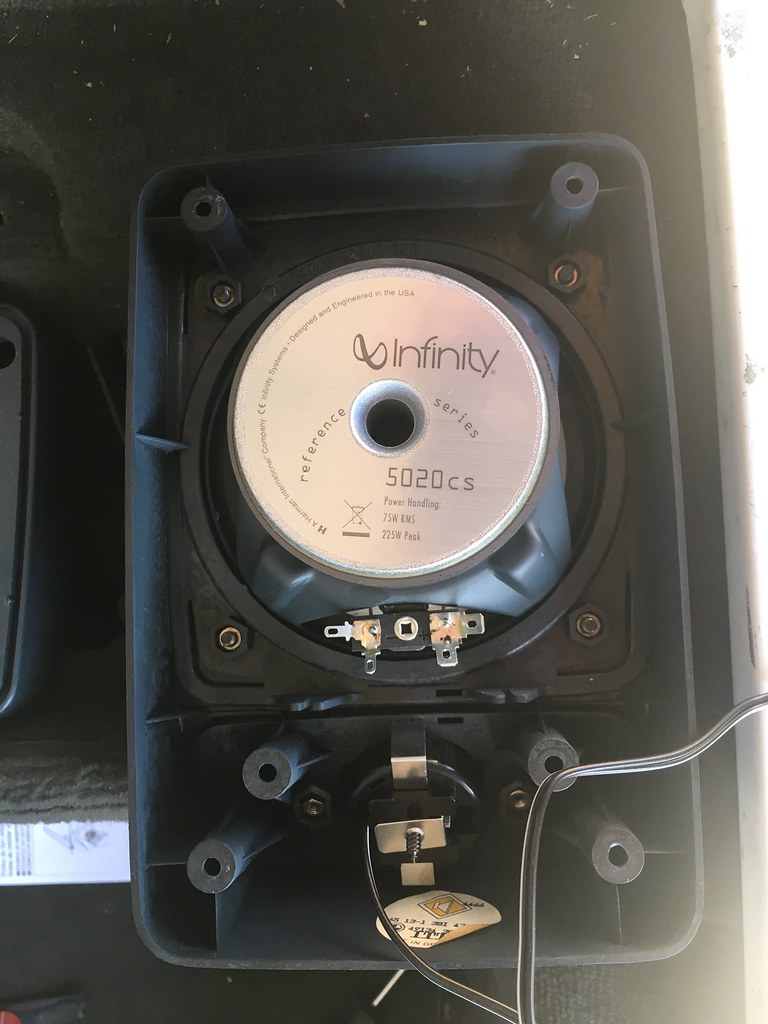
Rear speakers were put in place.
By way of background, I’ve been into e28s and older BMWs for some time. My father was very much into BMWs in the 1980s when I was a kid, having owned an e21, two e23s and two e28s at various points during the 80s and early 90s. His affection for these cars definitely wore off on me. I was lucky to get as a hand-me-down my his white ’84 528e in 1997.


The car was wonderful. But it was an auto, so of course I was pining for a 5 speed. Just before heading to law school, in 2003 I got a delphin grey ’88 super eta with a 5 speed.

The car was a blast, but wouldn’t last long. In March 2005 a guy in a Honda ran a stop sign and I t-boned him. The super eta was no more.


But I still had my ’84 that I would use daily until May of 2006 when I was able to get a pretty clean ’87 white on pacific blue 535is, 5 speed. Here’s a back side shot of it during my first move back to California after law school.

The prior owner put on a lot of go fast bits, including Mille Miglia wheels, HR lowering springs, Bilstein sport shocks, e28 M5 front brakes/calipers and rear 540 brakes/calipers, e32 750 MC, stainless steel brake lines, the larger ST sway bars, 3:73 diff, Billy Boat exhaust, Z3 SSK, and Dinan chip. The car had a crack free dash and euro headlights too. The car did need work, and from 2007 to 2008 I replaced the bottom end, had the head rebuilt, put in a new clutch, swapped in an M5 steering gear box, and had the pedal box repaired.
While addressing the mechanics of the car, I also purchased euro bumpers, valance, and signals from Australia in 2007. I spent about $315 with shipping. I finally installed them a year later, after smashing into a dog at 80 mph on the freeway and then a month later getting rear ended by a Chevy Suburban.
Here’s after the dog encounter.


And here’s after the euro bumpers went in.


I also bought a LaDue Hartge spoiler in or around ’08, which I didn’t end up installing until after I made another move to the Seattle area in 2014.
The spoiler going on.

Spoiler installed! Made a dramatic visual difference, especially as I had an early shallow chin euro valance on the car. The car also felt less "floaty" at speed.


I also bought a set of staggered style 32s from a mye28 member, which only needed slight straightening. The car has 235s in the front and 255s in the back. This is pretty much the exterior of the car today.


And after moving back to California.


Up to this point, I relied on shops to undertake most major repairs, and I was content to do the small easier tasks. The last thing I had a shop do was install aluminum e31 lower control arms, and new upper control arms with the Moosehead bushings.
I stopped using shops in 2018, as I had invested in tools, now had a house with a garage, and my e28 was only driven once or twice a month. Also I have a vision for this car, and to have a shop do every possible thing on the car is cost prohibitive, and it’s not likely to get done at all relying on somebody else. I figured it was time to get going on this project on my own.
I first started with a smaller project of retrofitting LED brake lights and rear lights. I wanted LEDs for the obvious improvement of over the stock lighting. But I also wanted to maintain the stock appearance of the tail and brake lights. I further wanted to add a foglight in the factory location.
I found on R3Vlimted.com a company called VLEDS in Bellingham, WA. They advertise various LED bulbs for most applications. I bought their V6 extreme red bulbs for the brakes. These were not plug and play as their website indicates, as they assume the e28 has a socket which their LED harness could plug into.
To make it work, I requested their 7440 bulb connector. I then purchased two 7440 pigtails from Amazon. To wire them in, I cut the positive wire for the brake light from the rear light wiring harness. I then crimped that to the positive on the pigtail, and wired a new ground. The VLEDS blub then plugged right in. The actual bulb housing then securely plugged into the factor bulb socket for the brake lights.


I retained the incandescent bulb for the high mount light to maintain full cruise control functionality. I also added their LED license plate lights. I did the jumper wire trick in the trunk check control module to avoid the bulb out warnings on the check control panel. I also bought VLEDS 1156 taillight bulbs, which plug right into the factor bulb holder with no modification. The brake lights worked, and they’re absurdly bright. The added bonus was no more annoying radio shutdown when I hit the brakes. The taillights and license plate light were also nice and bright.

Here’s a comparison of the taillights, with the LED on the left and incandescent on the right.

And here’s a side-by-side comparison with the taillights of my 2007 Mercedes E350.

All these photos were taken with my phone, and they don’t entirely capture the quality of the LEDs. They are very bright and clear. Much improved over stock.
With the success of the lighting project, I now was ready to tackle something larger. I wanted to replace my interior carpet, as the original carpet in my car was thrashed with brake fluid that had leaked out of the clutch master cylinder on the driver side. It had all sorts of other stains too. Of course, mission creep started instantly, as I figured if I’m taking out the carpet, I might as well redo my stereo wiring, as it had a terrible alternator whine. And if the carpet was out, now would be the time to lay down modern sound deadening. It would also be a good time to relocate the battery to the trunk and run the battery cable inside, as I had previously purchased a M5 trunk carpet set ready to use.
With my initial project parameters set, I purchased a clean early style pacific blue carpet on eBay. It had no tears, only a bunch of old coffee stains. I used some powder laundry detergent, a plastic brush, and a garden hose to clean it up.
I didn’t take any before shots, but the carpet looks like new after cleaning.


I also found a battery tray on Amazon, Allstar ALL76100, that would fit nicely under the M5 battery cover.


Once I got both, I began to assess really how I’d make this all happen. In adding the battery to the trunk, I now decided I was going to sound deaden the trunk as well. A few years back I purchased a set of rear headrests and hardware that I planned on installing. Since I was working in the trunk, it would be easy to at least install the headrest hardware. That would require also relocating the aftermarket amp that was screwed into the rear trunk bulkhead.
The trunk also suffered from gas vapor syndrome, and since I planned on working in the trunk, surely there’d be no harm in adding something else to the project list. I was further concerned with a spark source in the trunk in the form of a car battery and fuel vapor build up. I sourced some cloth braided fuel lines from eBay UK to replace all the lines from fuel filler neck to the fuel expansion tank in the trunk. I purchased all the clamps online as well.
I started the actual work in earnest, by inspecting my fuel tank neck to ensure there was no rust. It looked good to me.


I also removed 30 plus years of dirt that had accumulated on the fuel tank.

I then swapped in the new lines, and cleaned up the expansion tank. I also swapped in a new rubber cover in the fuel filler door area from an e12. My original was dry rotted and crumbling apart. I had to cut the e12 item a bit for it to fit.


New lines in.


Old lines out.

The new rubber cover.

I then paid a mobile welder to weld in the box for me.


Once the box was welded in, I began inspecting the entire trunk for rust before I was going to lay down the sound deadening material. The trunk was very clean with only surface rust in a few places.


However, there was more noticeable corrosion around trunk seal near the rear tail panel. Enter mission creep again. I decided to pull the trunk seal, strip all the paint where I saw rust, treat the rust and repaint.


Stripping, treating and painting done.


I likewise did spot rust treatment on the other spots in the trunk as well. I also re-wrapped the wire harness coming into the trunk with some split loom, as the original harness tape disintegrated entirely.


I further took down the amp off the rear bulkhead. Looking at it, there was a jumble of RCAs, poor crimping, and remnants of the original wiring harness for the car audio.


Now it was time to paint the tray and welds. I found a vendor on Amazon that sold their version of BMW’s alpine white. After priming and painting, it came out well.


Once painting was done, I laid down the sound deadening material. I used Thermo-Tec, which went down without issue.


With the trunk sound deadening pretty much done, I moved on to the interior. I began by laying a different sound material under the rear bench and rear bulkhead that I found on eBay. It was cheaper than Thermo-Tec, and slightly thicker. There was no brand on it, but it looked like a generic HVAC type material.


While laying down the material, I found out why my rear defrost never worked. Looks like someone got a little zealous taking out the rear parcel shelf at some point in the car’s life and tore the leads off the rear glass.


At this juncture, I began to plan what my new audio would encompass. I had never really been into car audio, and found it to be a bit intimidating at first. I knew I wanted it to be loud enough, clear with some bass. The set-up I had at this point was a mishmash of items the PO left, and replacement pieces I installed. The car was running a Dual XPA4100 4 channel amp, rated at 50 RMS per channel at 4 ohm. I had a single 5 1/4 inch Infinity Kappa in one of the rear housings (the other was in a box), a stock speaker and tweeter in the other rear housing, a 4x6 inch coaxial Infinity Kappa in the driver footwell, and a custom enclosed 6 inch speaker in the passenger footwell installed by the PO. The front tweeters weren’t working at all. I had a 6.5 200 watt self amplified bazooka tube under the right rear passenger seat. My head unit was a 2005 year Clarion DXZ745, that had a separate interface box to allow for limited use of an iPod.
My plan was to re-use my Dual amp, as I thought it sounded decent, and mount it under the left rear passenger seat along with a passive crossover network. As far as the speakers and crossovers, I had to educate myself on exactly what I should get, as I really had no clue. I wasn’t going to break the bank on some competition style audio set up. Again I just wanted clarity and some bass. After reading up, I settled on Audiopipe CRX-203 Passive 2 way crossovers. I purchased Pioneer TS-T15 3/4 inch tweeters for the rear, rated at 40 RMS watts at 4 Ohm. I planeed to put both Infinity Kappa 5020cs 5 1/4 inch speakers in the rear speaker housings, each rated at 75 RMS watts at 2 Ohm. For the front speakers, I purchased Kicker KSC40 4 inch two-way speakers, rated at 75 RMS watts at 4 Ohm. Finally, for the front tweeters I bought Focal TWU1.5, 1 1/2 inch rated at 15 RMS watts at 4 Ohm. I also bought all new speaker wire and terminals, as the current setup used the original speaker wire harness.
Once I actually laid out my amp and crossover setup on cardboard, I found my initial plan wouldn’t fit under the rear seat. I decided to mount a set of crossovers to the rear bench support, and then place the second group of crossovers next to the amp. These items would be mounted on a 3/4 inch board. Covering them with speaker cabinet fabric was pretty straightforward after learning how to do it from the car audio forums.


The audio portion of this project required me to learn the appropriate gauge of power wire to use, how to crimp and properly strip wire, as well as heatshrink. I invested in some additional tools from Amazon, including a heat gun, wire strippers for larger gauge wire, and a handheld hydraulic crimper for the larger gauge wire. I also bought a heavy duty wire crimping tool from Harbor Freight.
I did some preliminary placement of the amp, crossovers, and sub.


I also determined where my ground point would be for the amp. I used the factory ground location under the left rear seat.

New 8 AWG compared to the original amp ground.

Now it was time to do the real heavy lifting and pull the carpet. I started by disassembling the driver side kick panel, glove box, and center console. In doing so, I saw the rats nest of after market stereo wiring and RCAs. There is really a lot of space if the wiring is done more efficiently.


Then everything started to come out. A lot of cutting and pulling was required to pull the carpet under the HVAC box and between the firewall, but I got it out.


As you can see, the original carpet was pretty well damaged. All the brake fluid had eaten up the foam, as well as the material for the dead pedal.


Otherwise, the sheet metal underneath the carpet was in great shape. I was really worried there’d be a massive hole or something. Even where the brake fluid pooled, there was no real damage to the sheet metal. Only the paint and tar material were unsettled.


I cleaned up the flooring, removed the floor vent ducting, and applied some paint by hand on the driver side. I figured since I’d place the sound material above on top, it didn’t matter how pretty the paint was.

I then laid down the sound deadening material extensively.


I also did the doors.


I added new water barriers to all the doors later.
My ECU was precariously hanging under the dash by a single screw. Not really sure how that happened. I cut another 3/4 inch piece of board so I could secure the ECU as well as the iPod interface.


With the interior coming along, I ran the RCAs along the right side of the car. These were 17-foot generic cables off Amazon that received decent reviews.


The battery cables were next. For the car battery, I purchased 4 AWG from Temco off Amazon. I essentially mirrored the M5 cable routing, with the exception that instead of exiting the interior under the driver seat, I continued to route it under the driver seat, and bolted it to the rear most seat support. I then continued the cable along the left side and up through the firewall, exiting where the brake bomb wiring entered the engine compartment. I wrapped the cable in 1/2 inch split wire loom tubing.
I also ran the car audio power cable parallel to the car battery cable with the exception that it stopped over the driveshaft tunnel near the amp. The amp specs called for 8 AWG.


In the trunk, I placed two fuse blocks that would connect to the battery. The larger one is for the car and is made by Fastronix. The smaller is a generic fuse for the car audio.

I bought an acid mat the for the battery tray, and made all my terminal connections for the trunk

I purchased a power bus bar also from Fastronix to place in the engine bay. I attached it to a 1/4 inch piece of Home Depot brand steel, and secured that to the sheet metal just under the expansion tank. I used various rubber pads and bolts I purchased from OSH.


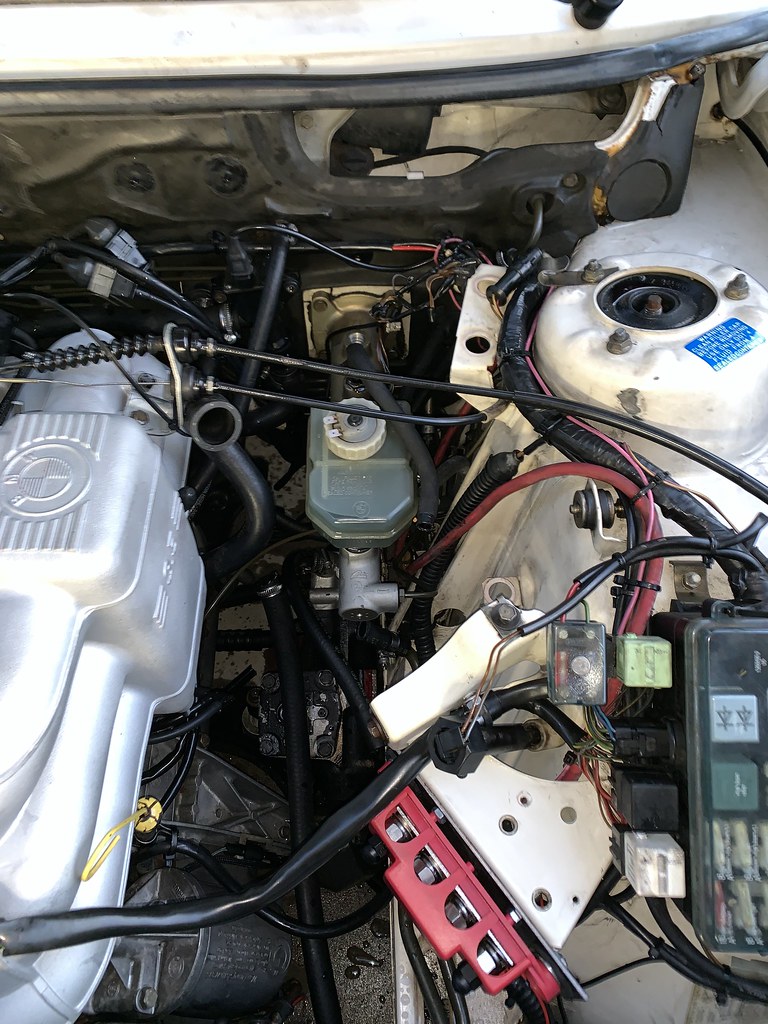
Routing the battery cable through the engine bay was a messy affair, as my brake booster leaked like crazy. I’ll discuss my remedy of that later. With the cable in the engine bay and the power bus bar mounted, I made the new terminal connections for the cable. I also made a new terminal connection for the power cable that runs to the starter. I also pulled off all the wiring for the fuse box. The original ring terminals for those wires easily screwed into the provided connections on the power bus bar.


Now the battery was placed in the trunk. After a test start, the car fired right up with no problems, fires, or explosions.


I made some adjustments as far as the ground cable length in the trunk. I also had a trickle charger that I hardwired to the battery terminals. I bought a generic battery vent tube from O’Riellys. I ran both the vent tube and charger wire out the trunk through the grommet leftover for the right rear parking light for the US bumpers. Both exited out the bottom of the trunk flooring. Now when the car is parked, I can plug the trickle charger underneath the car. When not used, the charging wire can discreetly be pushed out of sight.


Mission creep again. I purchased a United Auto Security keyless entry system almost a decade ago but didn’t install it. As the interior was apart, it was time to install it. The system adds keyless entry, auto locking after the car has started, basic alarm function, in addition to some other features. All the features can be enabled or disabled depending on what you want. I only made one modification. The factory wiring diagram has the keyless entry flashing the parking lights instead of the turn signals. I wired it to turn the signals when locking and unlocking.
I started with a gang of wires.

But I pared it down to what was needed to operate the computer for the keyless entry.

Then it went in with little fuss.

I stealthily connected and hid the wiring harness.

The siren was installed just above the car horn.


More mission creep. My instrument cluster has always been unreliable. I replaced the cluster circuit board twice during my ownership. That would always fix issues temporarily until they returned. My car was currently suffering from an inoperative tach and temp gauge. I planned to remedy this finally without buying another circuit board. But if I was dissembling the cluster, I thought I’d better do those other mods I wanted.
There was a group buy for the digital oil temp and pressure gauge for the instrument cluster here on mye28. I missed that but directly contacted Ronald who makes the kit. He still had them in Psi/°F, and he shipped one over with no issue.

I also decided to add the rear foglight, and wanted the appropriate cluster indicator. I found a euro spec indicator in Greece on eBay.

As for the tach and temp gauge issue, my best educated guess after reading posts here and elsewhere was that the batteries were dead. I wanted a more permanent solution than batteries that would keep dying out. The cluster requires 3 volts to operate correctly. After more internet research and browsing I found a 12 volt to 3 volt converter for about $5.00 on Amazon. I figured it was worth a shot, not much more than batteries, and far less than buying a new circuit board at $250 or so.

With everything purchased for the cluster, I disassembled it, and soldered the wiring for the step down converter. I drilled a hole in the back of the cluster housing to allow for a connection to the converter, which would sit in the dash behind the cluster.


I tapped into an unused constant 12 volt connection at, I believe, C302 per the ETM.

The step down converter was wired and showed 3.05 volts, which should work for the cluster voltage.

I reassembled the rest of the cluster and installed the oil/temp gauge. I also put in new bulbs and bought a new coding plug.


All closed up and ready to go back in. Bulb for the rear fog light is at the bottom right of the cluster. I also polished the front of the cluster to reduce the 30 plus years of scratches and marks.

I tidied up some of the wiring with Tesa tape. The connection for the step down converter is the red and yellow wiring.

Testing showed step down converter worked and everything was running properly.

For the rear foglight, I looked at a wiring diagram from m42club.com for an e30. (http://m42club.com/writeups/lighting/re ... 051109.pdf) The basic principles applied here with a trunk mounted battery. I bought some cheap relays from Amazon, and some mounting brackets that could be formed and cut. The car already had a euro foglight switch. I tapped into the cigarette lighter 12 volt for the switch, used some flag terminals to fit in the foglight plug. I then ran the wire all the way to the trunk for the relay. I spliced into the wire heading into the trunk for the dashboard light indicator.


I used a fused line running from the fuse block for the car audio. I then made a new single connection for all the grounds for the LED brake lights, relay, and new fog light.


I then bought another pigtail for a 7440 bulb to connect another VLEDS V6 extreme red bulb. I also replaced the reverse light bulbs with some OXILAM white 1156 bulbs.


I continued progressing with the car audio, including finalizing the placement of the amp and crossover network.


The rear fog light indicator is on in this picture.

The rear fog light is on.


Rear speakers were put in place.


 [
[


 [/url]