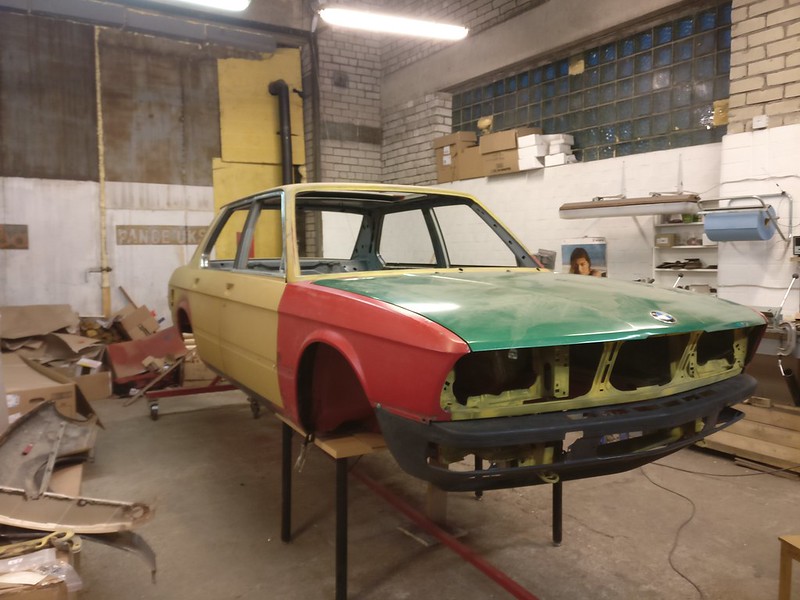
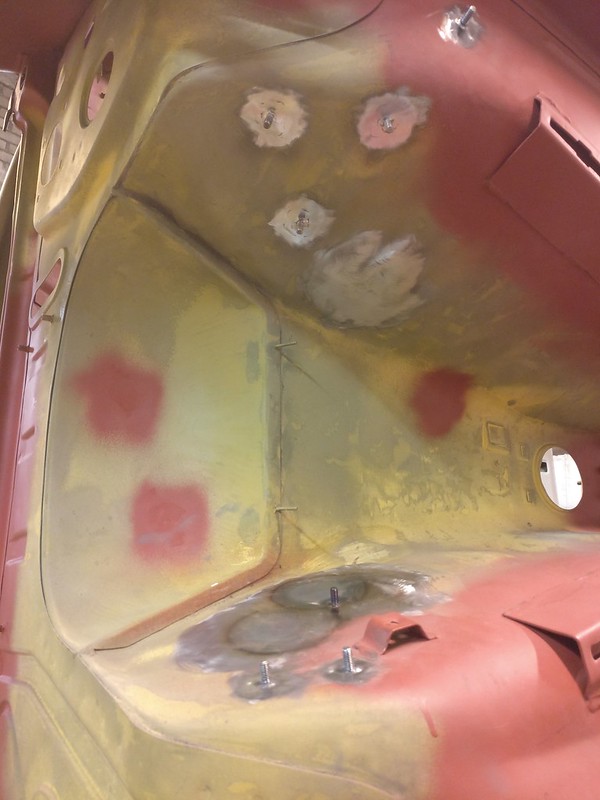
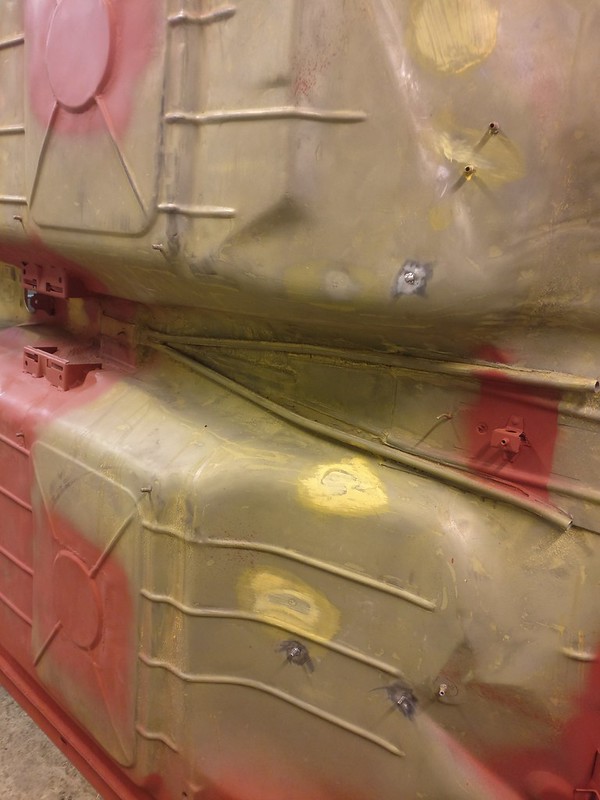
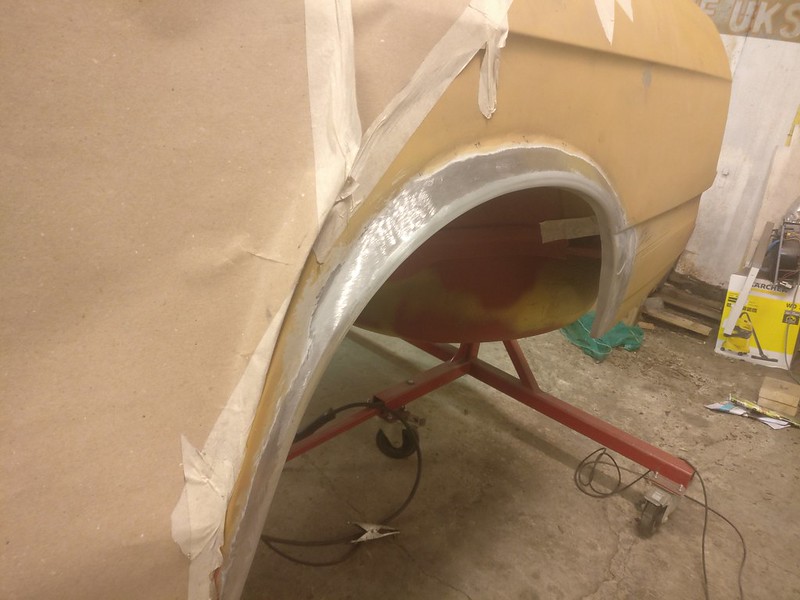
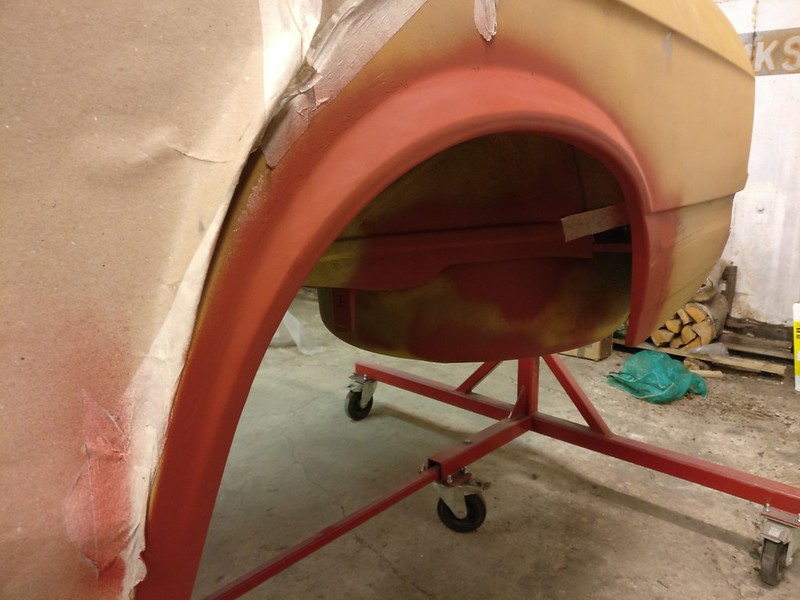
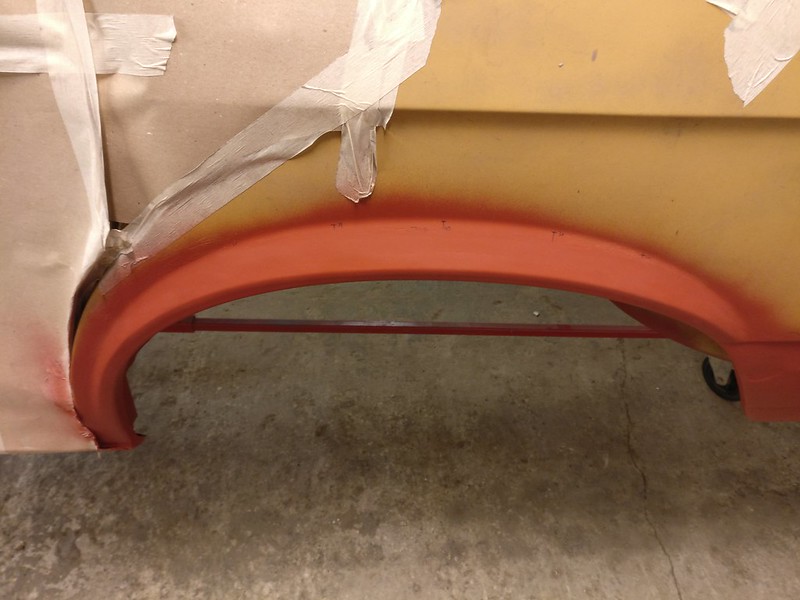
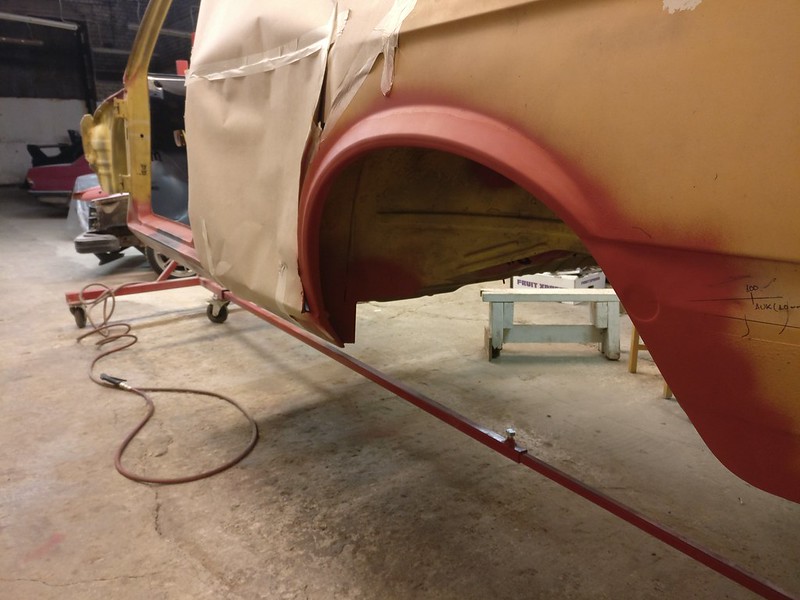
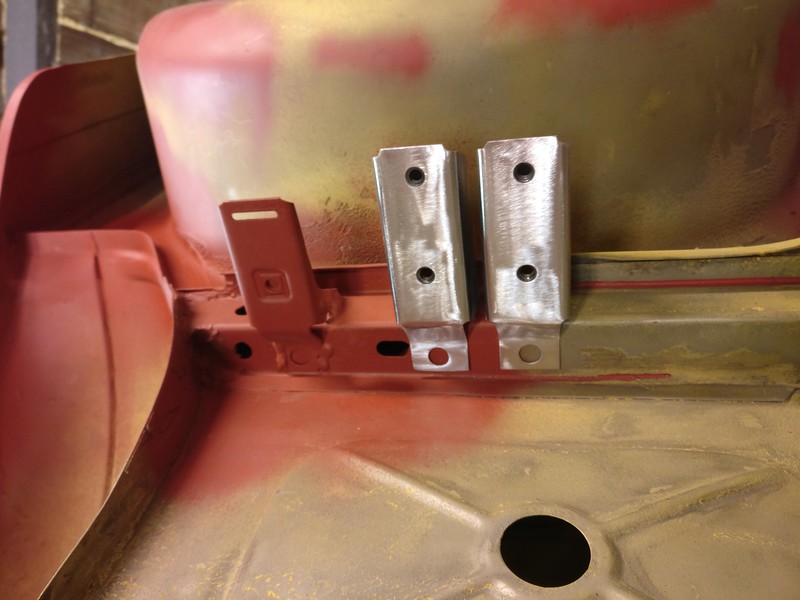
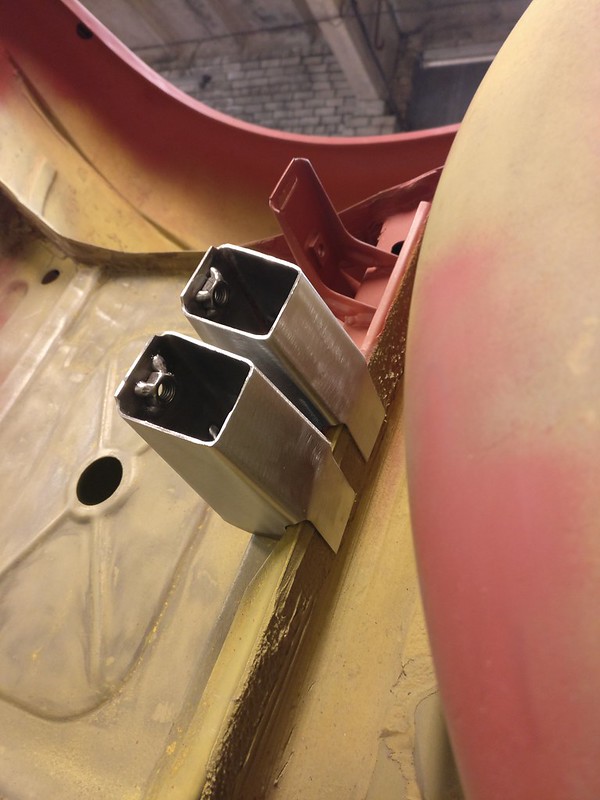
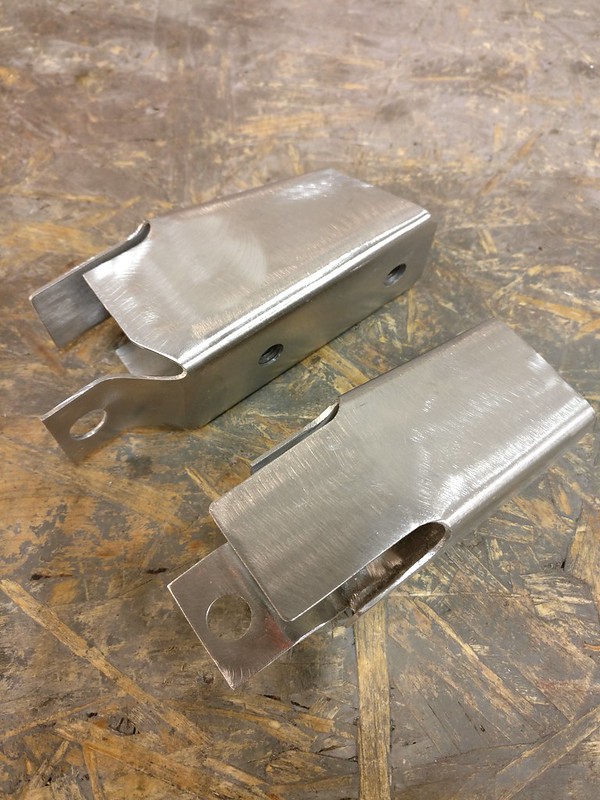
Another restoration - 83' 528i
Re: Another restoration - 83' 528i
Fantastic work.
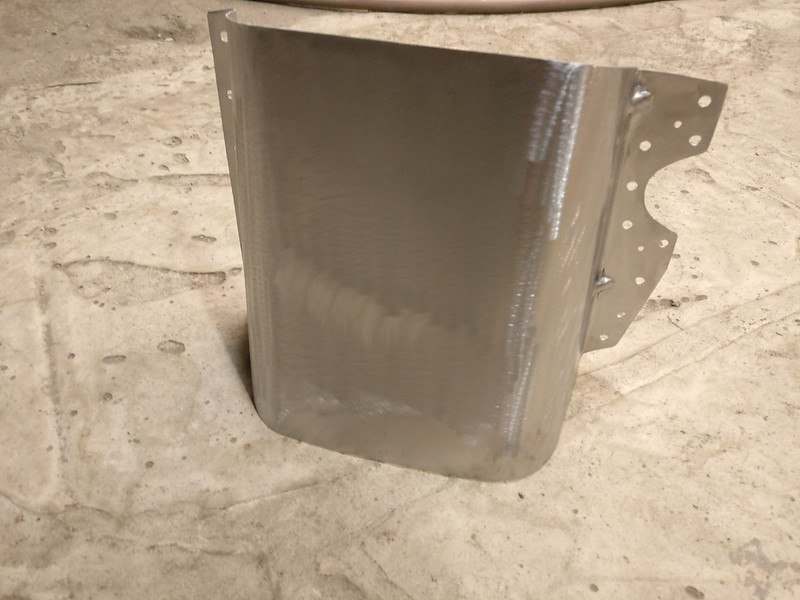
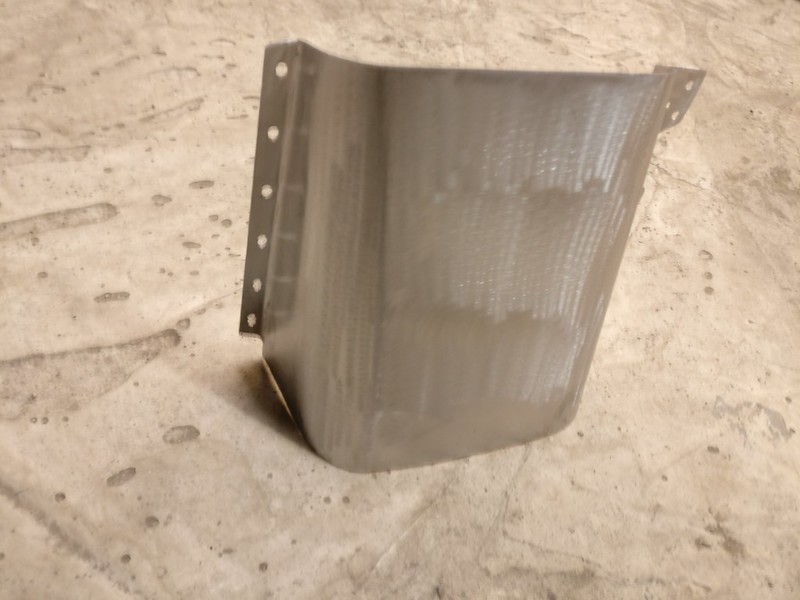
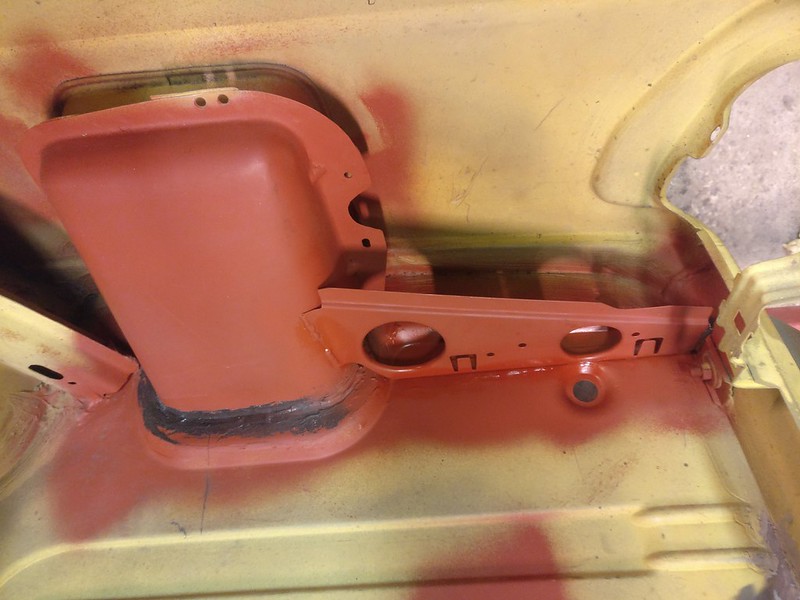
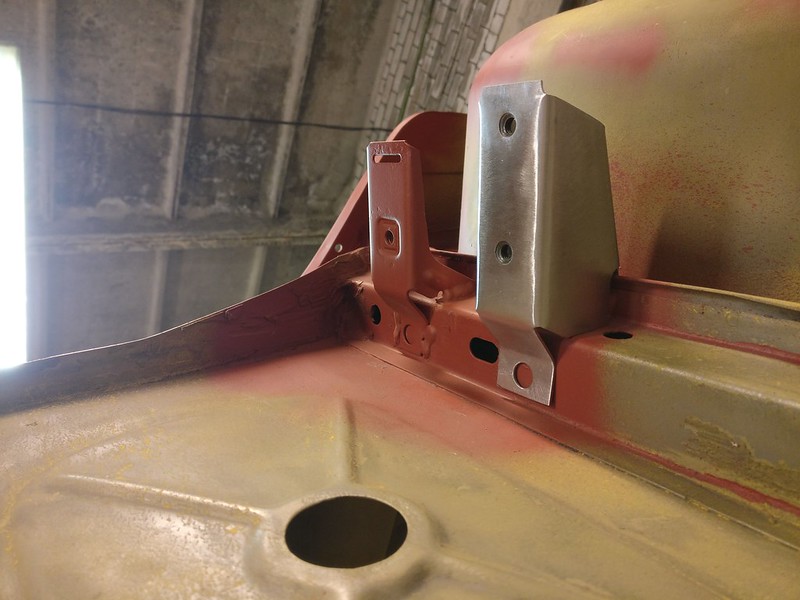
You are right as those clips hold nothing on the passenger side. Those clips for the similar piece on the drivers side hold the taillight and central locking wire harness.
Here’s mine
You are right as those clips hold nothing on the passenger side. Those clips for the similar piece on the drivers side hold the taillight and central locking wire harness.
Here’s mine
Re: Another restoration - 83' 528i
8 - 18 Oct 2020
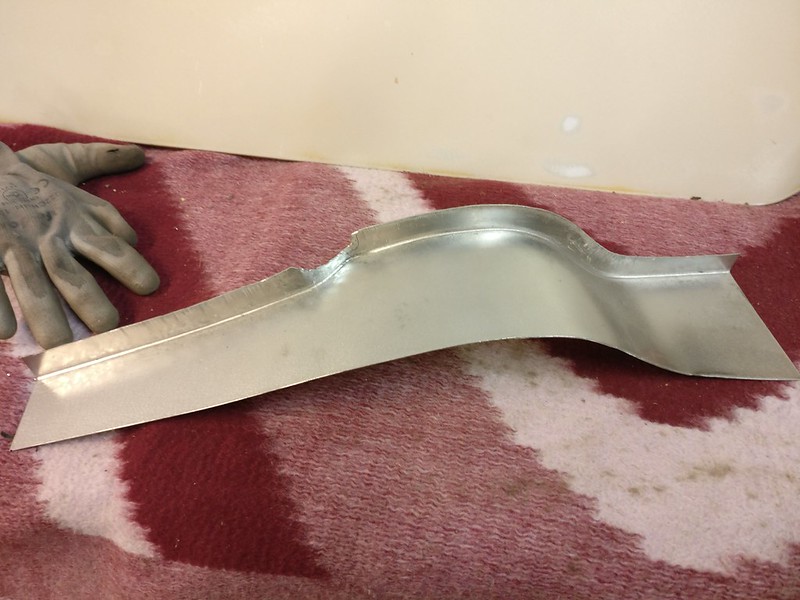
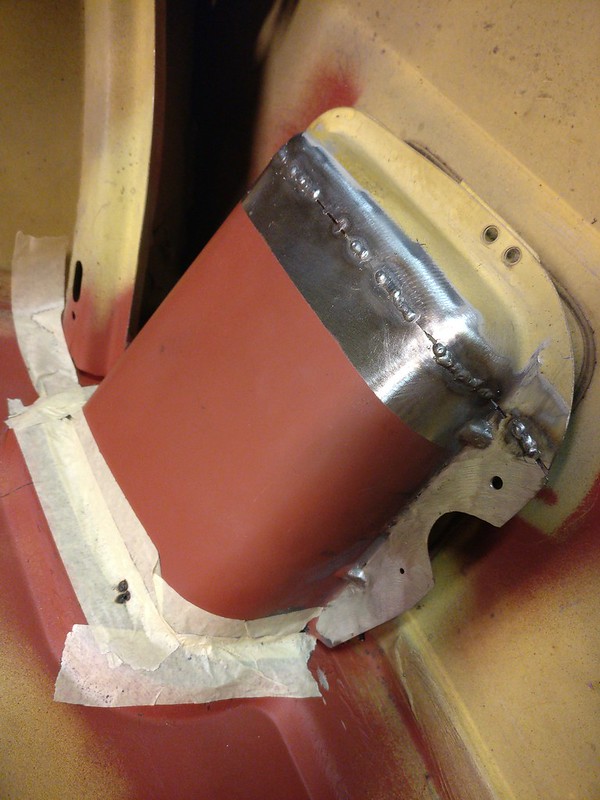
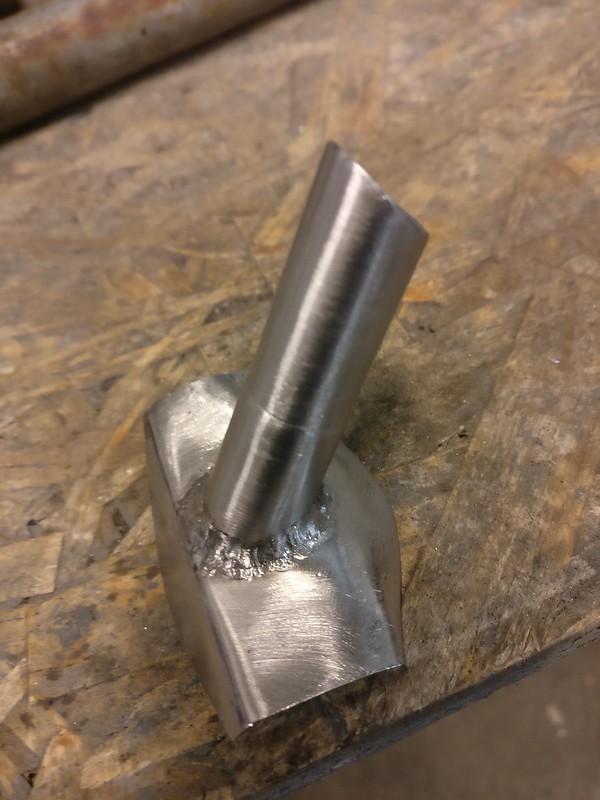
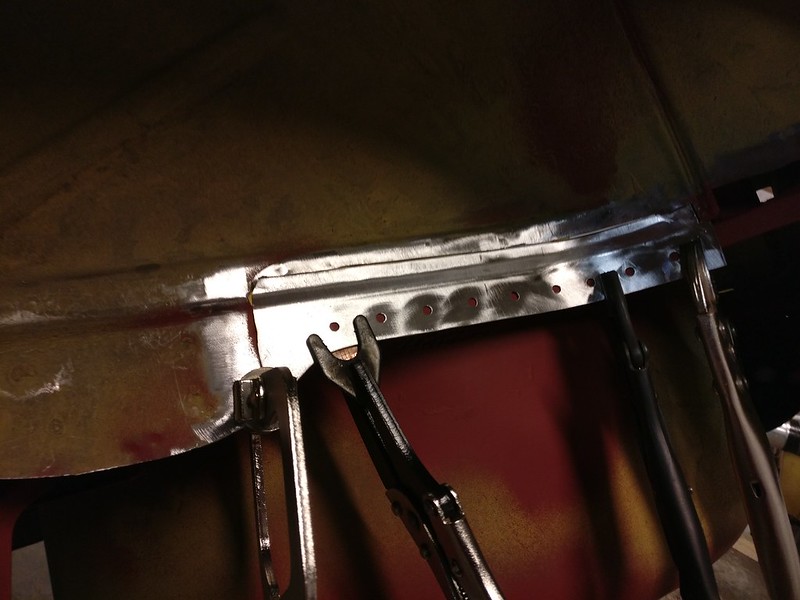
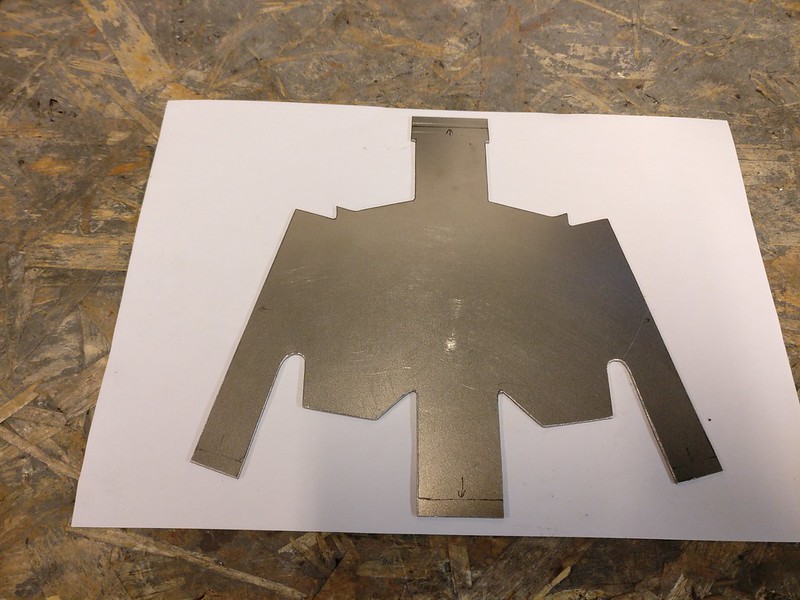
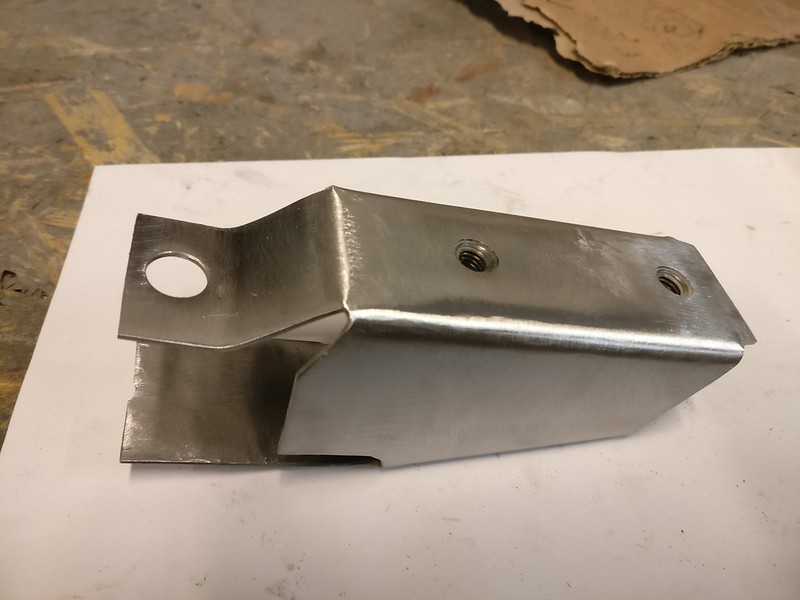
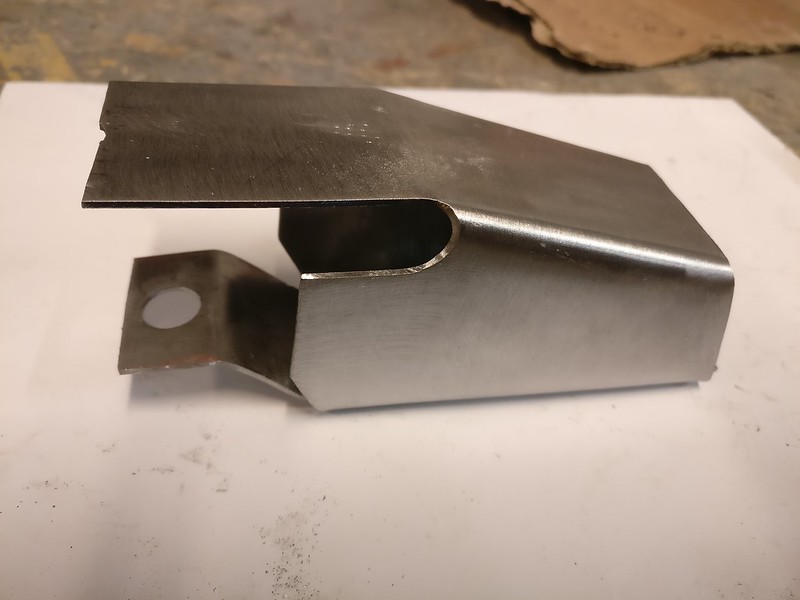
Continued the work on the trunk. I did a crappy patch (no pictures) on the fuel filler neck housing and got it all warped. Well, it was already warped a bit from the sandblasting. Anyway, I couldn’t leave it like that so I removed it and made a replacement.
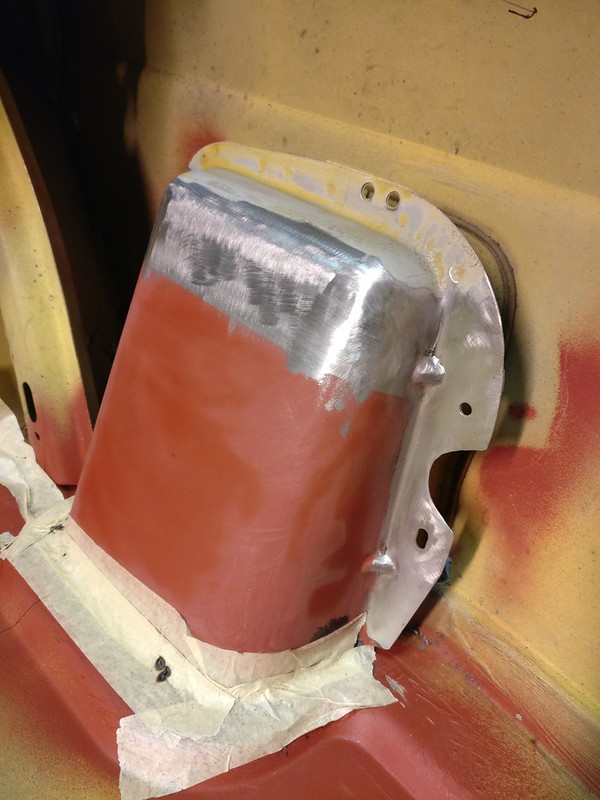
I decided to leave the top section from the original panel and butt weld the new bottom part. I have neither tools nor skills to make a full replacement and this is not the time I’d like to try out new things. The bend on top should make it stiff enough to get good results joining it there.
I also discovered some rust between this and trunk panel so I'm glad I removed it.
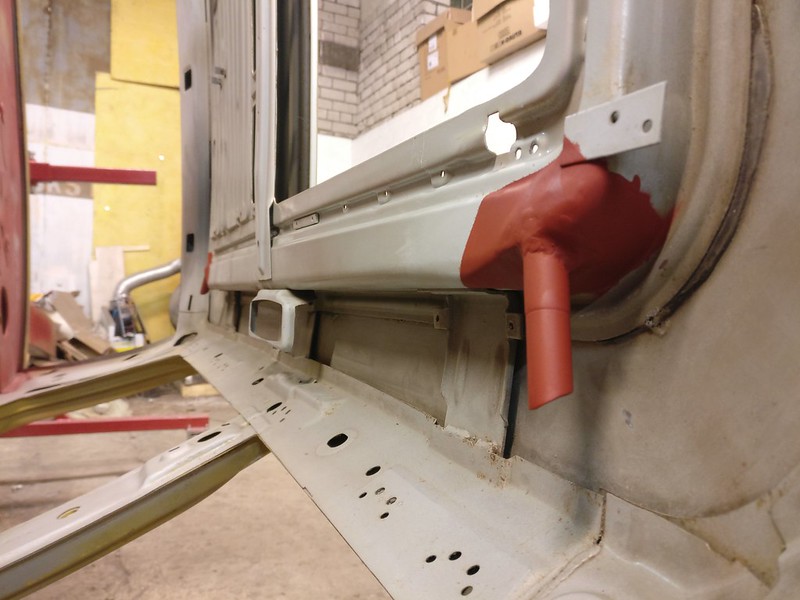
Fortunately, I realized at the very last moment I had forgotten to add an important detail to this piece. Would have been next to impossible to do it after the installation. Can you spot what's missing on the previous pictures?
Here it’s partially welded.
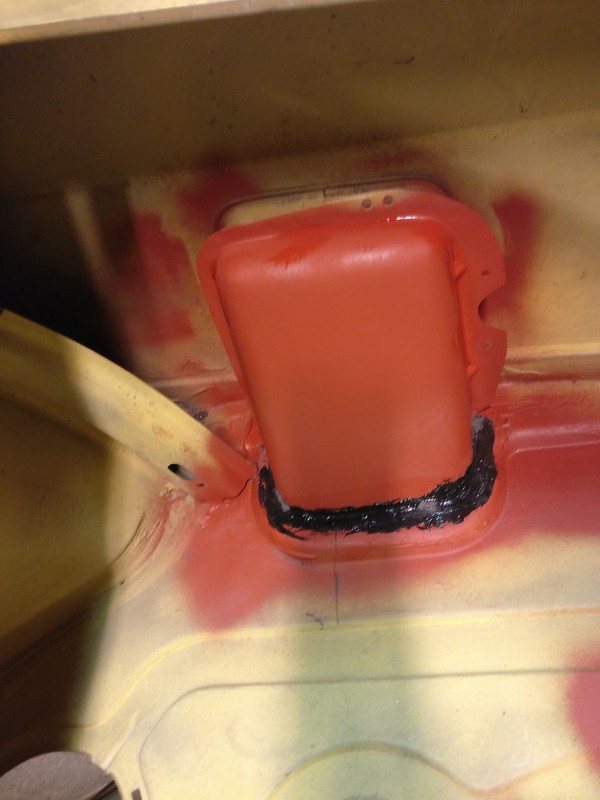
The bottom joint to the trunk panel had two seam welds and then the gap in between was stuffed with seam sealer. I decided to use 1K panel glue (Teroson MS 9220) I have used as seam sealer in the past and skip the welding. To make the seam welds I couldn’t use any sealer there before and I didn’t see how I could get the gap fully sealed after the panel is in place. Masking tape is there so I wouldn’t have tons of metal shavings in the sealer later.
Weld cleaned
And done
Decided to fix the metal surrounding the other license plate light. I didn’t feel comfortable with the pitting there as the moisture sure does get trapped between the gasket and the panel. As this side was in better shape than the other I made a smaller patch and actually had better results.
Both finished
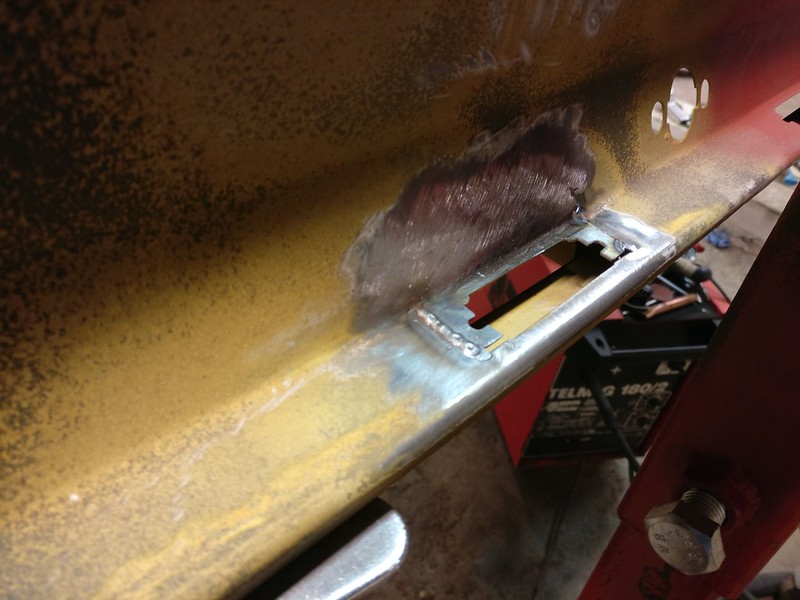
Installed the side panel from the previous post
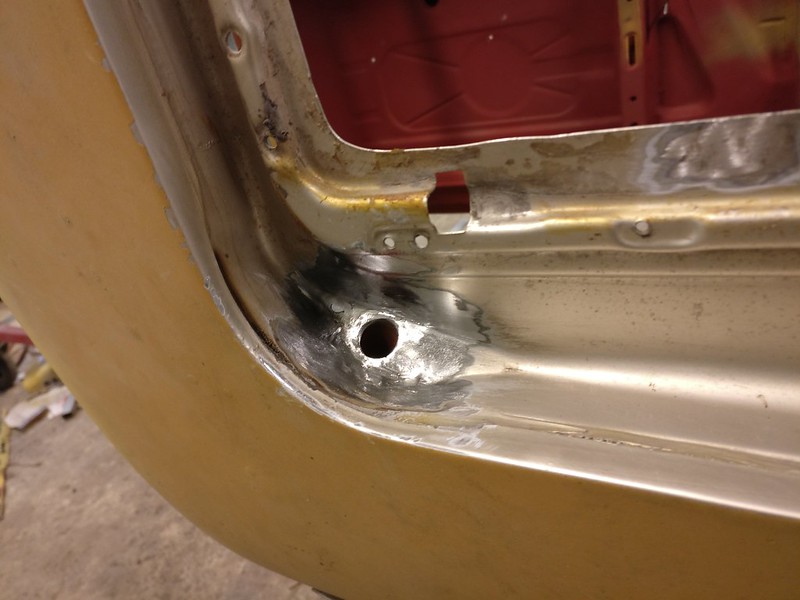
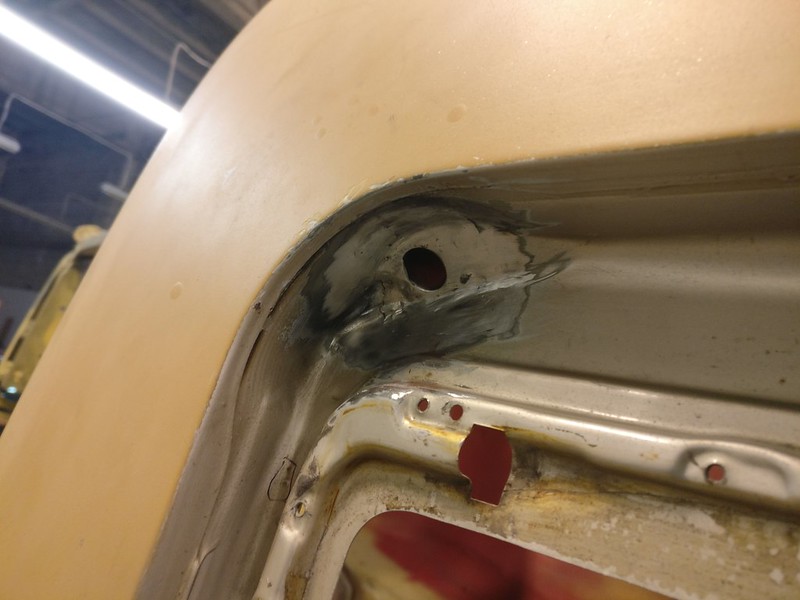
And punched out the hole for central locking
If I remember correctly this chassis came with an LSD and ABS but was missing many other common options, like central locking. Unfortunately, none of the VIN decoders I have tried is able to list the options for this car any more. I am pretty sure they were working a while back but I didn't save the list then. If anyone knows a VIN decoder that can list the options, please let me know.
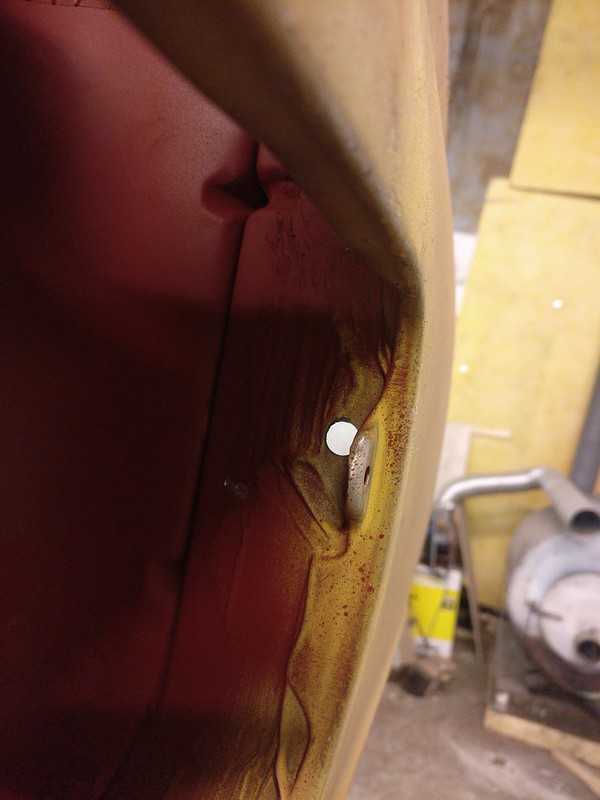
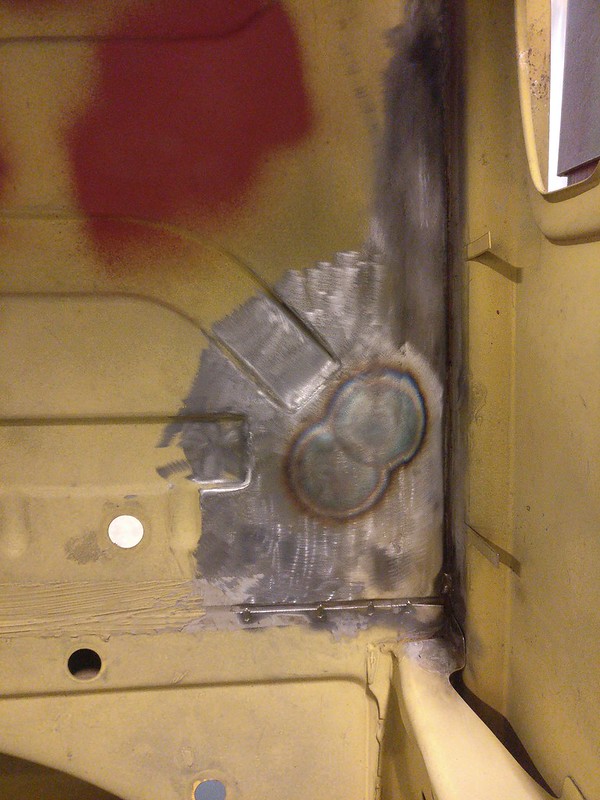
I noticed this hole in driver’s side rear wheel well quite some time ago.
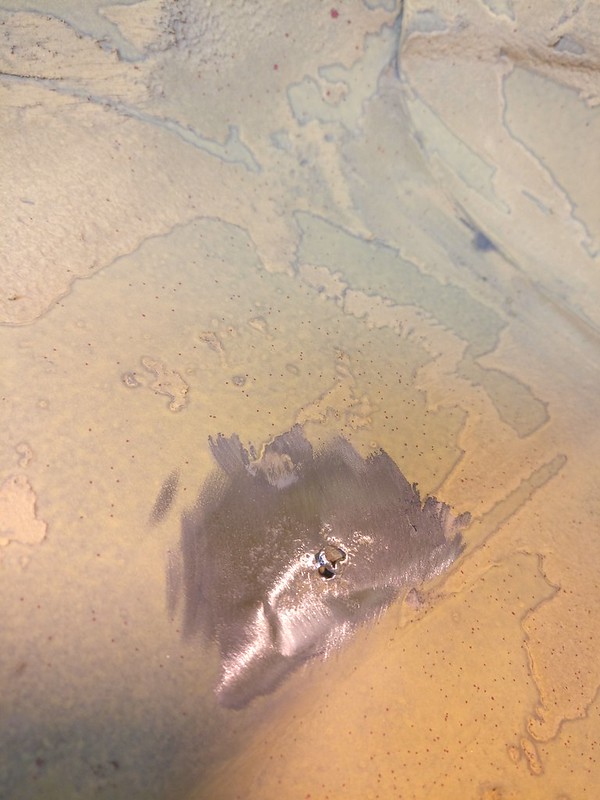
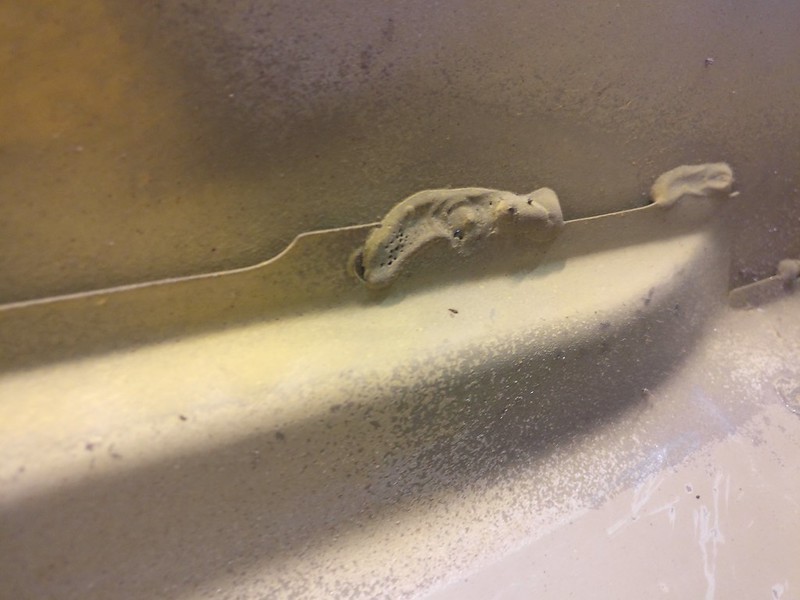
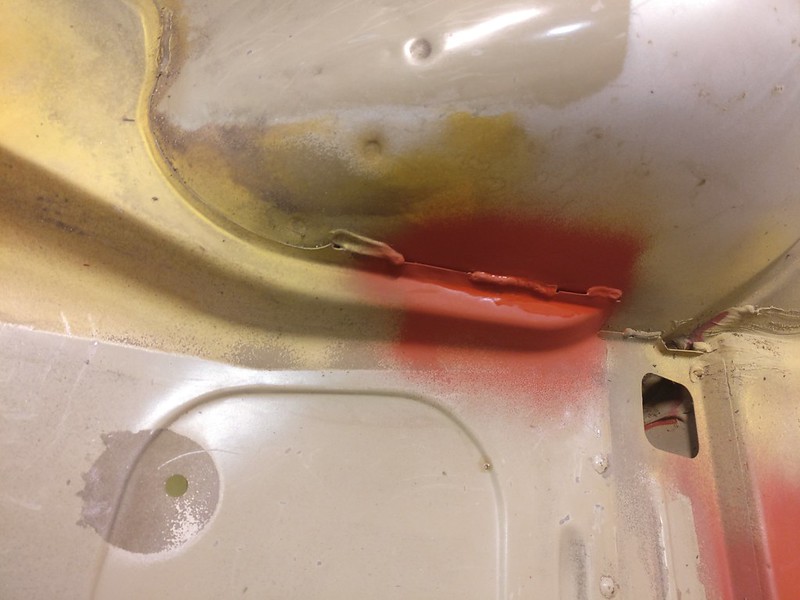
This is the result of a crappy job in the factory. This is on the other side where trunk separator/parcel shelf panel is attached to the wheel well in the cabin.
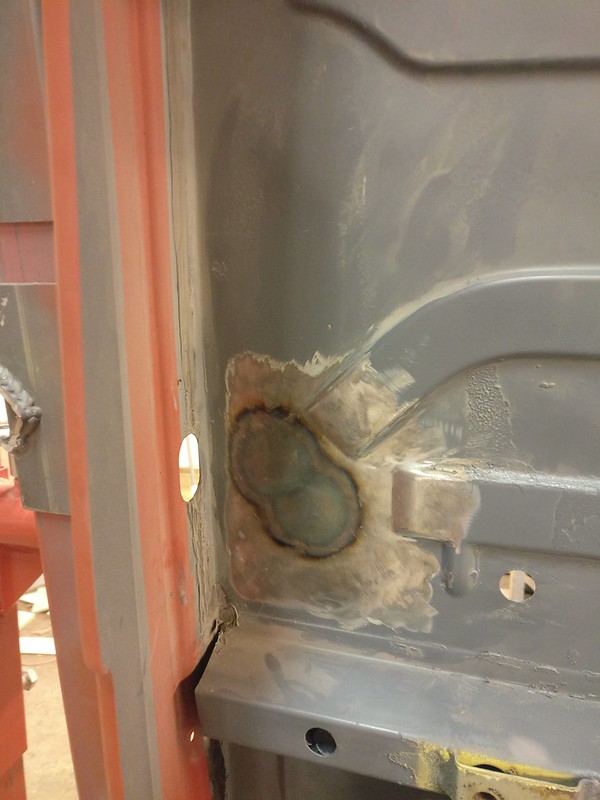
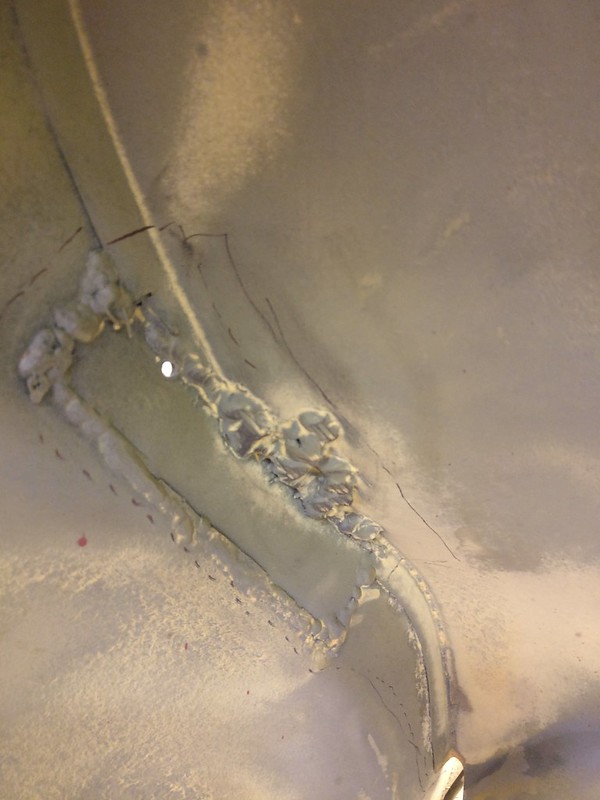
I’ve found three porous factory welds in total on this chassis. Plus a weld that classifies as just crappy. I guess it is too late for a warranty chassis replacement?
I did what any sane person would do and ground it out. Had to do a longer weld there, as some of the remaining metal just melted away. But I prefer this to the porous weld that was there before.
Discovered that my trunk floor is oil-canning. I guess the sandblaster went too hard on it. While I don’t need my trunk floor to be perfectly straight, I do mind it clunking every time I drop a bag in the trunk. To fix it I tried something new to me - heat shrinking.
I don’t have an oxy-acetylene torch which is usually used for that purpose so I did it with regular torch using some gas mixture that by specifications should burn a bit hotter than propane. Turns out it worked quite well and I achieved exactly what I wanted.
Took two shrinks to get it done. Actually, the oil-canning was gone after the first shrink but I still had a high spot so I went for another.
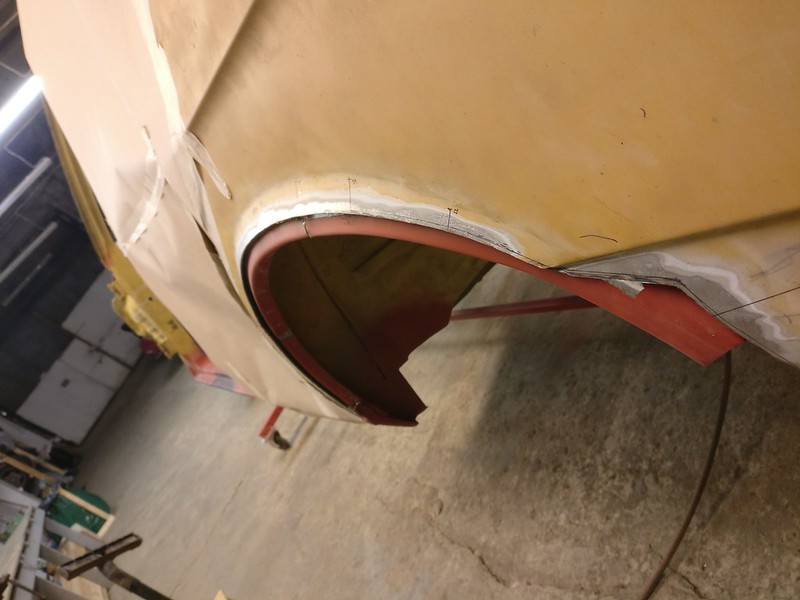
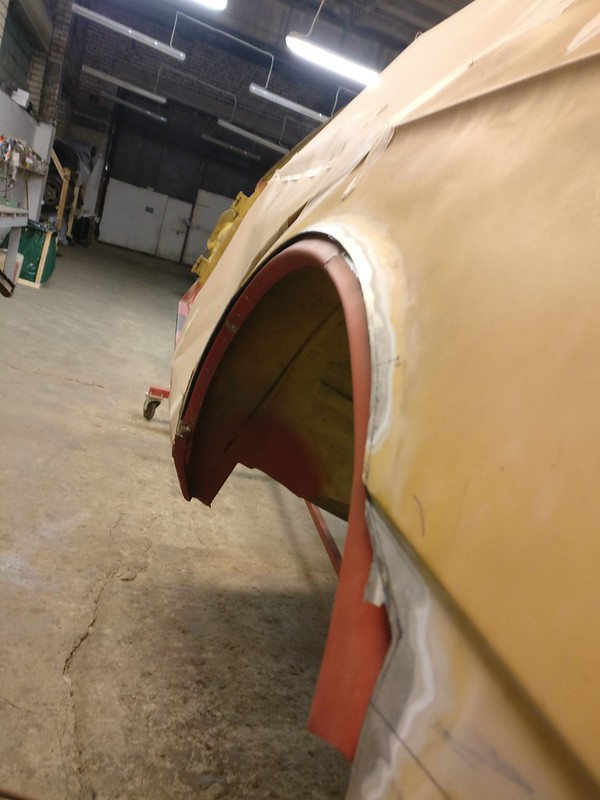
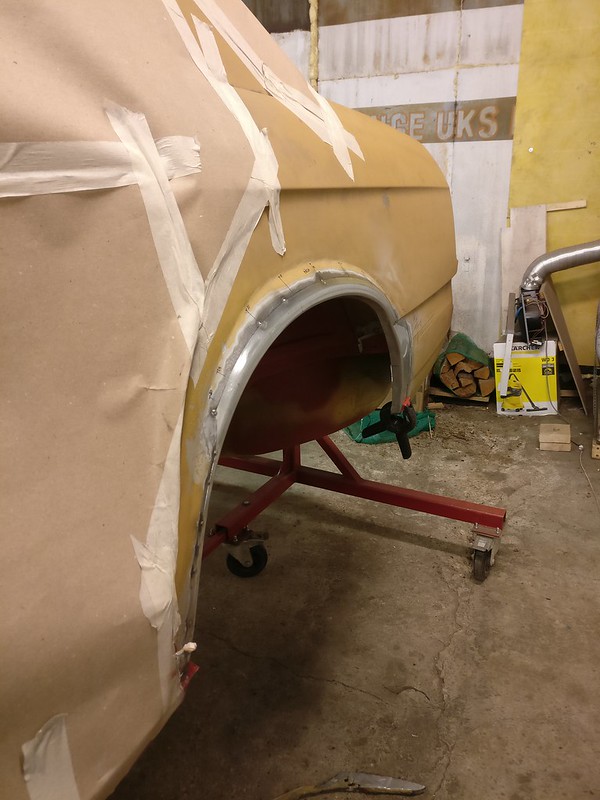
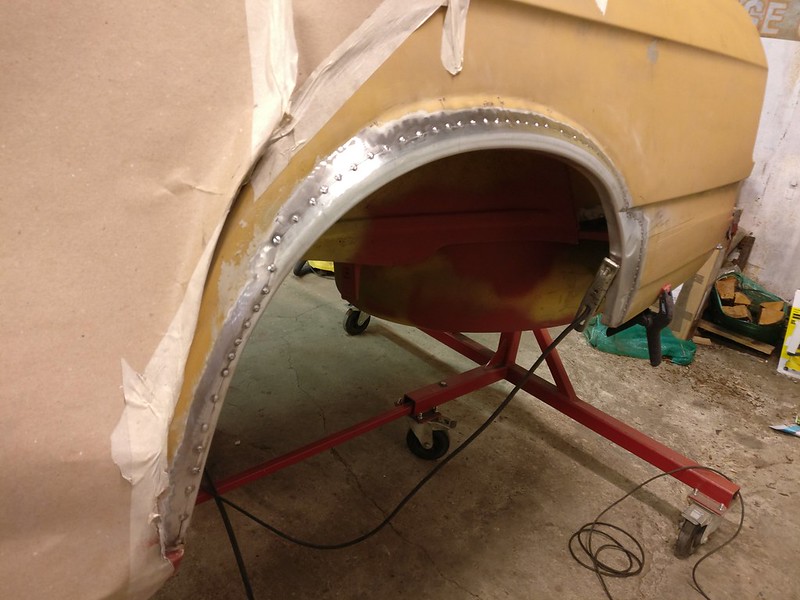
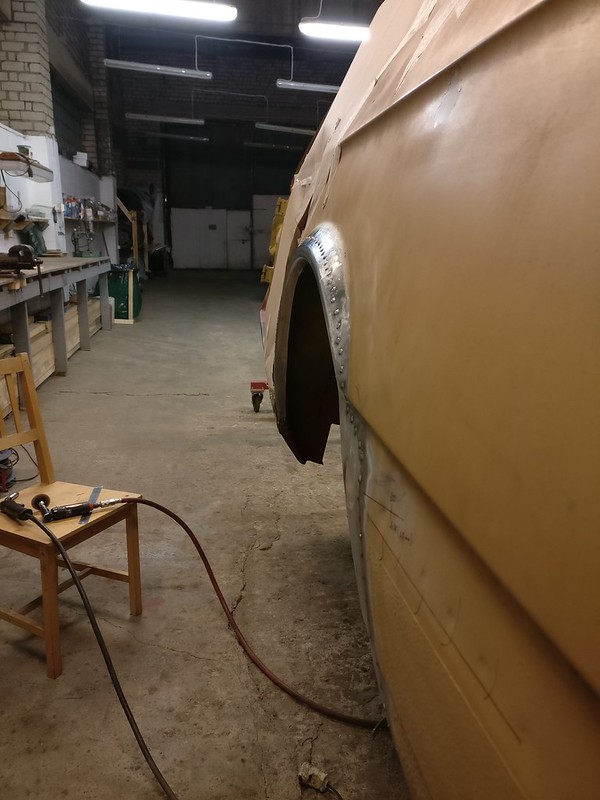
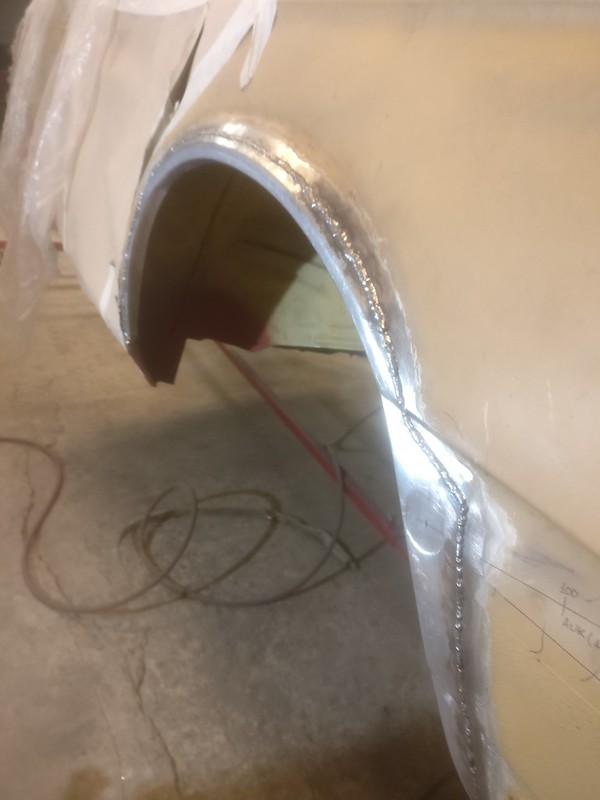
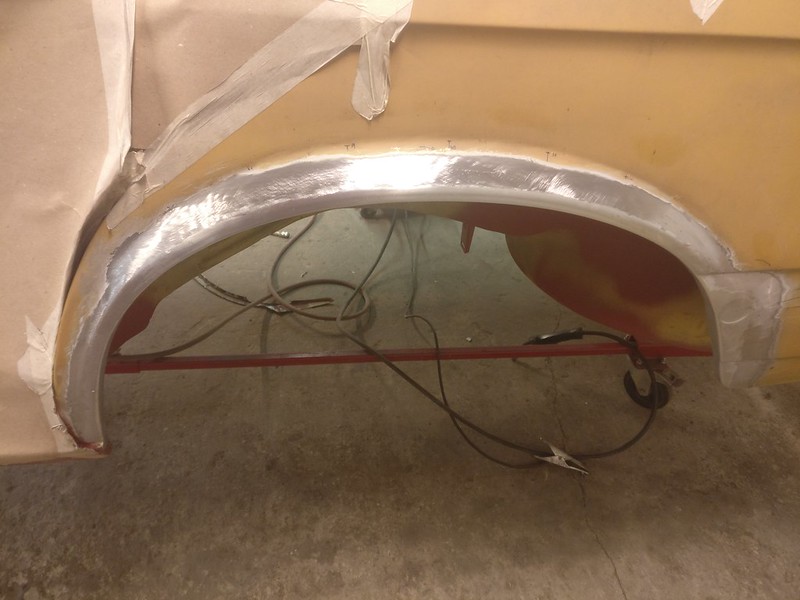
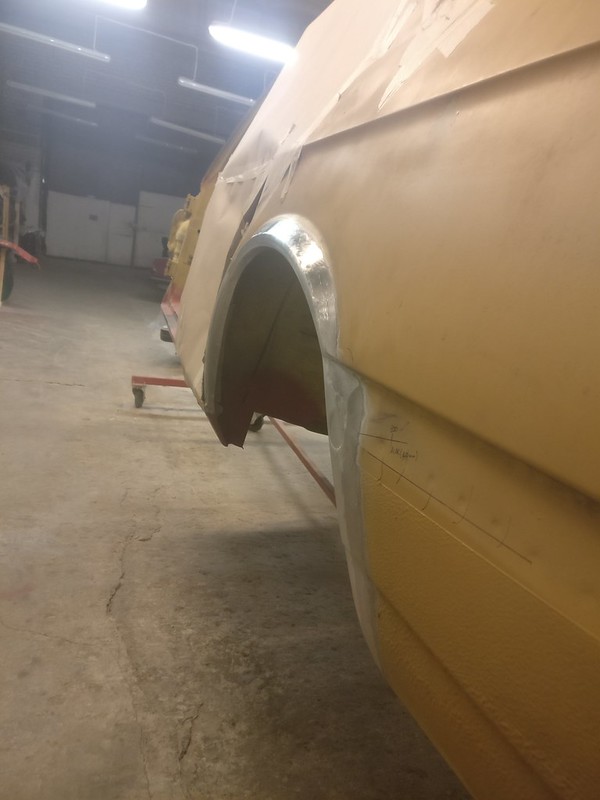
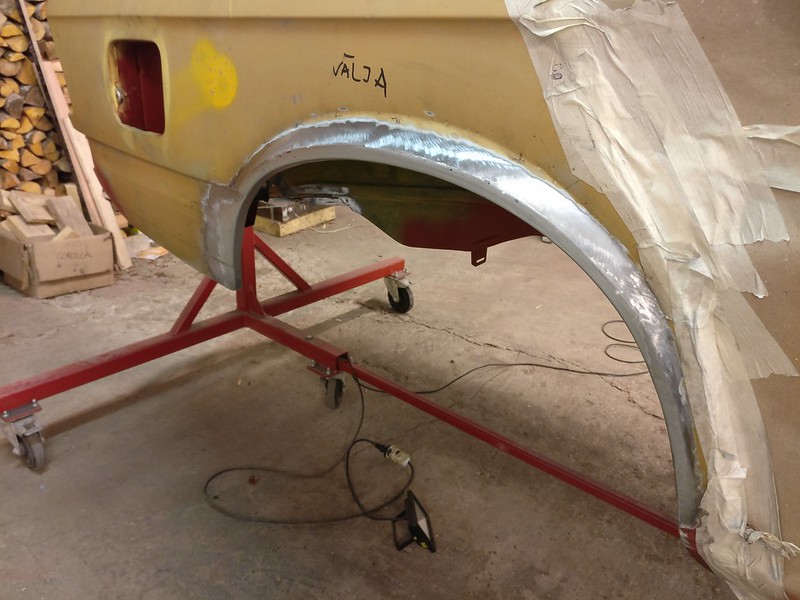
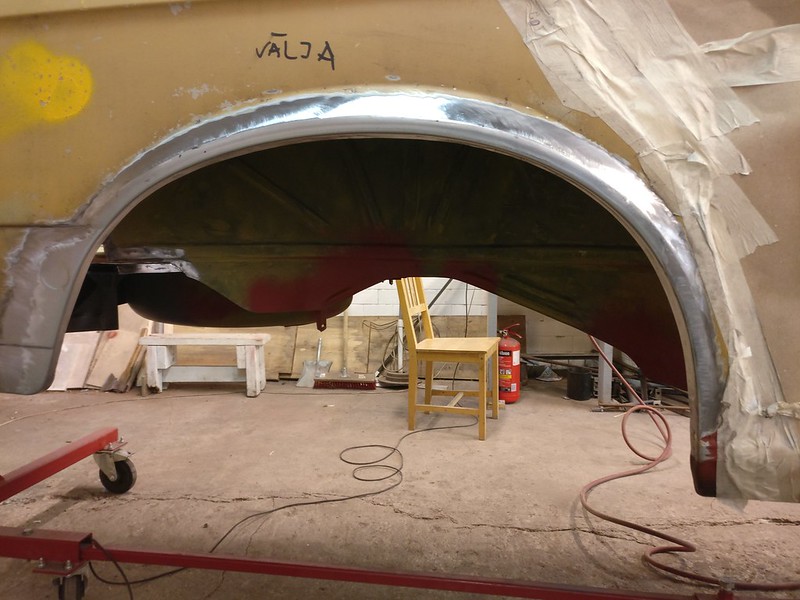
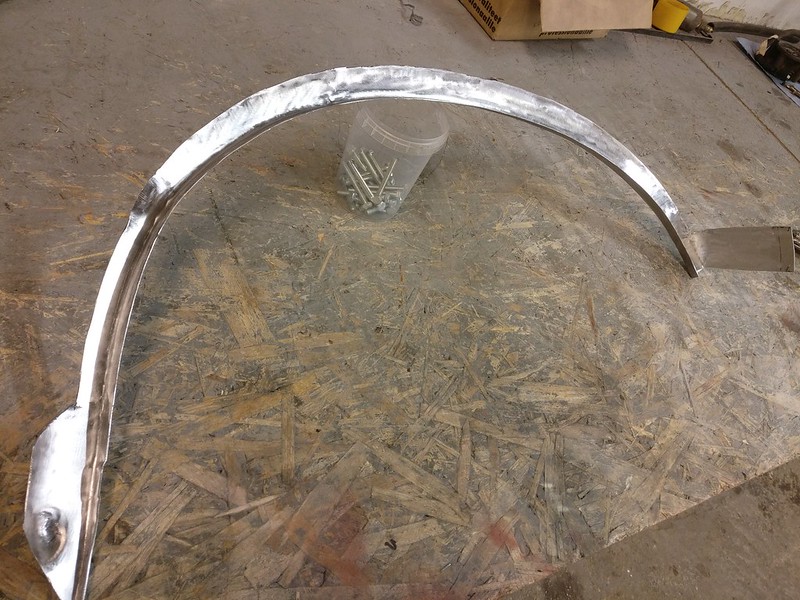
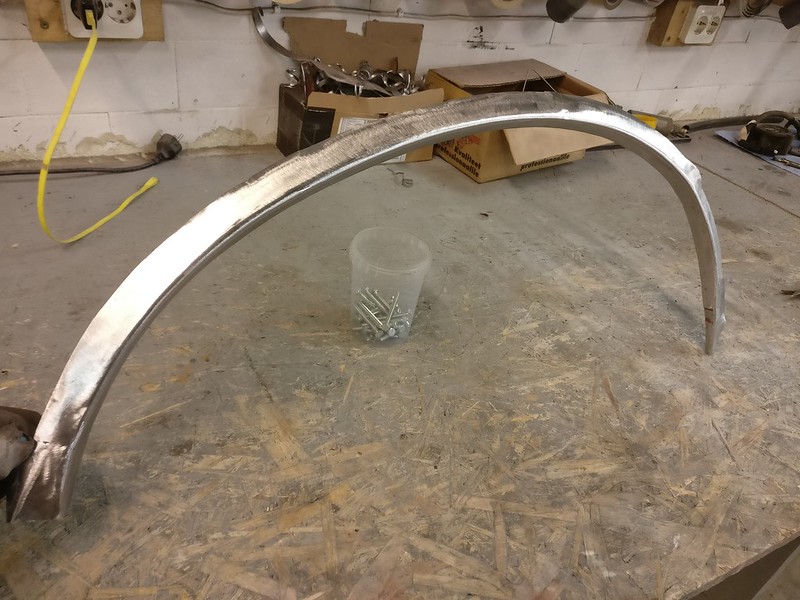
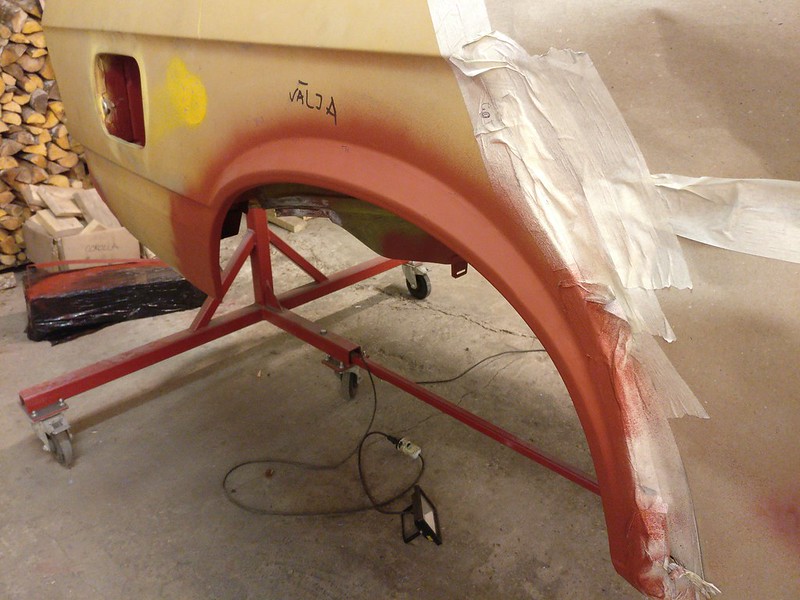
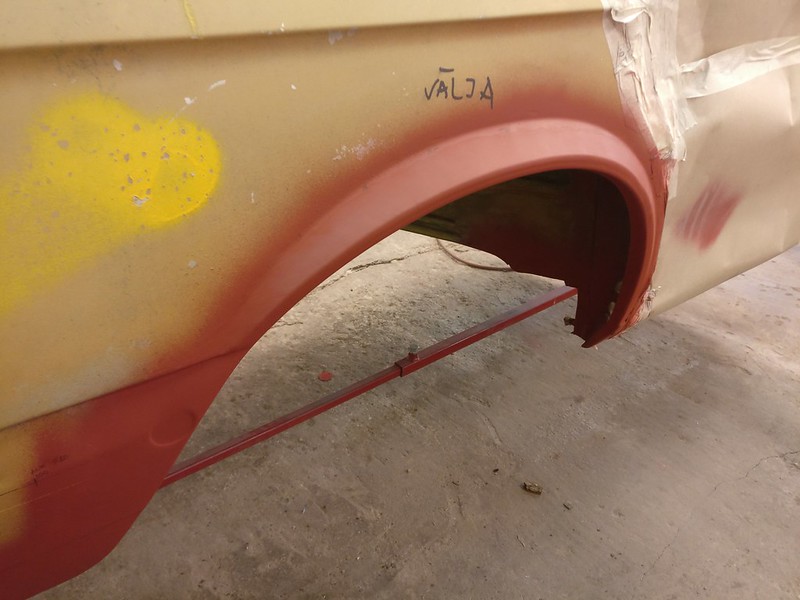
And today, I started the work on the rear wheel arches.
I’ll probably put the wheel arches on hold for a bit. But more about this in the next post.
Re: Another restoration - 83' 528i
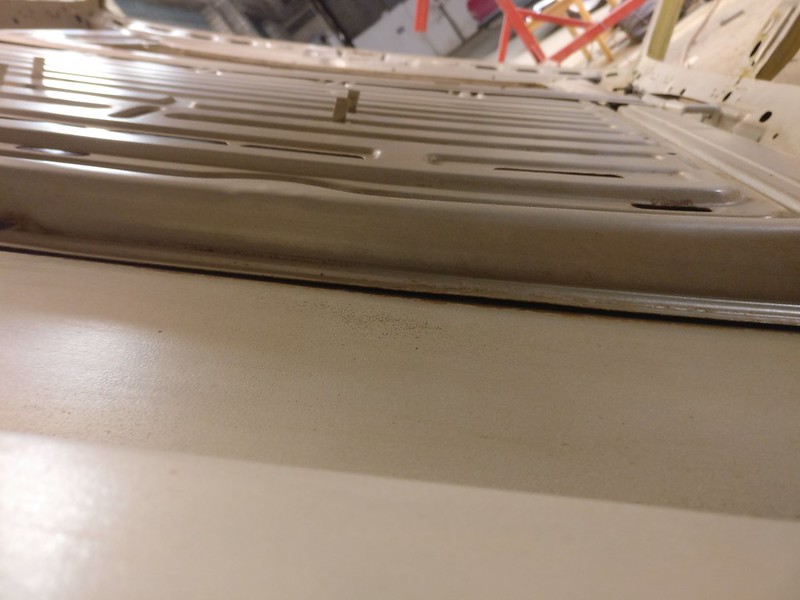
So, today I was cleaning off the spray glue from the inside of my roof when I discovered the sunroof frame was loose from the roof panel at the back.
I stepped over to my buddy's E28 and gently pressed on the roof in the same area - it has the same issue.
Edit: This is actually how they came from the factory, see the next post.
I made a quick video to demonstrate the problem:
https://youtu.be/4LqZNOqHKJY
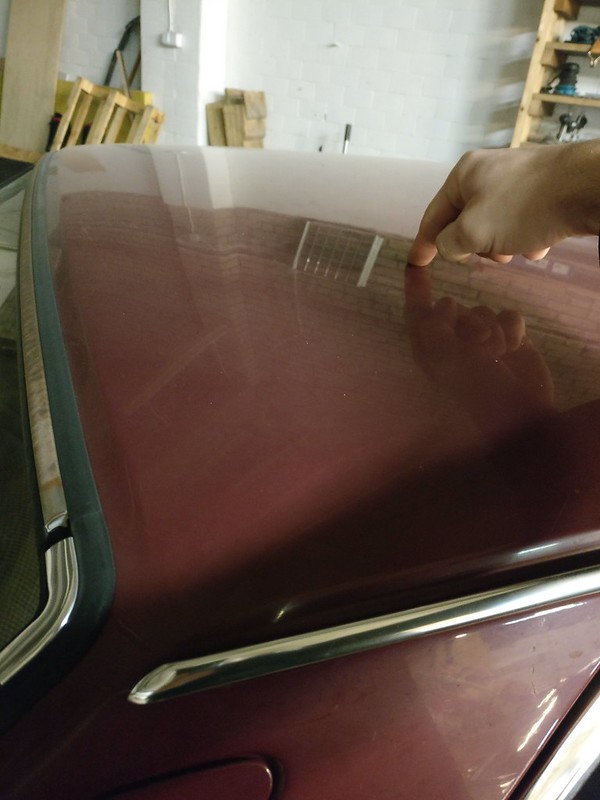
And a photo for those who doesn't bother to watch the video
It would be 30 cm forward from the rear window. About here
The roof panel looks completely straight and fine. I guess the adhesive has shrunk and/or there was too little adhesive there to begin with. It's secure in the rear corners and everywhere else. I'll probably try to remove some of the old adhesive as it's all stuck to the sunroof frame and then squeeze some fresh panel glue in between the panels.
I guess the only consequence of this would be some possible noise issues.
I was wondering if any of your cars suffer from it. But be careful not to dent your roofs!
Last edited by taavipa on Oct 25, 2020 7:48 PM, edited 1 time in total.
Re: Another restoration - 83' 528i
19 - 25 Oct 2020
First of all, the roof panel issue from the last post was a false alarm. Kinda. I could swear I saw some adhesive between the panels there but on closer inspection there was actually none. I guess they didn’t glue the panels together in the back.
I still don’t like this and I’m going to squeeze something between them. I found a tiny bit of surface rust on the roof right where the sunroof panel touches it. Due to this issue the primer has been scraped off there and given way to rust.
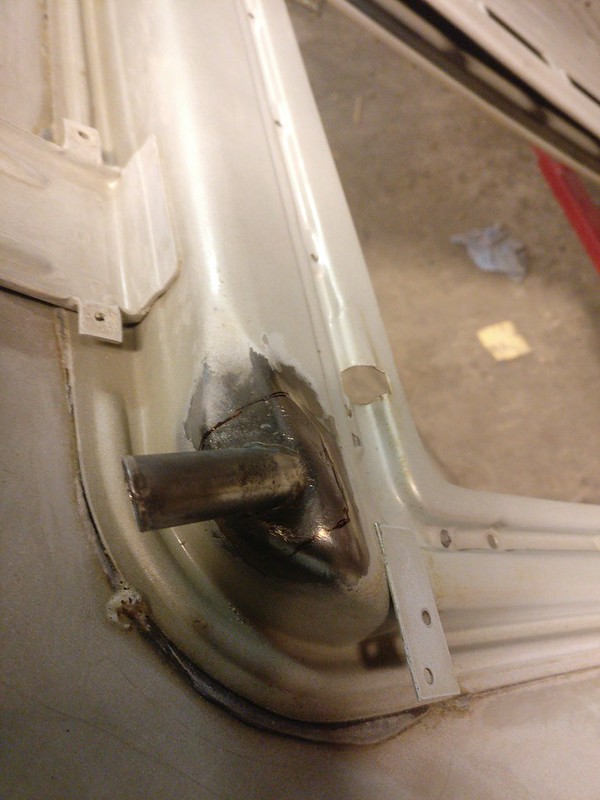
Some weeks ago I was cleaning the sunroof drain pipes as they had some rust and pitting on them. Rears were in a good shape, fronts a bit worse. Discovered a hole in driver’s side front drain pipe right next to the brazed joint. So no way to weld it shut there and I had to replace it.
Here’s one of the front drains.
Luckily, my buddy was happy to TIG weld two pipes to a piece of sheet metal for me so I could shape the piece and replace the damaged drains. He also skimmed a bit off on lathe to make a better fit as I was able to only source 16mm pipe (1.5mm wall). The original drains are 15mm (1mm wall).
New drain installed
Exterior view
It was a PITA to grind the weld there and I wasn’t able to get it all perfectly flush (without digging into the surrounding metal which I’d prefer to avoid in spot like that). I am going to add a skim of 2K panel adhesive on top of those later. This adhesive is perfectly sandable so once it’s dry I can smooth everything out and make sure there are no low spots remaining where water could get trapped.
A few more details to cabin area were still undone.
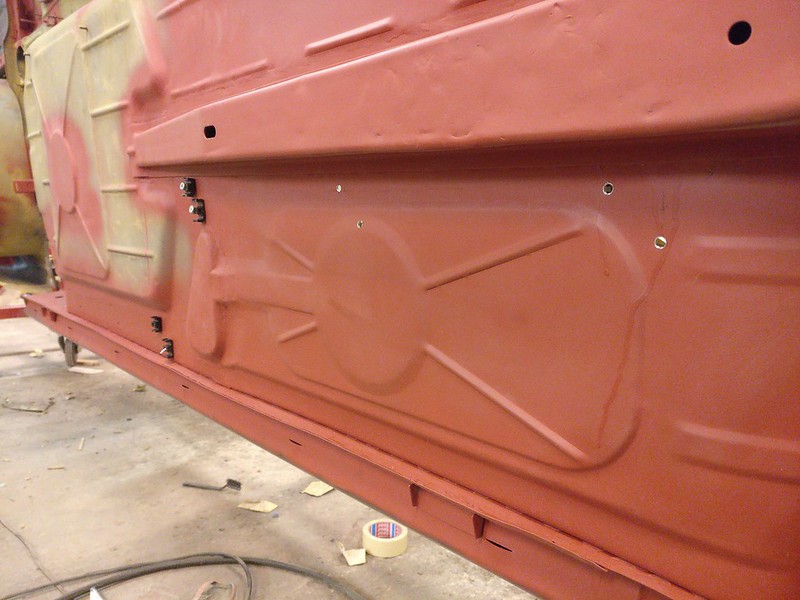
Remaining holes for rivet nuts to mount my brake and fuel pipes using OEM clips. As was mentioned in one of the previous posts, the replacement floor panels I bought won’t allow me to run both sets of pipes between frame rail and that rectangular thingy as they were from the factory. After playing around with the clips I concluded there’s no issue running them like this.
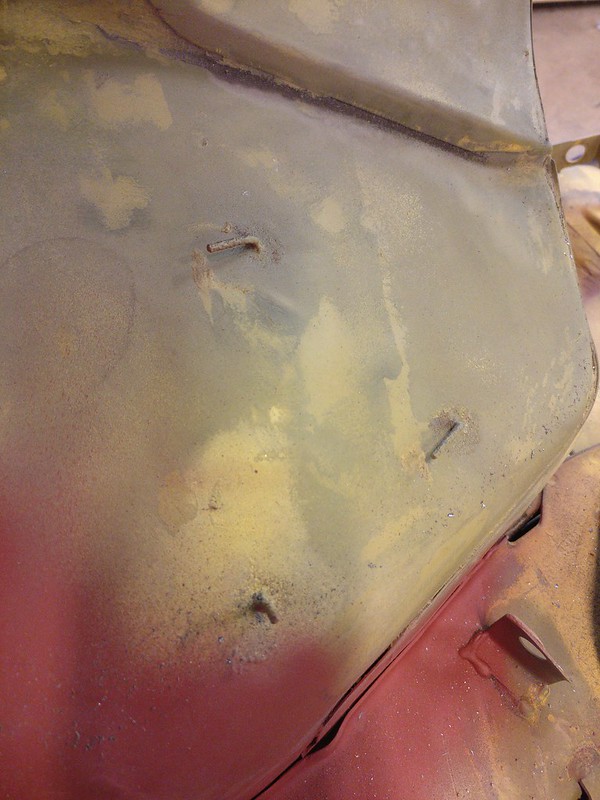
Then there were these pins under the car.
Some of you might be familiar with these, they are used to mount the rear heat shield. On older cars they are also used to mount the soft firewall heat shield. Later these were replaced by some studs and plastic clips but rears were kept as is. I don’t have strong feelings for these pins because they feel like a single use item. I went on and replaced as many as I could with M6 studs so I wouldn’t have so much trouble with these braking off in the future.
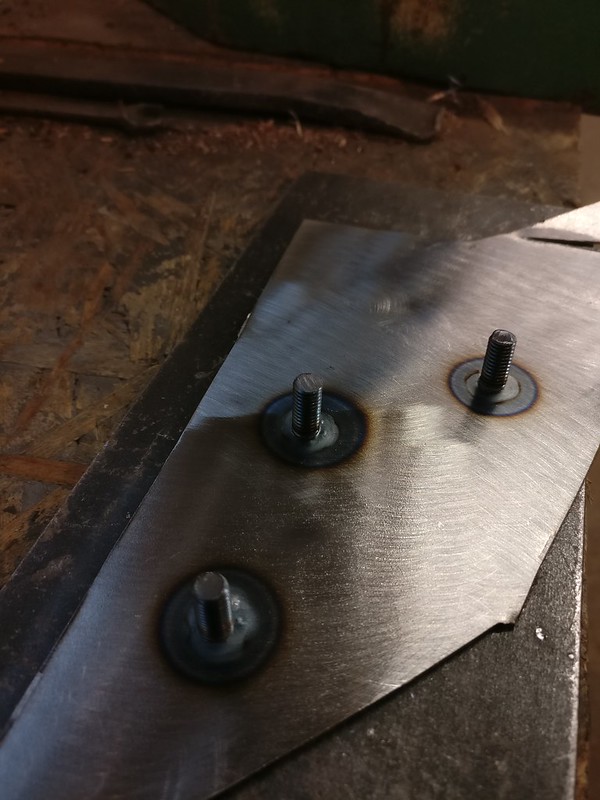
Discovered a nice way to MIG weld the studs. First, you’d run a smaller hole through sheet metal, then tap it for your stud. This way the stud stays put while welding and it is also easy to tune the length of it. You’d still have to be careful not to melt the whole area at once as the stud could possibly move or fall off.
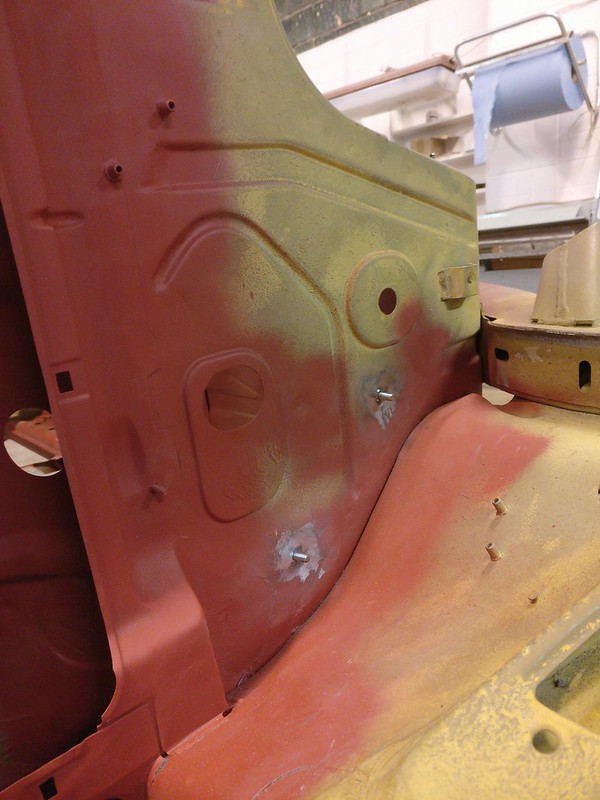
Two new studs on firewall
Seven new studs here
Also did some shrinking on the tunnel (damn sandblasting).
Had to keep the two middle pins in the back as I don’t have good access to the other side.
Got all that done by yesterday’s evening. Then went on sanding the cabin which took pretty much the whole night. No pictures of that, nothing I’d like to remember.
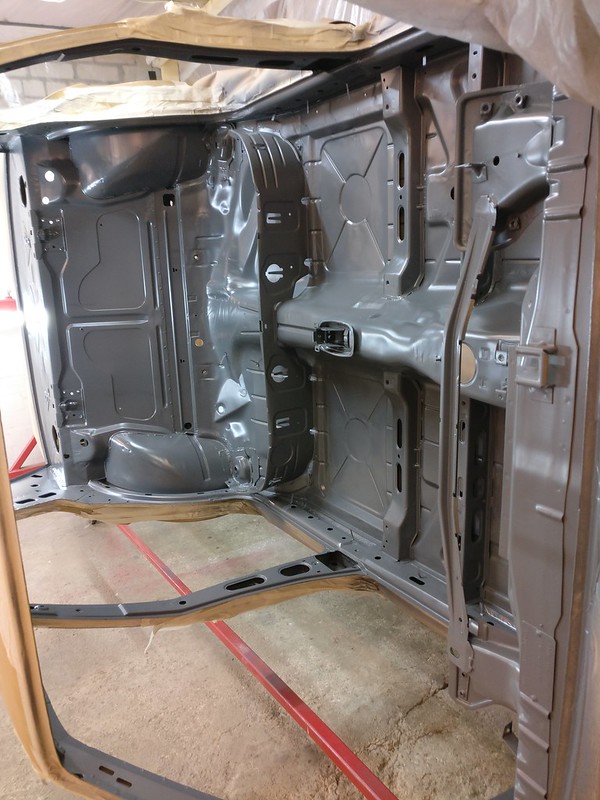
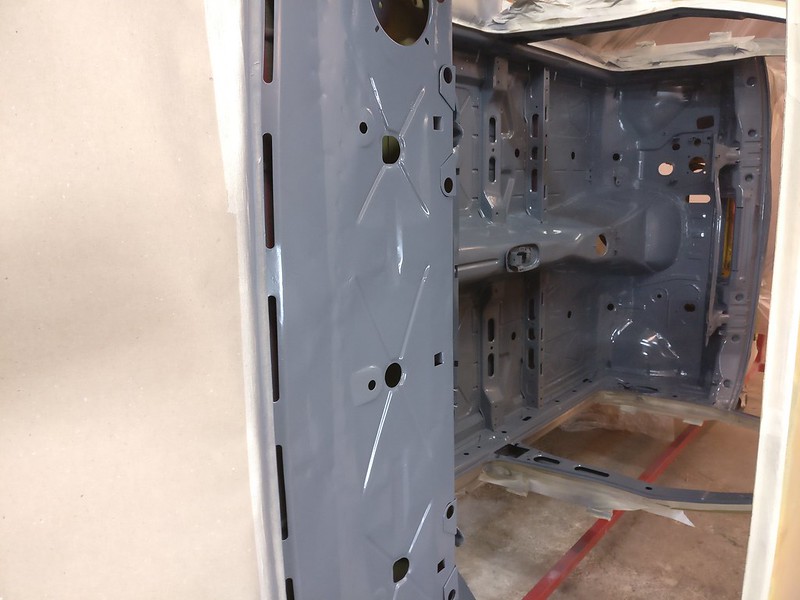
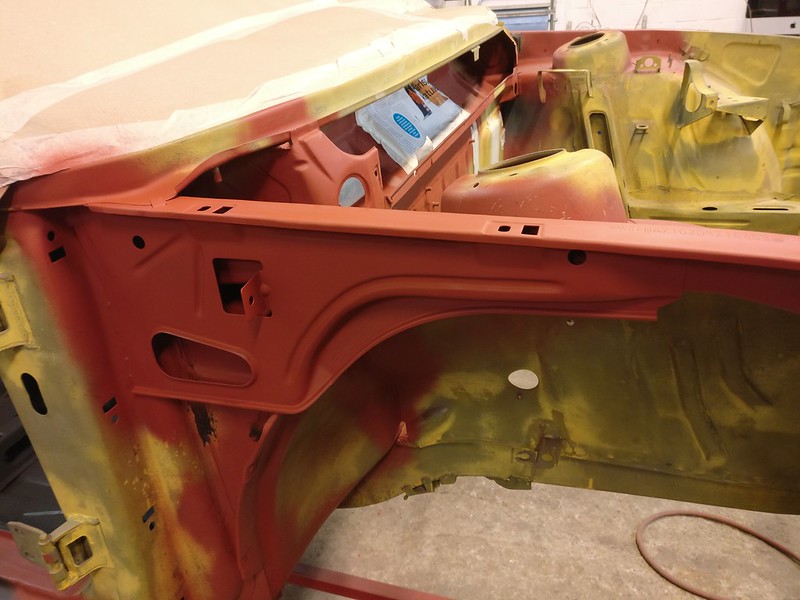
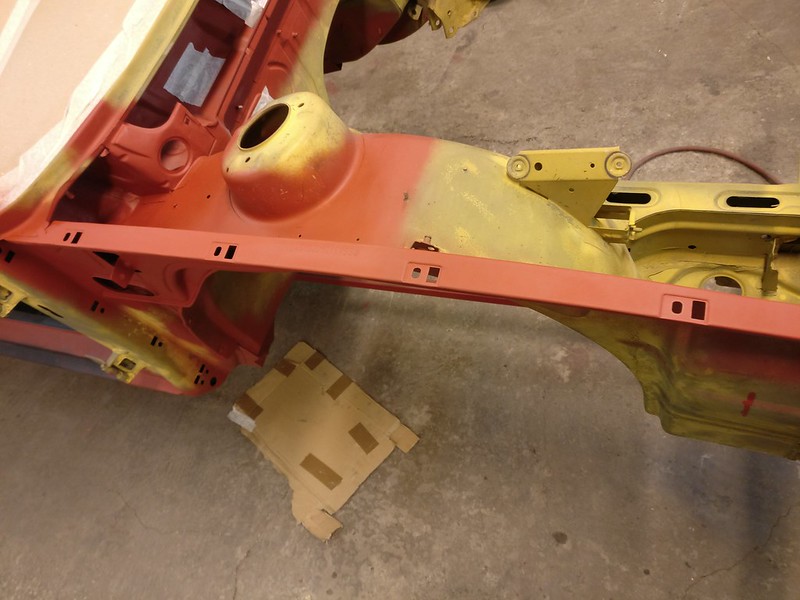
All that so I could do this today
Best one I have with roof visible
This time I wanted to give it a go myself. Got some runs where I tried to get the primer on some mounts or into a nook but otherwise looks good. I can sand down the runs later (oh joy). I’ll probably let my friend do the final coat of paint though.
Some insight why I was in a hurry with this.
I had bought the primer when I did the inside of the sills and rear valance. Not enough for the whole lot but still plenty. Back then the plan was to get the chassis ready by this fall. Well, this didn’t happen.
Plan B was to get the rear end up to the firewall done by now so I could use the primer on cabin and trunk. I still have rear wheel arches to do before I could prime the trunk. Now, it’s starts getting colder around here and the rooms we have aren’t warm enough I’d feel comfortable doing any paint work during winter months.
On with the plan C - do the cabin and some other panels.
Also, it looks awesome and helps to stay motivated.
-
- Posts: 967
- Joined: Oct 26, 2017 3:36 PM
- Location: Fleming Island FL
Re: Another restoration - 83' 528i
It does look awesome- stay motivated!
If the rest of your build is this detailed and complete, you will need the patience of Job. Keep going.
Re: Another restoration - 83' 528i
Love this project, its process and your documentary style. But more than anything else, I am amazed by your skill and patience.
Don't rush it.
Don't rush it.
Re: Another restoration - 83' 528i
Thanks, folks! I'll do my best.
26 Oct - 04 Nov 2020
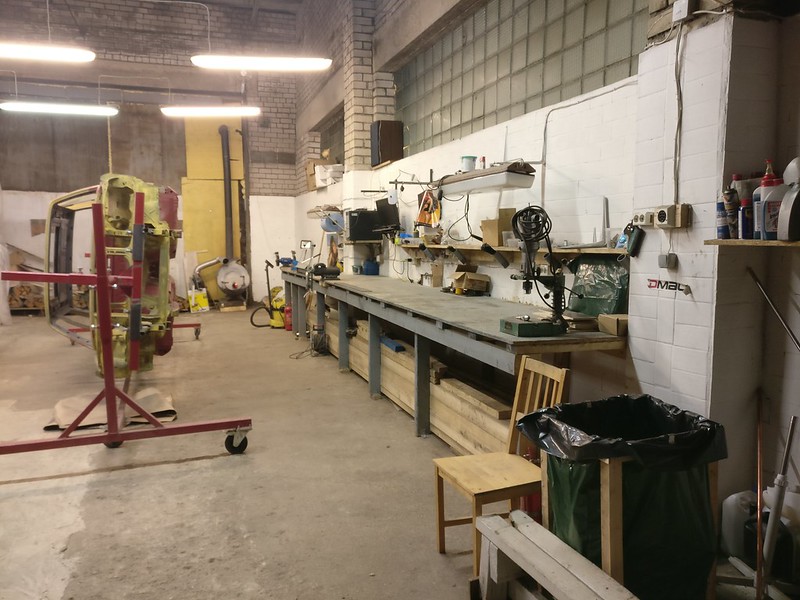
Not much work done on the chassis. Spent some days cleaning the workshop and building some additional shelves for tools and other stuff.
This large storage shelf we have in our shop turned out to be a workbench. Go figure.
A new large shelf for E28 stuff only. Still can’t fit everything there, though.
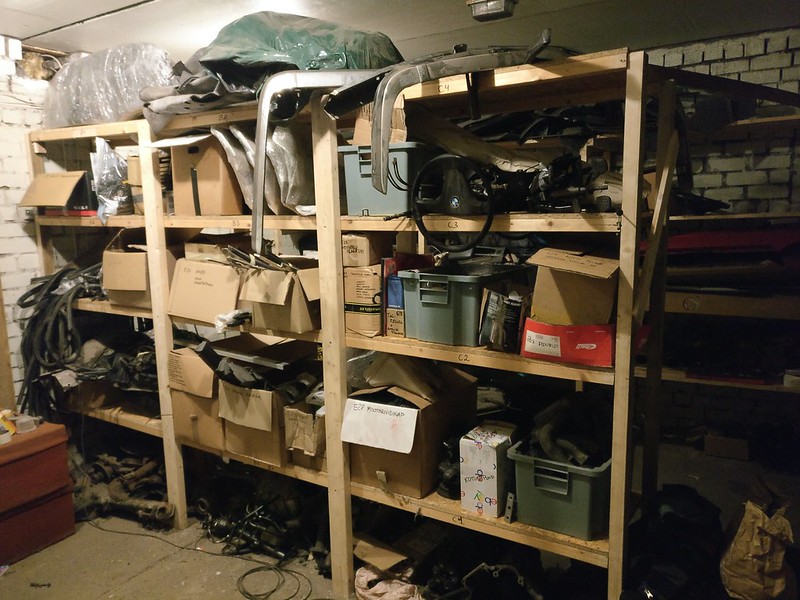
While I had all parts I’ve taken off the car bagged, labelled and boxed the old shelf was too crowded and it still took quite some time to find anything. This time I tried to do a better job organizing the boxes and also marked down on which shelf something is. Should be able to find what I need in matter of minutes now.
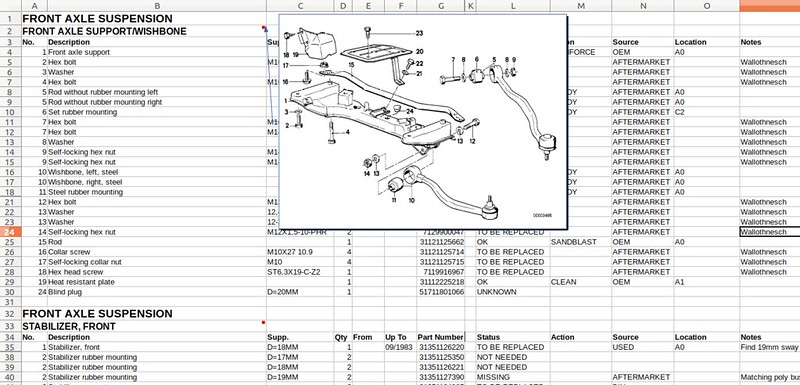
I’ve also grabbed all the parts lists and diagrams for my car from realoem so I could make a spreadsheet that helps me track what I’m still missing, where everything is and what should be done next to existing parts.
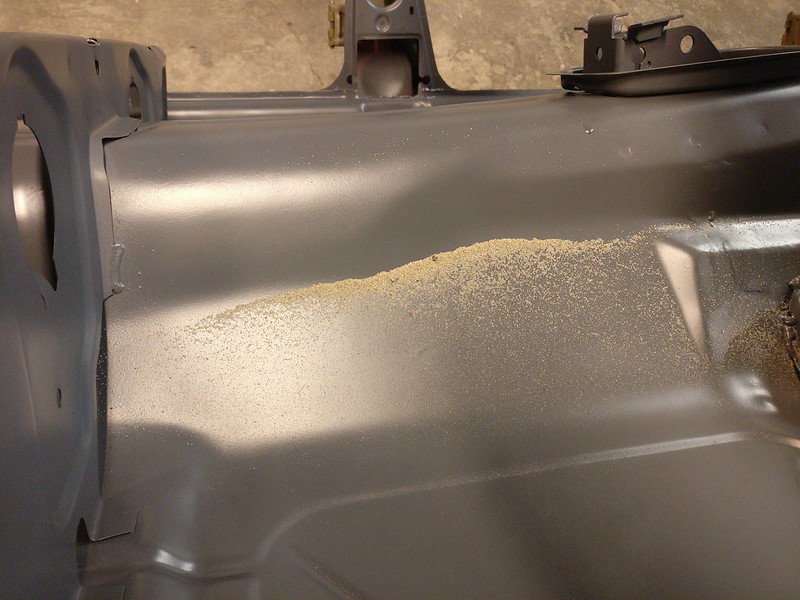
One thing that’s really annoying about sandblasting. It’s been two months since blasting the strut tower. During this time the car has been probably rolled over tens of times in the rotisserie, cabin’s been frequently vacuumed, everything thoroughly cleaned before priming and you still get this:
Guess I’m lucky I decided not to turn the car over during the priming.
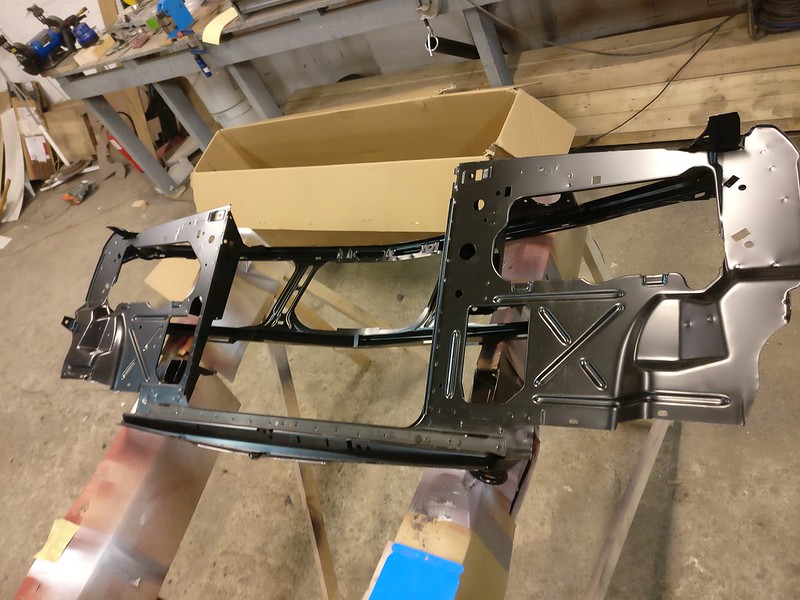
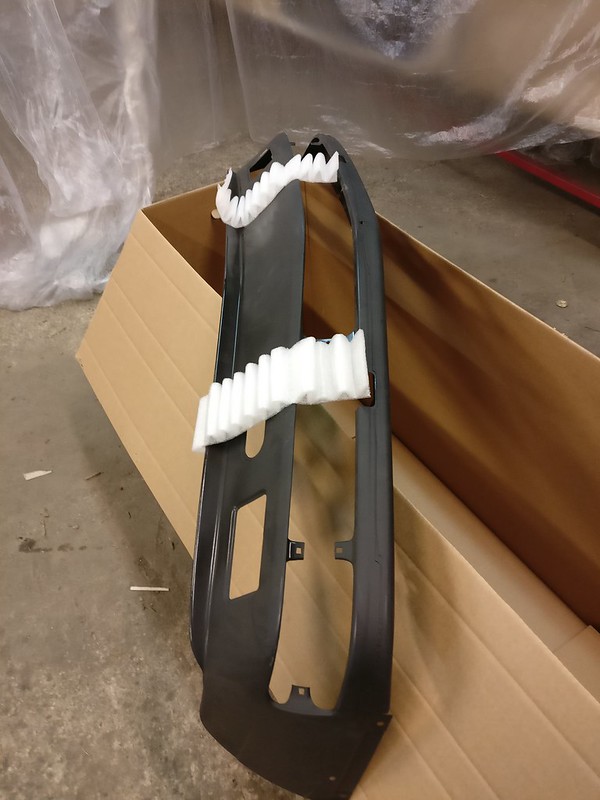
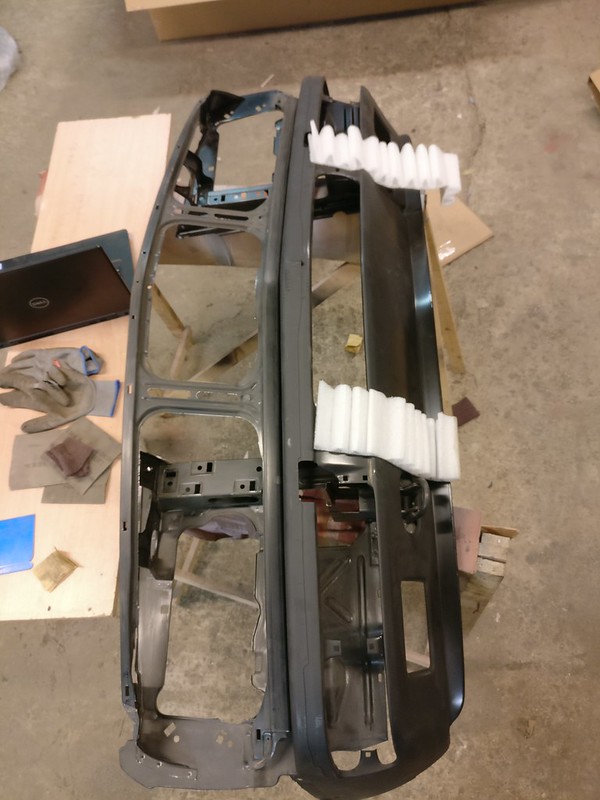
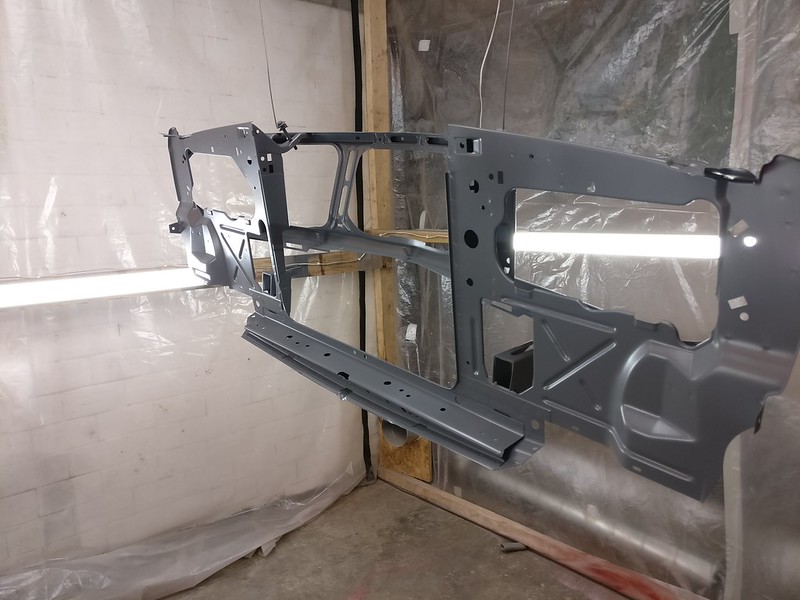
One of the large boxes I had stored away contained this - a brand new nose frame.
Although the existing nose frame isn’t too bad and it’s fixable I decided my car deserves better. Removing the frame also let’s me take better care of the hackjob that was done there before. I’ll probably fix the old nose frame up in the future and sell it.
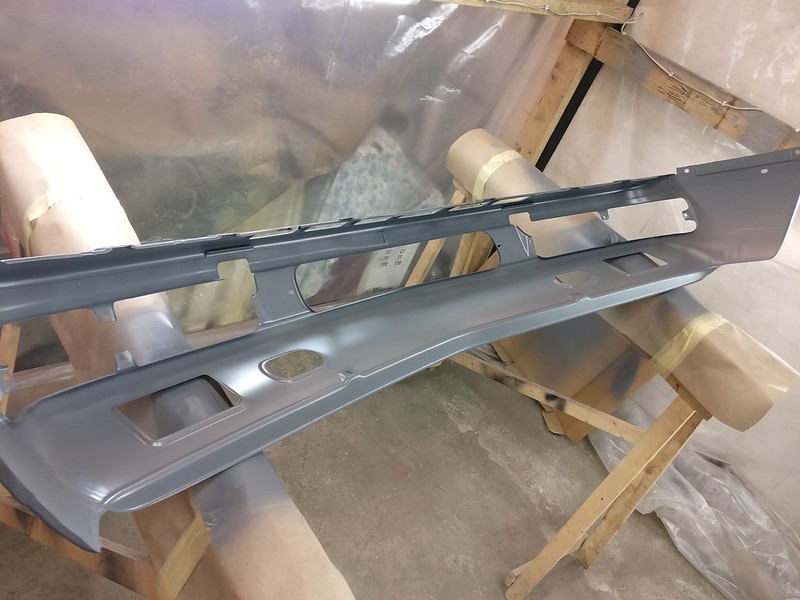
In the second box was a new front valance
Couldn’t resist fitting them together
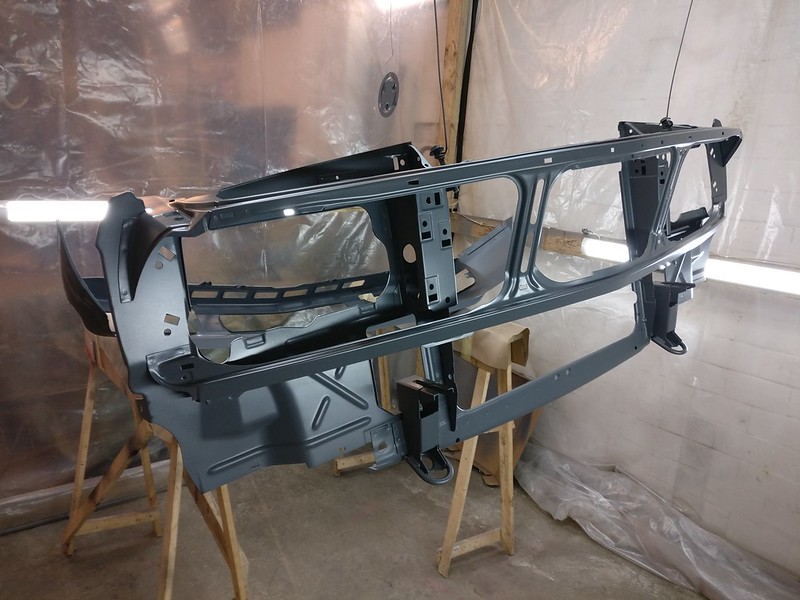
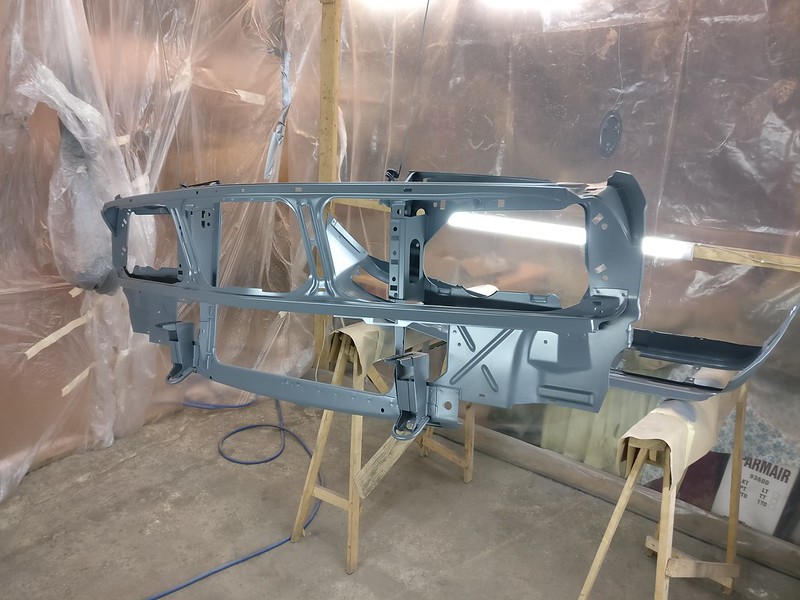
Both parts were prepped for priming. Nose frame would be difficult enough to prime off car so it’s better to take care of it before installing. Front valance will be primed only on the backside at this moment.
So, to get it done, I went to shop on Sunday only to discover I didn’t seal the can with hardener well enough a week back and it was all solidified. Luckily, I was able to get some today and regardless of the delay it’s now finished. This time I watched my buddy do the job to avoid all the paint runs I’d make on that nose frame.
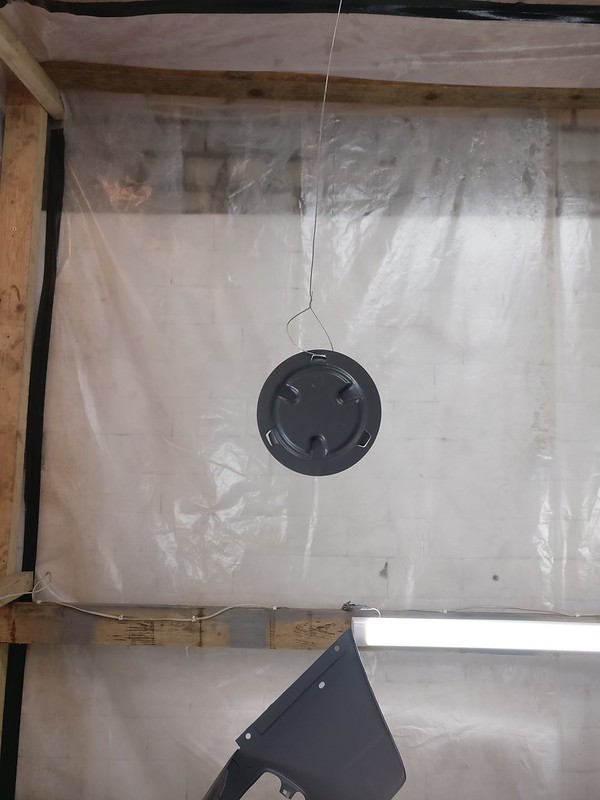
Also primed the cover lid for the trunk.
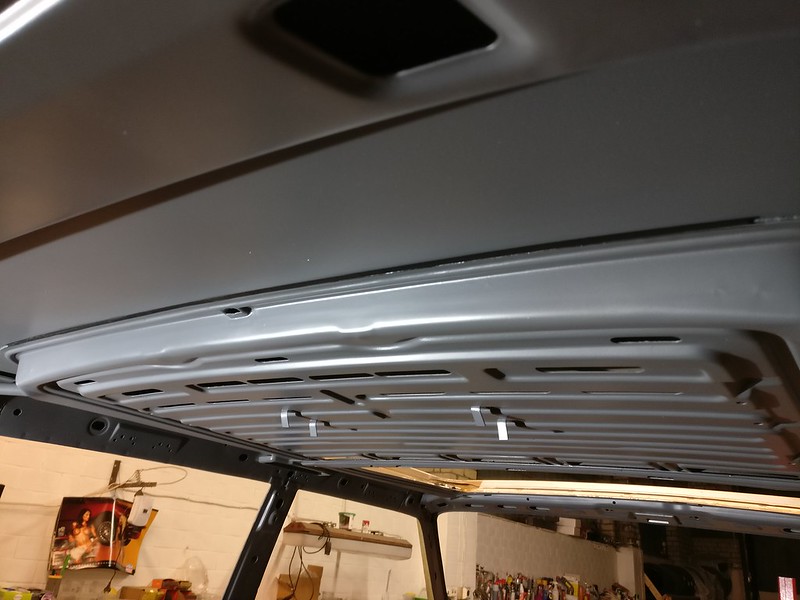
Then ran a small bead of panel adhesive between roof and sunroof panel. This should eliminate any rubbing between these panels.
Now, I don't think I have any more excuses not to work on those rear wheel arches...
Re: Another restoration - 83' 528i
Sexy stuff!
What color will this car be?
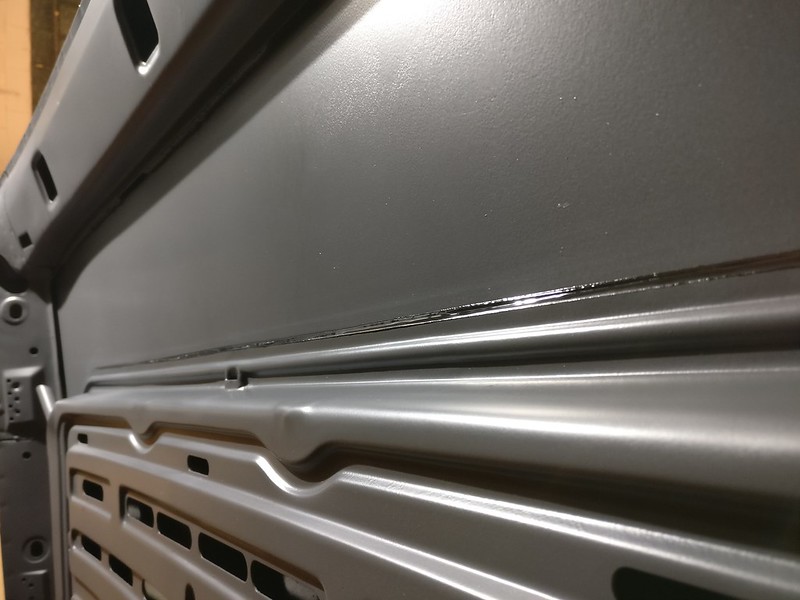
Don't forget to do this:
I forgot on Minerva...
What color will this car be?
Don't forget to do this:
I forgot on Minerva...
Re: Another restoration - 83' 528i
I have pretty much (to leave me some wiggle room) decided on Burgundy Red. I also do fancy Calypso Red and I'd go for it but it has already been done on an E28. I'd prefer a non-original paint color to be a one-off.
Thanks for the tip! I would have missed that.
How much does it actually bother you standing next to the car? On the photos of Minerva I wouldn't notice it unless I look for it. Just that I'm not too fond of that color transition in this spot either.
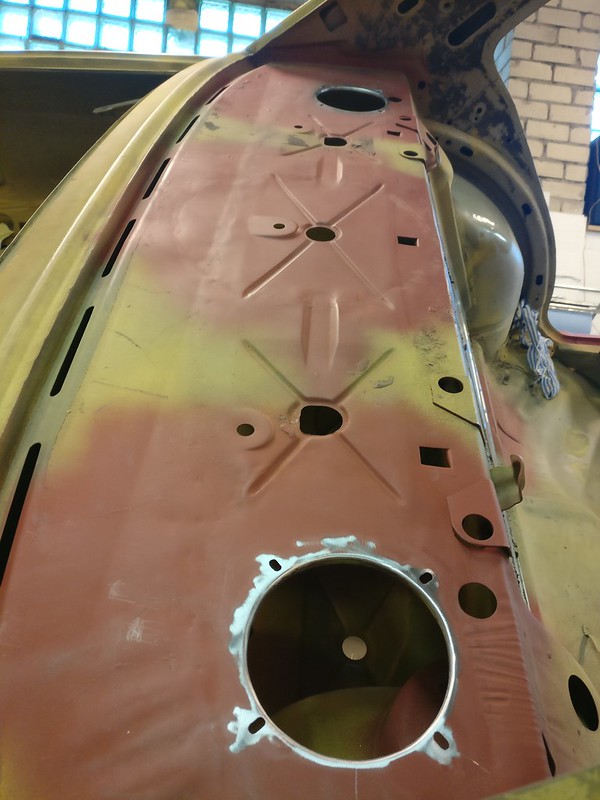
By the way, something similar was done on the parcel shelf. The very rear section where the vent openings are was black on my car (also on my mate's). It wasn't regular paint though but some thicker and softer stuff that scraped off. At least with the flat Euro parcel cover, this area is not fully covered.
It's already removed here, but you can spot the line where the yellow acid primer ends and OEM primer begins.
Re: Another restoration - 83' 528i
If you like those reds, consider a dark burnt orange!
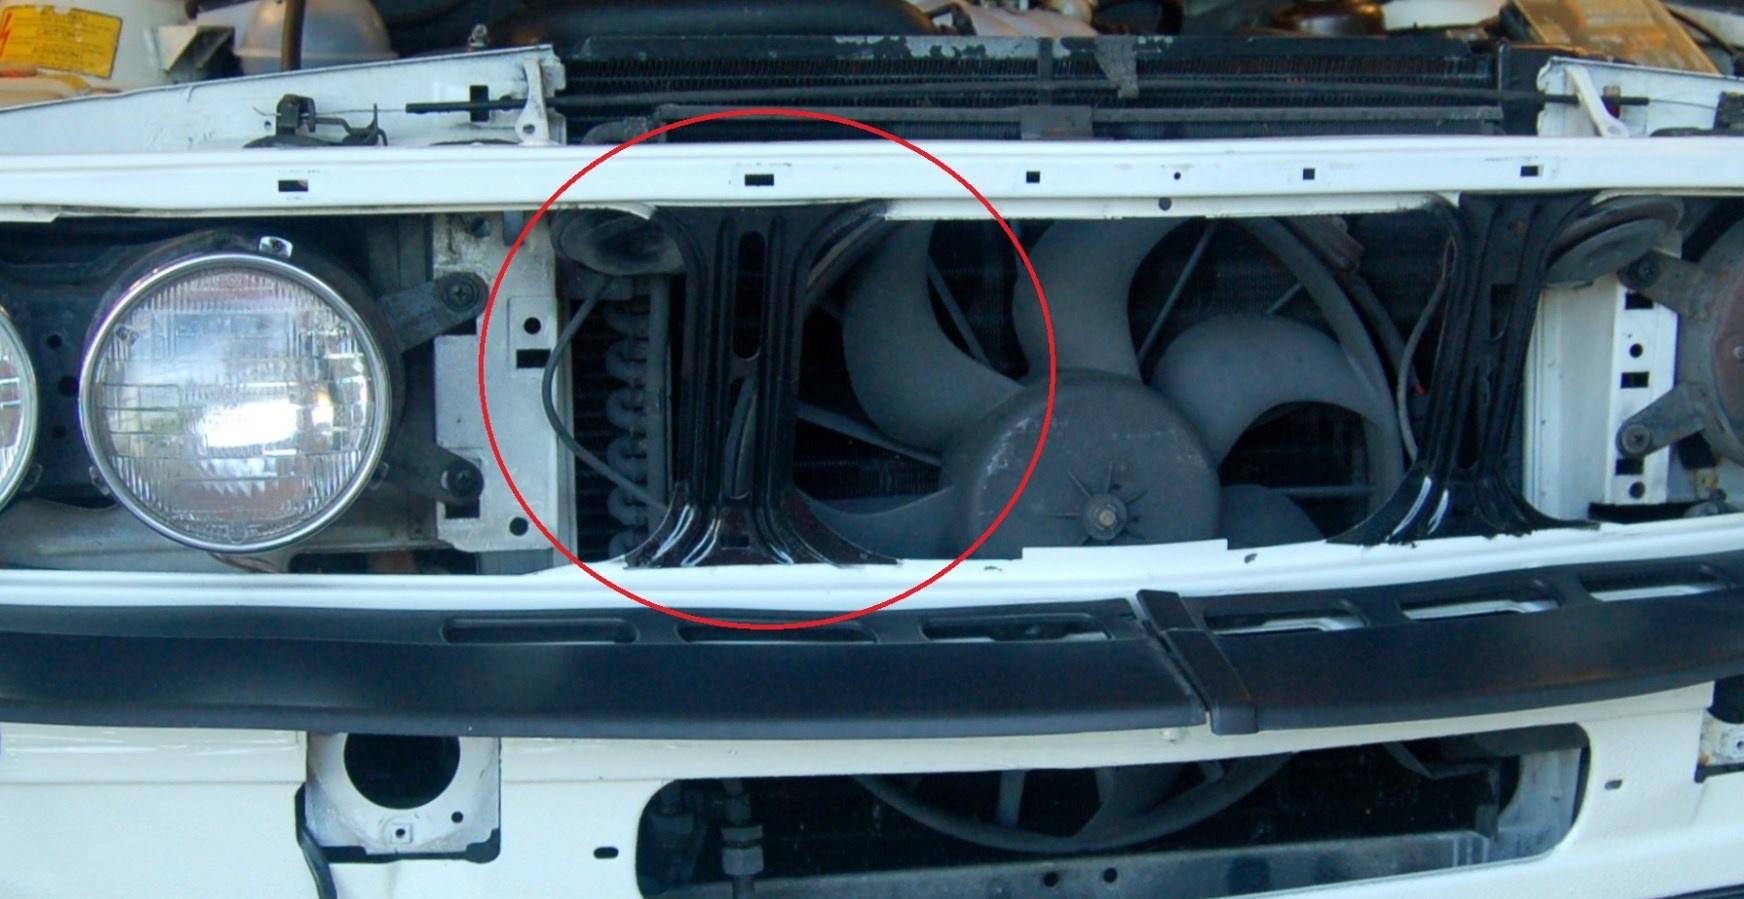
I doubt anyone would notice those grill supports being body color other than me.
Re: Another restoration - 83' 528i
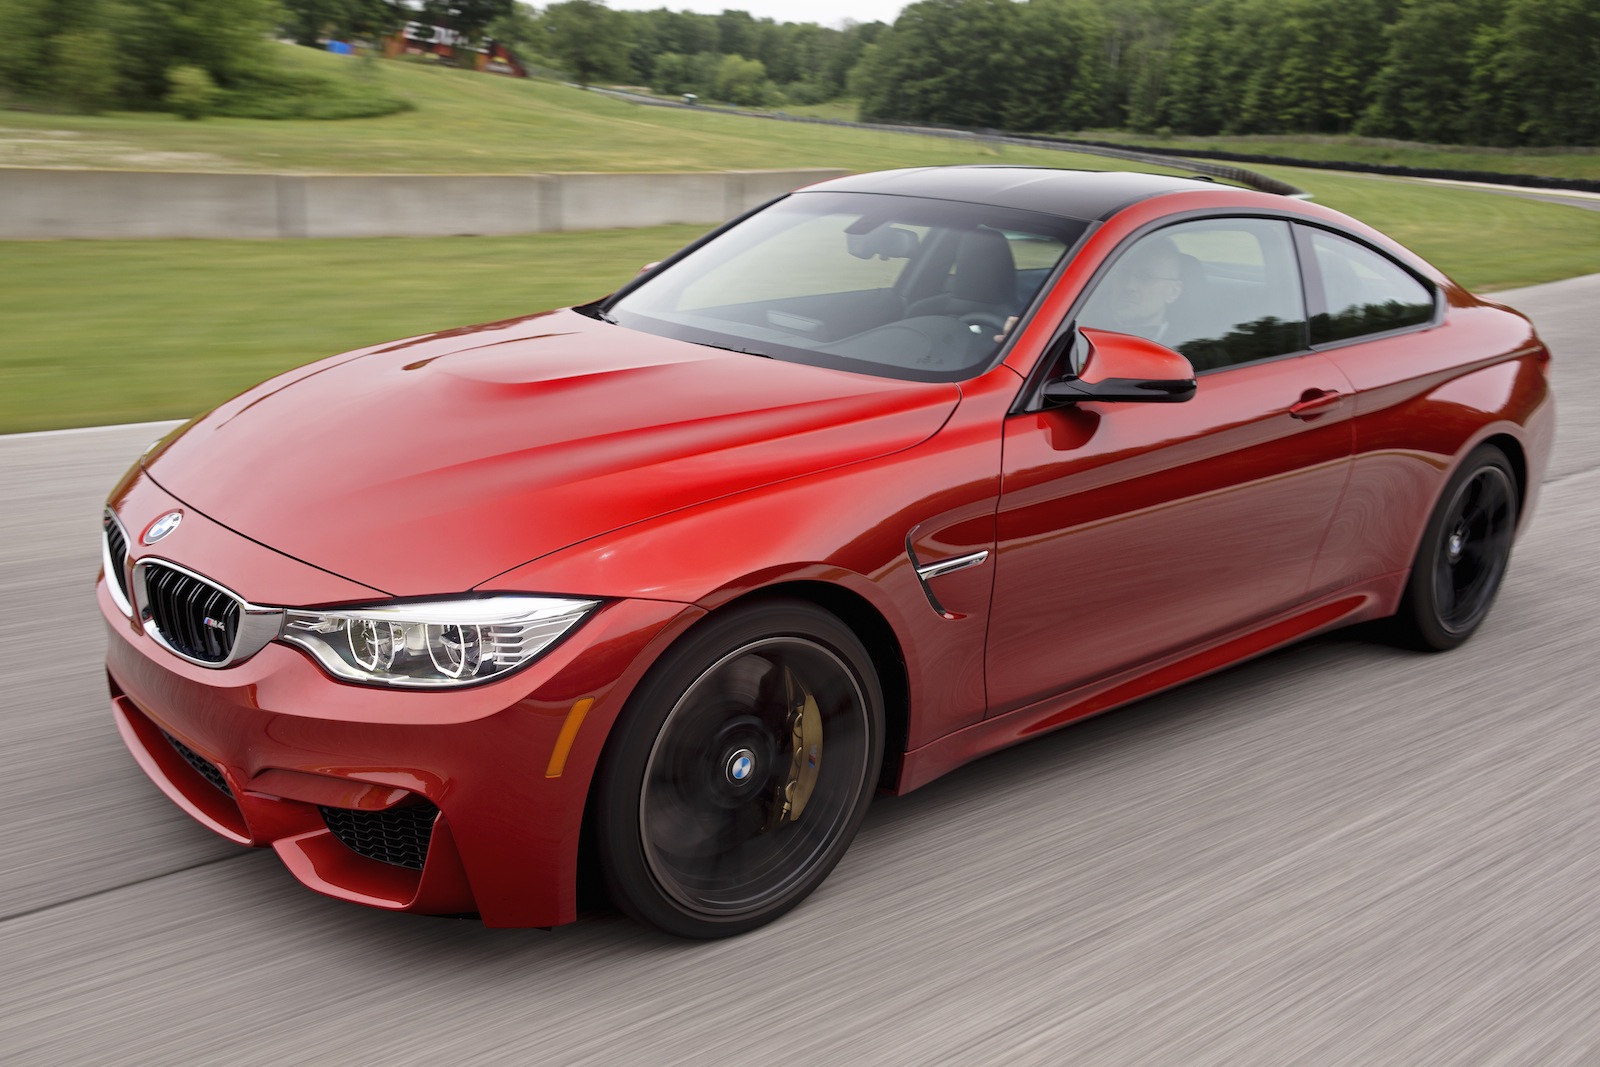
That's a nice one. I do dig this and some other orange colors on newer BMWs but I am not sure about it on E28. I'd say it would definitely benefit from shadowline trim.
When I started with this project I was determined to use an original color, thus the Burgundy. Meanwhile, I've reconsidered and should probably do a thorough research on other options.
I already found this: S03 Ruby Red II.
Re: Another restoration - 83' 528i
I have always though that the older pre E28 colours were the best. An Inka (dark orange) E28 appeals to me. I do miss my Inka 02.
Re: Another restoration - 83' 528i
That's one of my favourites on 02's!JohnH wrote: Nov 05, 2020 6:47 AM I have always though that the older pre E28 colours were the best. An Inka (dark orange) E28 appeals to me. I do miss my Inka 02.
I'm starting to like this color (which I believe is B50 Sakhir Orange) more and more and I'm definitely considering this. So thanks for the suggestion!
On the contrary, the Ruby Red looks kinda dull on some photos.
I've also found some other options, once the list is done, I'll share it. Then I'll probably choose 1-3 colors and try to get some samples to aid with the final decision.
Re: Another restoration - 83' 528i
4 - 15 Nov 2020
Work on the driver’s side rear wheel well continued.
This was pretty much the starting point, I actually had the flange for trunk floor already made and tacked in before priming the cabin.
Then there was this huge blob of sealant right where I needed to weld the repairs. This photo is taken from the trunk, quarter panel on top, rear end of wheel well in the bottom.
Leaving it there for welding is a big no-no. It splatters like crazy, contamination and porosity is guaranteed. I am pretty sure they make fireworks out of the same stuff.
Due to almost non-existent access removing it was a long and hideous work.
Considering the amount of rust right beneath that sealant I wonder if it ever did any good there...
From the beginning, the plan for rear wheel arches was as follows:
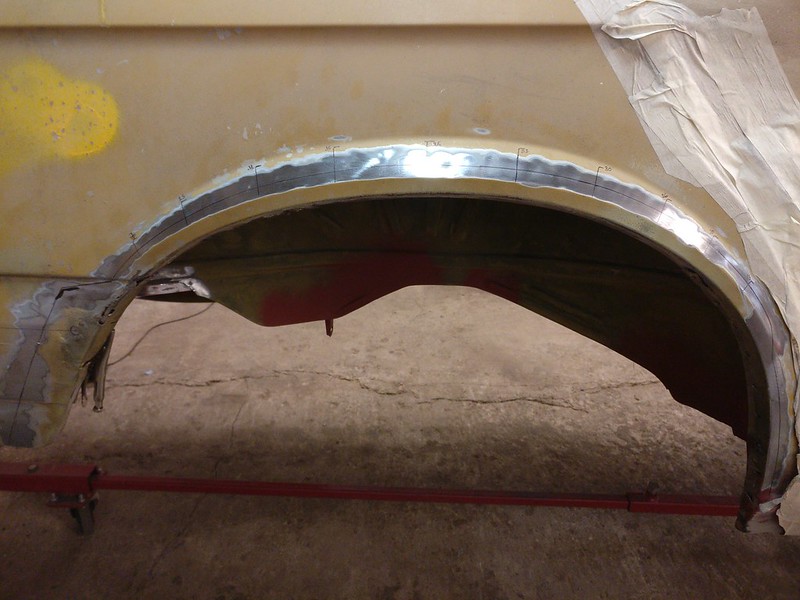
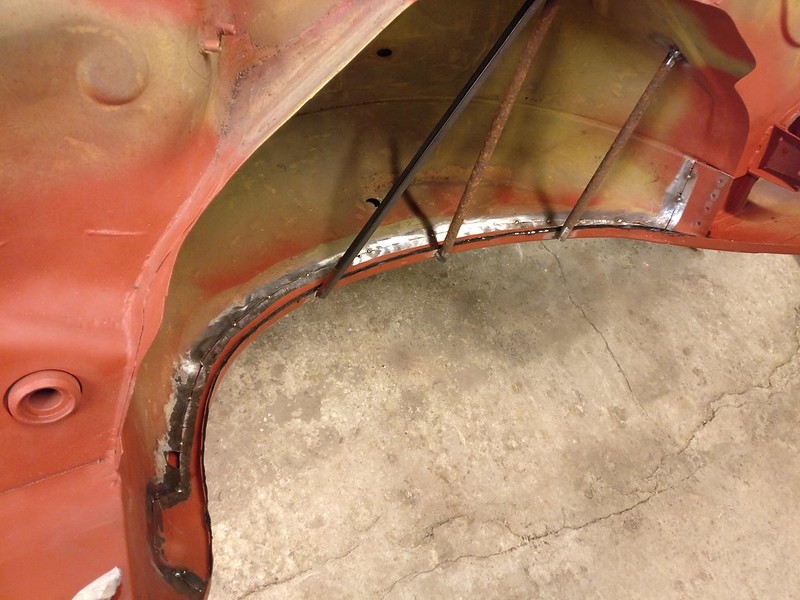
Back to repairs. Sealant removed and everything cleaned up I started making repairs to the inner wheel arch. I decided to give myself some slack and build it up in three sections.
All done
Only spot it had rust further from the flange was around the rear bumper mount point.
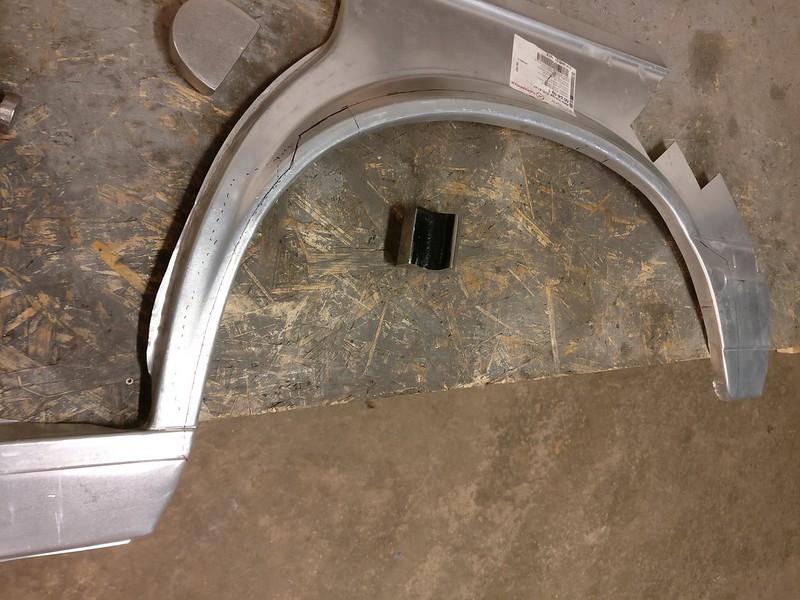
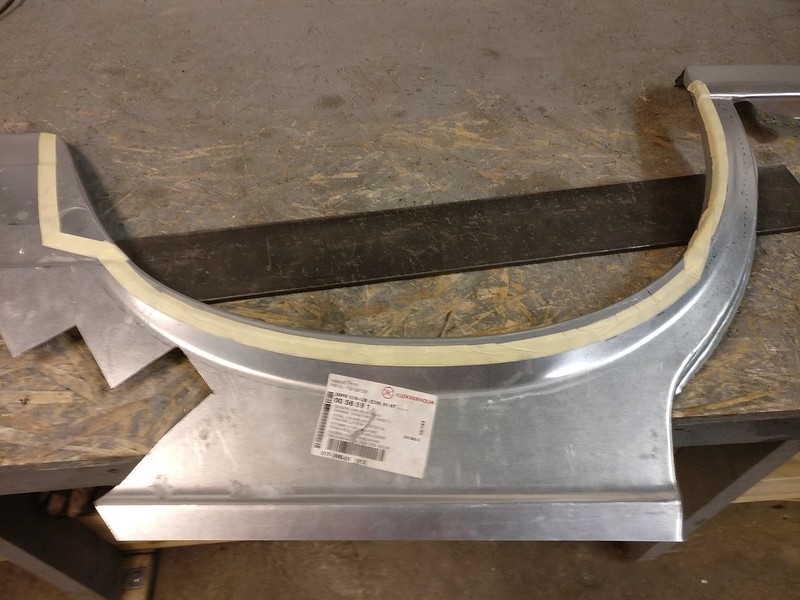
This is the repair panel I had bought. Made by Klokkerholm. I must say, although the bends aren’t as sharp and nice as on OEM panels, it’s a pretty decent repair panel. Unlike their sill replacement the fitment is spot on and all the lines line up nicely. Well, the rocker section is crap but who would use it anyway. I also dig the galvanizing they used instead of some cheapish primer. It’s been sitting on the shelf for three years without any signs of corrosion.
Line marked for cutting
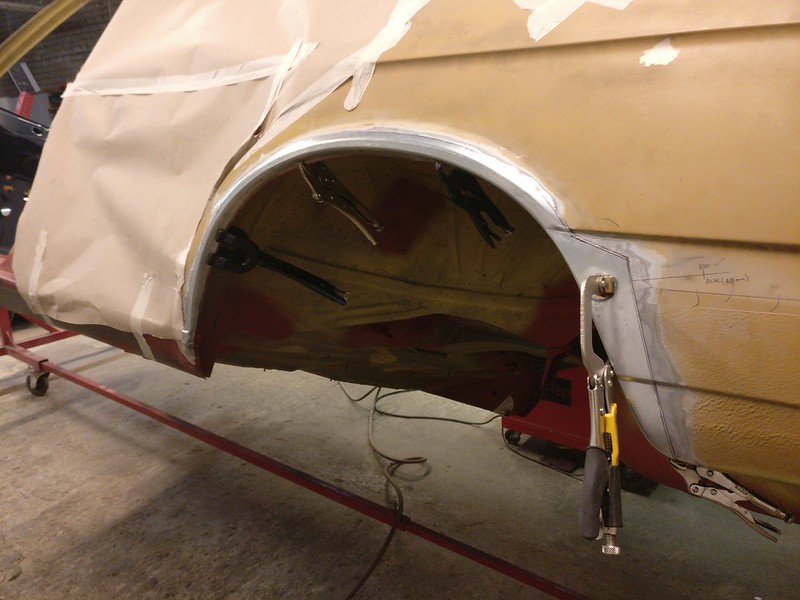
Trimmed and fitted over existing panel to get an idea where to remove old arch.
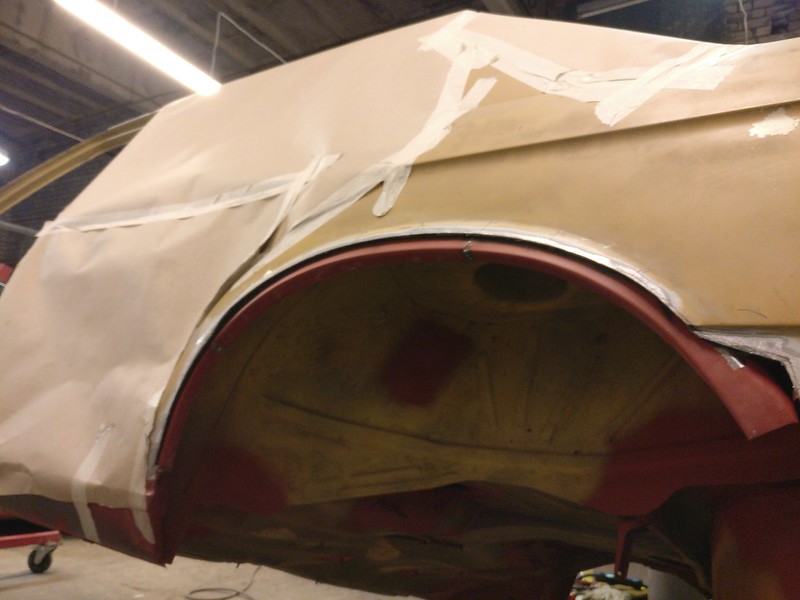
Old arch removed. Gives a better view of the inner arch replacement. Needs a little bit more tweaking at the joints.
New panel fitted. This took quite some hours of trimming and refitting and adjusting to get a perfect alignment.
Removed the inner panel and fully tacked in the outer
At this point I did some hammering so everything would be perfectly straight and edges flush before welding.
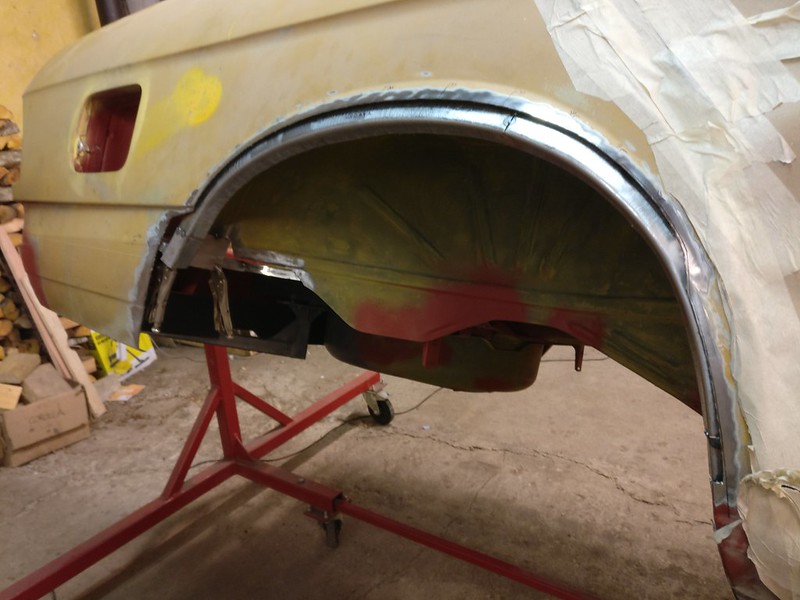
I must apologize for the crappy photos, I had some dust stuck on my camera lens yesterday and didn’t realize it before looking at the photos today. I’ll try to grab some better ones of the finished arch in the upcoming days.
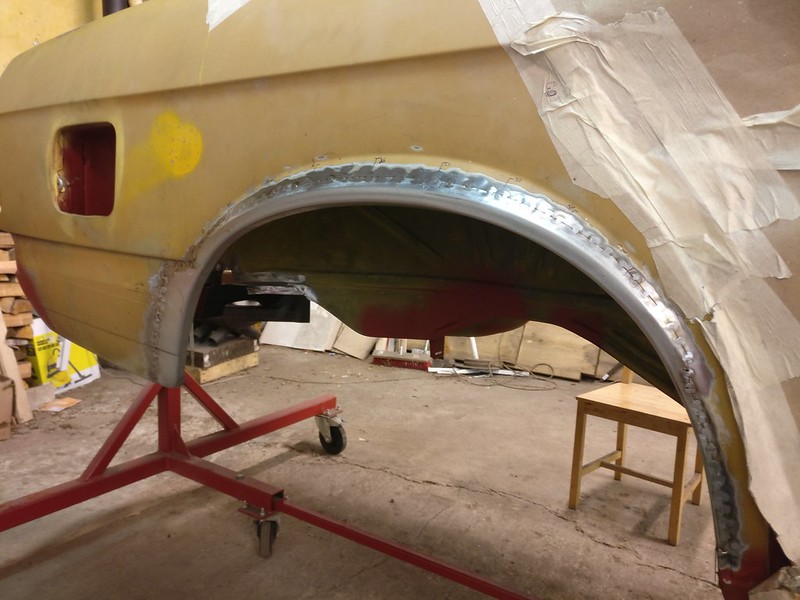
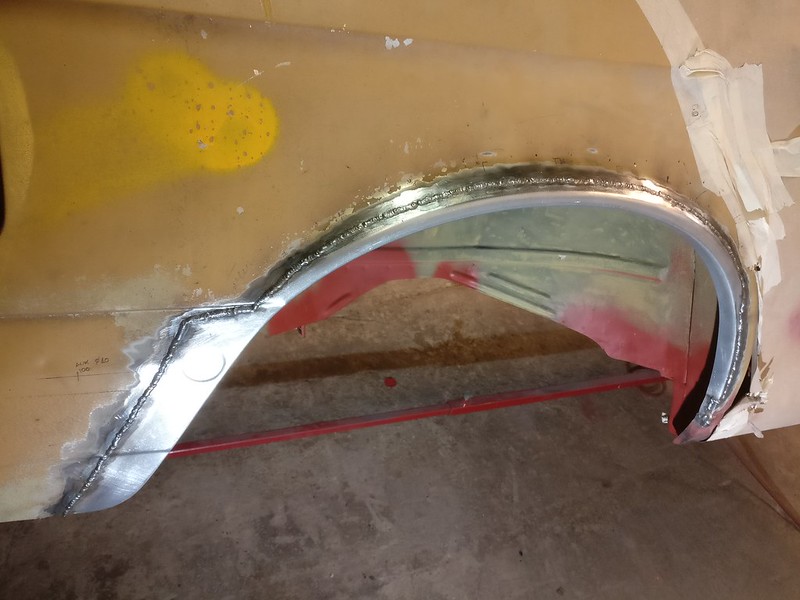
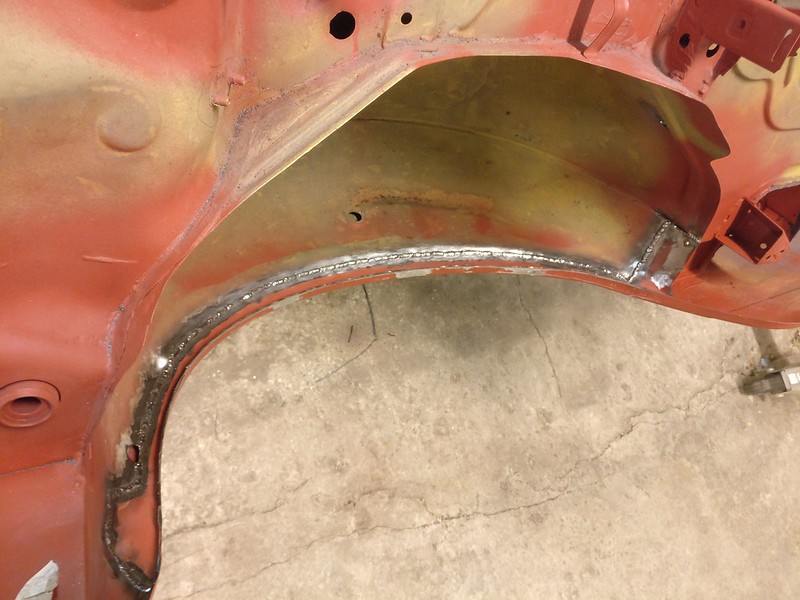
Fully welded
Cleaned up
Done
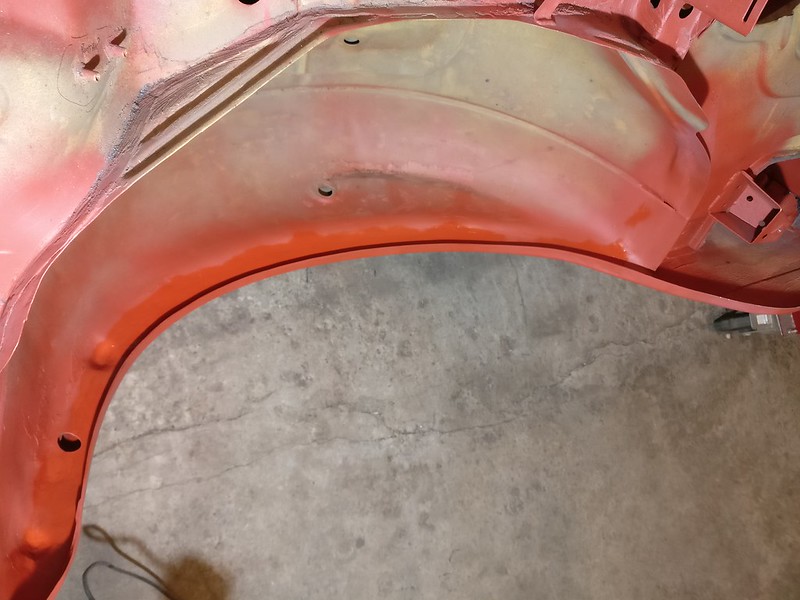
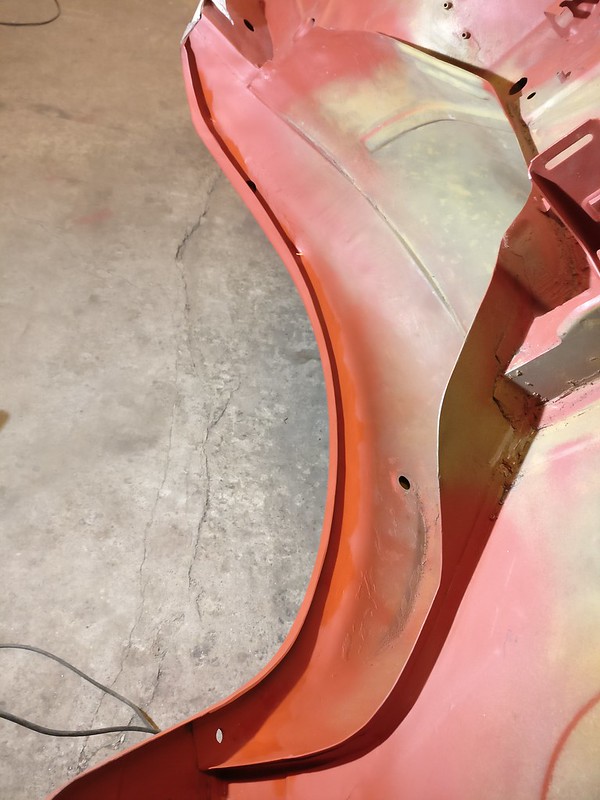
Edit: got some better shots
Now, need to repeat it on the other side and get the inner panels installed.
Work on the driver’s side rear wheel well continued.
This was pretty much the starting point, I actually had the flange for trunk floor already made and tacked in before priming the cabin.
Next in line was this section of the inner wheel housing. I made and scrapped three patches before I was happy with it. Piece had to be shrunk quite a lot where the bead is making the turn outwards. You can still see a gap there on the final patch, worked it out after tacking the piece in.
Then there was this huge blob of sealant right where I needed to weld the repairs. This photo is taken from the trunk, quarter panel on top, rear end of wheel well in the bottom.
Leaving it there for welding is a big no-no. It splatters like crazy, contamination and porosity is guaranteed. I am pretty sure they make fireworks out of the same stuff.
Due to almost non-existent access removing it was a long and hideous work.
Considering the amount of rust right beneath that sealant I wonder if it ever did any good there...
From the beginning, the plan for rear wheel arches was as follows:
- Cut out and replace inner arch, only tacking it in
- Cut out outer arch and fit repair panel, tack it in
- Remove inner arch to give access to the backside of outer panel
- Weld and finish the outer panel
- Reinstall inner panel using panel adhesive for the flange instead plug welds
Back to repairs. Sealant removed and everything cleaned up I started making repairs to the inner wheel arch. I decided to give myself some slack and build it up in three sections.
All done
Only spot it had rust further from the flange was around the rear bumper mount point.
This is the repair panel I had bought. Made by Klokkerholm. I must say, although the bends aren’t as sharp and nice as on OEM panels, it’s a pretty decent repair panel. Unlike their sill replacement the fitment is spot on and all the lines line up nicely. Well, the rocker section is crap but who would use it anyway. I also dig the galvanizing they used instead of some cheapish primer. It’s been sitting on the shelf for three years without any signs of corrosion.
Line marked for cutting
Trimmed and fitted over existing panel to get an idea where to remove old arch.
Old arch removed. Gives a better view of the inner arch replacement. Needs a little bit more tweaking at the joints.
New panel fitted. This took quite some hours of trimming and refitting and adjusting to get a perfect alignment.
Removed the inner panel and fully tacked in the outer
At this point I did some hammering so everything would be perfectly straight and edges flush before welding.
I must apologize for the crappy photos, I had some dust stuck on my camera lens yesterday and didn’t realize it before looking at the photos today. I’ll try to grab some better ones of the finished arch in the upcoming days.
Fully welded
Cleaned up
Done
Edit: got some better shots
Now, need to repeat it on the other side and get the inner panels installed.
Re: Another restoration - 83' 528i
Got better shots of the wheel arch today, replaced some of the foggy ones in the last post.
Also, took an inventory of sunroof parts today and figured I might be missing some parts. If anyone could weigh in, I'd be most grateful.
See: viewtopic.php?f=3&p=1493765#p1493765
Also, took an inventory of sunroof parts today and figured I might be missing some parts. If anyone could weigh in, I'd be most grateful.
See: viewtopic.php?f=3&p=1493765#p1493765
Re: Another restoration - 83' 528i
Wow Taavipa !!
you Sheetmetal skills and craftmanship are superb..Very Impressed on you work and the detail of reproduction of Sheetmetal pieces..
unbelievable...
you Sheetmetal skills and craftmanship are superb..Very Impressed on you work and the detail of reproduction of Sheetmetal pieces..
unbelievable...
-
- Posts: 737
- Joined: Jun 25, 2018 6:26 AM
Re: Another restoration - 83' 528i
Holy shitbags dude let's just call you "Tucker" because you built your own car. When you said you were gonna get another chassis I thought, ok cool a little nip and tuck here and there and you're back in The Game..... Congratulations on everything so far!
Re: Another restoration - 83' 528i
A true craftsman, amazing work. Thank you for sharing.
Re: Another restoration - 83' 528i
Thank you gents!
I doubt I fully realized what I was getting into back then.SeattleGuy wrote: Dec 04, 2020 4:29 PM When you said you were gonna get another chassis I thought, ok cool a little nip and tuck here and there and you're back in The Game.....
Re: Another restoration - 83' 528i
16 Nov - 6 Dec 2020
Last couple of weeks have been quite slow. Did some inventory and ordered some missing parts.
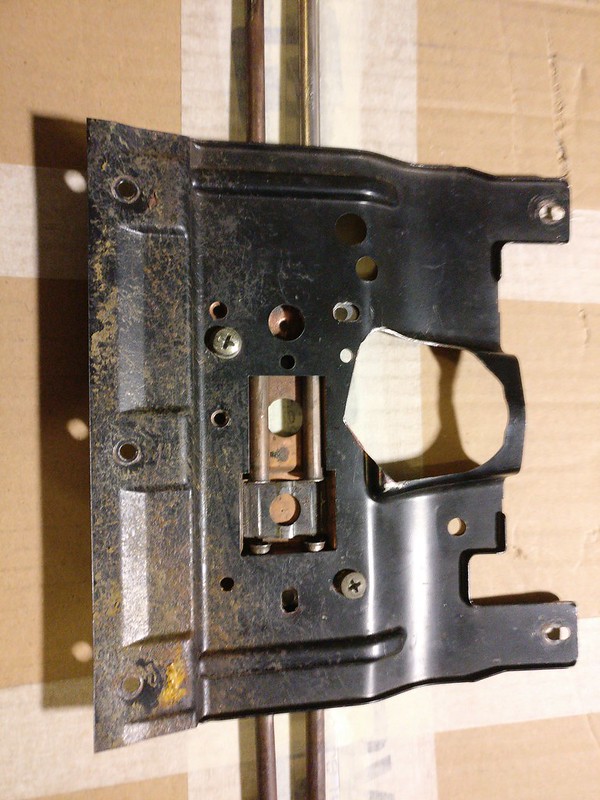
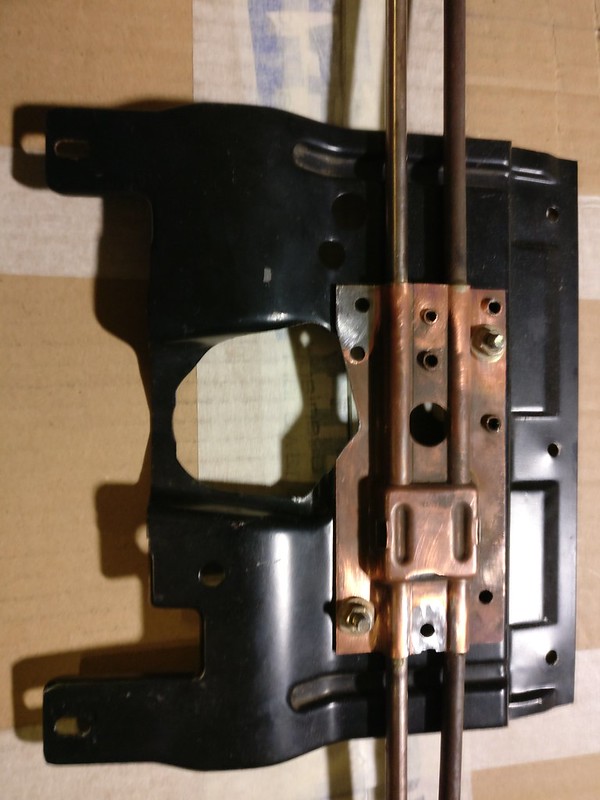
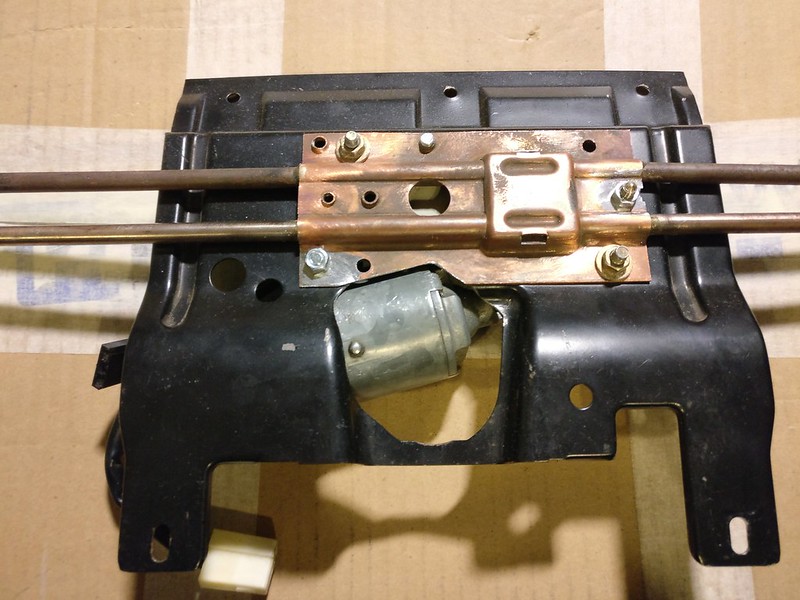
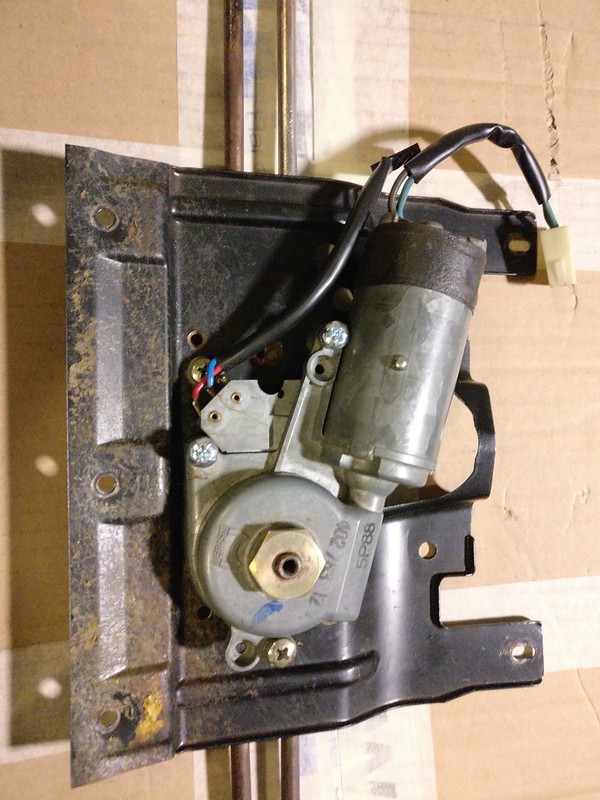
A while back I sourced an electric motor and harness for the sunroof. Instead of putting time and money into finding a correct mounting plate for the electric version I decided to repurpose my manual plate and tubes. This means cutting into the plate to make room for the motor and figuring out how to secure the motor to the plate.
Both manual crank and electric motor are mounted using three bolts but only one of them is exactly in the same position. Second hole is a little bit off, third one even more so. I decided to clean off the copper coating, weld the two holes shut and redrill them in the correct position.
Someone had already separated the plate from the tubing and put them back together using bolts, possibly for the same purpose. Well, that's one less thing for me to do.
So here's the finished product. Might do some more work on it to make it look like it originally came this way but it’s not too bad as it is. On the plate itself I just elongated the original holes, you can get an idea how much the original holes were off.
Motor mounted. I’ll replace the regular nuts with rivet nuts later to make installing the motor easier.
I also did install the cables and did a quick test run to make sure everything is aligned perfectly and the cables move feely.
There’s already some corrosion on the steel underneath the copper coating. I really wish I could zinc coat the whole tubing but I don’t believe it’s feasible to remove all the traces of copper and copper doesn’t play nice with galvanized metal. So I’ll probably just clean and paint the whole assembly later.
After I was done with that I began to work on the passenger side wheel arch. The whole process was similar to the other side, first make the inner patch and tack it in, then replace the outer arch.
Outer arch marked for cutting
Removed
Trimmed and tacked in the replacement
Welded
And after many hours of hammer and dolly action I was finally happy with it
This is how the inner patch looks like off car
And then some primer. If you look closely you can see a spot where I accidentally ground into the edge near the door jamb. It will need some body filler on the edge anyway as the bends on those repro panels aren’t as sharp and well defined as on originals. Still, a pity.
I really hope I can finish up everything on the inside next week and if I can borrow the glue gun for the weekend then be done with the rear arches. For some reason I haven’t enjoyed much working on these and I’d be glad to move on.
Re: Another restoration - 83' 528i
7 Dec - 30 Dec 2020
Discovered a couple of mess-ups.
First, found the hinge for glovebox in one of the boxes I was going through and this got me wondering how this is mounted to the firewall.
Remember this old patch on the firewall that I cut out and replaced?
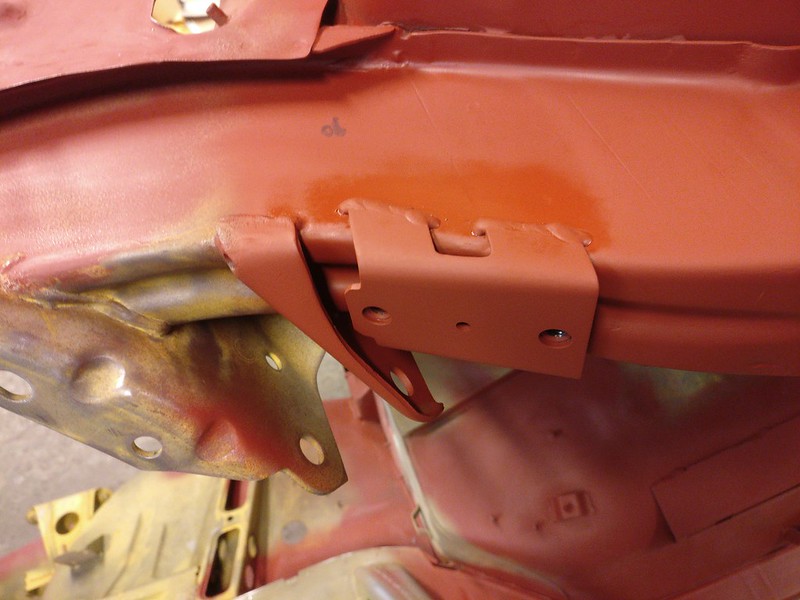
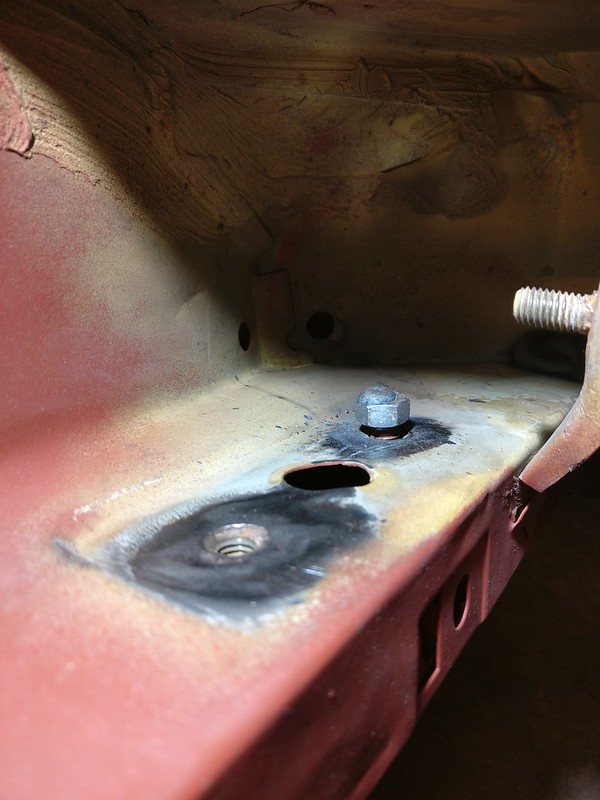
Notice the screw hole next to the flange? I guess when someone patched this they didn’t bother adding a new stud there for the glovebox hinge. Going through some old photos of disassembly I realized the hinge was indeed mounted with a self-drilling screw on that side. Since I didn’t see a stud there when I replaced it I didn’t add one. I am still going to do it but I wish I discovered this before priming the cabin.
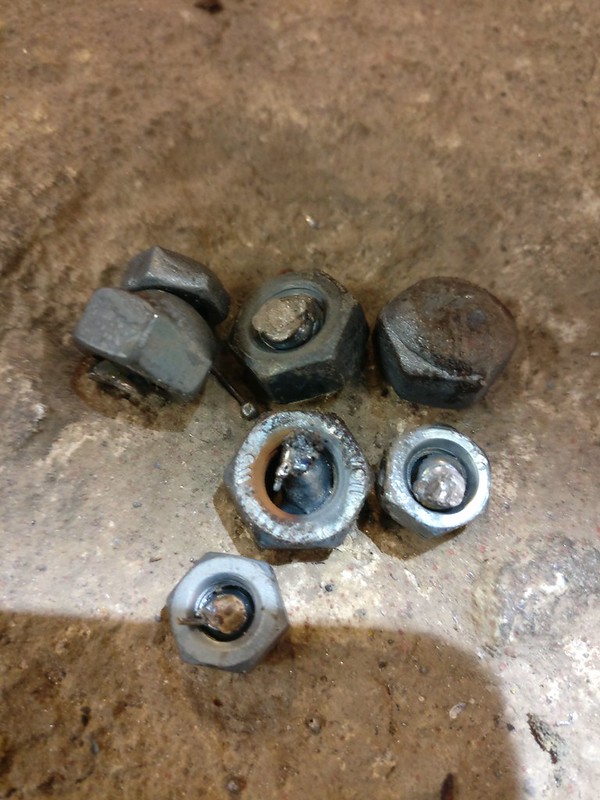
Secondly, for whatever reason I hadn’t removed the driver's side hood hinge from the car. So now, when I decided to finally take it off a bolt snapped. And, sure enough, it was the rear bolt with almost no access to it and the support plate that covers those nuts on the other side was already installed.
I was somehow able to squeeze my mig gun in there. Each try I was terrified that I might have end up welding the bolt to the chassis but fortunately that didn’t happen.
About this many nuts later I got one to stick well enough to remove the remnants of the bolt.
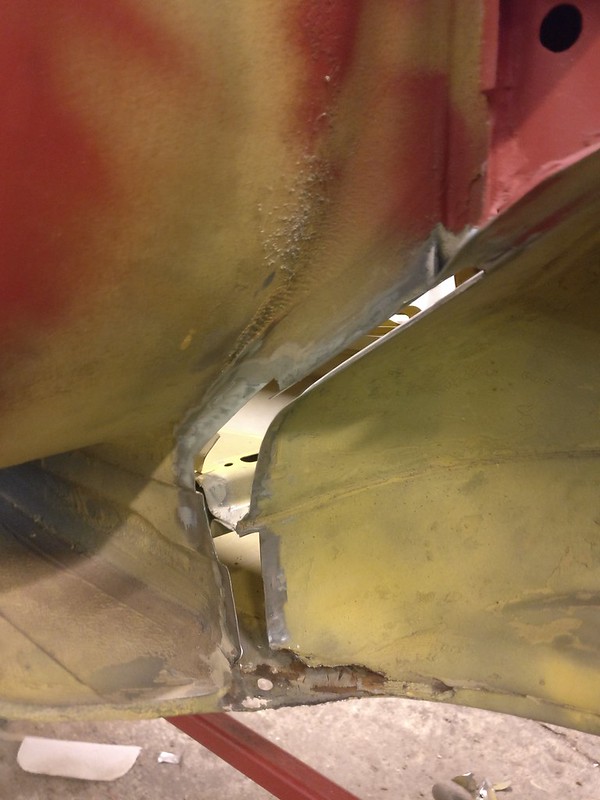
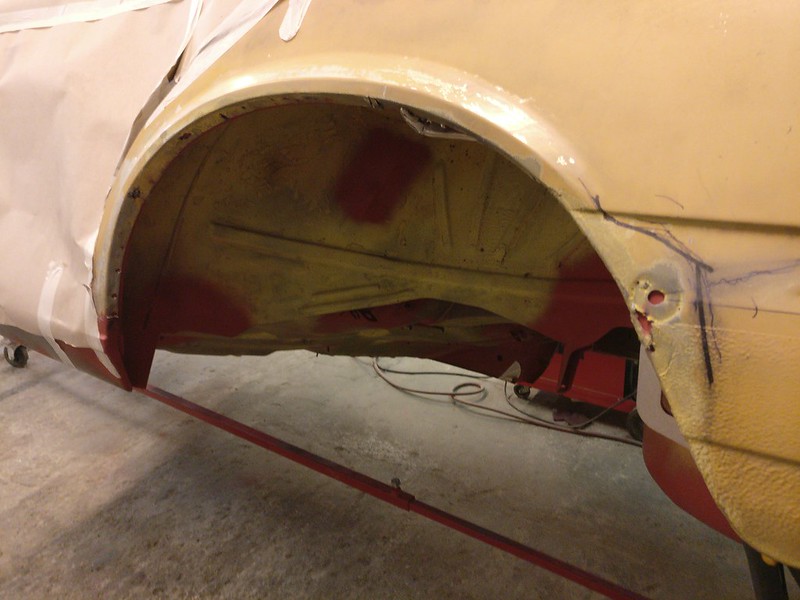
Thirdly, the outer rear wheel arches were under some tension and when I cut off the inner arch they relaxed a bit towards the inside. At first, I didn’t think much of that but later I realized that the quarter panel right above the wheel arch also bulged a bit. I think this is inevitable whichever way you do the arches so maybe it doesn’t qualify as a mess-up but I am glad I caught this before too late.
So the solution was to push it back out and weld in some temporary beams to keep it in position until the inner wheel arches get installed.
Until I was able to get my hands on the glue gun for wheel arches, I continued the work at the front of the car.
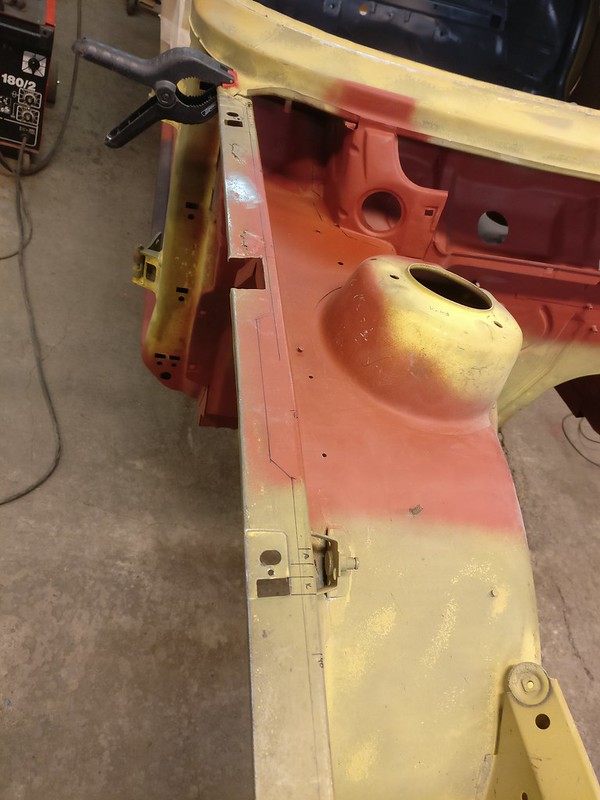
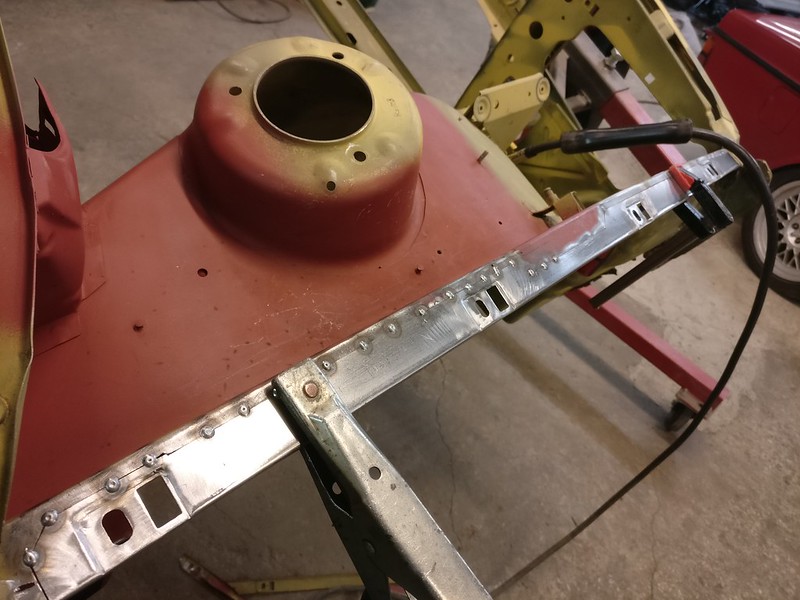
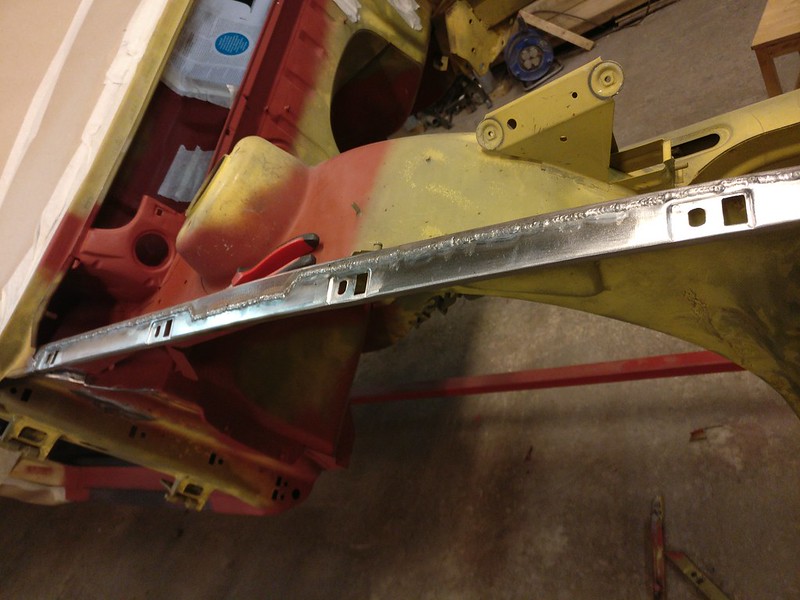
Decided to replace pretty much the whole lip on this panel
And then installed new support panel
Found this in one of the frame rails in engine compartment. I guess not only nuts and bolts vanish into the frame rails.
Now, back to the rear arches. I wasn’t happy how the inner patch sat on one side and redid it. Took almost a full day. Then, I wasn’t happy with the new patch so I had another go at it. Finally, everything was ready to finish the rear arches.
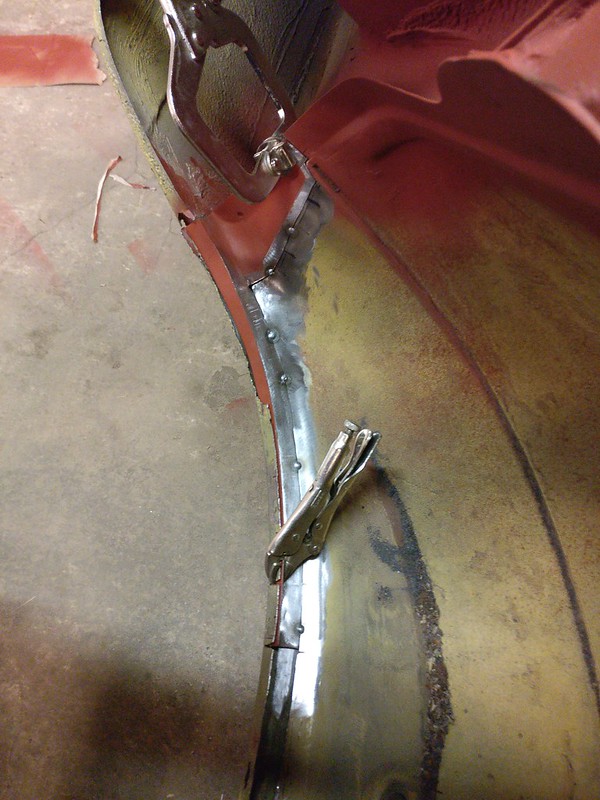
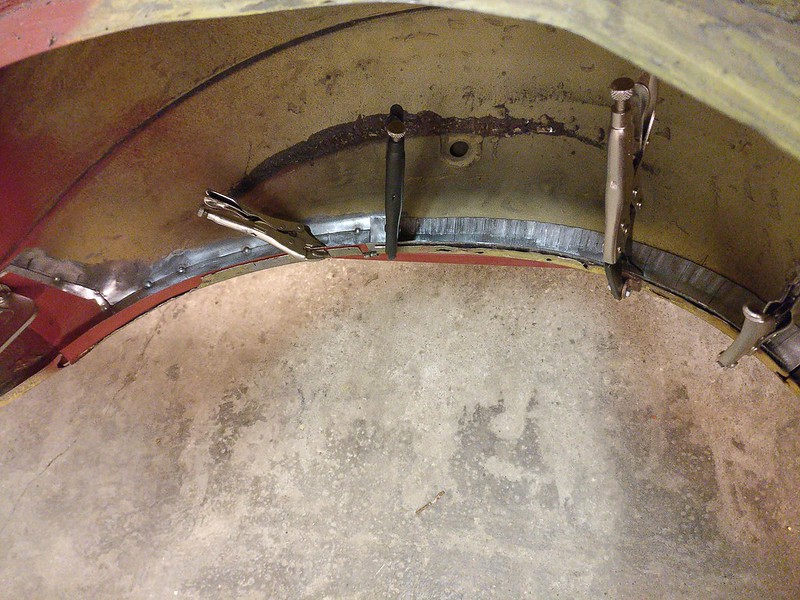
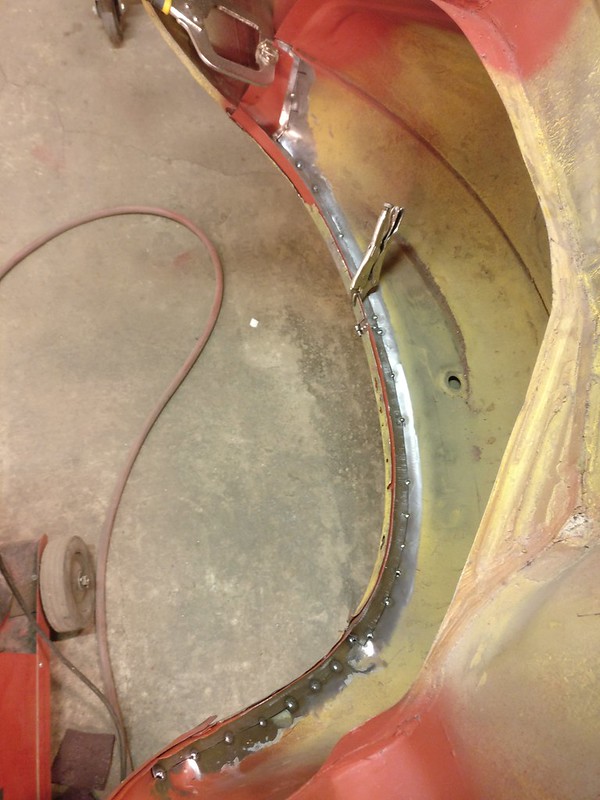
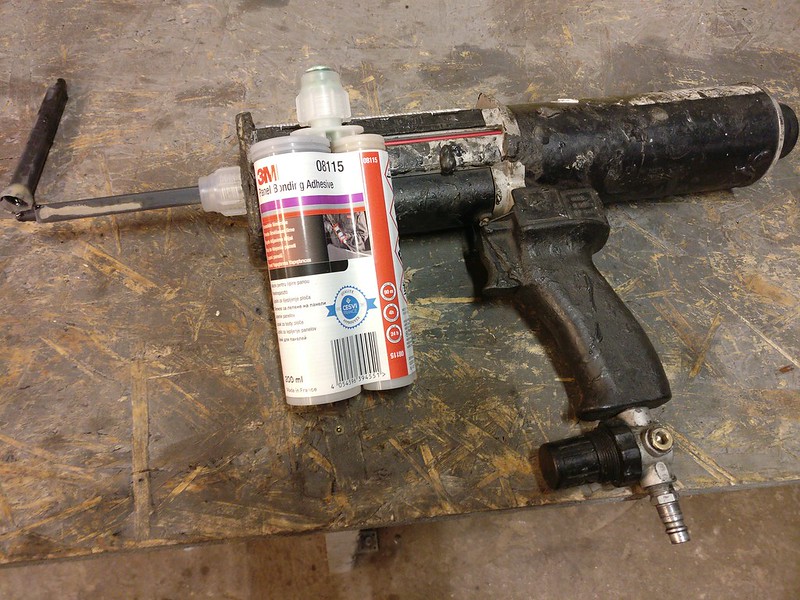
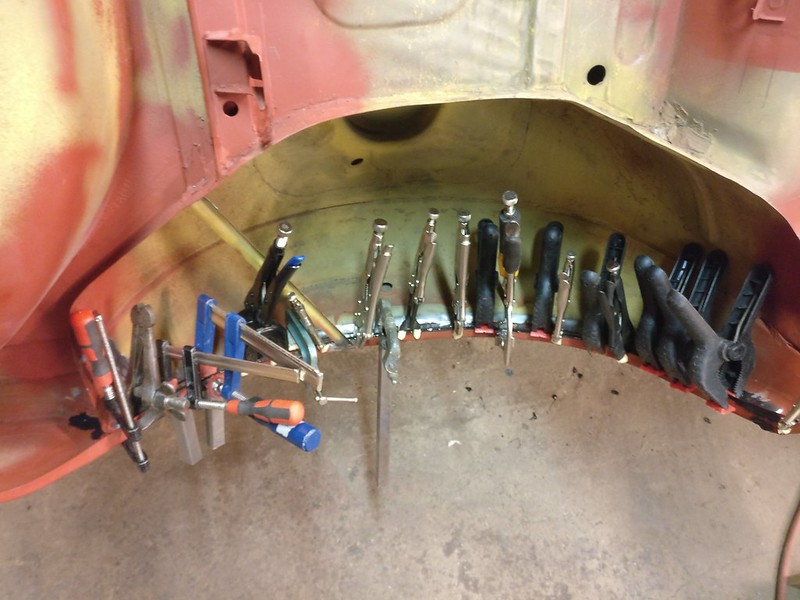
This is the panel adhesive I have been using.
Began with the passenger’s side.
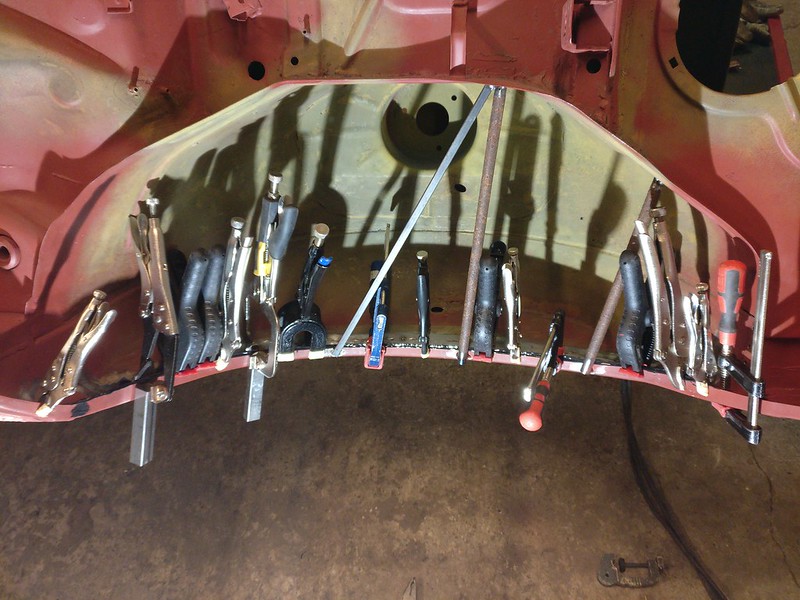
I was hoping to do both at once but ran out of vise-grips. I guess you never have enough.
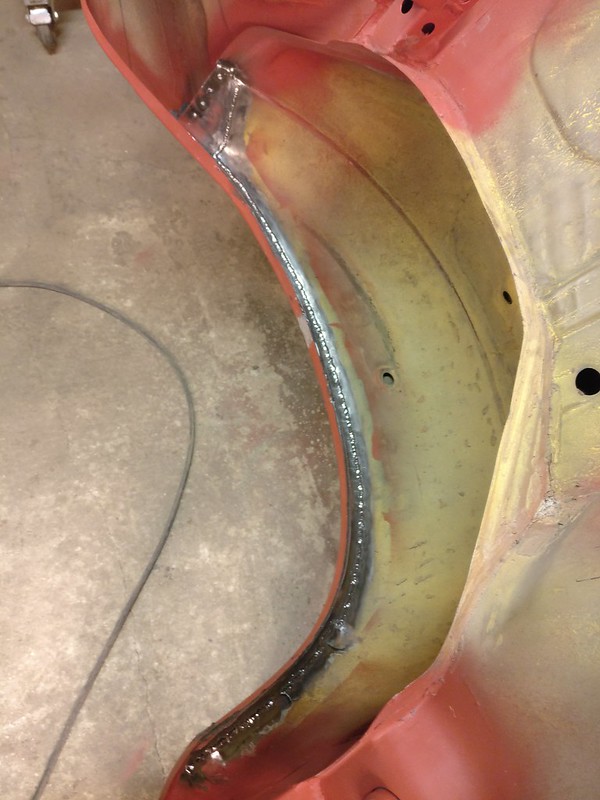
After the adhesive was dry it was time to take the welds.
And clean up
Driver’s side received the same treatment
Finished cleaning it up yesterday, so that’s about it.
Re: Another restoration - 83' 528i
Brilliant as usual. Keep it up!
And happy New year!
And happy New year!
Re: Another restoration - 83' 528i
Happy new year!
-
- Beamter
- Posts: 9058
- Joined: Apr 13, 2006 11:18 PM
- Location: Council Bluffs, IA
- Contact:
Re: Another restoration - 83' 528i
Awesome work! Definitely an inspiration!
Re: Another restoration - 83' 528i
1 Jan - 24 Jan 2021
Everything is pretty much done on the rear end (minus the sway bar mounts) so back to the front.
Removed battery plate and ABS plate. It looks like the guy who did the nose job on that car wasn’t able to get the battery plate to fit and just hammered it in.
Some crust around the battery plate, replaced the bottom section here.
Passenger’s side received similar treatment.
Made new brake line mounts for the wheel housings.
The mount on the driver’s side got installed. Also, the bottom lip of the wheel housing was replaced but it looks like I didn’t take any photos. Will try to remember to take some for the next time.
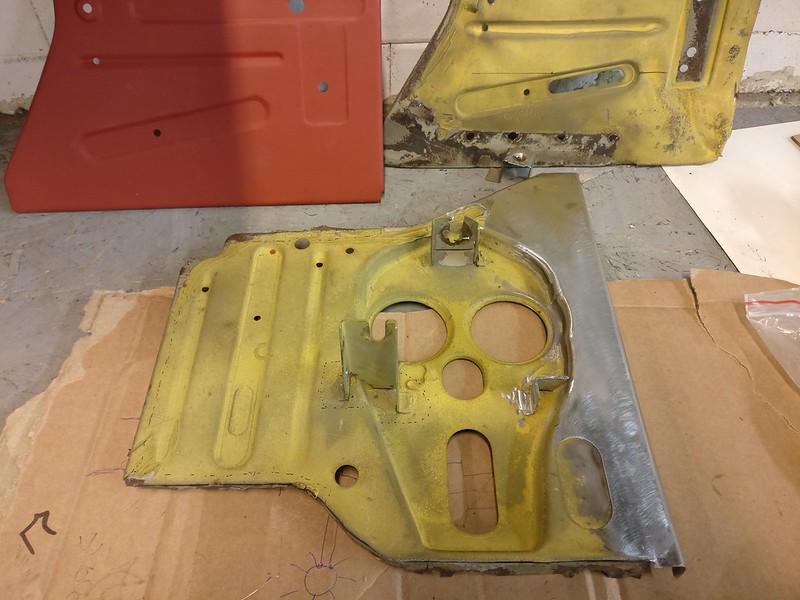
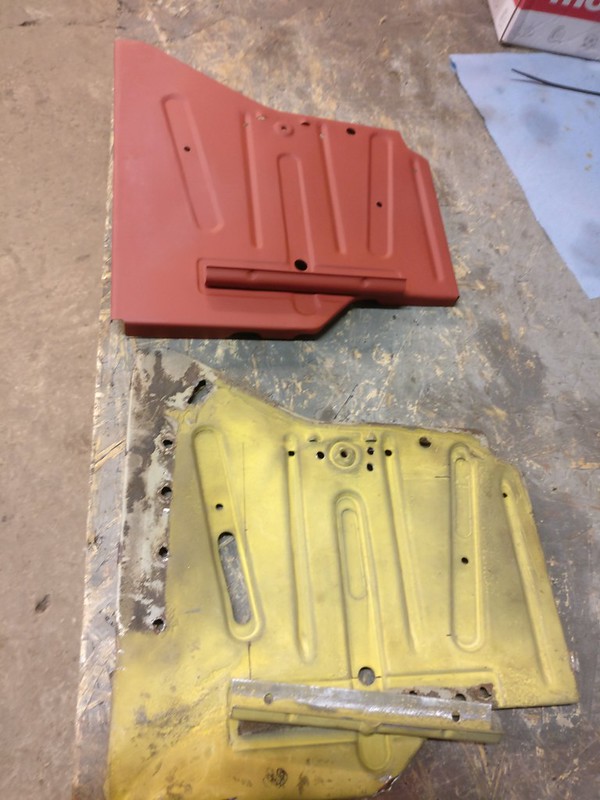
All that done, I took a closer look on the battery and ABS plates. Battery plate was complete junk. As it’s been NLA for quite some time, this needs to be replicated. I could patch up ABS plate and reuse. Or make a new panel and patch in C-3PO from the original. It makes sense to reuse this section as it would be difficult to replicate and I can’t make the whole panel in one piece anyway. I'll sit on that for a while.
First, I made myself a few tools as I don’t have a bead roller. Really hope to get one some day, it would make many things so much easier.
I began with the inner beads. A lot of prestretching to avoid warpage.
These came out fine.
Despite prestretching the metal, I still got some warpage after doing more beads.
In the end I was able to work most of the extra metal towards the edges and use my shrinker to take care of it. I was careful not to make many shrink marks on the main section as these are PITA to get out.
Next task was to work out some imperfections and to hammer out any high and low spots to get the panel nice and straight.
Finally, it was time to mark the edges and hit down the flanges. The bended sections took some doing, especially in the rear outer corner. Didn’t get it perfect there but the original panel had quite loose fit in that corner, so it should work.
A photo of the bottom.
And a couple of the top side.
After I had already primed one side, I realized I also had forgot about the two tiny louver things that keep the battery mount from rotating. No biggie but it would have been nice to do these before primer.
Finished the difficult part today. Now I have to get a M6 weld nut and attach all the brackets.
All in all, it came out better than I expected. The beads aren’t as deep as the originals. The rear outer corner is a bit off. Furthermore, if you take a closer look on the original panel, there’s a groove around the battery mount nut. This one I left out intentionally, as it would just trap water in there.
Re: Another restoration - 83' 528i
25 Jan - 21 Feb 2021
Progress has been slow. Weather’s been quite cold here and the shop’s often too cold to work in. Been doing more cleaning and sorting of stuff than chassis work. But here's what's done so far.
Bottom sections of front wheel arches got patched and new mounts for brake lines installed.
Ordered a new piece that goes on top of ABS panel.
And installed it right away.
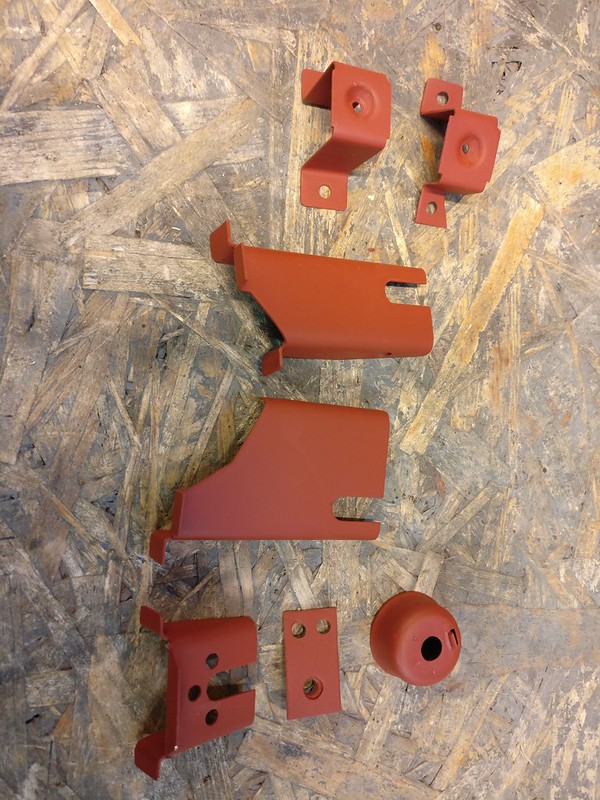
Made new mounts for ABS plate. Cup was saved from original mount.
Decided to go with the patching route with the ABS panel. Most of the flanges were gone plus a rusted area underneath one of the pump mounts. Not particularly proud of doing it this way but the alternative wasn’t good either.
A large patch to the right side
And then some more to get to this
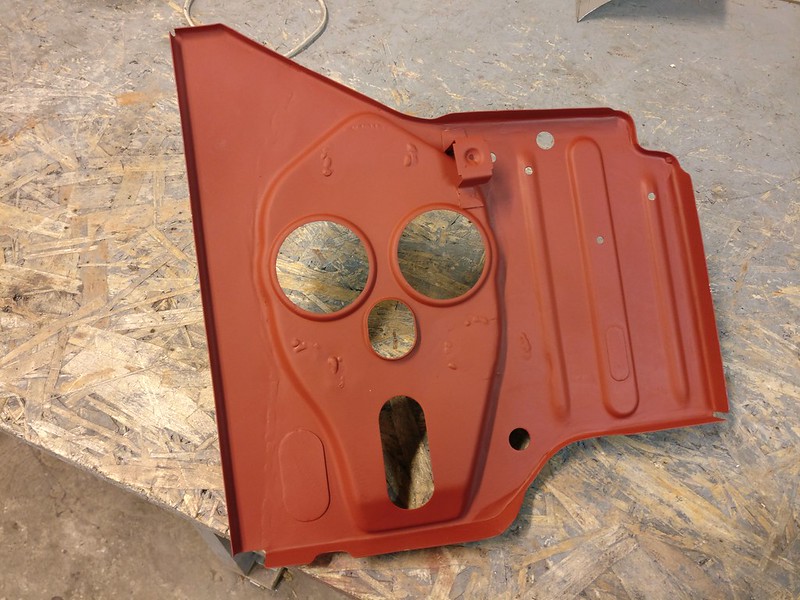
Added missing holes and new mounts to the battery plate
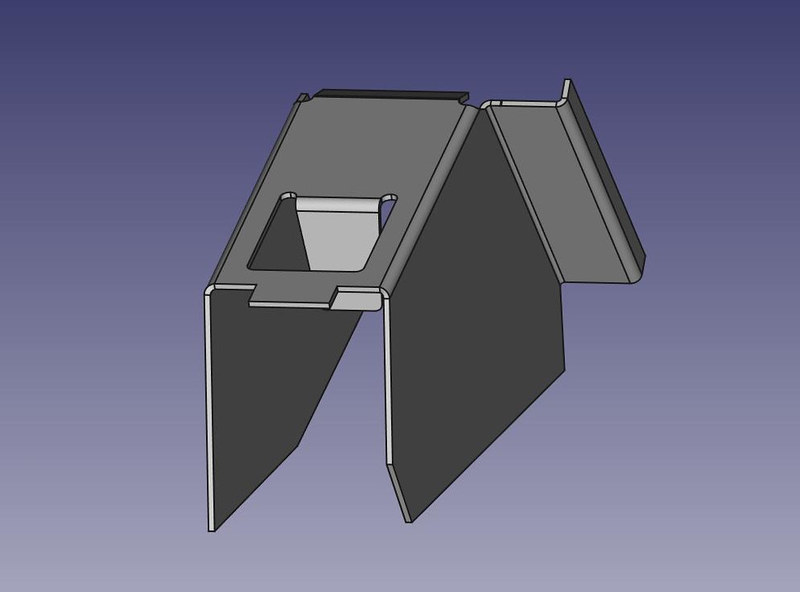
What better things to do on cold evenings than to learn new stuff. Turns out CAD can be extremely useful in this line of work.
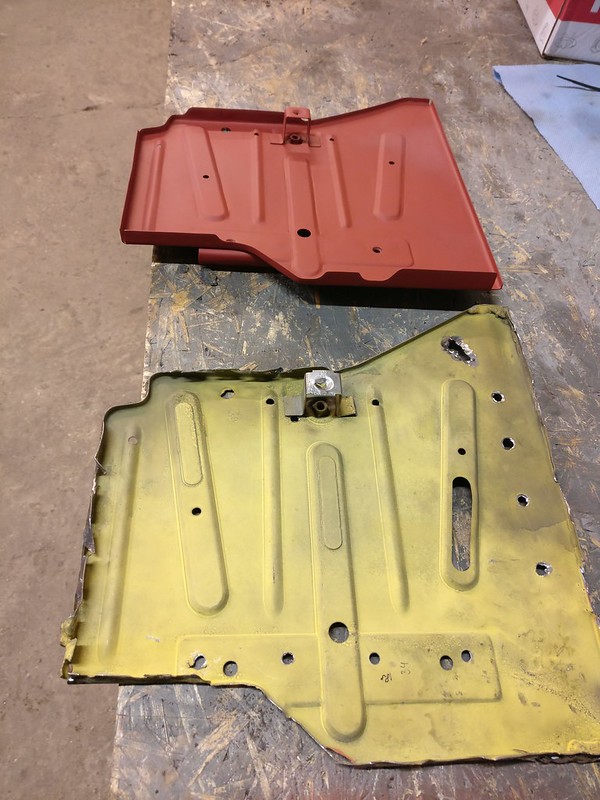
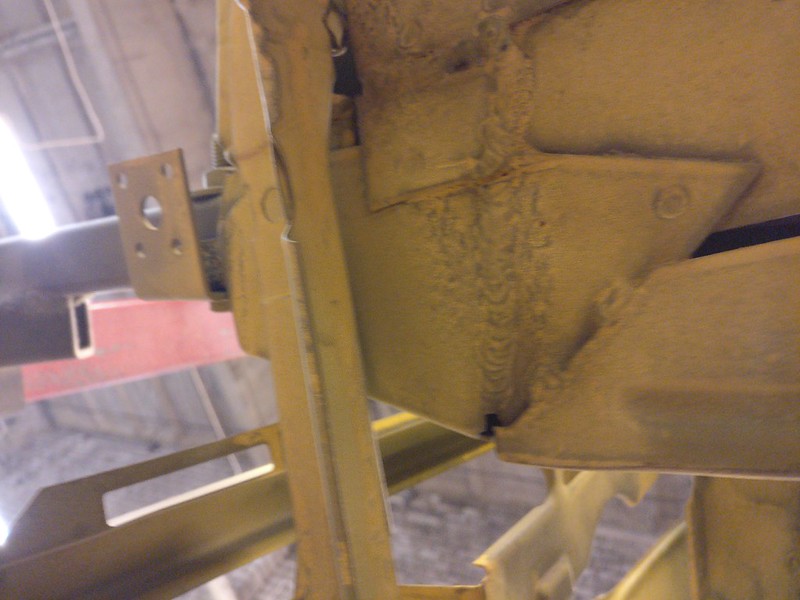
The piece is supposed to replace this one that was cut in half and welded up during previous nose job.
Fortunately the other side was unmolested so I was able to get good measurements.
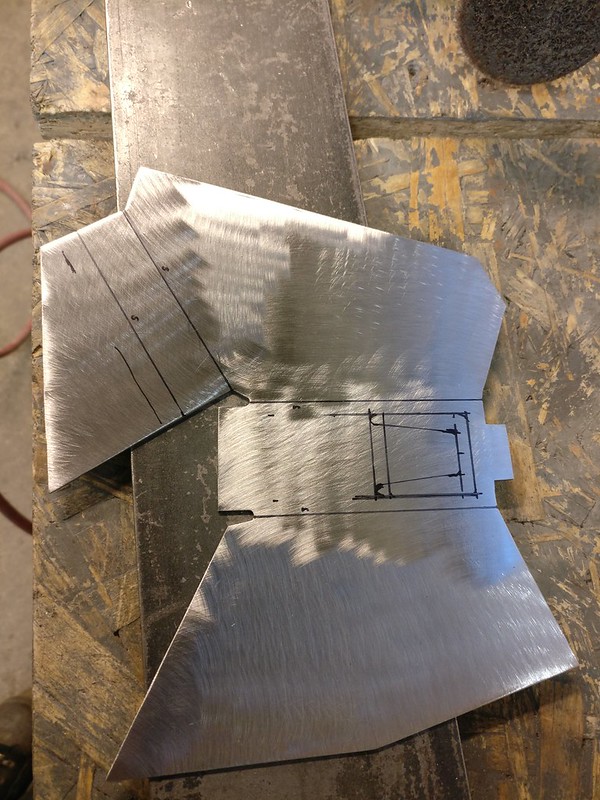
Printed out a template, laid on top of sheet metal and cut it out.
Took the bends
And removed some extra metal to make the tab
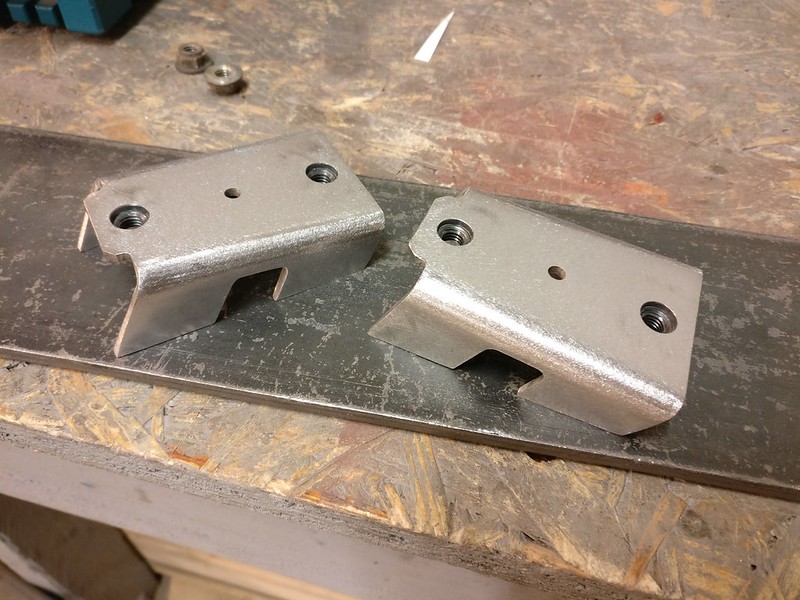
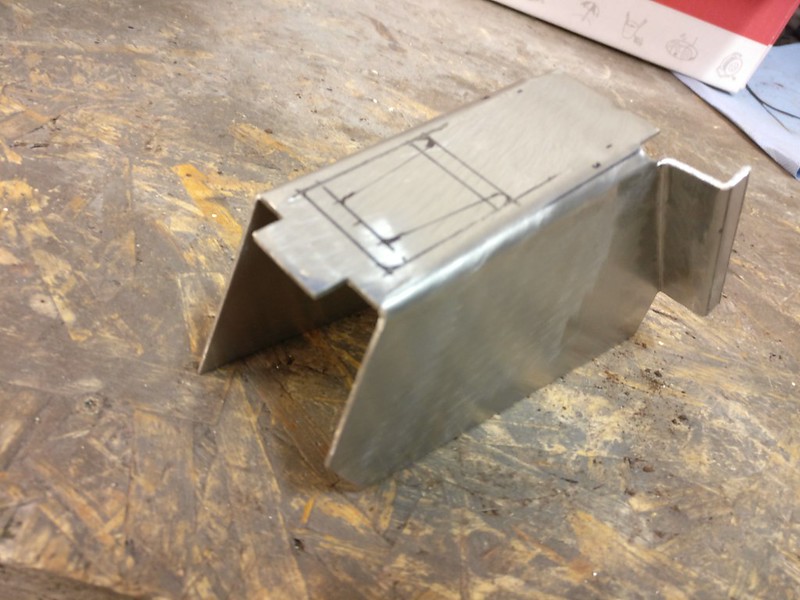
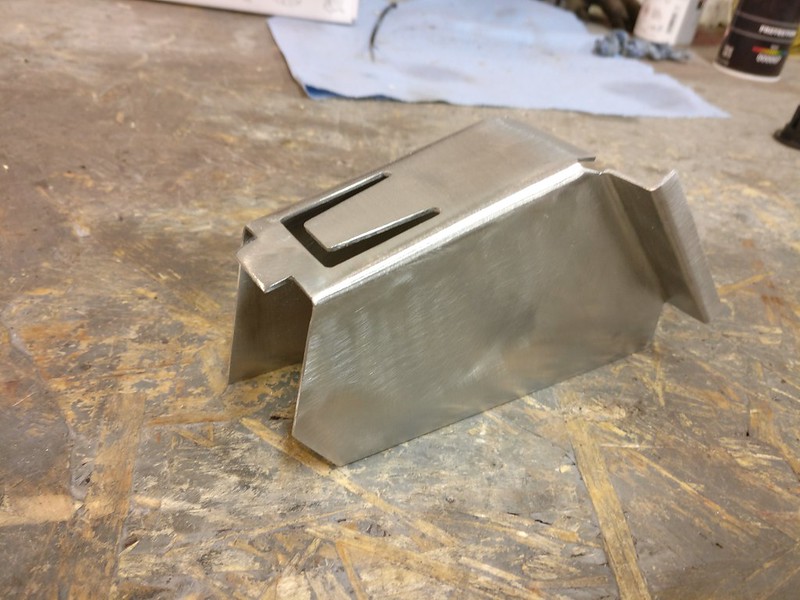
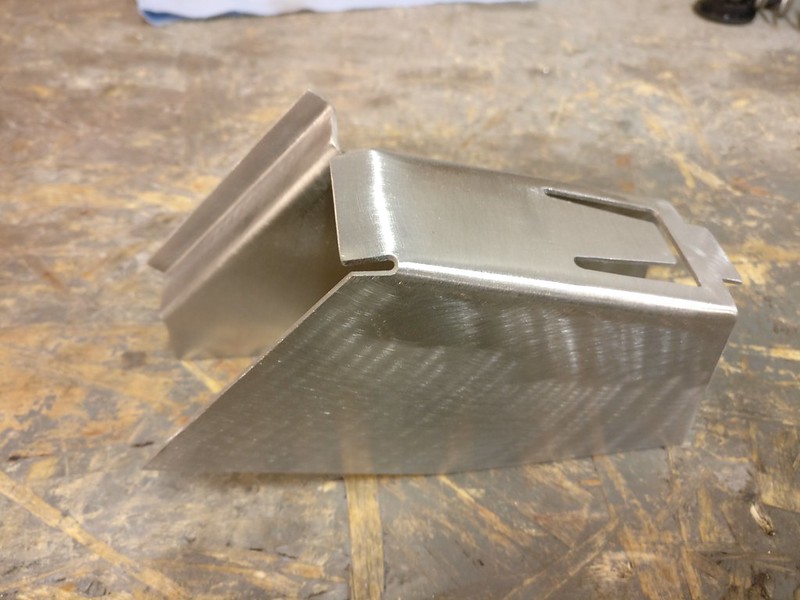
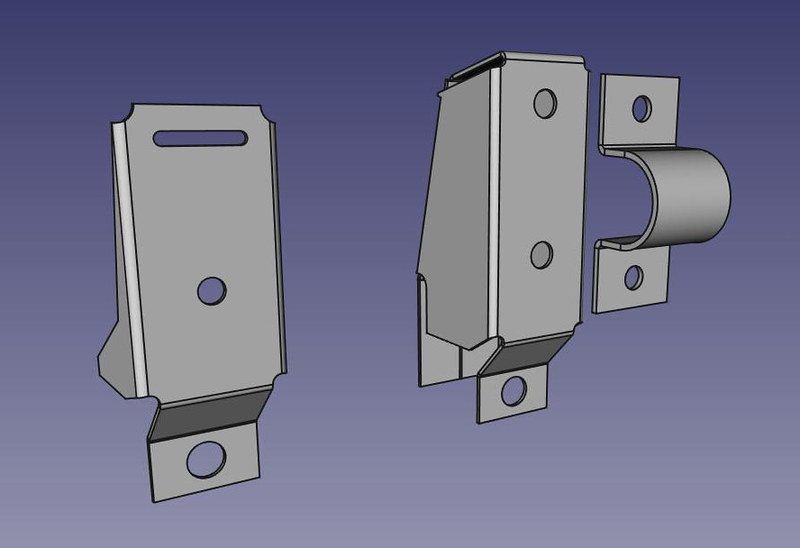
The real reason I went for CAD was to design new rear sway mounts. On the left is the original mount that my early chassis came with. New mount on the right is boxed, with an extra attachment point and made out of 1.5mm metal instead of 1.2mm the original was. Clamps are still to be made but will be 2mm thick. And attach with two bolts instead of a tab and a bolt.
In the process I decided the top (or bottom?) cover is ugly and cut it off so the finished product differs a bit from the initial drawing.
Welded together on the back
Still needs a bit tuning at this point but it will sit like this
Rinse and repeat
-
- Posts: 175
- Joined: Jul 03, 2017 4:05 PM
- Location: victoria bc
Re: Another restoration - 83' 528i
man it takes serious skill to be able to do sheet metal like that , wow. Making me feel bad about the 2 cars I've cut up for parts in the past 2 years.
Re: Another restoration - 83' 528i
22 Feb - 29 Apr 2021
It’s been a while. Some progress has been made, although some in vain.
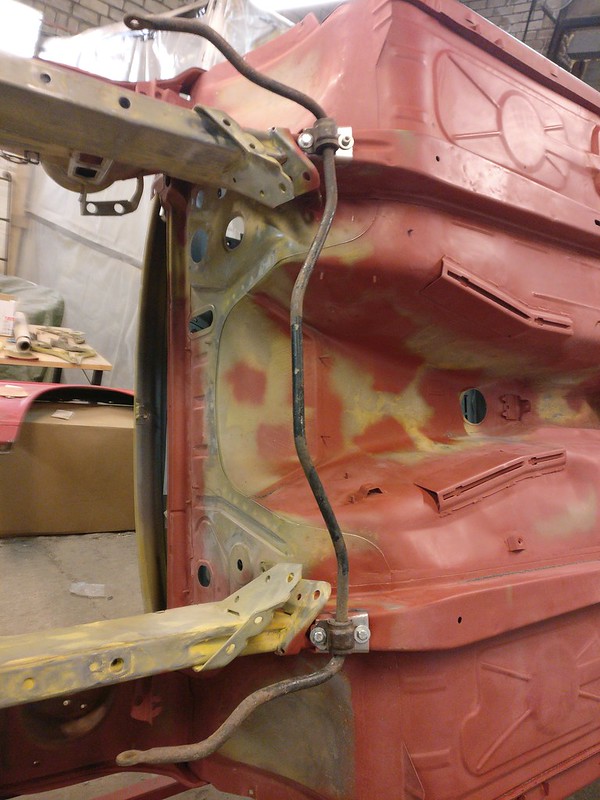
To continue where we left off, rear sway mounts got finished and installed. On the pictures is the newer style sway bar. In addition to not clearing diff mount it could potentially hit the edge of the crossbeam. Not that I had any hope of using it...
I should probably make one of the bolt holes on the clamp oblongated to facilitate installing. And get them zinc plated.
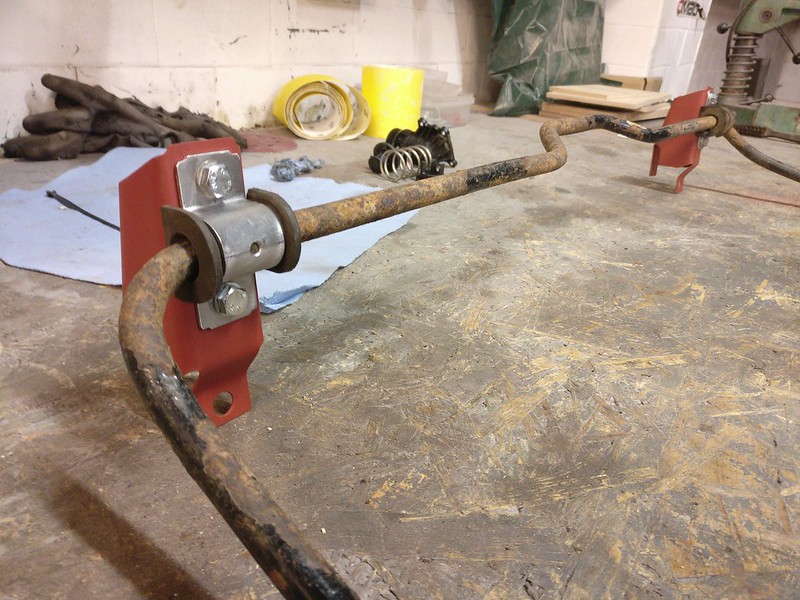
Rear mounts done I went on and started sanding the cabin, underside and engine compartment to prep for paint/primer. Nasty and slow work. At the same time I begun to work on the fenders.
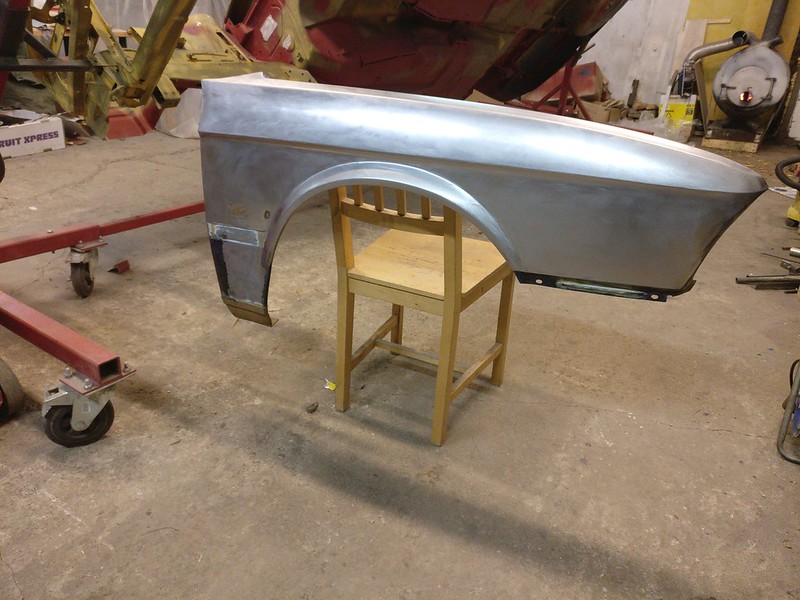
I had two OEM fenders for passenger’s side, this one seemed to be in better shape overall. Needs new bottom section, other rust is superficial and cleaned off well enough. Also had a couple of small dents to be worked out but nothing major.
Put some cheap black primer on it to protect the metal until it gets properly coated. Plan was to later cover it with clear coat which should help to identify all the remaining dents.
I don’t intend to use the side markers but this fender had holes cut out so these had to be filled.
Fixed up support plates for both sides.
And made a patch for the bottom section
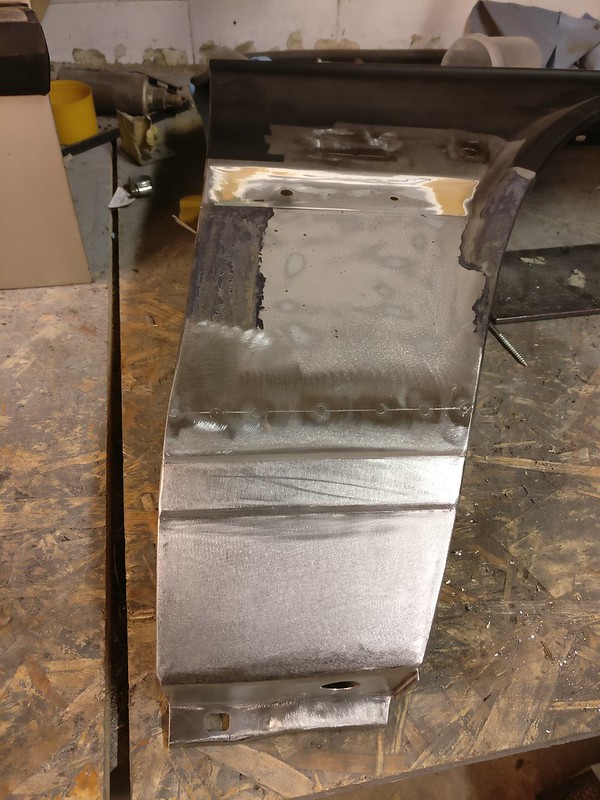
Tacked in. I was hoping my buddy would later TIG all those patches in so it would be easier to planish the welds. The rear line where it meets the door is a bit off but nothing that couldn’t be worked out.
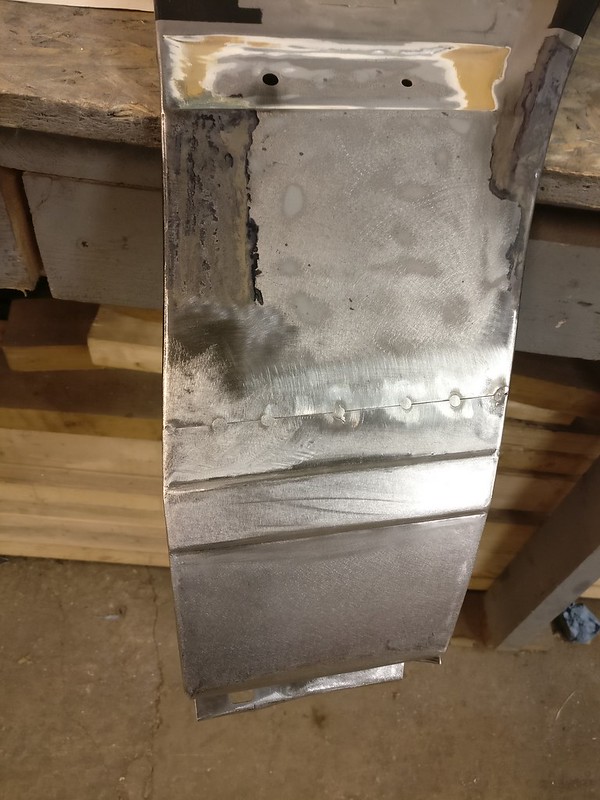
A little bit hammer work and the door line is already better.
I then started removing paint from the only left side fender I had and it turned out to be in awful shape. The metal was really wavy like it had suffered from excess heat. This was kind of surprising as both the interior and exterior side still had original primer on them. But I guess you could put too much heat into it without sanding through all layers of paint.
Either way, all the waviness and rust made me not want to deal with this fender at all and I decided to get a new one. And you simply can’t replace one side without the other. So I wrote off all the hours put into the other fender as practice and carried on with other stuff.
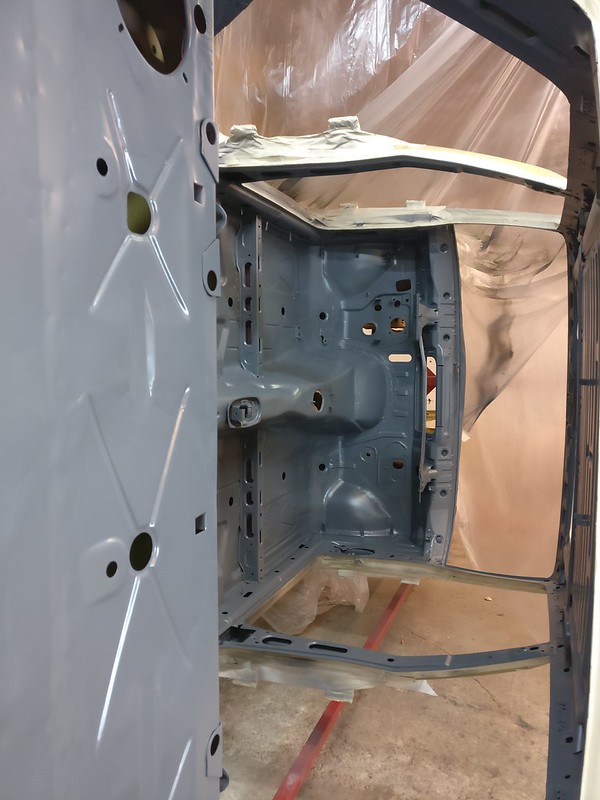
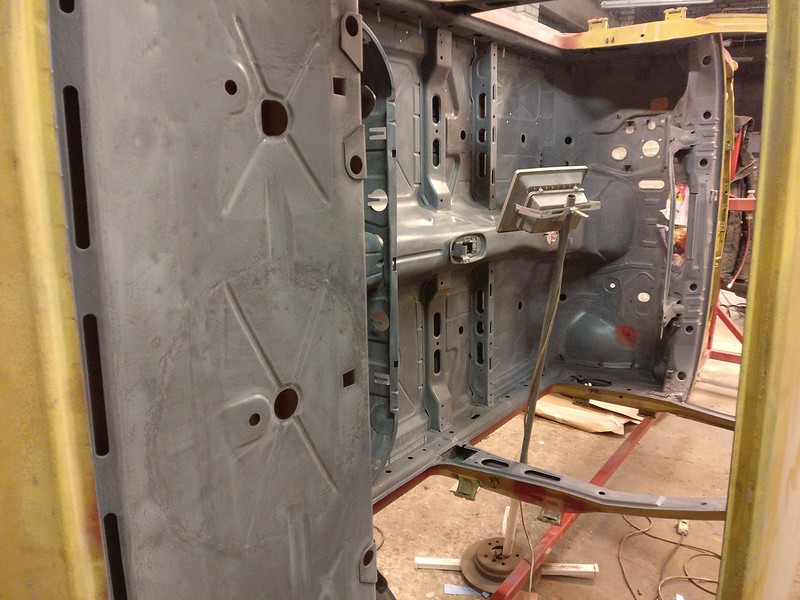
Here’s a shot of the cabin, all sanded and ready for paint. You can also spot the read area where I installed the missing stud for glove box hinge. In addition to cabin, underside and engine room are also cleaned, sanded and ready for primer.
Front sway bar mounts. Decided to go for a flat mount and a simple clamp design that would accept universal bushings. This would give me the best versatility in terms of bar thickness and would be easy enough to fabricate.
Made the mounts out of 3mm sheet metal so they’d be strong enough for any bar. Hardest part was to decide on the shape of the legs. The legs on the OEM mount look a bit odd so instead copying that I made them wider and angled like this. These mounts look fast, don’t they?
I’m yet to make the clamps. Maybe I’ll just order the bushings with clamps and be done with it.
Now, all that’s left to do on the chassis is the nose section so it was time to lose the rotisserie and put the car on the table.
Followed by mounting and adjusting all the panels so I could align the new nose frame properly.
Here you can see how uneven the surface of the driver’s side fender is.
A little bit of drilling and cutting and off it was.
Perfect time to clean the insides of frame rails. In the driver’s side rail there was a lot of liquid cavity wax which had turned into a thick layer of mud. Took me half a day to get it cleaned. I guess a session with power washer before starting the metal work would have helped a lot. I try to keep that in mind if I ever tackle another project like that. Luckily, other side was pretty clean already.
Some new pieces to fix the hack job on the frame rail.
New side pieces. Need a bit more work but pretty much in shape.
Clamped on the new nose frame to see how it fits.
This week I’ve been just putting it together and taking apart, adjusting doors, fenders and hood to get everything right.
Passenger’s side is looking pretty good like this.
On the other side I have some minor issues but it looks like it will work. Don’t mind the hood gap. This hood has some damage here, so the corner is pushed down and surrounding metal has rised up. I’ll try on another straight hood today so it should help with aligning things.
IMG_20210428_174952
Tomorrow I’ll get some help from a professional restorator and hopefully we get the nose frame attached by the evening.
It’s been a while. Some progress has been made, although some in vain.
To continue where we left off, rear sway mounts got finished and installed. On the pictures is the newer style sway bar. In addition to not clearing diff mount it could potentially hit the edge of the crossbeam. Not that I had any hope of using it...
I should probably make one of the bolt holes on the clamp oblongated to facilitate installing. And get them zinc plated.
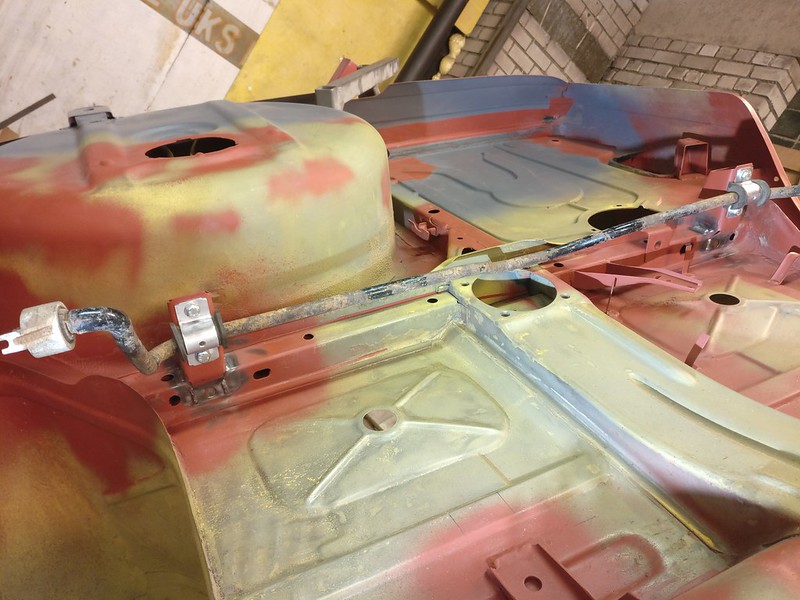
Rear mounts done I went on and started sanding the cabin, underside and engine compartment to prep for paint/primer. Nasty and slow work. At the same time I begun to work on the fenders.
I had two OEM fenders for passenger’s side, this one seemed to be in better shape overall. Needs new bottom section, other rust is superficial and cleaned off well enough. Also had a couple of small dents to be worked out but nothing major.
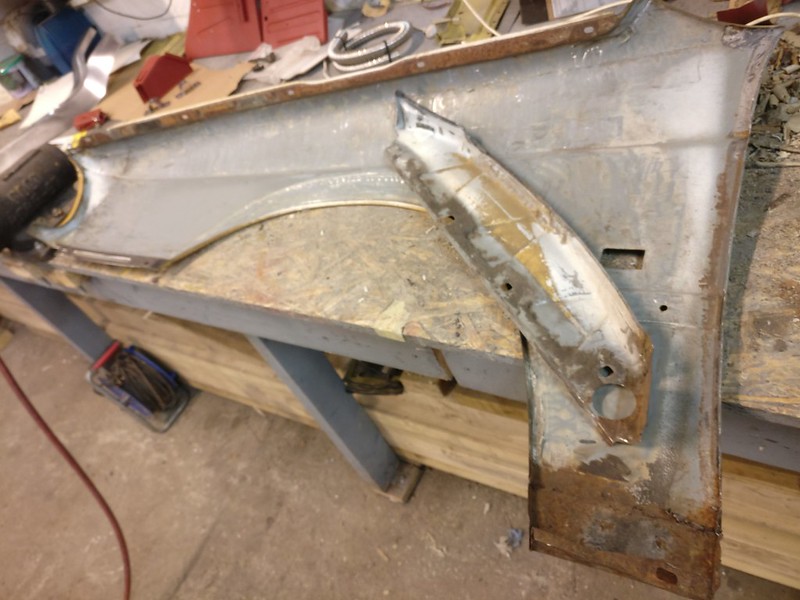
Put some cheap black primer on it to protect the metal until it gets properly coated. Plan was to later cover it with clear coat which should help to identify all the remaining dents.
I don’t intend to use the side markers but this fender had holes cut out so these had to be filled.
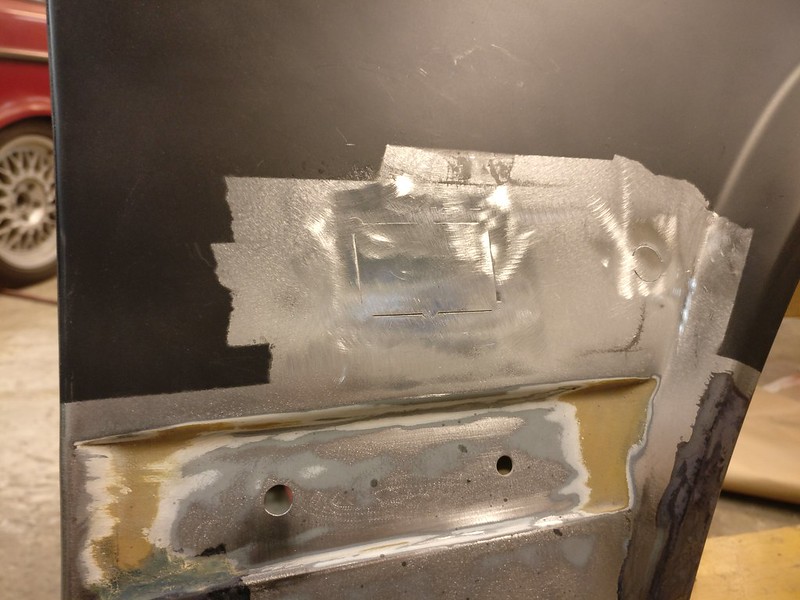
Fixed up support plates for both sides.
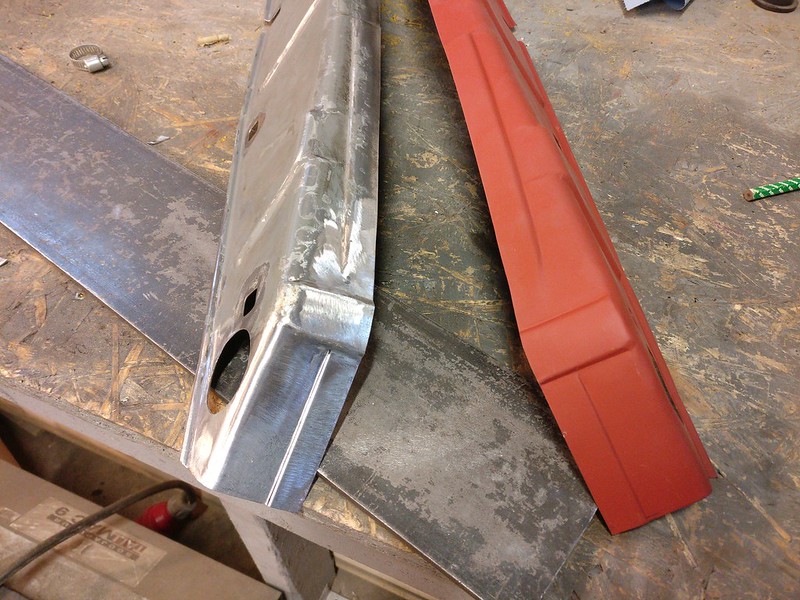
And made a patch for the bottom section
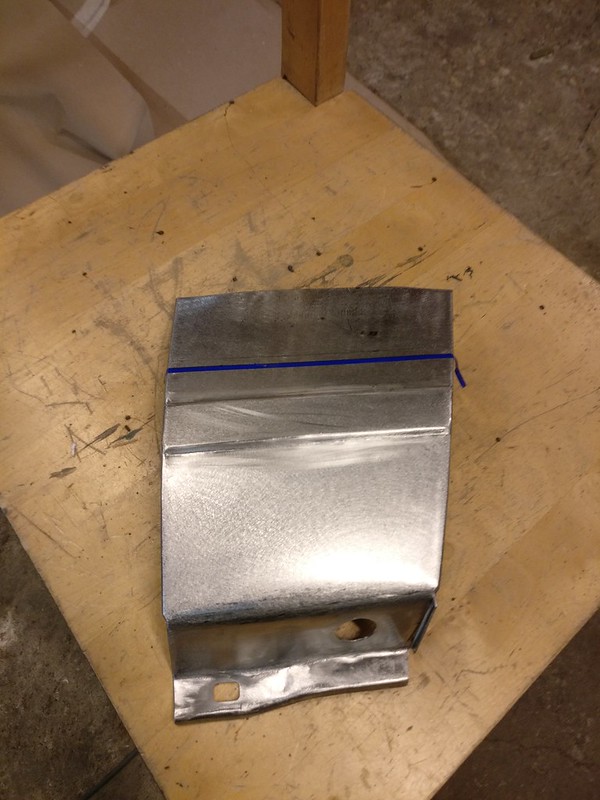
Tacked in. I was hoping my buddy would later TIG all those patches in so it would be easier to planish the welds. The rear line where it meets the door is a bit off but nothing that couldn’t be worked out.
A little bit hammer work and the door line is already better.
I then started removing paint from the only left side fender I had and it turned out to be in awful shape. The metal was really wavy like it had suffered from excess heat. This was kind of surprising as both the interior and exterior side still had original primer on them. But I guess you could put too much heat into it without sanding through all layers of paint.
Either way, all the waviness and rust made me not want to deal with this fender at all and I decided to get a new one. And you simply can’t replace one side without the other. So I wrote off all the hours put into the other fender as practice and carried on with other stuff.
Here’s a shot of the cabin, all sanded and ready for paint. You can also spot the read area where I installed the missing stud for glove box hinge. In addition to cabin, underside and engine room are also cleaned, sanded and ready for primer.
Front sway bar mounts. Decided to go for a flat mount and a simple clamp design that would accept universal bushings. This would give me the best versatility in terms of bar thickness and would be easy enough to fabricate.
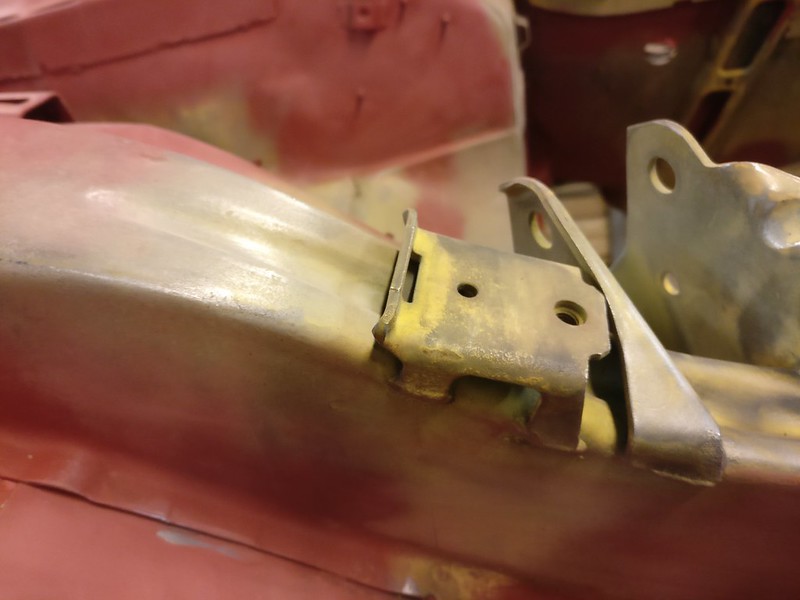
Made the mounts out of 3mm sheet metal so they’d be strong enough for any bar. Hardest part was to decide on the shape of the legs. The legs on the OEM mount look a bit odd so instead copying that I made them wider and angled like this. These mounts look fast, don’t they?
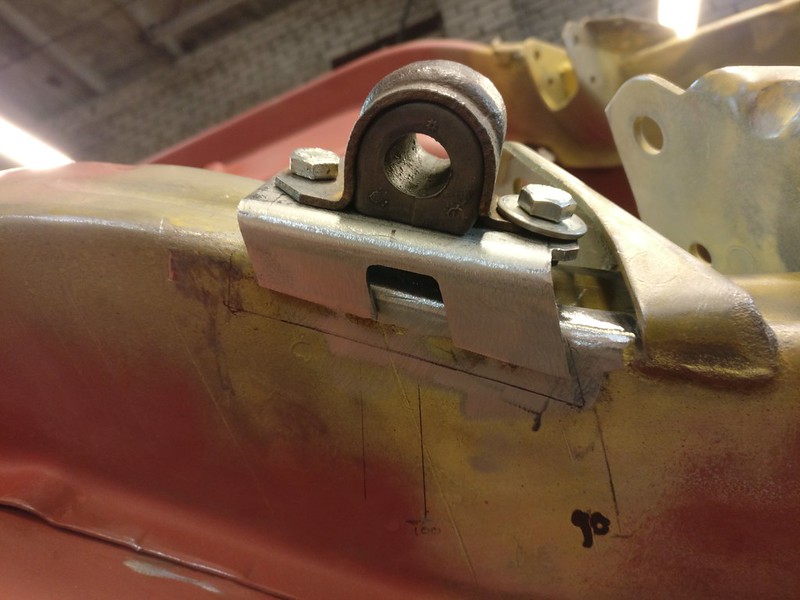
I’m yet to make the clamps. Maybe I’ll just order the bushings with clamps and be done with it.
Now, all that’s left to do on the chassis is the nose section so it was time to lose the rotisserie and put the car on the table.
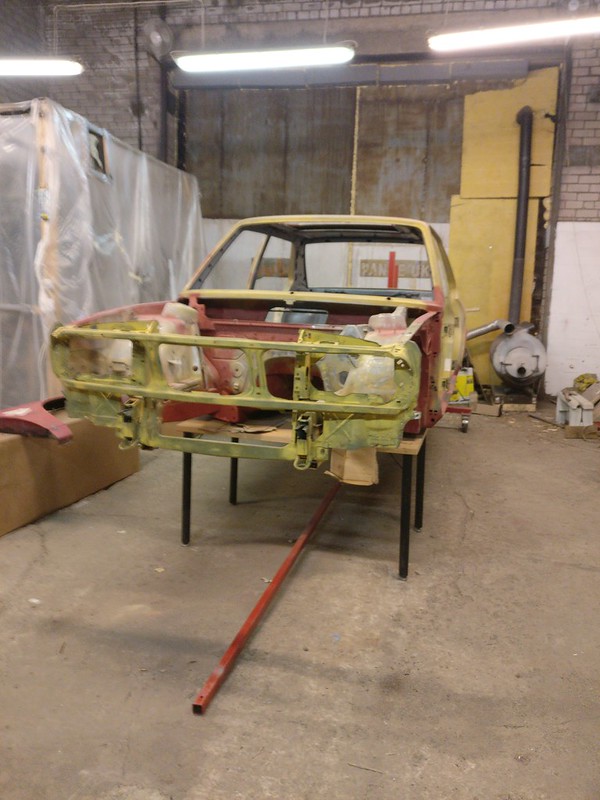
Followed by mounting and adjusting all the panels so I could align the new nose frame properly.
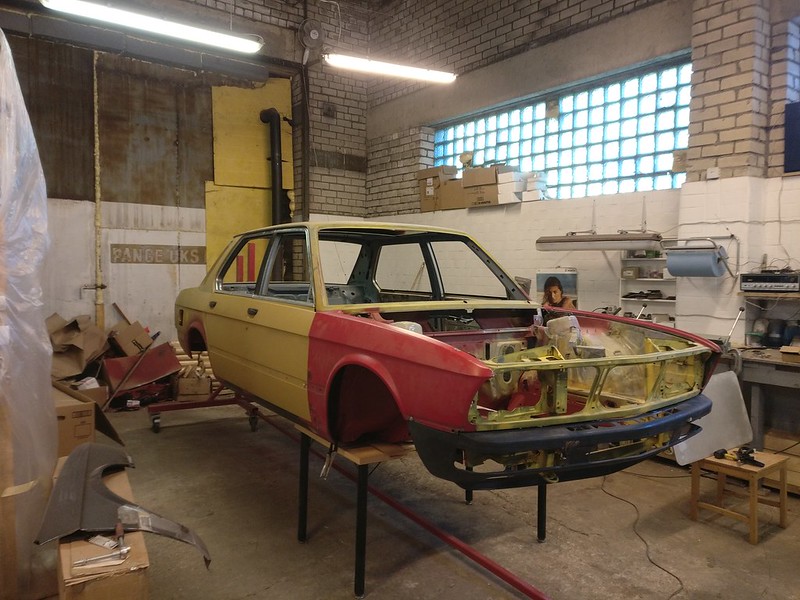
Here you can see how uneven the surface of the driver’s side fender is.
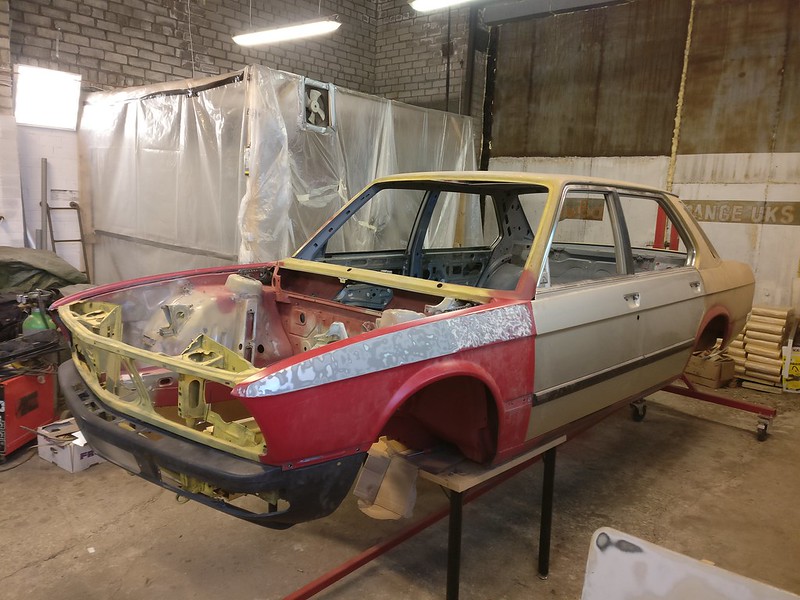
A little bit of drilling and cutting and off it was.
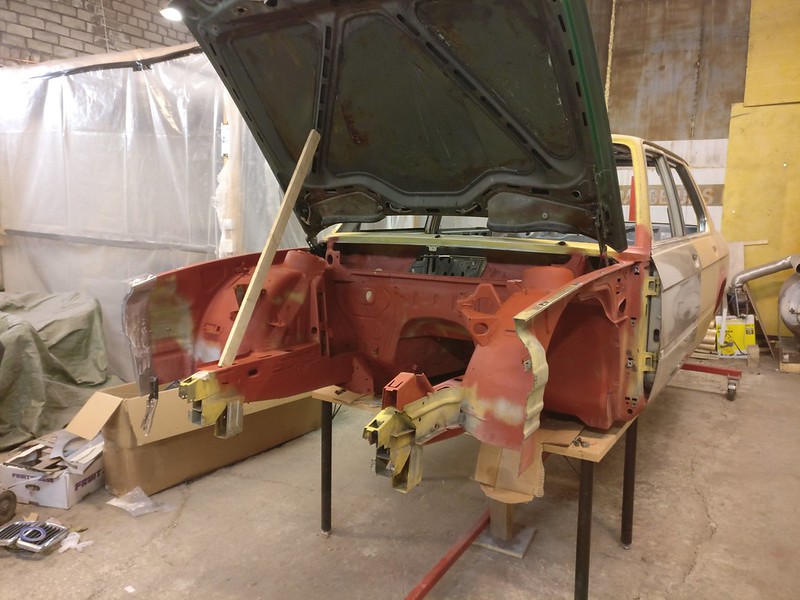
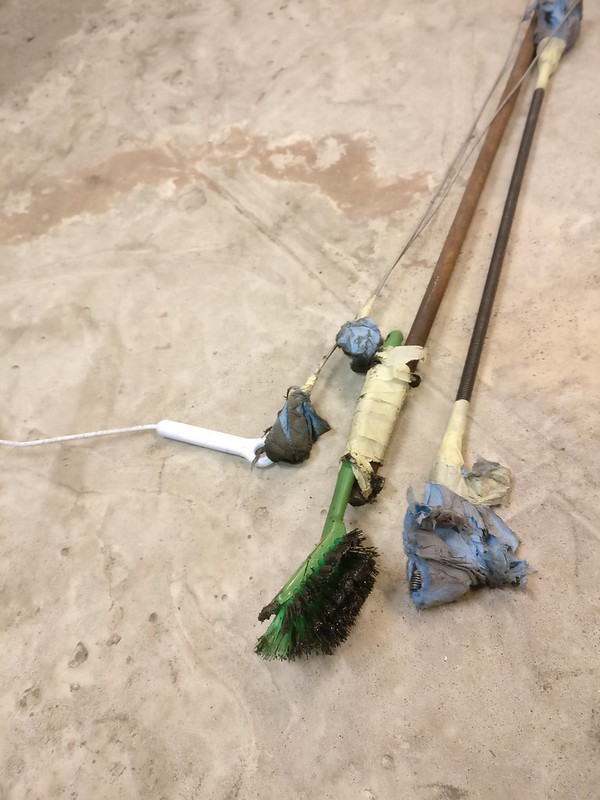
Perfect time to clean the insides of frame rails. In the driver’s side rail there was a lot of liquid cavity wax which had turned into a thick layer of mud. Took me half a day to get it cleaned. I guess a session with power washer before starting the metal work would have helped a lot. I try to keep that in mind if I ever tackle another project like that. Luckily, other side was pretty clean already.
Some new pieces to fix the hack job on the frame rail.
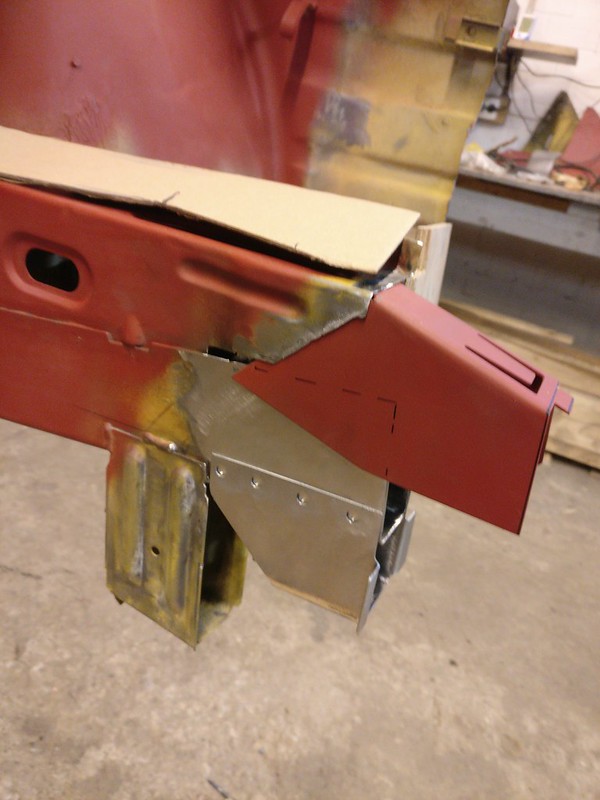
New side pieces. Need a bit more work but pretty much in shape.
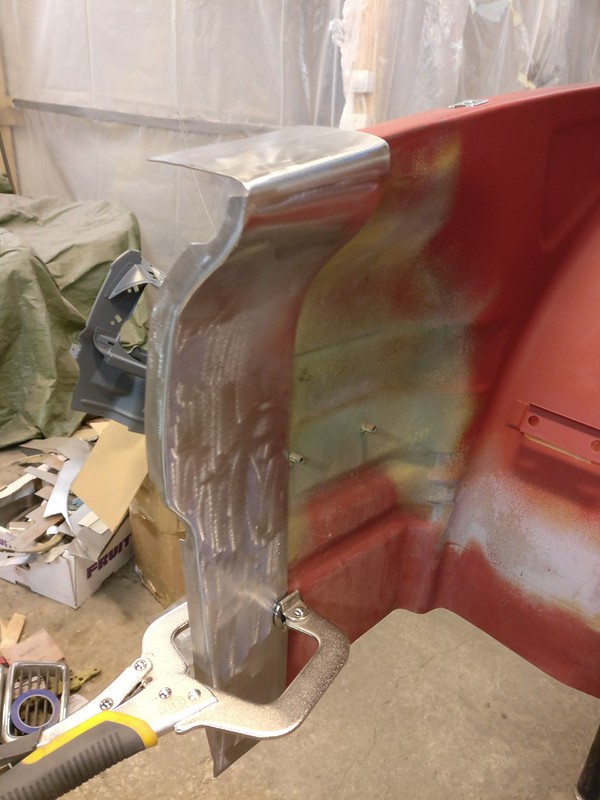
Clamped on the new nose frame to see how it fits.
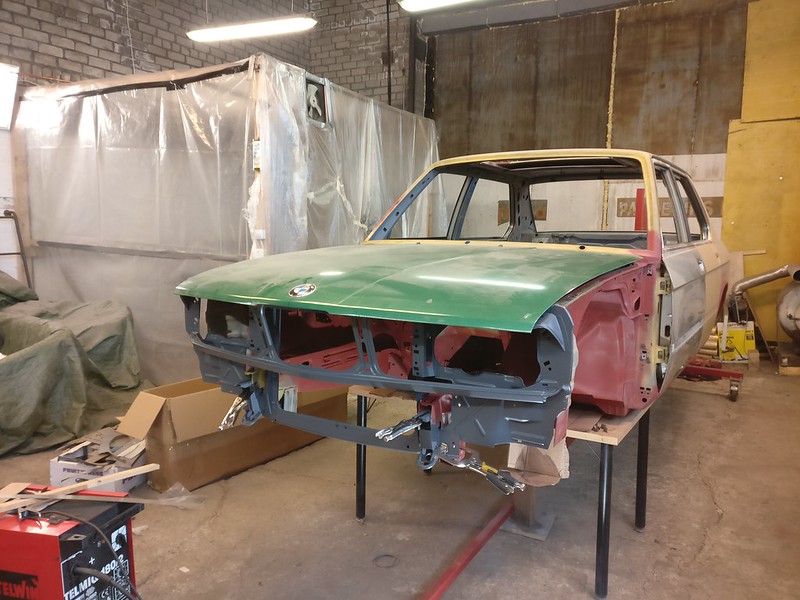
This week I’ve been just putting it together and taking apart, adjusting doors, fenders and hood to get everything right.
Passenger’s side is looking pretty good like this.
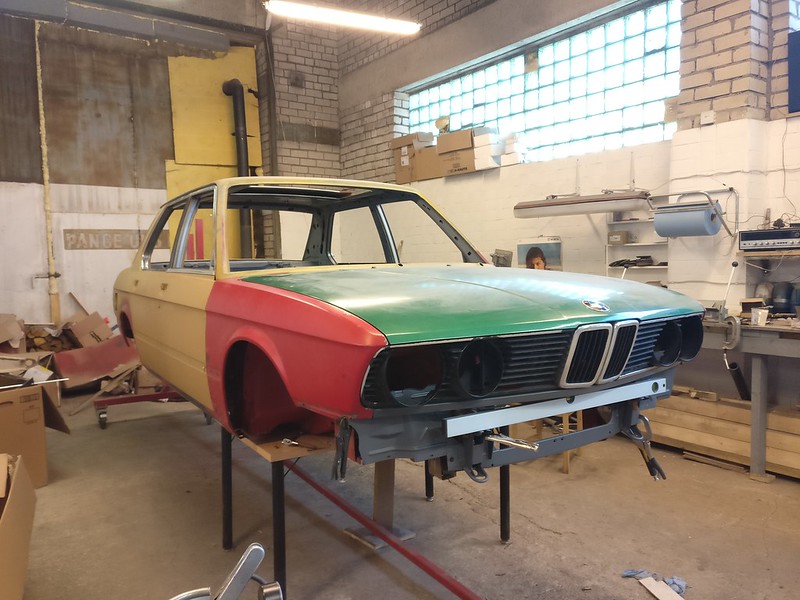
On the other side I have some minor issues but it looks like it will work. Don’t mind the hood gap. This hood has some damage here, so the corner is pushed down and surrounding metal has rised up. I’ll try on another straight hood today so it should help with aligning things.
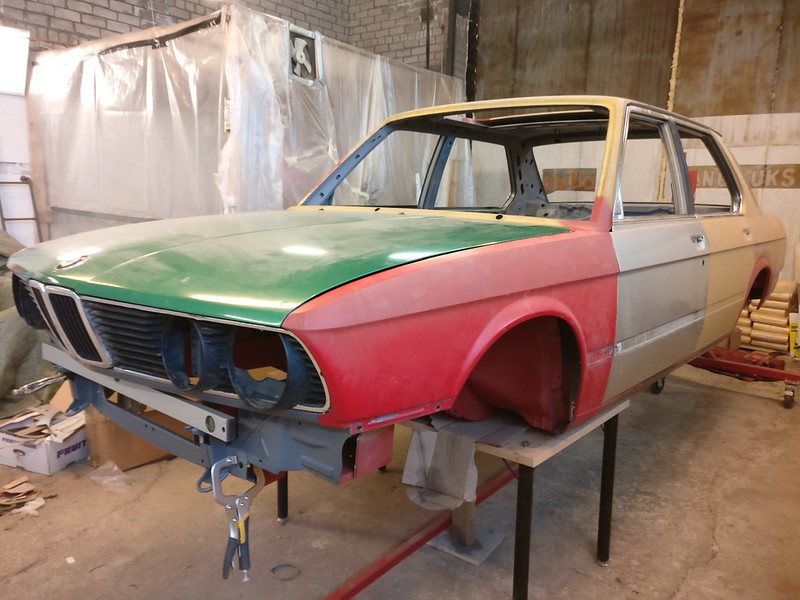
IMG_20210428_174952
Tomorrow I’ll get some help from a professional restorator and hopefully we get the nose frame attached by the evening.
-
- Posts: 1340
- Joined: Sep 08, 2007 11:17 AM
- Location: John Graham ATL
Re: Another restoration - 83' 528i
says a professional restorator.Tomorrow I’ll get some help from a professional restorator
Re: Another restoration - 83' 528i
Truly inspirational.
Your pictures are excellent. The ARB section was very helpful. I'm just working on that bit myself.
Keep the updates coming.
Your pictures are excellent. The ARB section was very helpful. I'm just working on that bit myself.
Keep the updates coming.